iOS関連
iOSの開発用証明書を作成
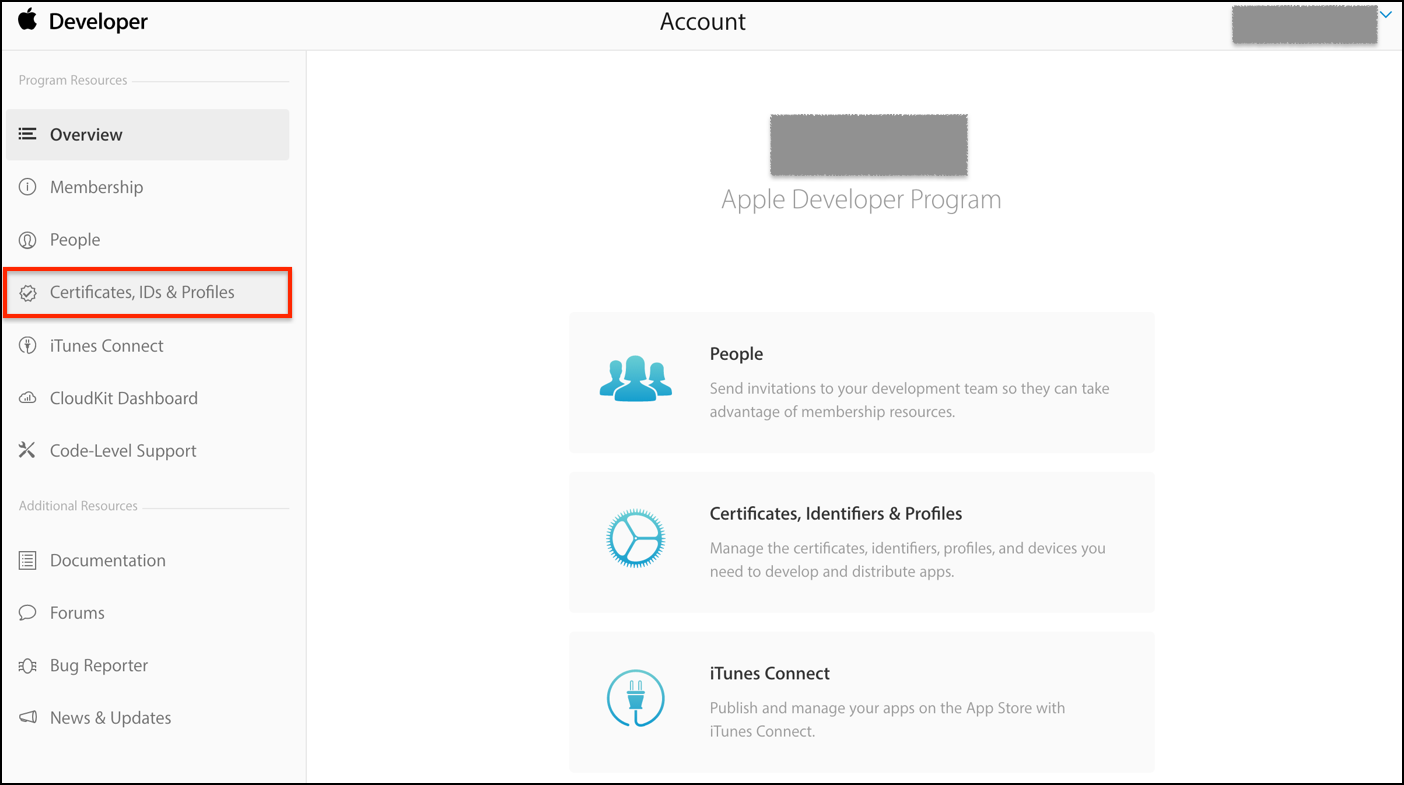
Apple Developerのページに移動する。
https://developer.apple.com/account/

Certificates, IDs & Profilesのページに移動。
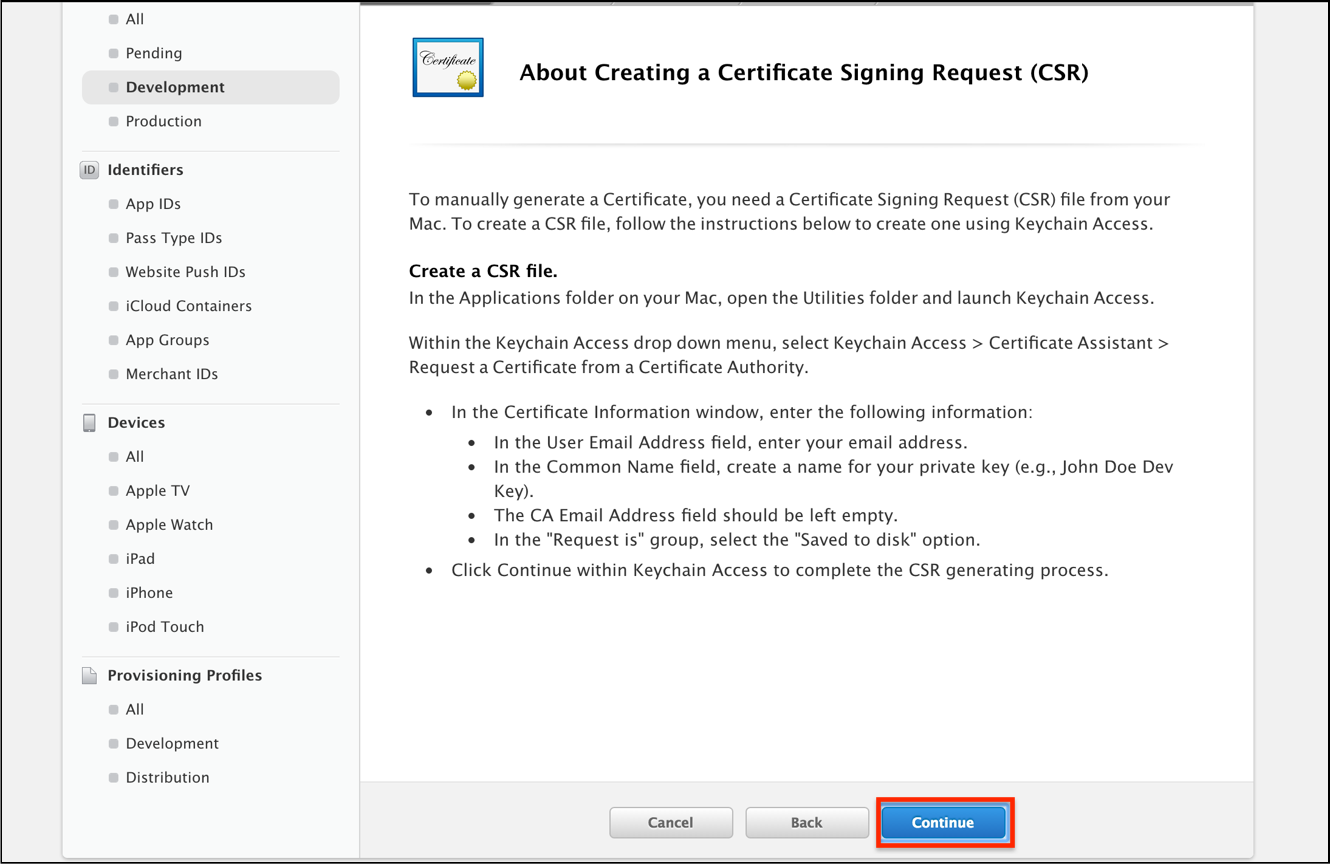
CertificationのDevelopmentから、[+]を選択し、今回使用する証明書を作成する。
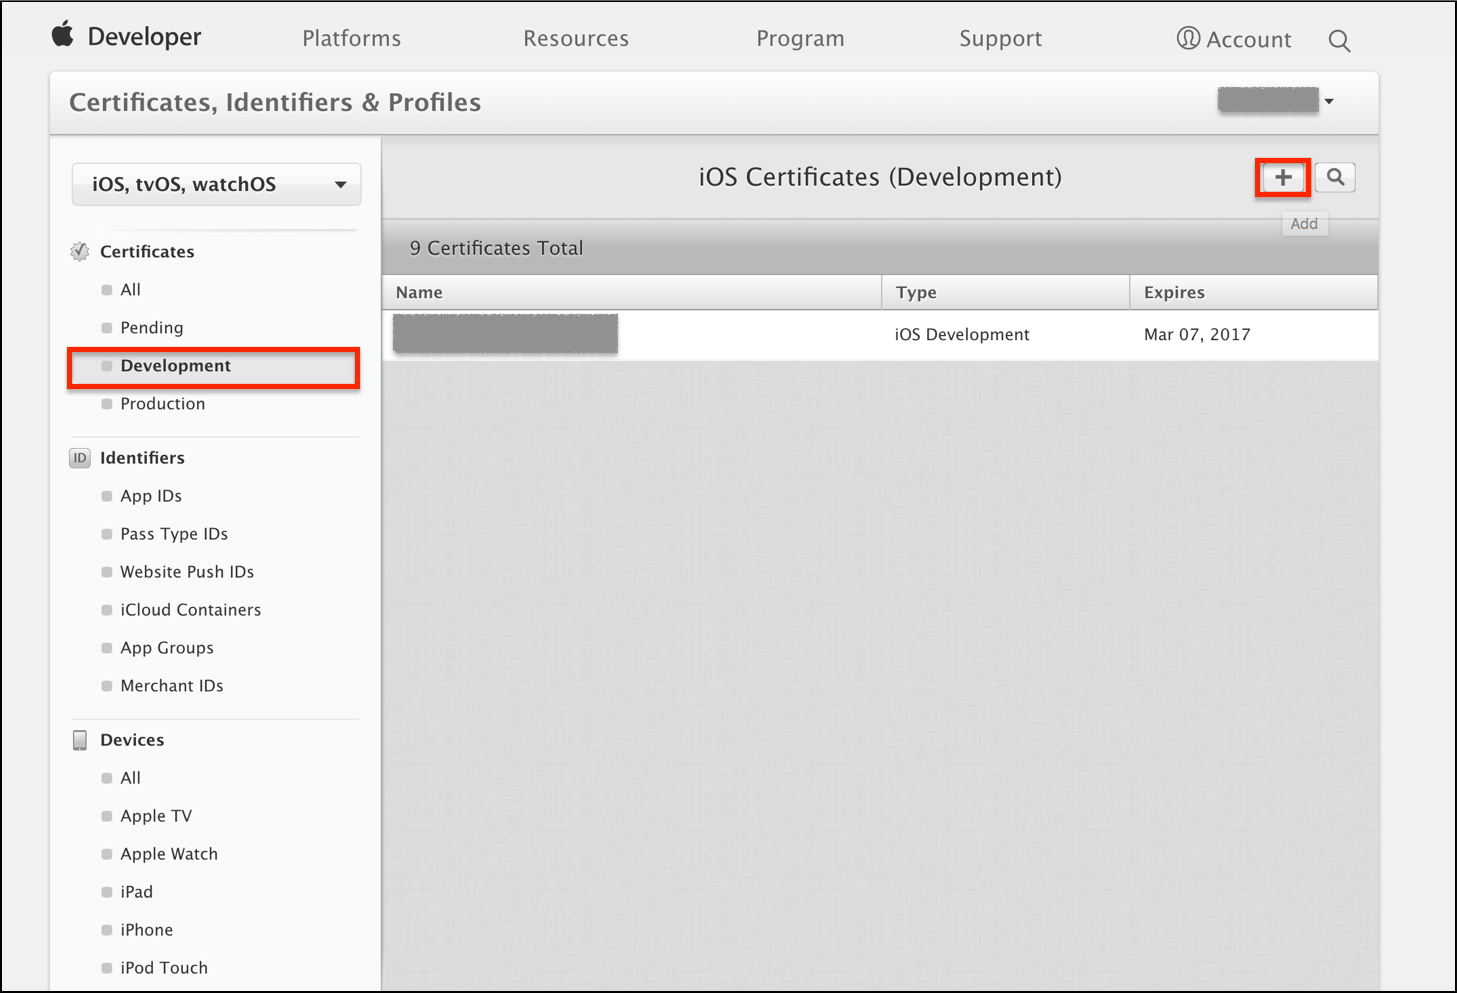
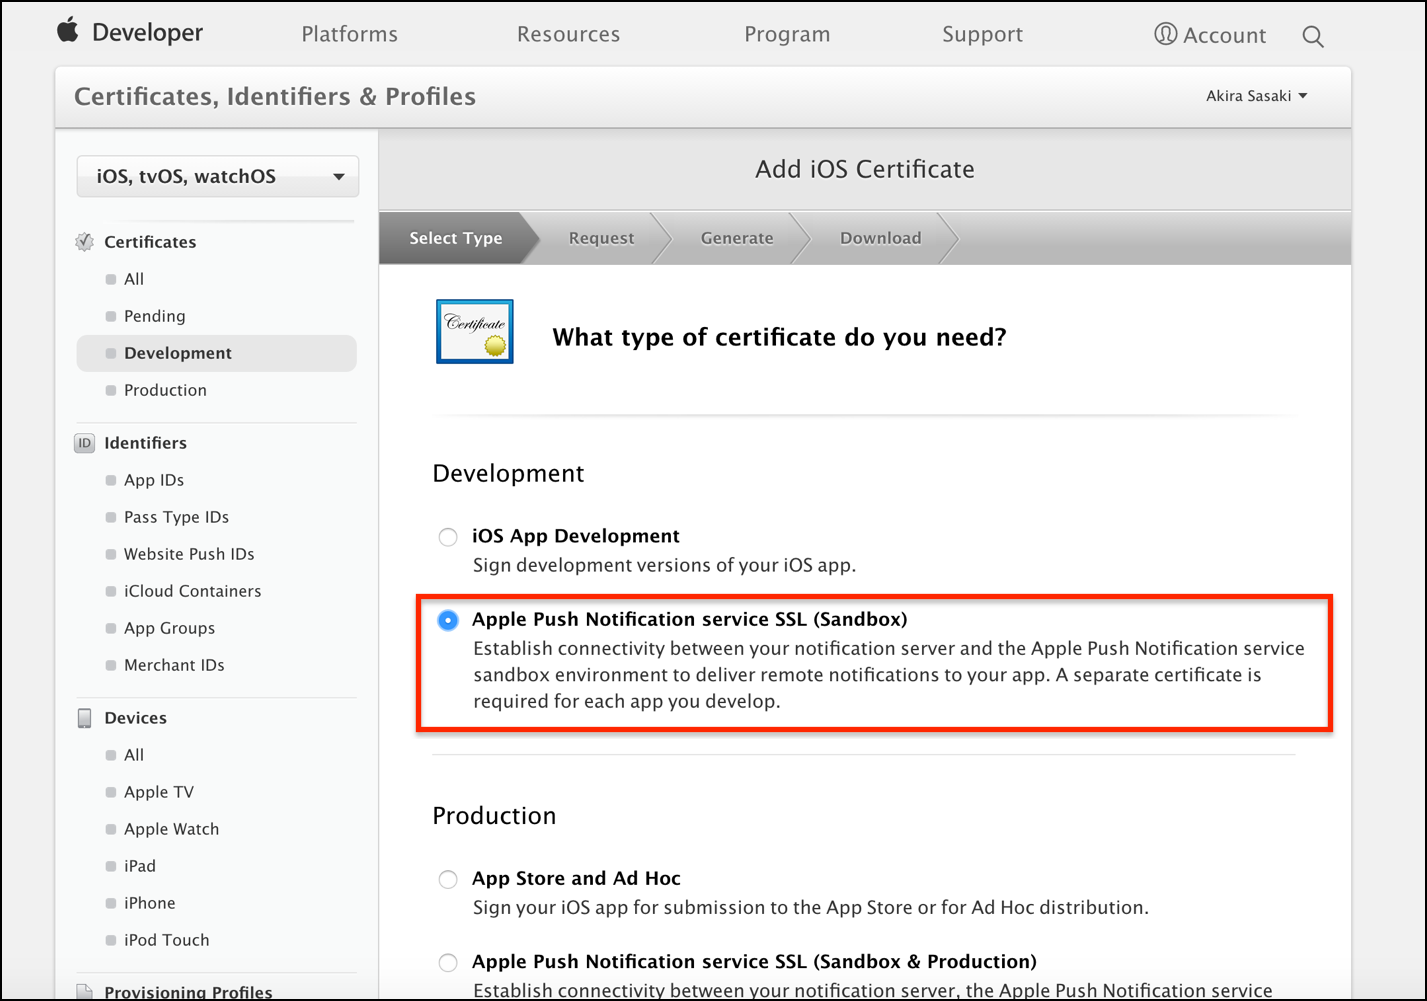
今回は、開発用の証明書を作成する。
"Apple Push Notification service SSL(Sandbox)"
を選択する。
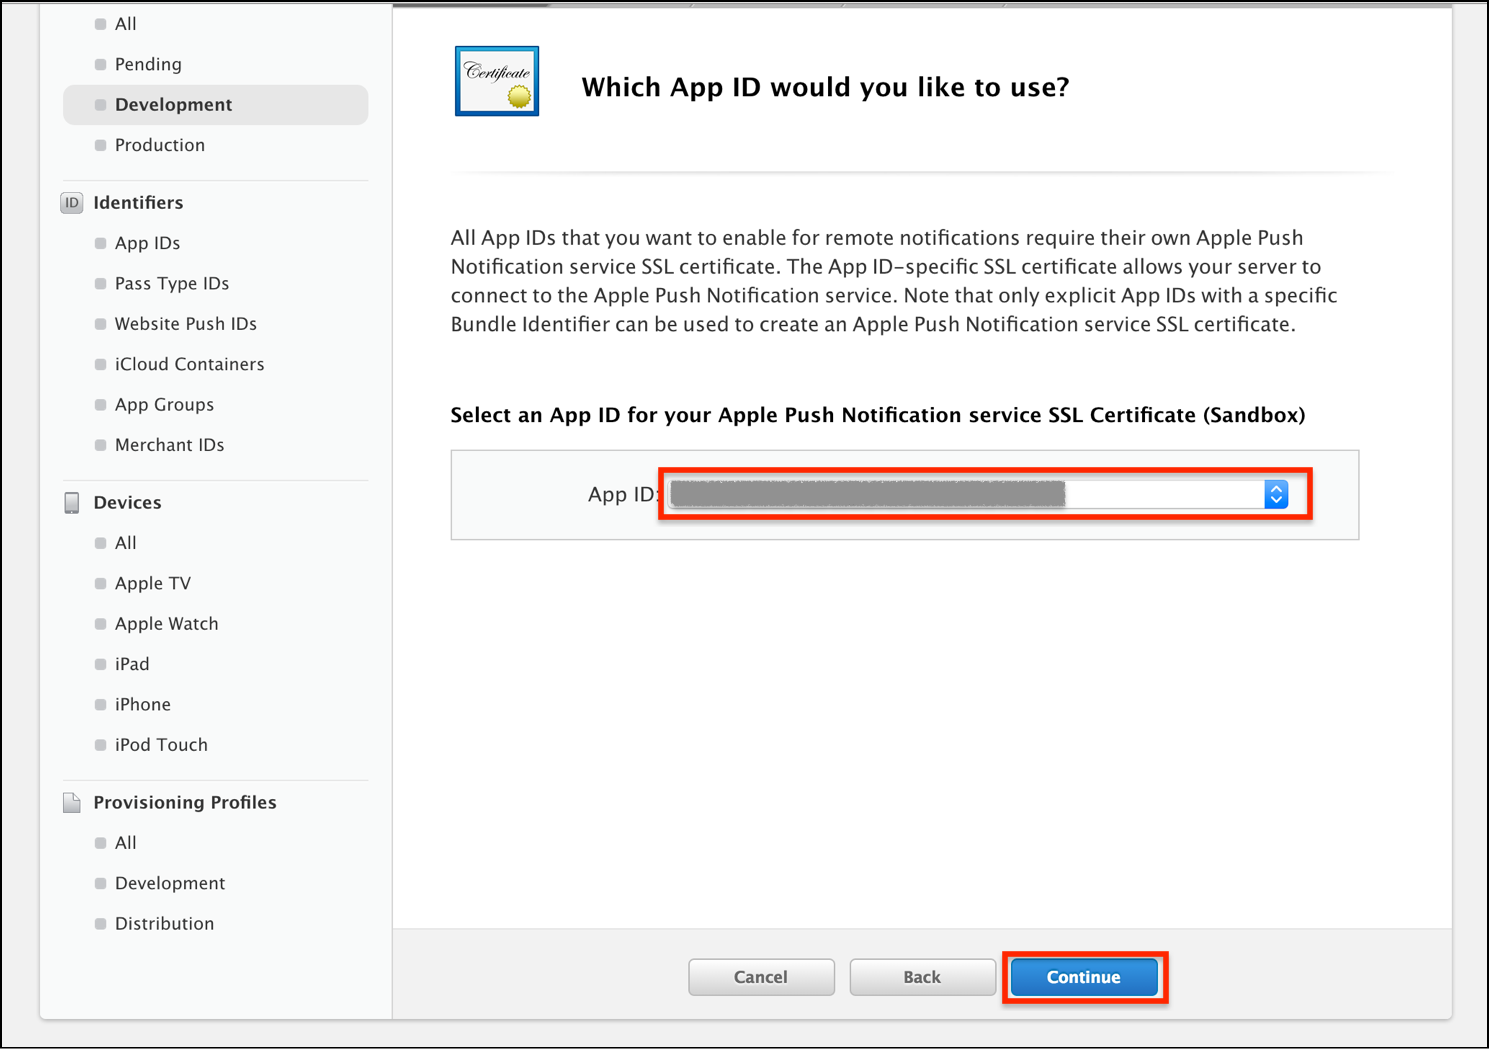
App IDを選択する。各アプリのBundle identifierを元に、事前に作成しておく。
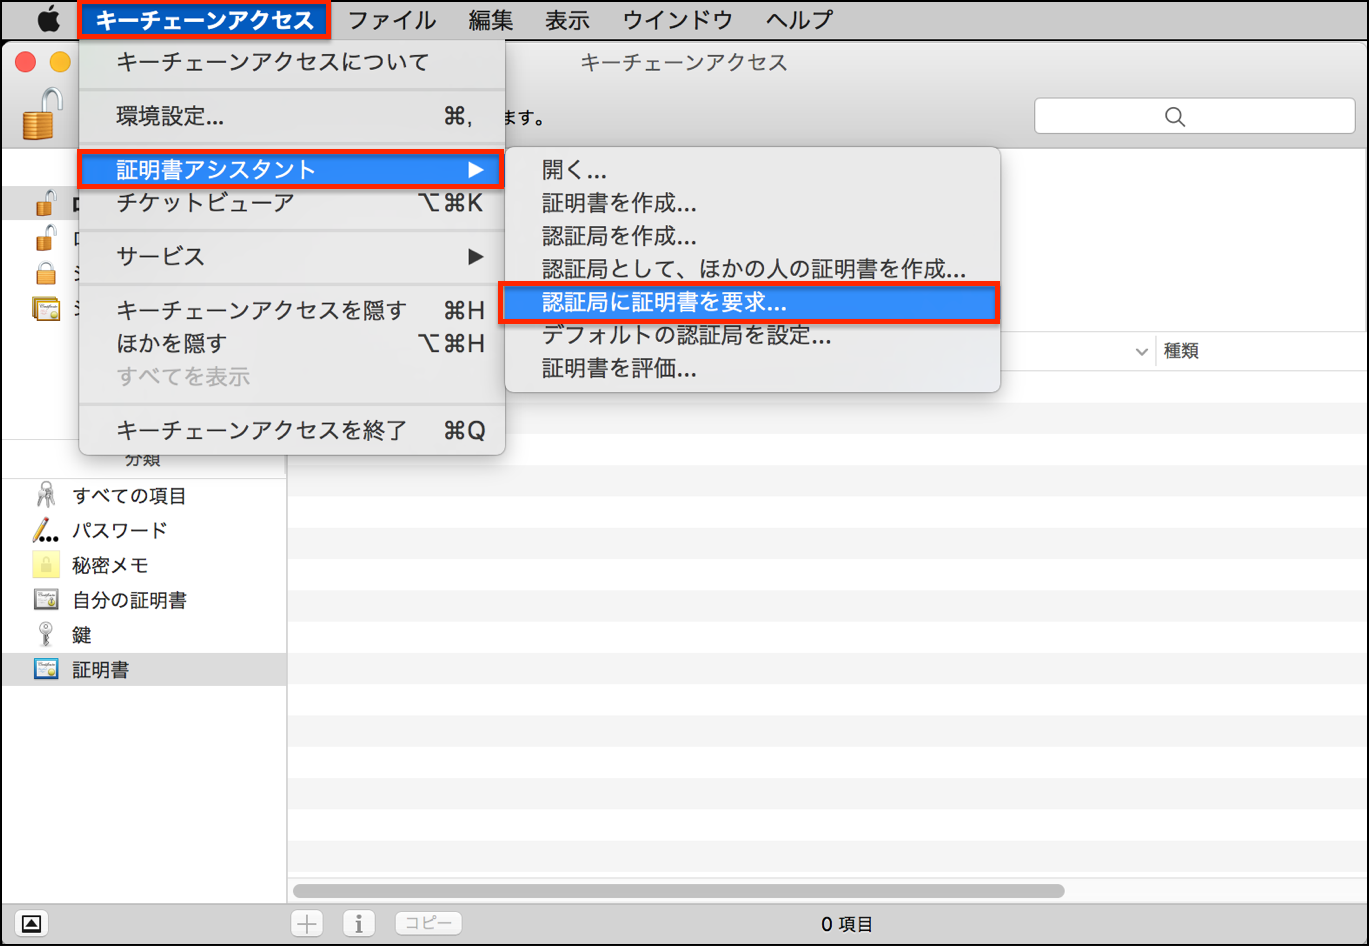
[アプリケーション]-[ユーティリティ]から、キーチェーンアクセスを起動する。

[キーチェーンアクセス]-[証明書アシスタント]-[認証局に証明書を要求]を選択。
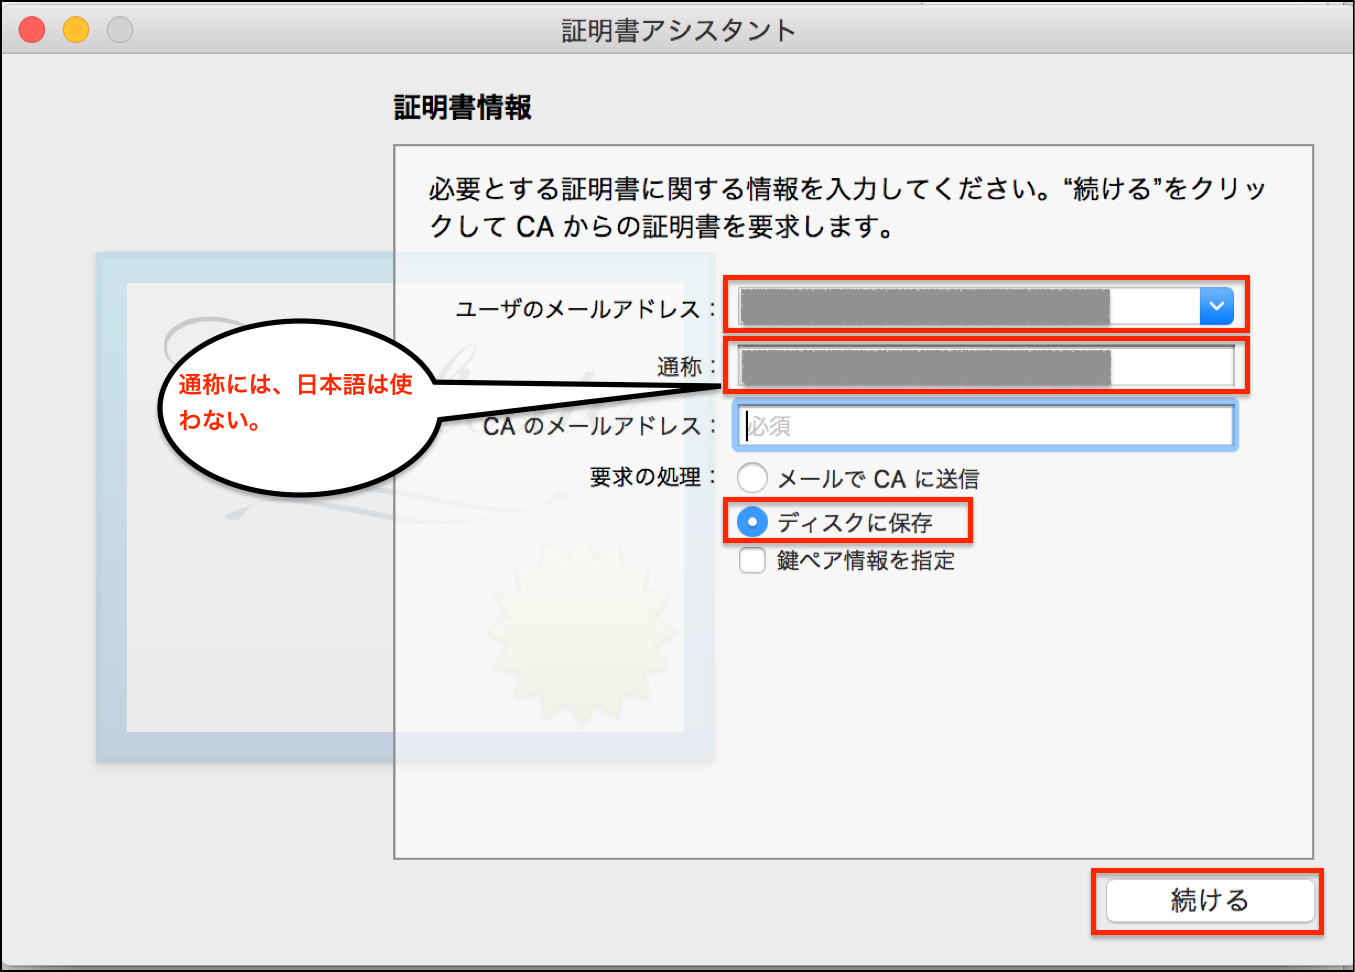
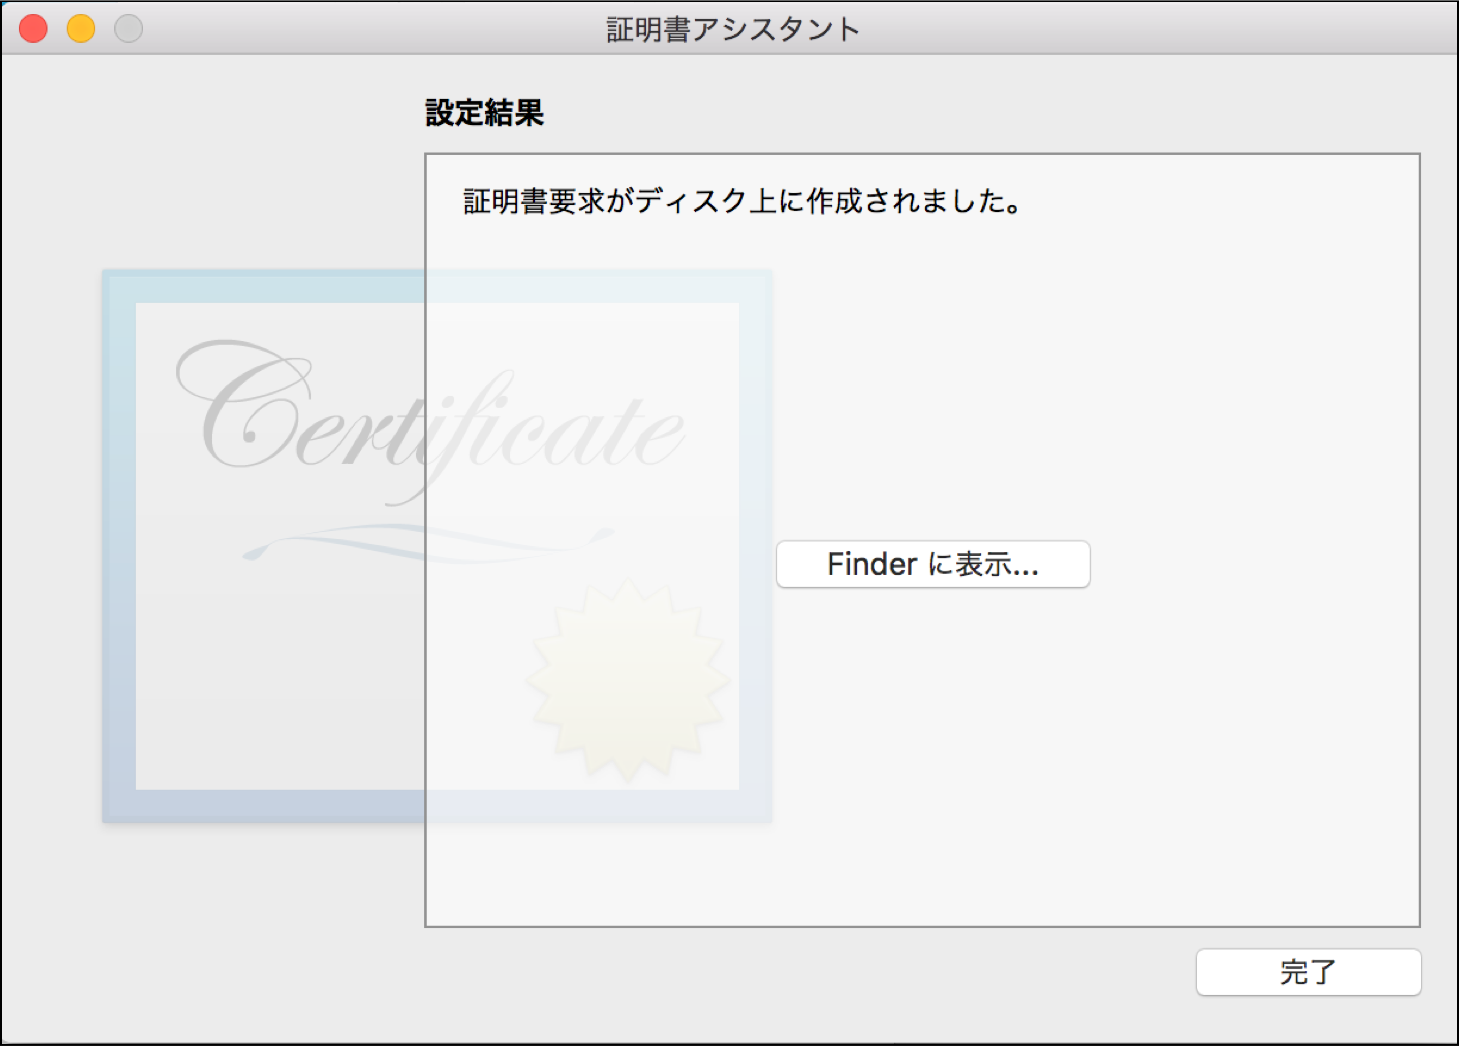
ユーザのメールアドレス、通称を編集し、ディスクに保存を選択。証明書関係は、日本語は一切使わないようにする。日本語を使うと、AWS SNSでうまく読み込めなくなる。
証明書要求を保存。ファイル名にも日本語は使わない。
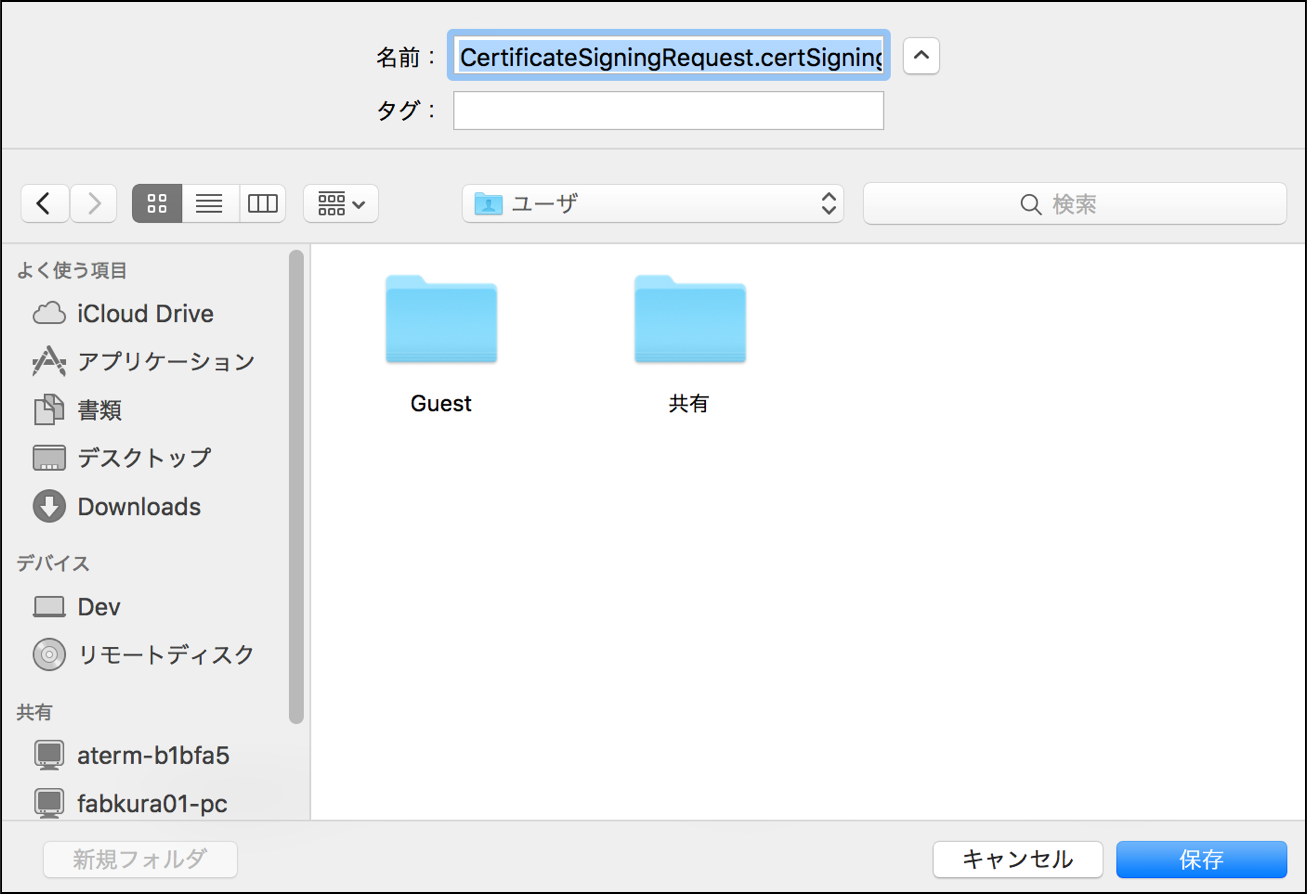
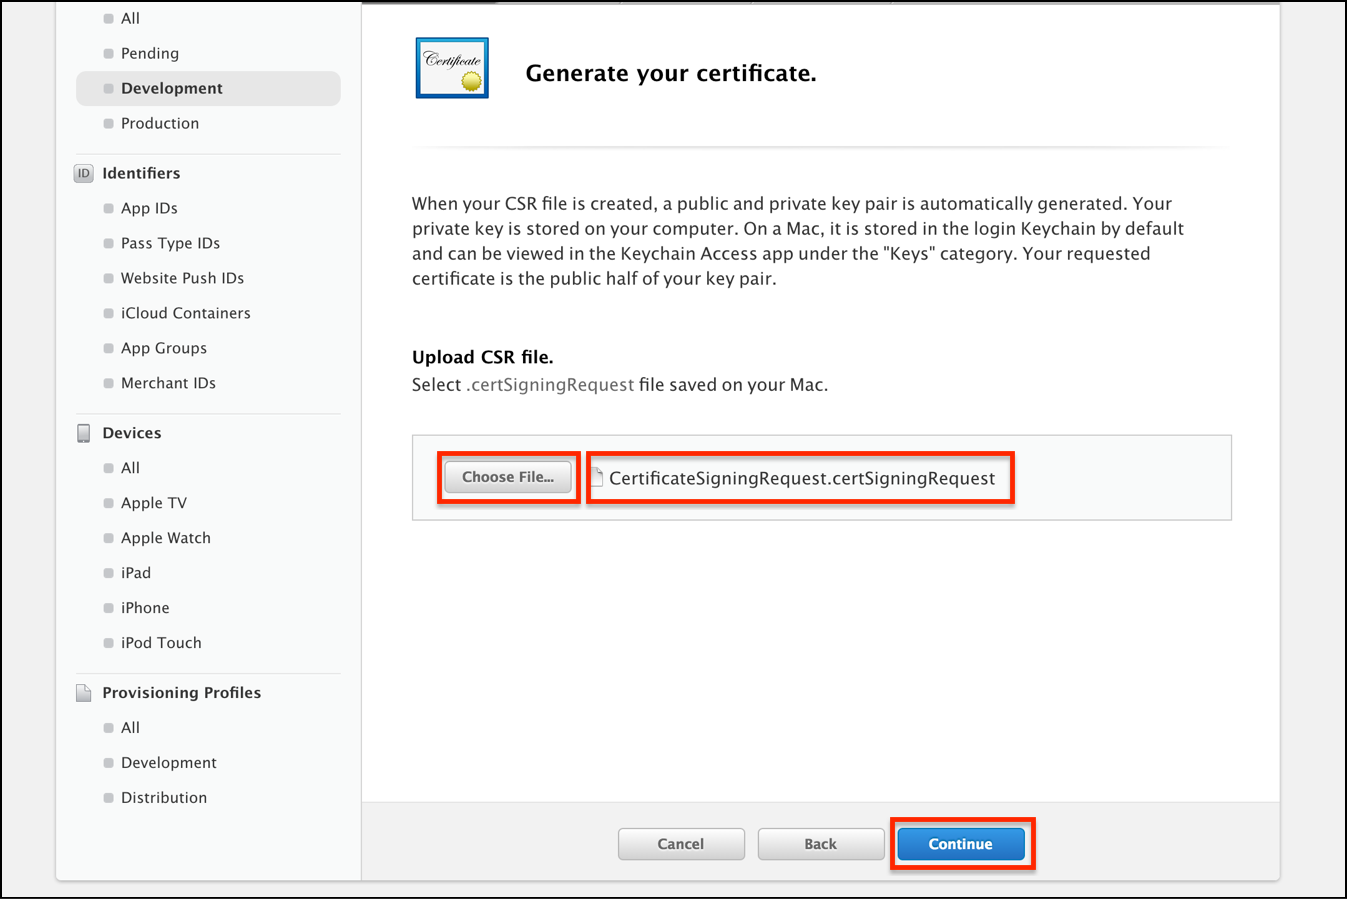
CertificateSigningRequest.certSigningRequest が生成されるので、再び、iOS Dev Centerに戻り、Upload CSR fileに、今作成したCSRを選択する。
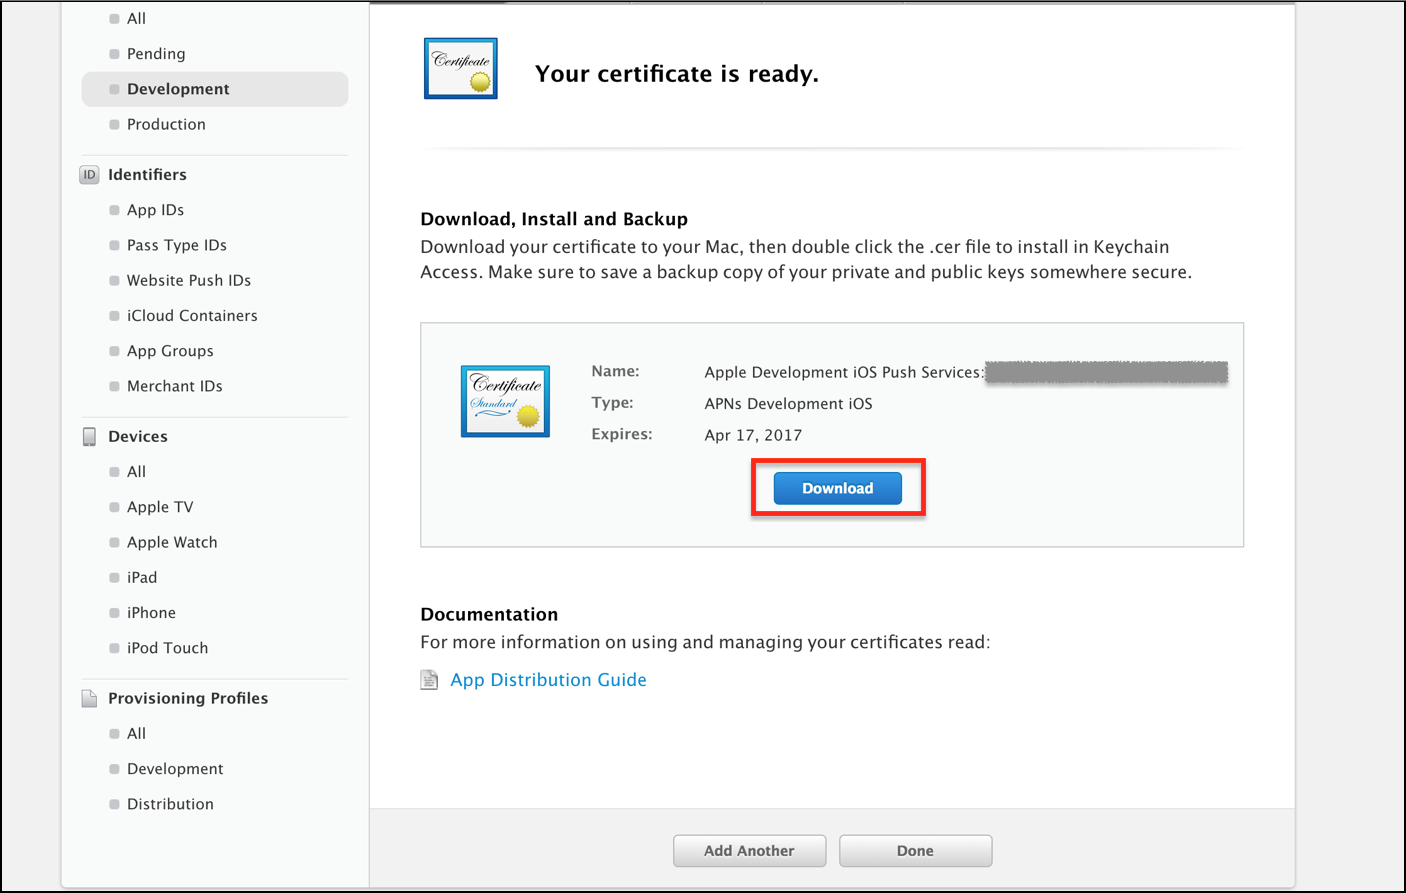
証明書が生成されるので、[Download]でローカルに保存し、ダブルクリックし[キーチェーンアクセス]に追加する。
[キーチェーンアクセス]に先ほど作成した証明書が追加される。
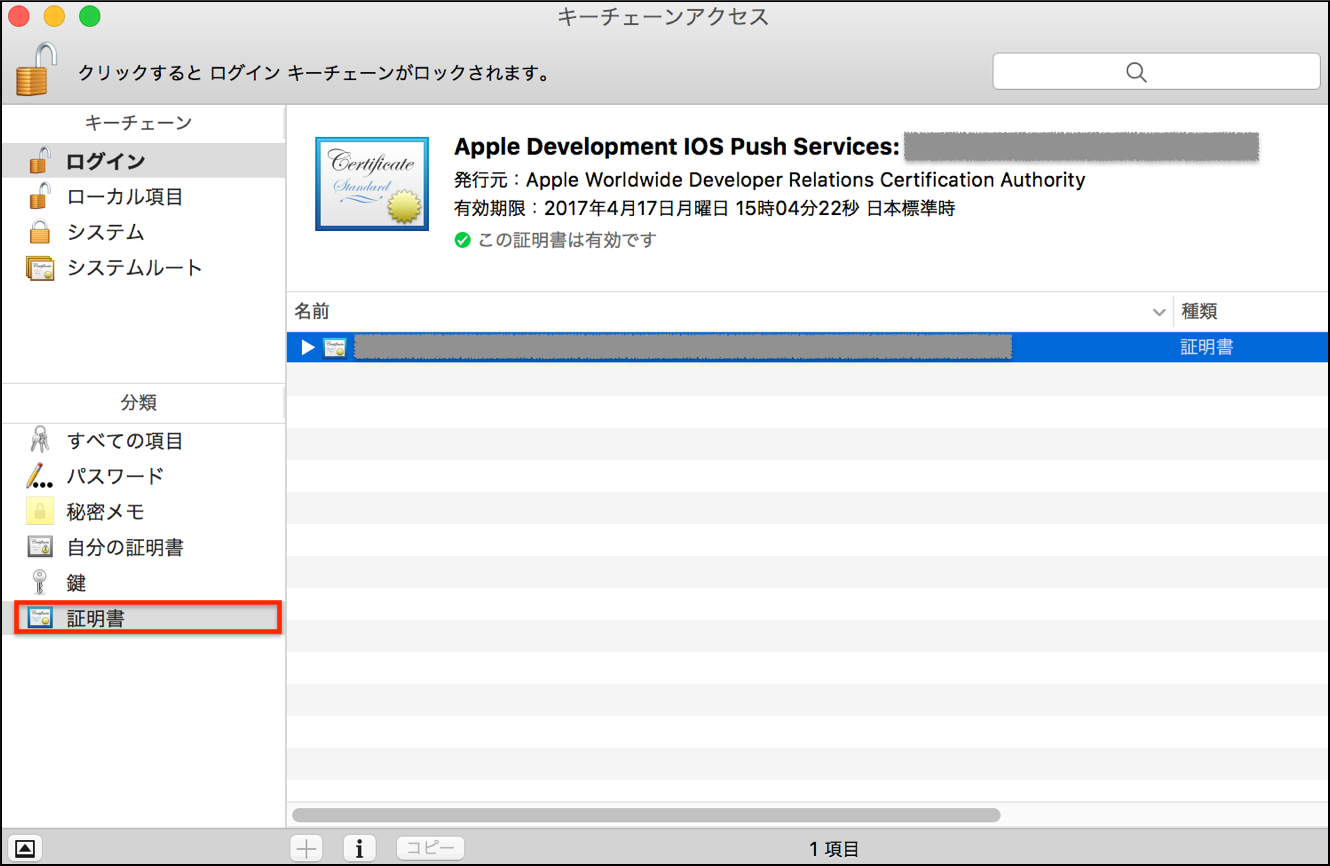
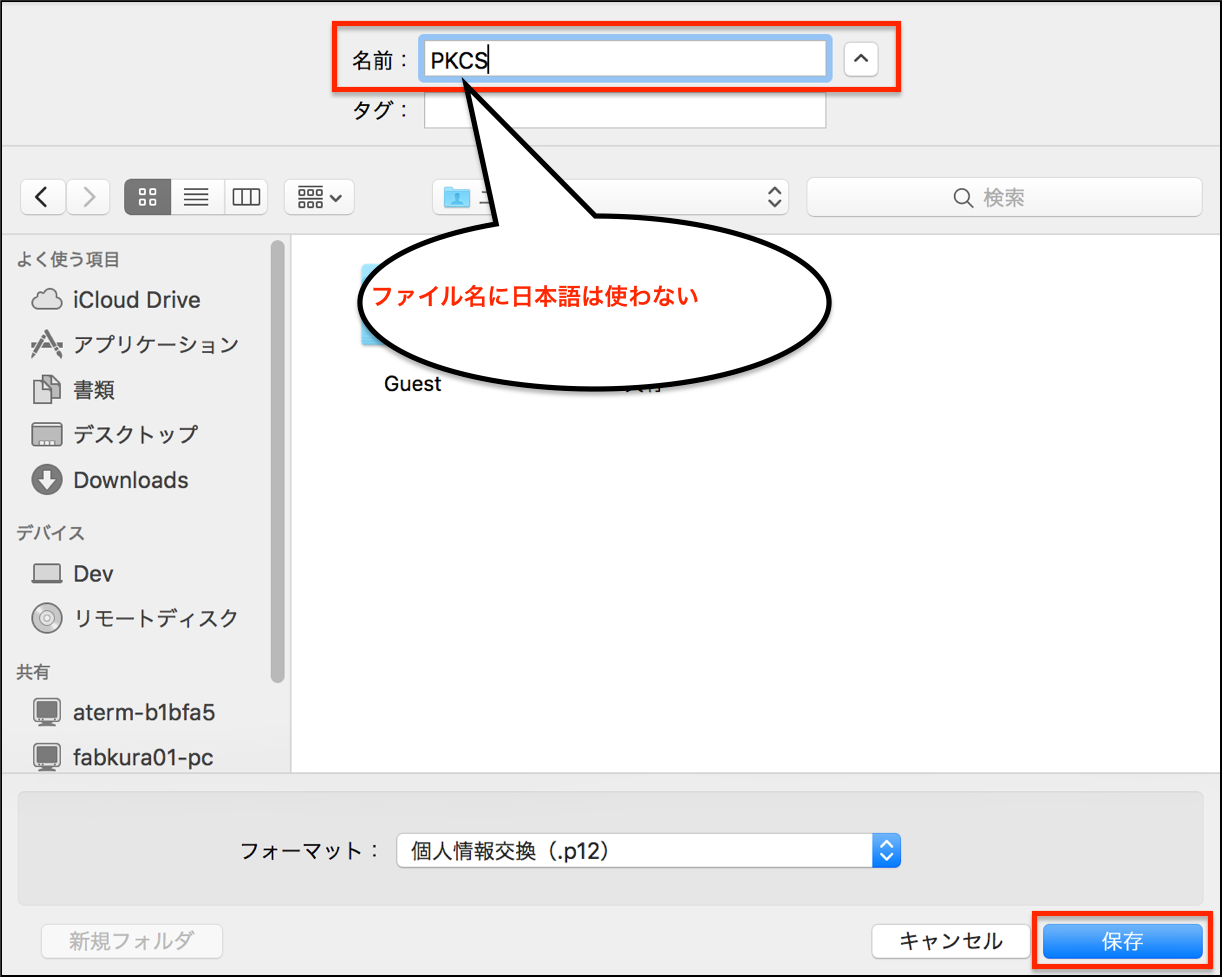
P12形式のファイルを生成書き出す。
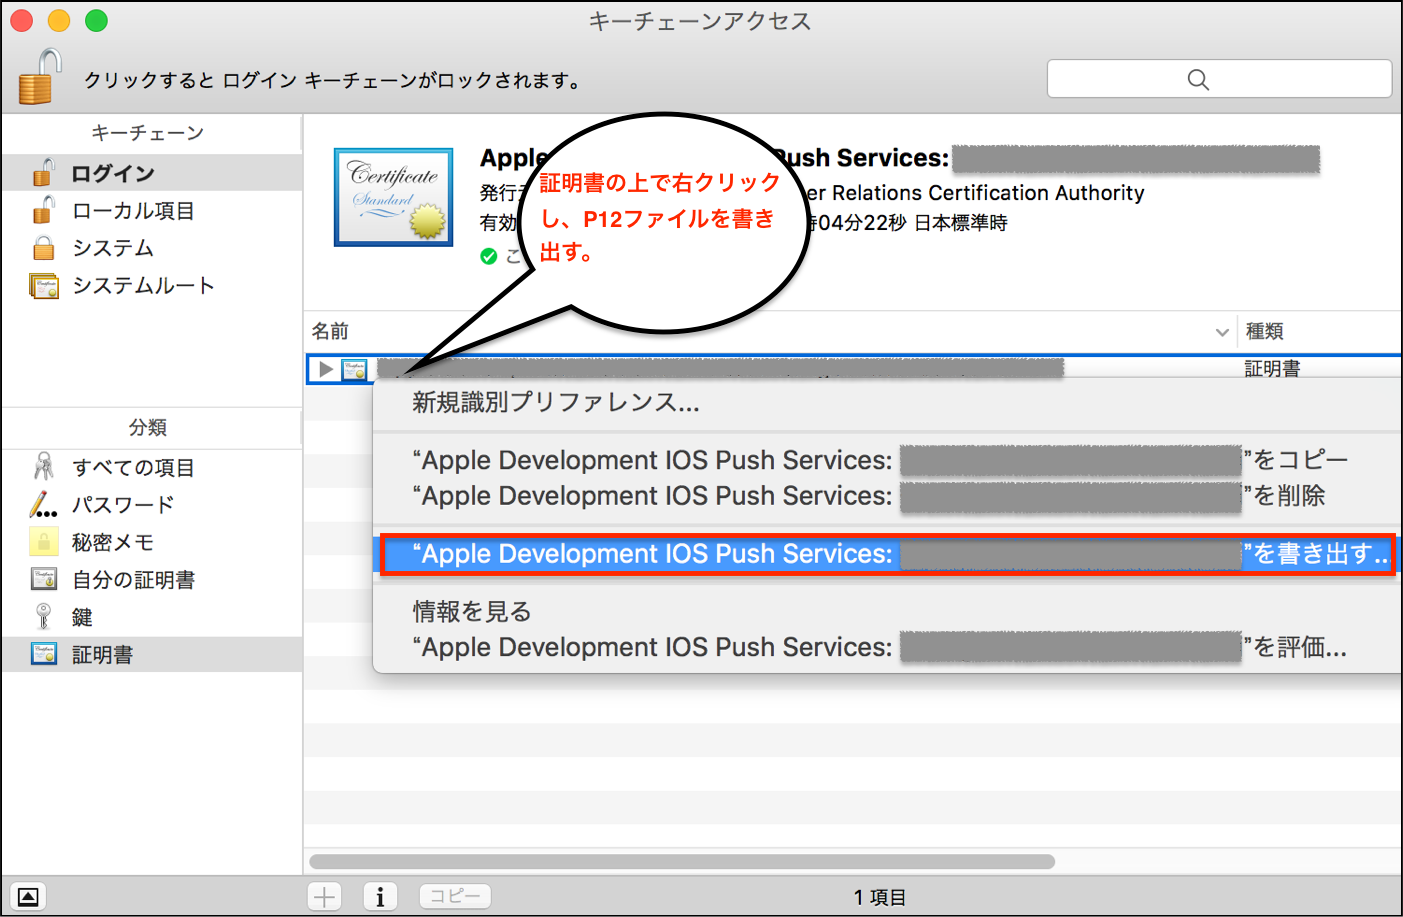
ファイル名には日本語は使わない。
AWS関連
AWS SNSの設定
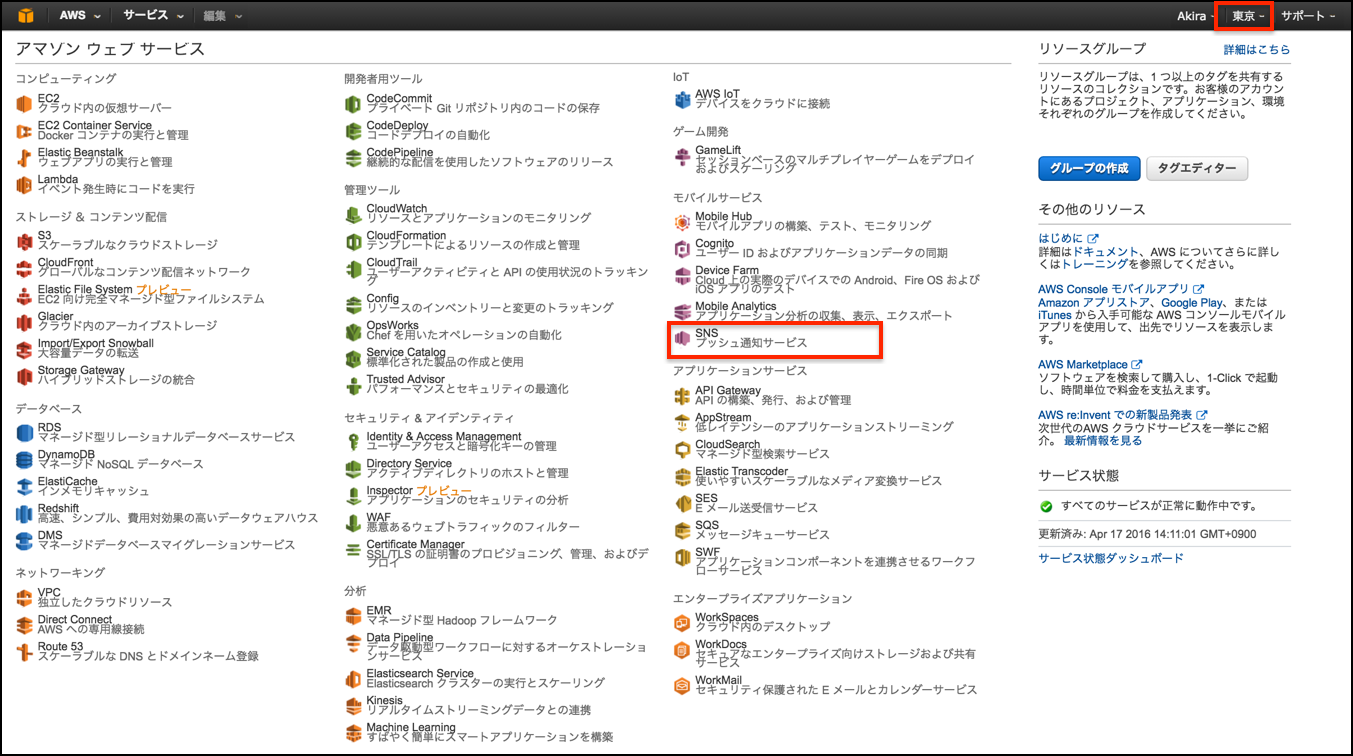
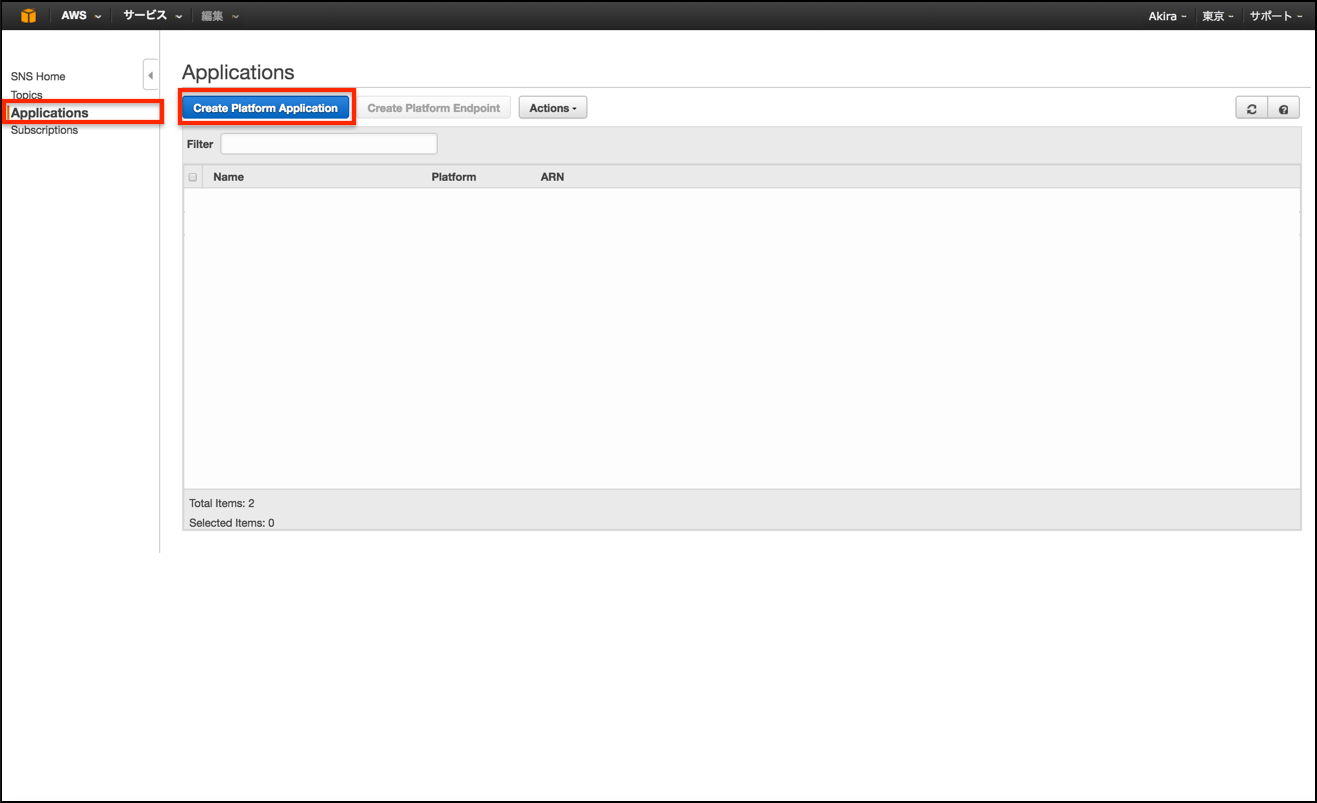
リージョンを確認し、SNSを選択する。
Application Platformを新規で作成するために、Applicationを選択。
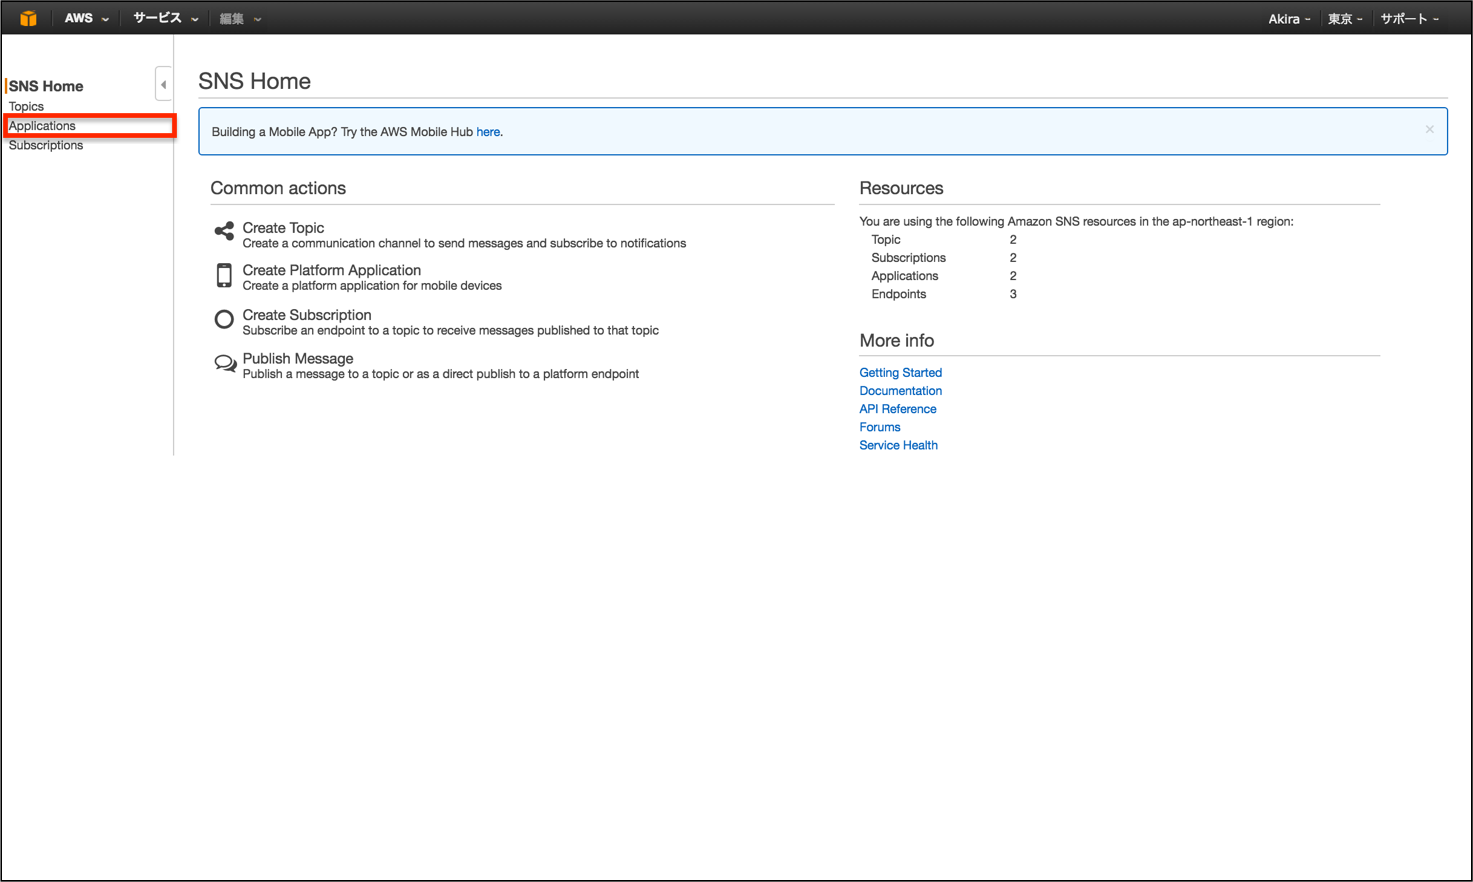
[Create Platform Application]でPlatform Applicationを作成する。
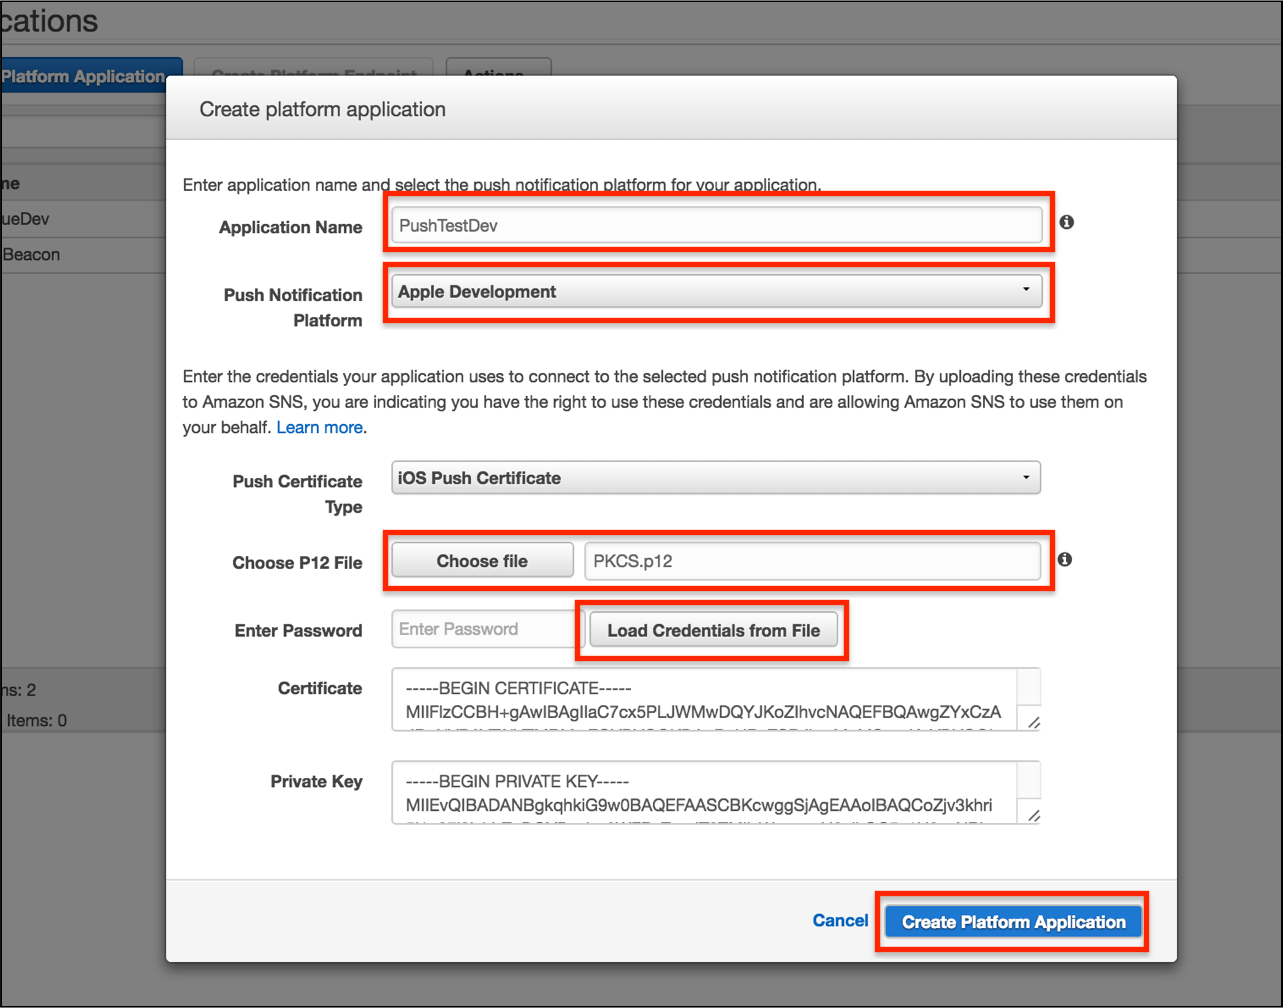
Application名は任意の名称、Push Notification Platformは、Apple Developmentを選択。Choose P12 Fileの箇所で先ほど作成したP12ファイルを選択し、Load Credentials from Fileを選択する。
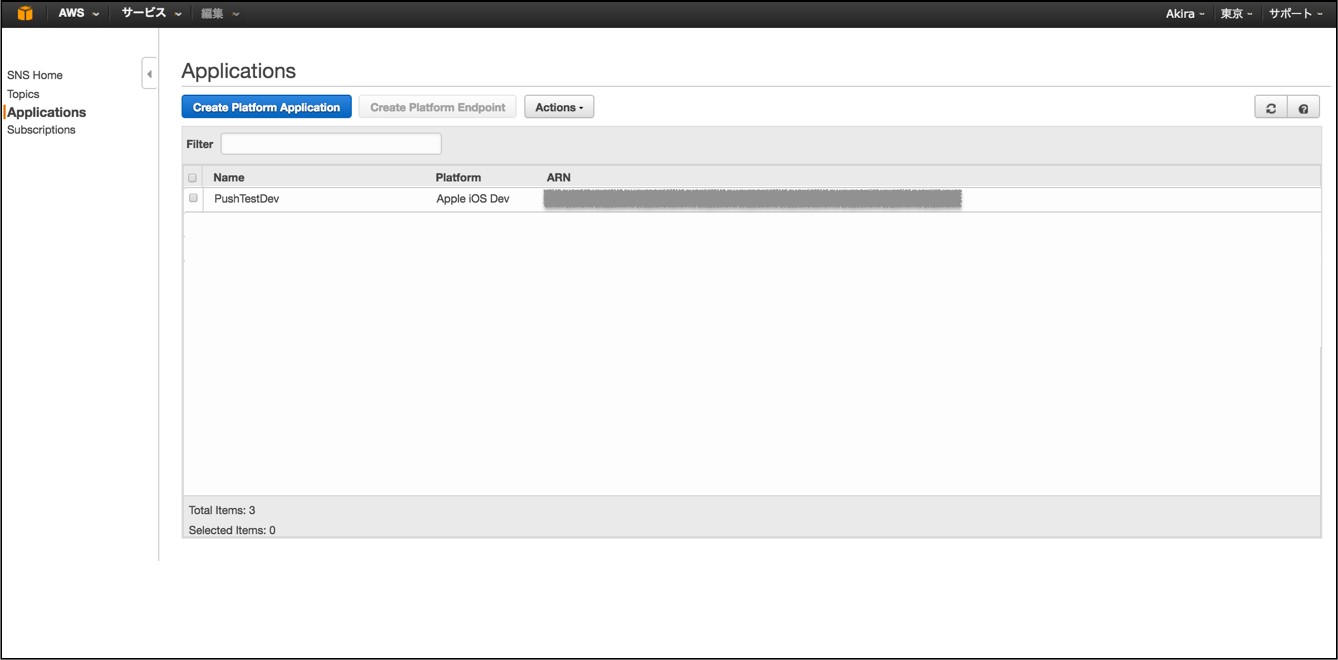
Application Platformが作成される。アクセスする際は、ARNをアプリ等で使用する。
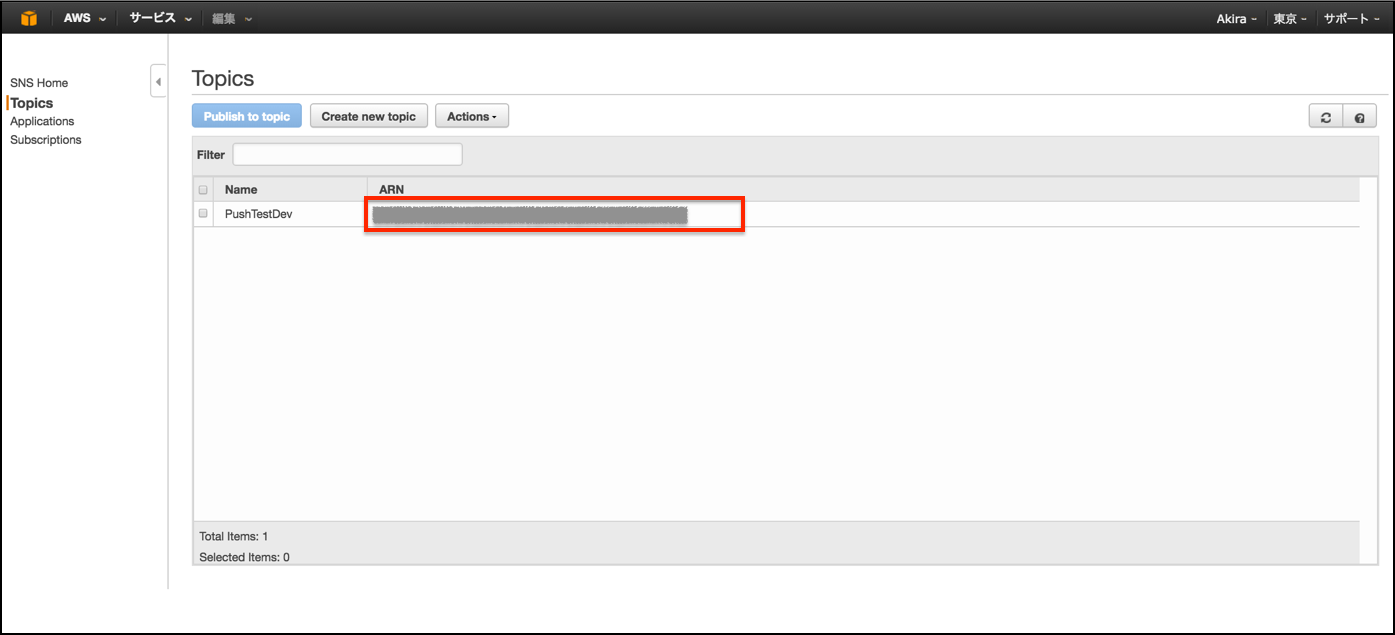
[Topics]をから、Create new topicを選択し、 Topicを作成する。
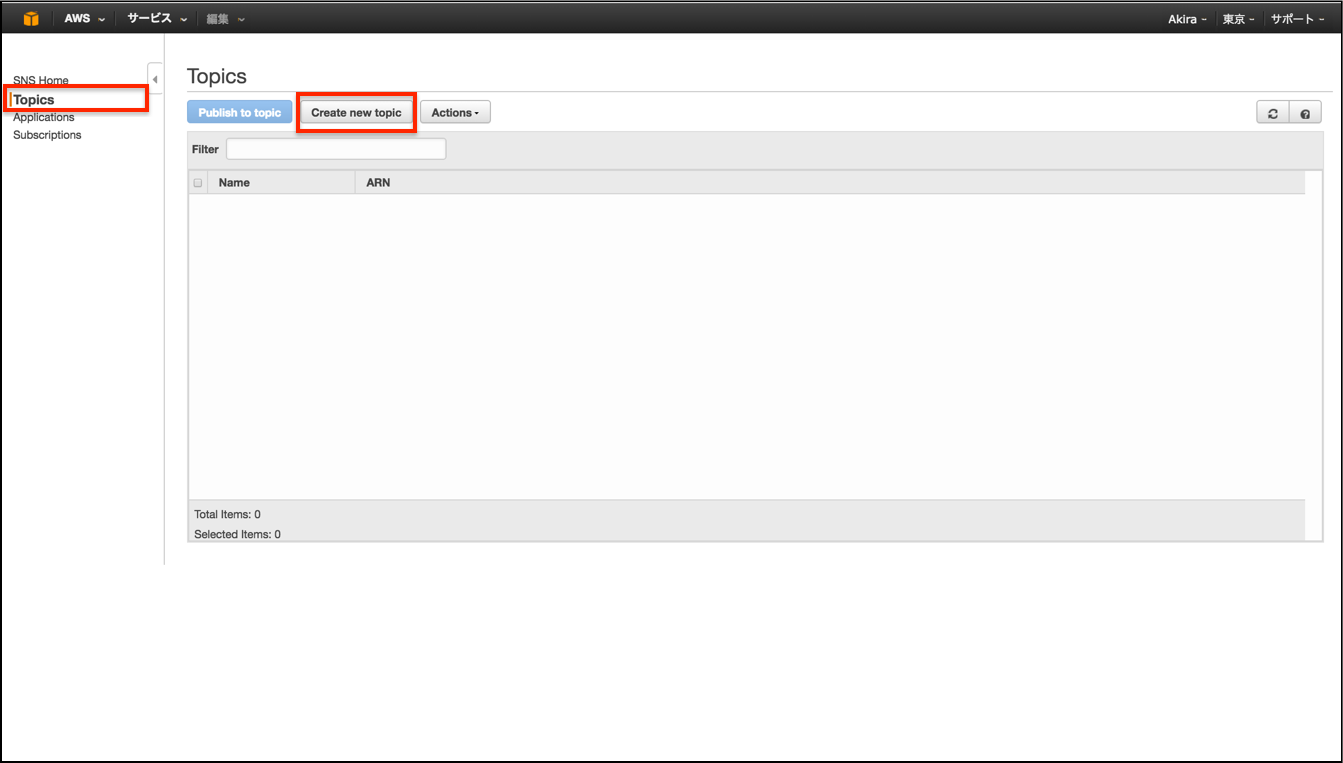
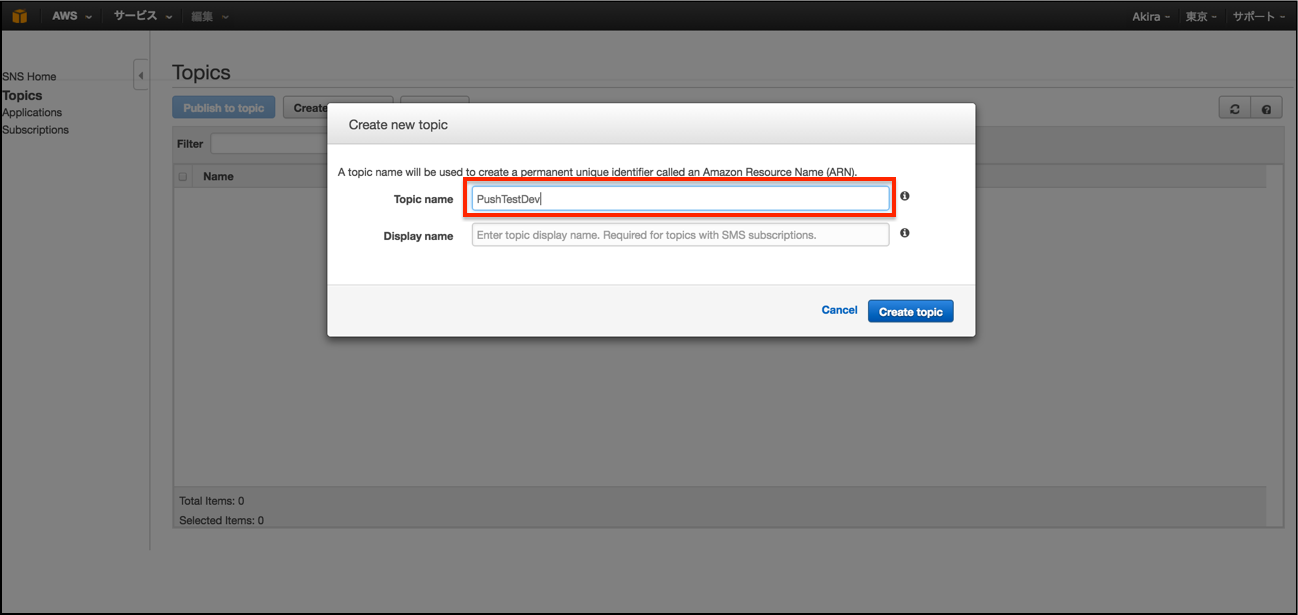
Topicで生成されたArnは、Topic Arnとして、Topicの呼び出しに使用する。
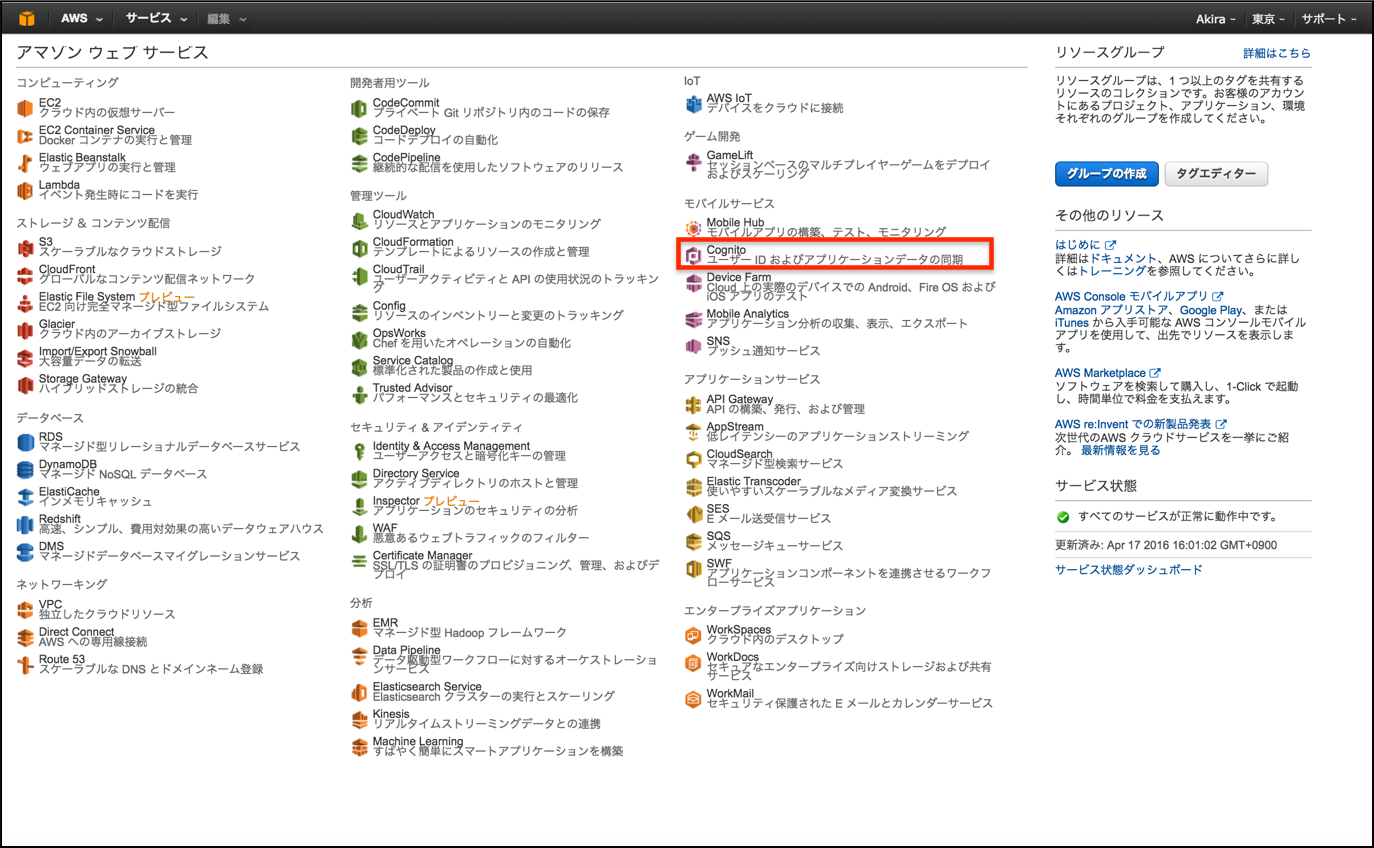
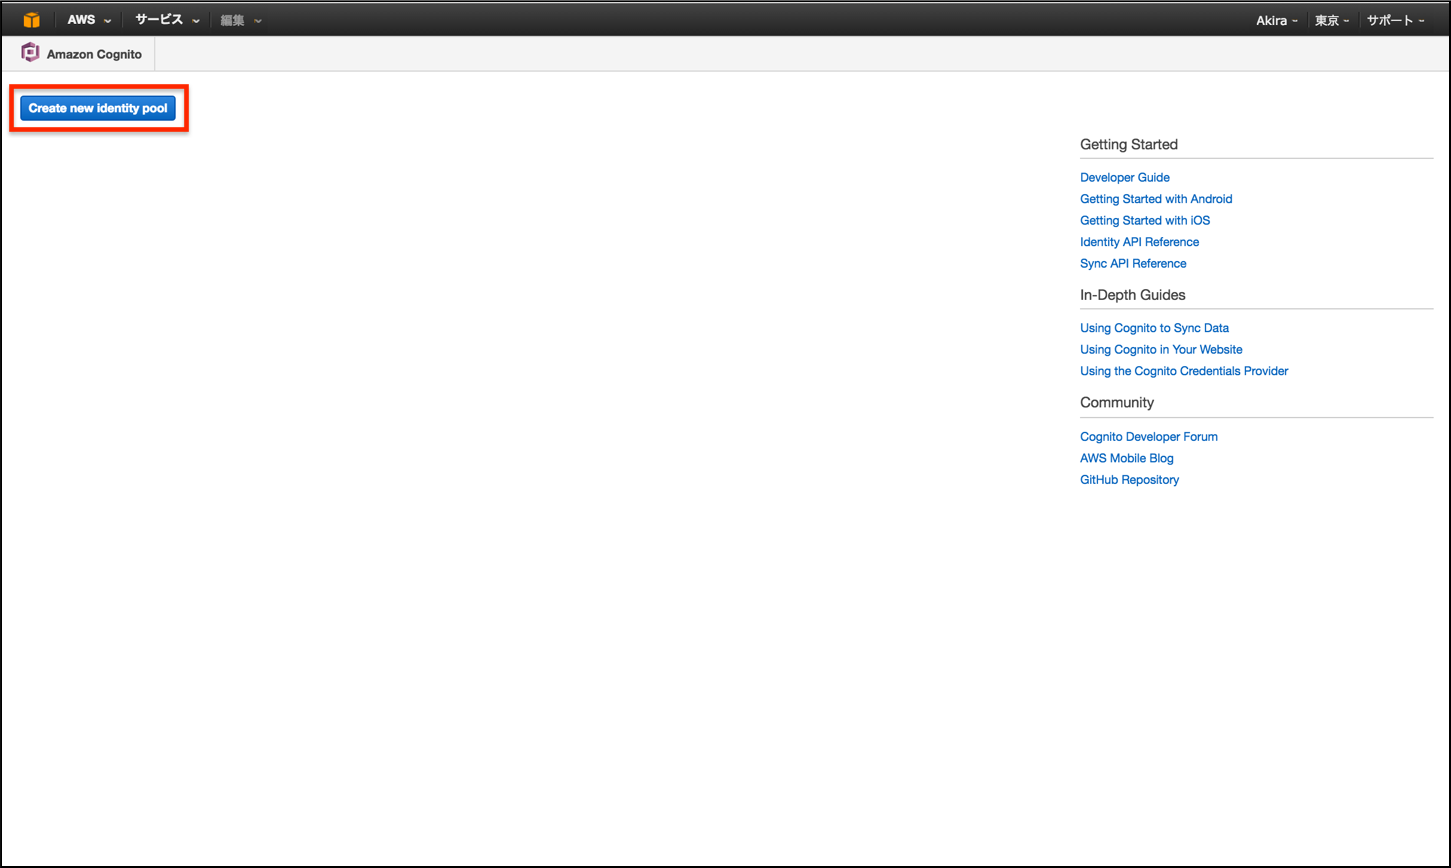
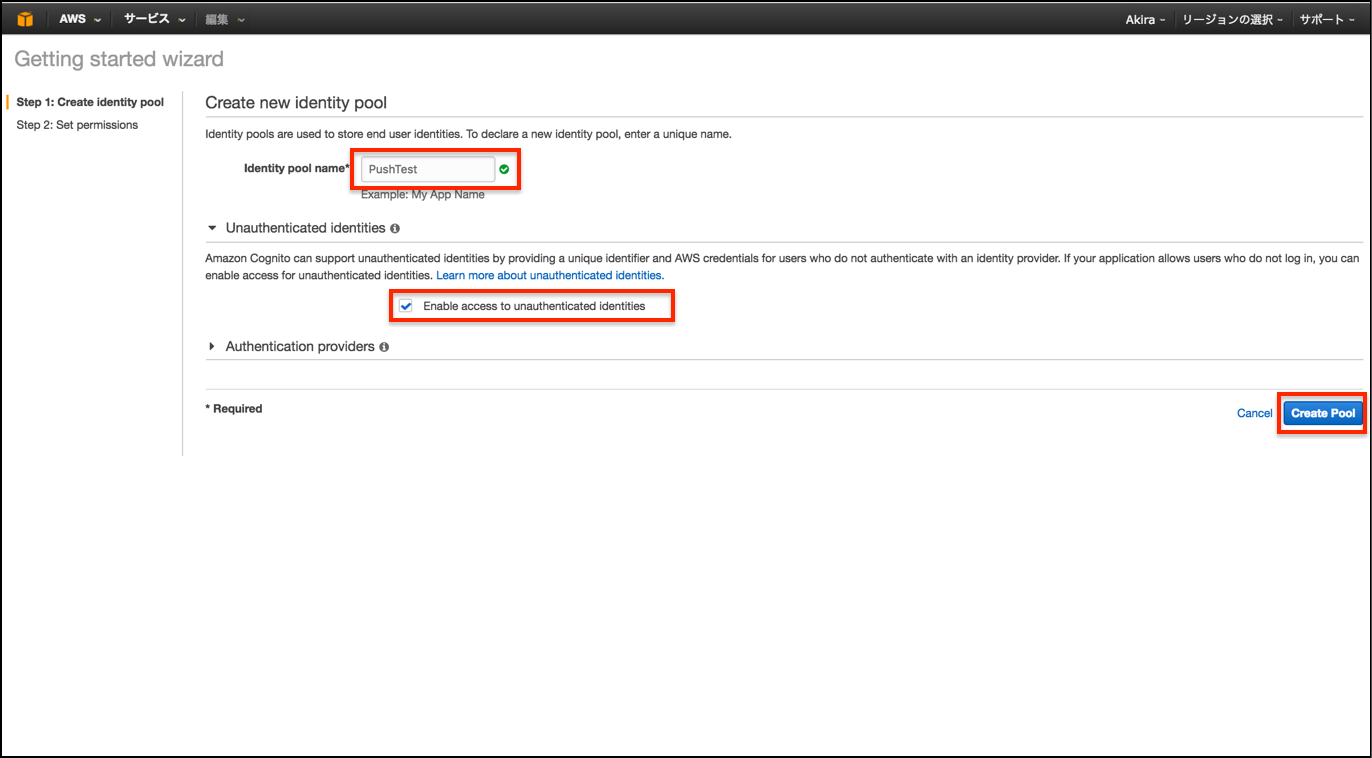
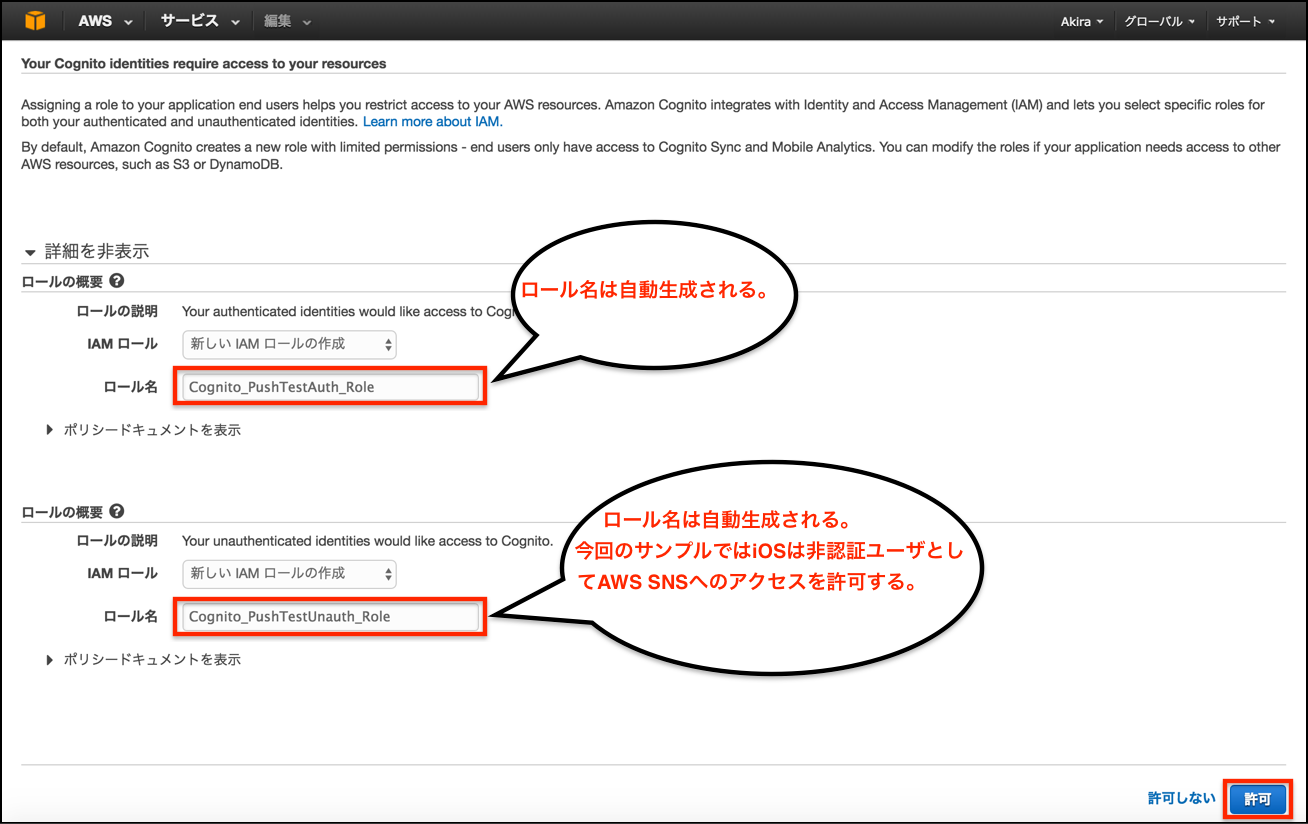
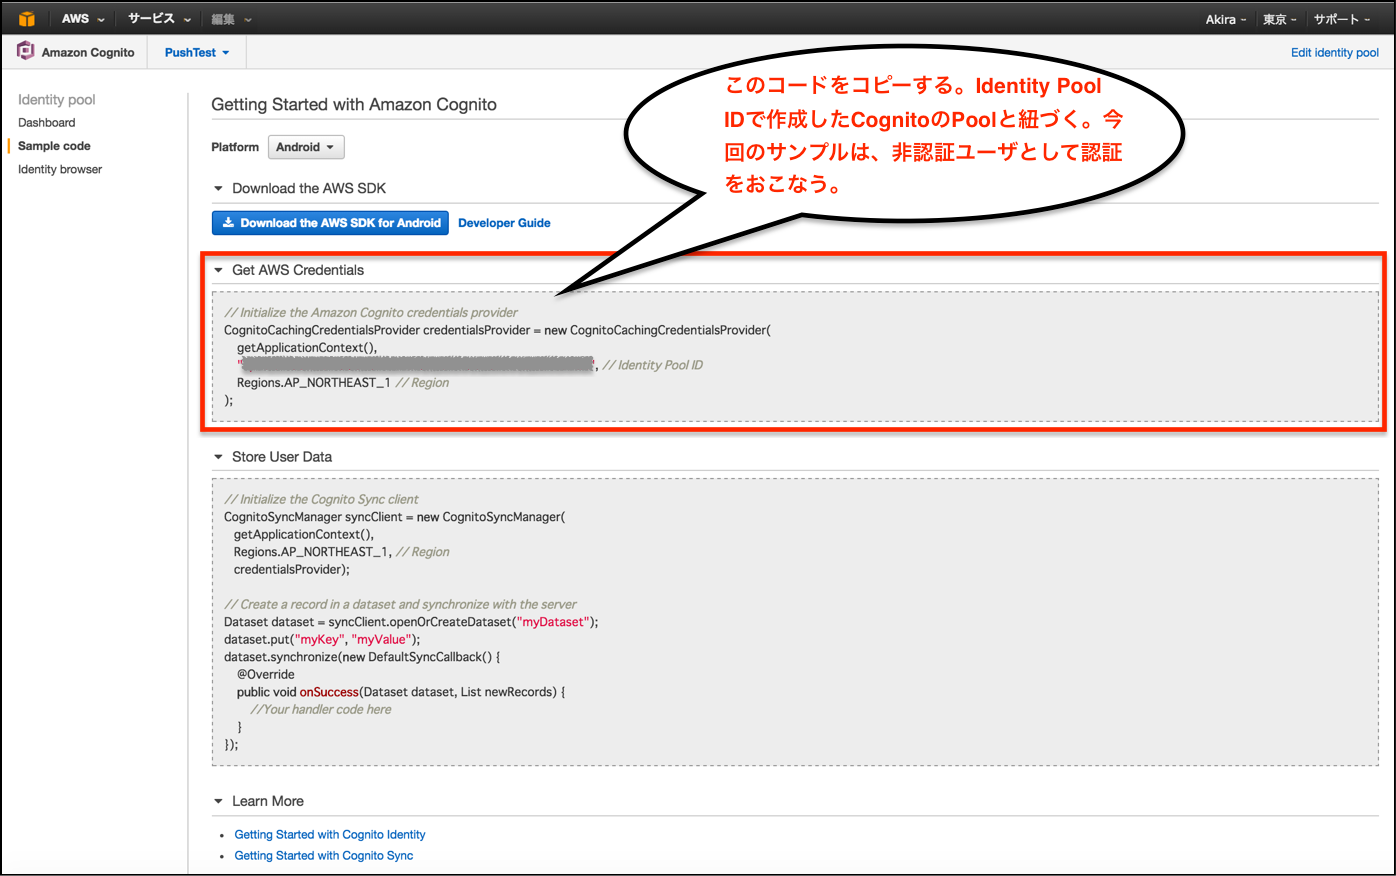
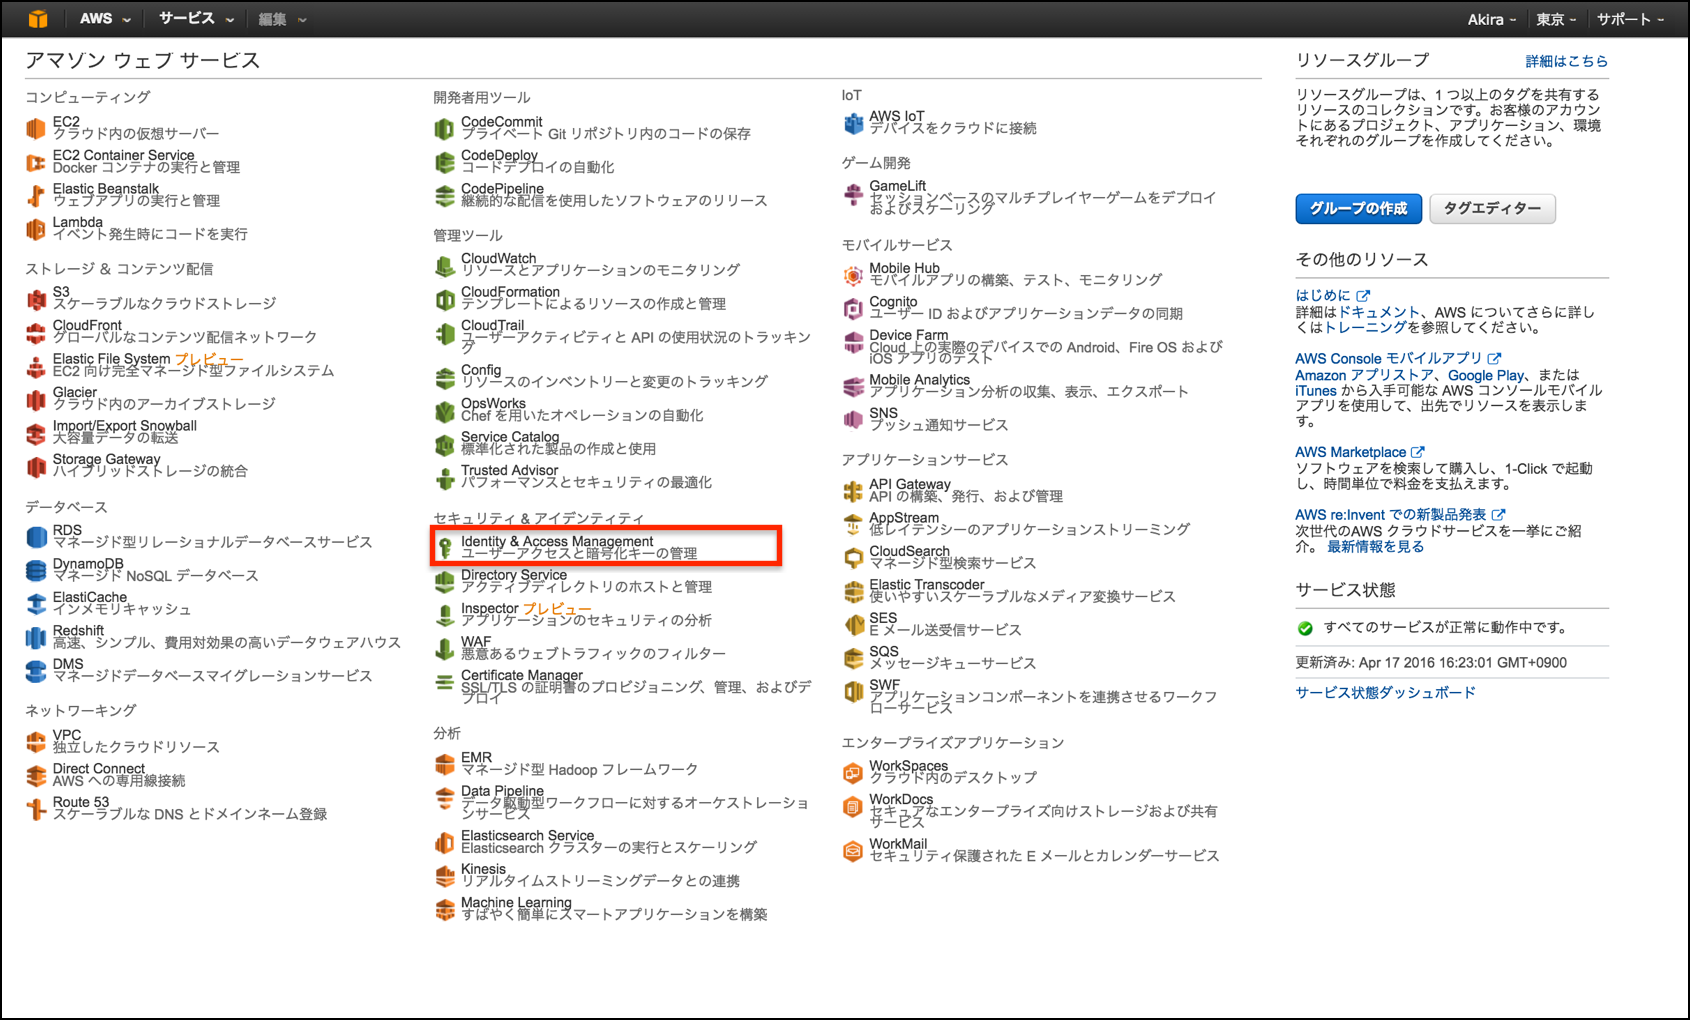
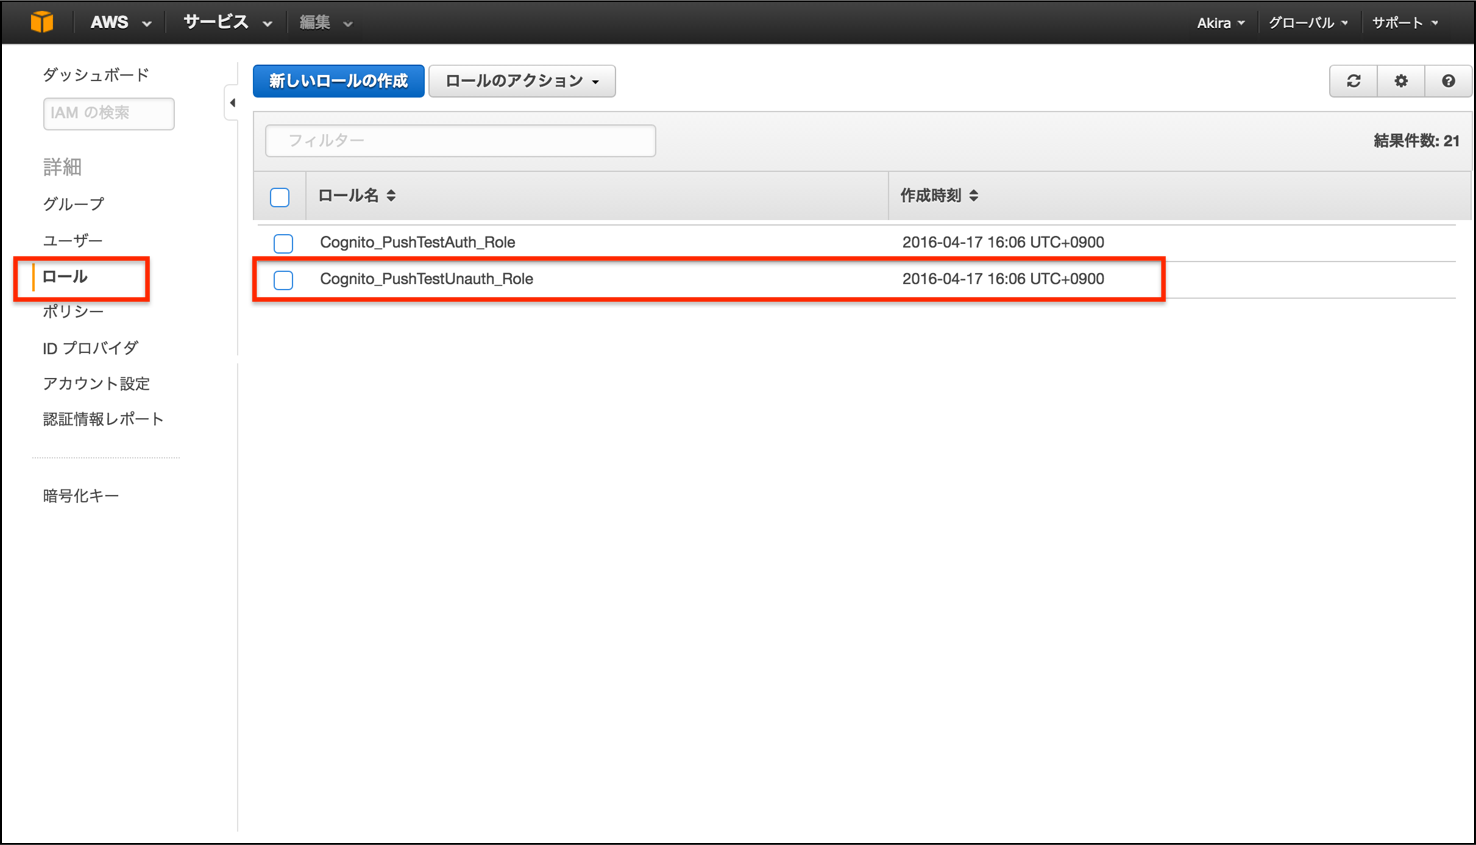
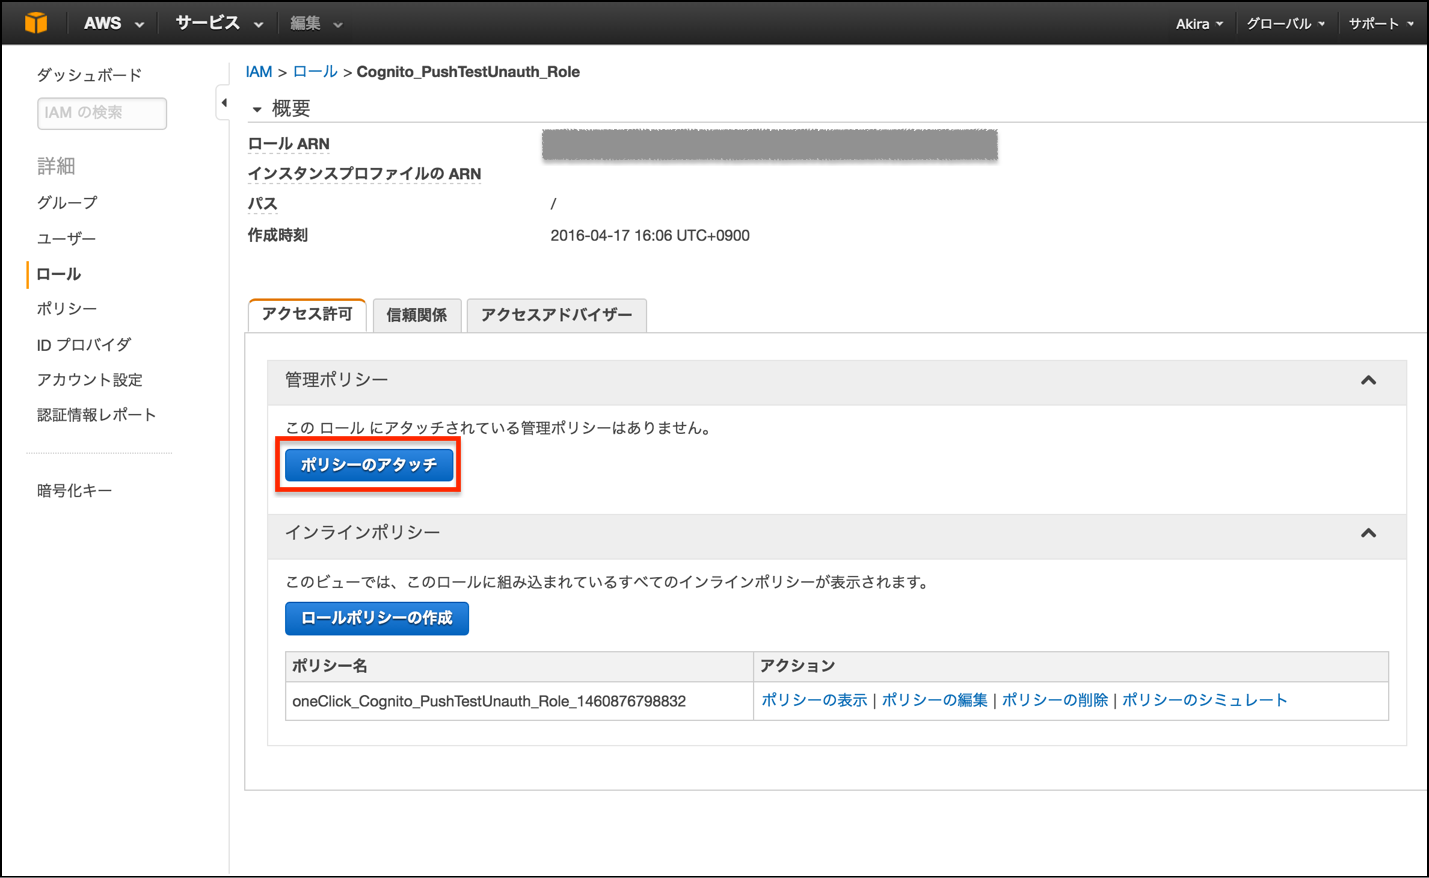
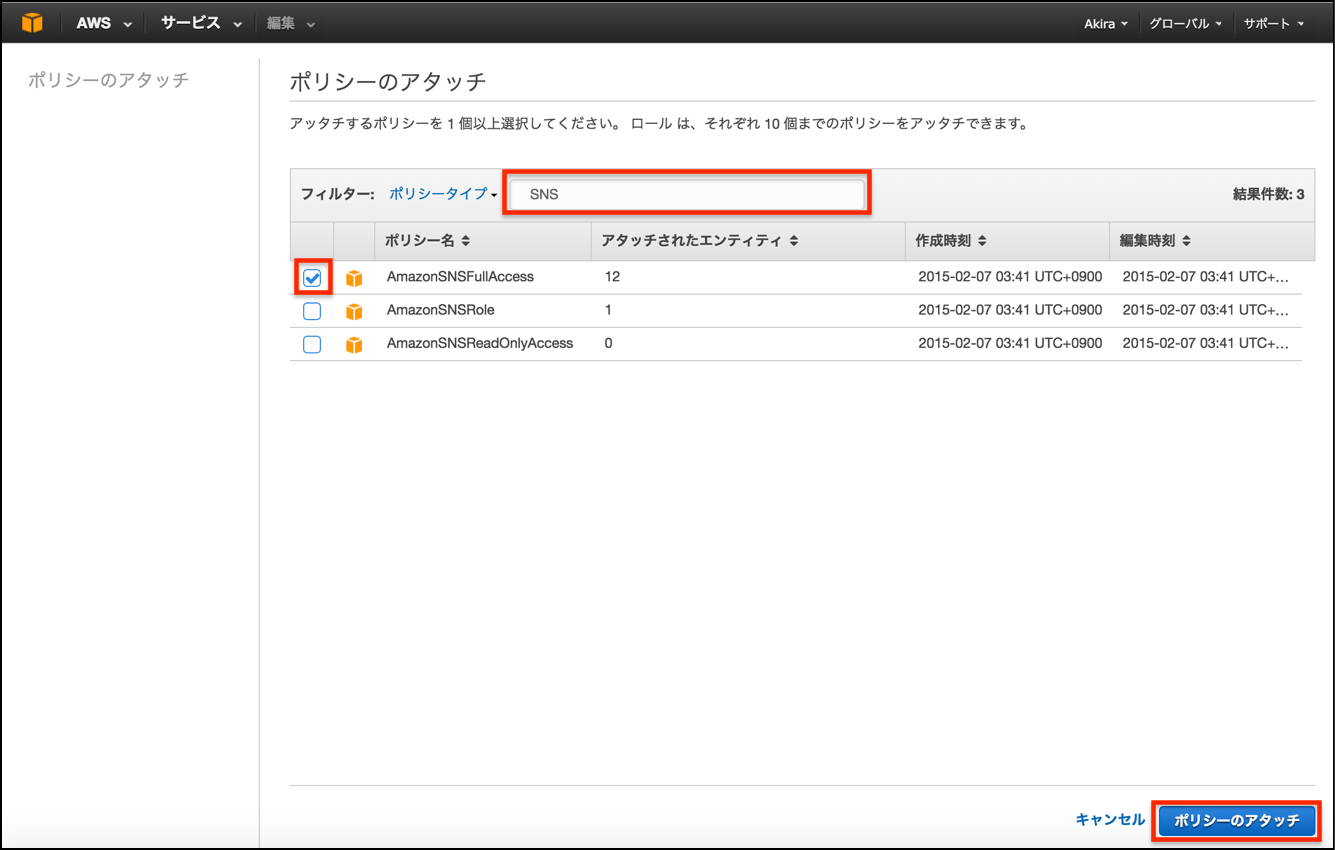
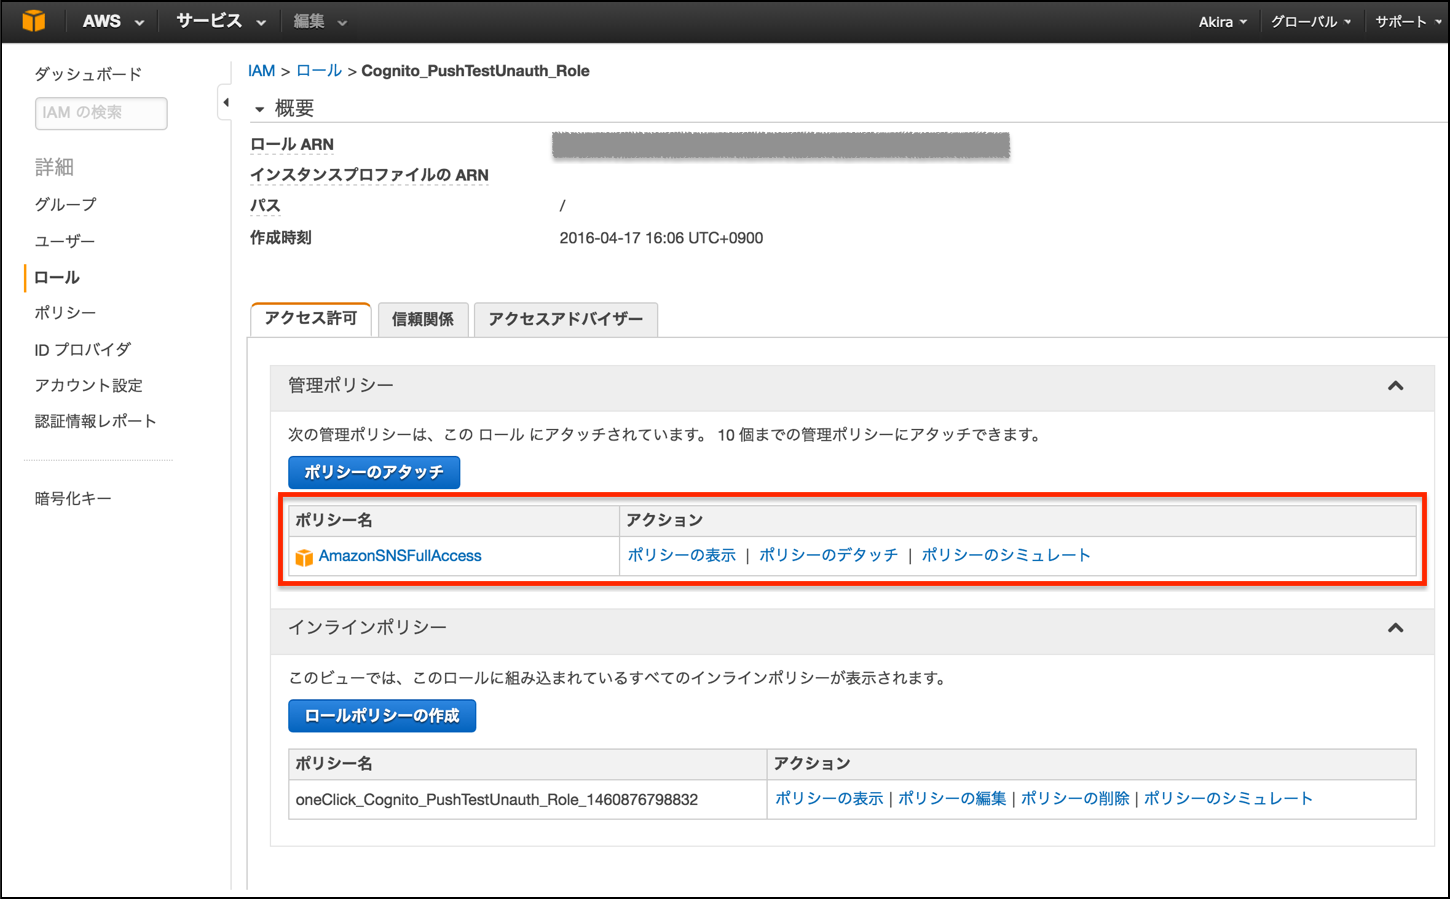
AWS Cognitoの設定
Swift
CocoaPod
pod 'AWSSNS'
pod 'AWSCognito'
$ pod install
importするライブラリ
import CoreData
import AWSCognito
import AWSSNS
UserからPushの許可をもらう
     func application(application: UIApplication, didFinishLaunchingWithOptions launchOptions: [NSObject: AnyObject]?) -> Bool {
        // Override point for customization after application launch.

        // ユーザからPush Notification通知の許可をもらう
        let types: UIUserNotificationType = [UIUserNotificationType.Badge, UIUserNotificationType.Alert, UIUserNotificationType.Sound]
        let settings: UIUserNotificationSettings = UIUserNotificationSettings( forTypes: types, categories: nil )

        application.registerUserNotificationSettings( settings )
        application.registerForRemoteNotifications()

        return true
    }
Tokenを登録
 // Device Token を取得
    func application( application: UIApplication, didRegisterForRemoteNotificationsWithDeviceToken deviceToken: NSData ) {

        // <>と" "(空白)を取る
        let characterSet: NSCharacterSet = NSCharacterSet( charactersInString: "<>" )

        // Device Tokeの取得
        let deviceTokenString: String = ( deviceToken.description as NSString )
            .stringByTrimmingCharactersInSet( characterSet )
            .stringByReplacingOccurrencesOfString( " ", withString: "" ) as String

        // Initialize the Amazon Cognito credentials provider
        let credentialsProvider = AWSCognitoCredentialsProvider(regionType:.APNortheast1,
                                                                identityPoolId:"Identity Pool IDを記載")
        let configuration = AWSServiceConfiguration(region:.APNortheast1, credentialsProvider:credentialsProvider)
        AWSServiceManager.defaultServiceManager().defaultServiceConfiguration = configuration

        let sns = AWSSNS.defaultSNS()
        let request = AWSSNSCreatePlatformEndpointInput()
        request.token = deviceTokenString
        request.platformApplicationArn = "Application Arnを記載"
        request.customUserData = "Memo"

        sns.createPlatformEndpoint(request).continueWithExecutor(AWSExecutor.mainThreadExecutor(), withBlock: { (task: AWSTask!) -> AnyObject! in
            if task.error != nil {
                print("Error: \(task.error)")
            } else {
                let result = task.result as! AWSSNSCreateEndpointResponse
                let subscribeInput = AWSSNSSubscribeInput()
                subscribeInput.topicArn = "Topic Arnを記載"
                subscribeInput.endpoint = result.endpointArn
                subscribeInput.protocols = "Application"
                sns.subscribe(subscribeInput)

                self.saveEndpointArn(result.endpointArn)
            }
            return nil
        })
}
Pushを受信
// プッシュを受け取ったとき
    func application(application: UIApplication, didReceiveRemoteNotification userInfo: [NSObject : AnyObject], fetchCompletionHandler completionHandler: (UIBackgroundFetchResult) -> Void) {
        log.debug("UserInfo:\(userInfo)")
        let appState: UIApplicationState = application.applicationState;
        var appStateString: String = "";
        if (appState == .Active) {
            appStateString = "active";
        } else if (appState == .Inactive) {
            appStateString = "inactive";
        } else if (appState == .Background) {
            appStateString = "background";
        }

        let notifiAlert = UIAlertView()
        if let aps = userInfo["aps"] as? NSDictionary {
            let msg: NSString = aps["alert"] as! NSString
            notifiAlert.title = "PushTest"
            notifiAlert.message = msg
            notifiAlert.addButtonWithTitle("OK")
            notifiAlert.show()
        }
    }
Pushのフォーマット
{
"APNS_SANDBOX":"{\"aps\":{\"alert\":\"test\"}}"
}
{
"APNS_SANDBOX":"{\"aps\":{\"content-available\":\"1\"}}"
}
Remote Push Payload
The Remote Notification Payload
https://developer.apple.com/library/ios/documentation/NetworkingInternet/Conceptual/RemoteNotificationsPG/Chapters/TheNotificationPayload.html#//apple_ref/doc/uid/TP40008194-CH107-SW1