前提
WordPress をインストールするにあたり、MariaDB と PHP をインストールします。
前回の記事で MariaDB のインストールを完了したので、この記事では、PHP のインストールを行います。
環境
Ubuntu 22.04
Nginx 1.22.1
MariaDB 10.6.11
PHP 8.1
設定
WordPress に必要な PHP をインストールしていく。記事によってインストールしているモジュールがちがってよくわからない。まずは Ubuntu にインストールできる PHP のパッケージを確認してみる。
$ sudo apt-cache search php
めちゃめちゃ出力されるだけでよくわからない。いろいろ読み漁ると、WordPress の本家サイトを確認するとよいとわかる。そりゃそうだ。
参考)
https://make.wordpress.org/hosting/handbook/server-environment/#php-extensions
とりあえず、PHP をインストールしよか。
注:この記事を最後まで読むとわかりますが、安易にphpをインストールしてはいけません。
$ sudo apt install -y php
バージョン確認しておく。
$ php -v
PHP 8.1.13 (cli) (built: Nov 26 2022 14:07:55) (NTS)
Copyright (c) The PHP Group
Zend Engine v4.1.13, Copyright (c) Zend Technologies
    with Zend OPcache v8.1.13, Copyright (c), by Zend Technologies
ここで php の中身をみておく。
$ sudo ls /etc/php/8.1/mods-available/
calendar.ini  fileinfo.ini  opcache.ini  readline.ini  sysvsem.ini
ctype.ini     ftp.ini       pdo.ini      shmop.ini     sysvshm.ini
exif.ini      gettext.ini   phar.ini     sockets.ini   tokenizer.ini
ffi.ini       iconv.ini     posix.ini    sysvmsg.ini
ここから試行錯誤
参考URL を熟読。Required となってる php-jsonとphp-mysqlをインストールしてみる。
$ sudo apt install -y php-json php-mysql
次に highly recommended なものを入れていく。一行でドン。
$ sudo apt install -y php-curl php-dom php-exif php-fileinfo php-hash php-imagick php-mbstring php-openssl php-pcre php-xml php-zip
そしたら、エラーメッセージ返ってきた。
$ sudo apt install -y php-curl php-dom php-exif php-fileinfo php-hash php-imagick php-mbstring php-openssl php-pcre php-xml php-zip
Reading package lists... Done
Building dependency tree... Done
Reading state information... Done
Package php-exif is a virtual package provided by:
  php8.2-common 8.2.0~rc7-1+ubuntu22.04.1+deb.sury.org+1
  php8.1-common 8.1.13-1+ubuntu22.04.1+deb.sury.org+1
  php8.0-common 1:8.0.25-1+ubuntu22.04.1+deb.sury.org+1
  php7.4-common 1:7.4.33-1+ubuntu22.04.1+deb.sury.org+1
  php7.3-common 7.3.33-8+ubuntu22.04.1+deb.sury.org+1
  php7.2-common 7.2.34-36+ubuntu22.04.1+deb.sury.org+1
  php7.1-common 7.1.33-50+ubuntu22.04.1+deb.sury.org+2
  php7.0-common 7.0.33-63+ubuntu22.04.1+deb.sury.org+2
  php5.6-common 5.6.40-63+ubuntu22.04.1+deb.sury.org+2
You should explicitly select one to install.

Package php-fileinfo is a virtual package provided by:
  php8.2-common 8.2.0~rc7-1+ubuntu22.04.1+deb.sury.org+1
  php8.1-common 8.1.13-1+ubuntu22.04.1+deb.sury.org+1
  php8.0-common 1:8.0.25-1+ubuntu22.04.1+deb.sury.org+1
  php7.4-common 1:7.4.33-1+ubuntu22.04.1+deb.sury.org+1
  php7.3-common 7.3.33-8+ubuntu22.04.1+deb.sury.org+1
  php7.2-common 7.2.34-36+ubuntu22.04.1+deb.sury.org+1
  php7.1-common 7.1.33-50+ubuntu22.04.1+deb.sury.org+2
  php7.0-common 7.0.33-63+ubuntu22.04.1+deb.sury.org+2
  php5.6-common 5.6.40-63+ubuntu22.04.1+deb.sury.org+2
You should explicitly select one to install.

Package php-dom is a virtual package provided by:
  php8.2-xml 8.2.0~rc7-1+ubuntu22.04.1+deb.sury.org+1
  php8.1-xml 8.1.13-1+ubuntu22.04.1+deb.sury.org+1
  php8.0-xml 1:8.0.25-1+ubuntu22.04.1+deb.sury.org+1
  php7.4-xml 1:7.4.33-1+ubuntu22.04.1+deb.sury.org+1
  php7.3-xml 7.3.33-8+ubuntu22.04.1+deb.sury.org+1
  php7.2-xml 7.2.34-36+ubuntu22.04.1+deb.sury.org+1
  php7.1-xml 7.1.33-50+ubuntu22.04.1+deb.sury.org+2
  php7.0-xml 7.0.33-63+ubuntu22.04.1+deb.sury.org+2
  php5.6-xml 5.6.40-63+ubuntu22.04.1+deb.sury.org+2
You should explicitly select one to install.

E: Package 'php-dom' has no installation candidate
E: Package 'php-exif' has no installation candidate
E: Package 'php-fileinfo' has no installation candidate
E: Unable to locate package php-hash
E: Unable to locate package php-openssl
E: Unable to locate package php-pcre
php-dom,php-exif,php-fileinfoは個別に指定しなあかん感じかな?php-domはphp8.1-xmlに含まれてるっぽいし、php-exifとphp-fileinfoはphp8.1-commmonに集約されてそう。というわけで、
$ sudo apt install -y php8.1-xml php8.1-common
なんかうまくいった。出力を見てると、php8.1-xmlのセットアップでdom,simplexml,xml,xmlreader,xmlwriter,xslが一緒に入ってくる感じ。
php-hash,php-openssl,php-pcreはどうしようか迷ったけど、よくわからないので、一旦放置。モジュールはこんなに増えました!
$ sudo ls /etc/php/8.1/mods-available/
calendar.ini  fileinfo.ini  mysqlnd.ini    posix.ini      sysvmsg.ini    xmlreader.ini
ctype.ini     ftp.ini       opcache.ini    readline.ini   sysvsem.ini    xmlwriter.ini
dom.ini       gettext.ini   pdo.ini        shmop.ini      sysvshm.ini    xsl.ini
exif.ini      iconv.ini     pdo_mysql.ini  simplexml.ini  tokenizer.ini
ffi.ini       mysqli.ini    phar.ini       sockets.ini    xml.ini
php-fpmもインストール。高負荷サイトで便利な追加機能を用意してくれているらしいので WAF の検証環境として構築しているレベルならいらないのかな?と思ったけど、そう単純な話ではないらしい。特に、今回のように Apache ではなく、Nginx を利用する時は、PHP を実行するために php-fim は必須らしい。というわけで、ドン!
$ sudo apt install -y php-fpm
Nginx で PHP を利用できるようにする
PHP 設定ファイルphp.iniを編集する。検証環境なので別に編集しなくても良さそうな気はする。
memory_limit = 256M
max_input_vars = 4440
max_execution_time = 360
post_max_size = 32M
upload_max_filesize = 100M
date.timezone = Asia/Tokyo
次に、Nginx のデフォルトのWebサイト設定ファイルを編集する。
$ sudo vim /etc/nginx/sites-available/default
#を削除するだけ。
        location ~ \.php$ {
        include snippets/fastcgi-php.conf;
        #
        #       # With php-fpm (or other unix sockets):
        fastcgi_pass unix:/run/php/php8.1-fpm.sock;
PHP と Nginx を再起動しておく。
$ sudo systemctl restart php*-fpm.service
$ sudo systemctl restart nginx
ここで小さな沼にはまる…
Nginx を再起動するとエラー。
$ sudo systemctl restart nginx
Job for nginx.service failed because the control process exited with error code.
See "systemctl status nginx.service" and "journalctl -xeu nginx.service" for details.
なんやこれ。。。
Nginx のコンフィグテストやってみた。
$ sudo service nginx configtest
nginx: [emerg] unexpected end of file, expecting "}" in /etc/nginx/sites-enabled/default:92
nginx: configuration file /etc/nginx/nginx.conf test failed
ん?もしかして…。。はは。設定ファイルをもう一度編集しなおす。}も忘れずに#を削除しなくてはいけない。
        location ~ \.php$ {
        include snippets/fastcgi-php.conf;
        #
        #       # With php-fpm (or other unix sockets):
        fastcgi_pass unix:/run/php/php8.1-fpm.sock;
        #       # With php-cgi (or other tcp sockets):
        #       fastcgi_pass 127.0.0.1:9000;
        }
PHP と Nginx を再起動しておく。
$ sudo systemctl restart php*-fpm.service
$ sudo systemctl restart nginx
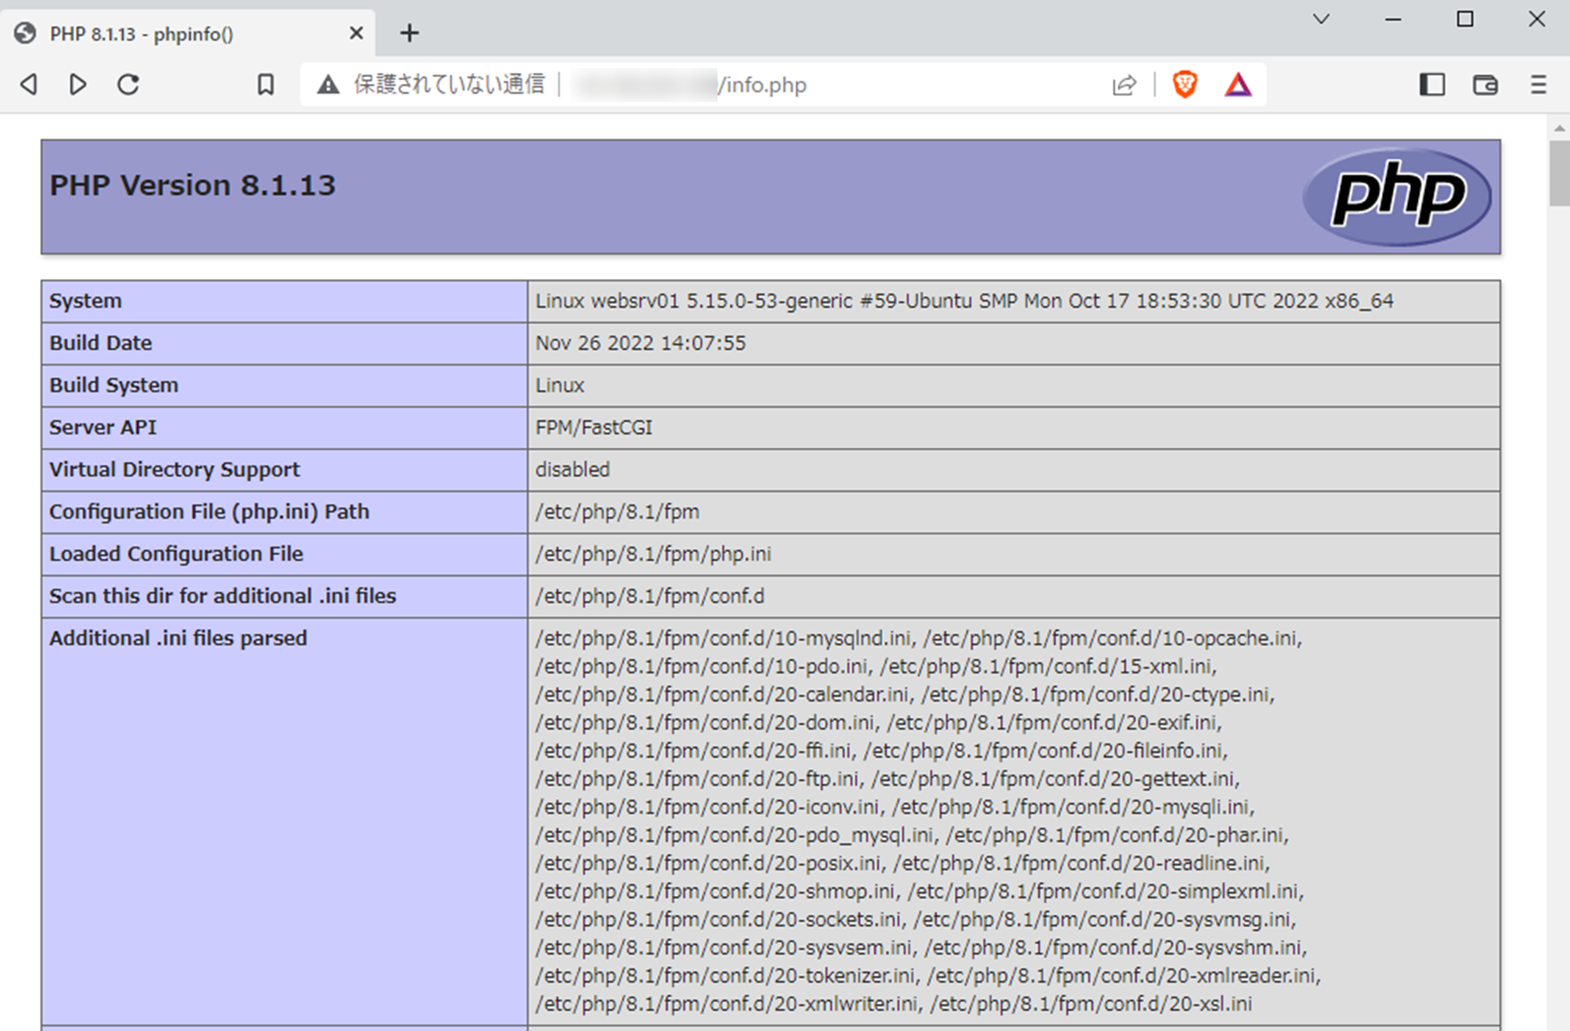
http://X.X.X.X/info.php にアクセスするとこんな感じに見える。
また沼に。。
http://X.X.X.X:80 でアクセスしたら、Apache2 が!!!!!!? 君じゃないぃぃーー!
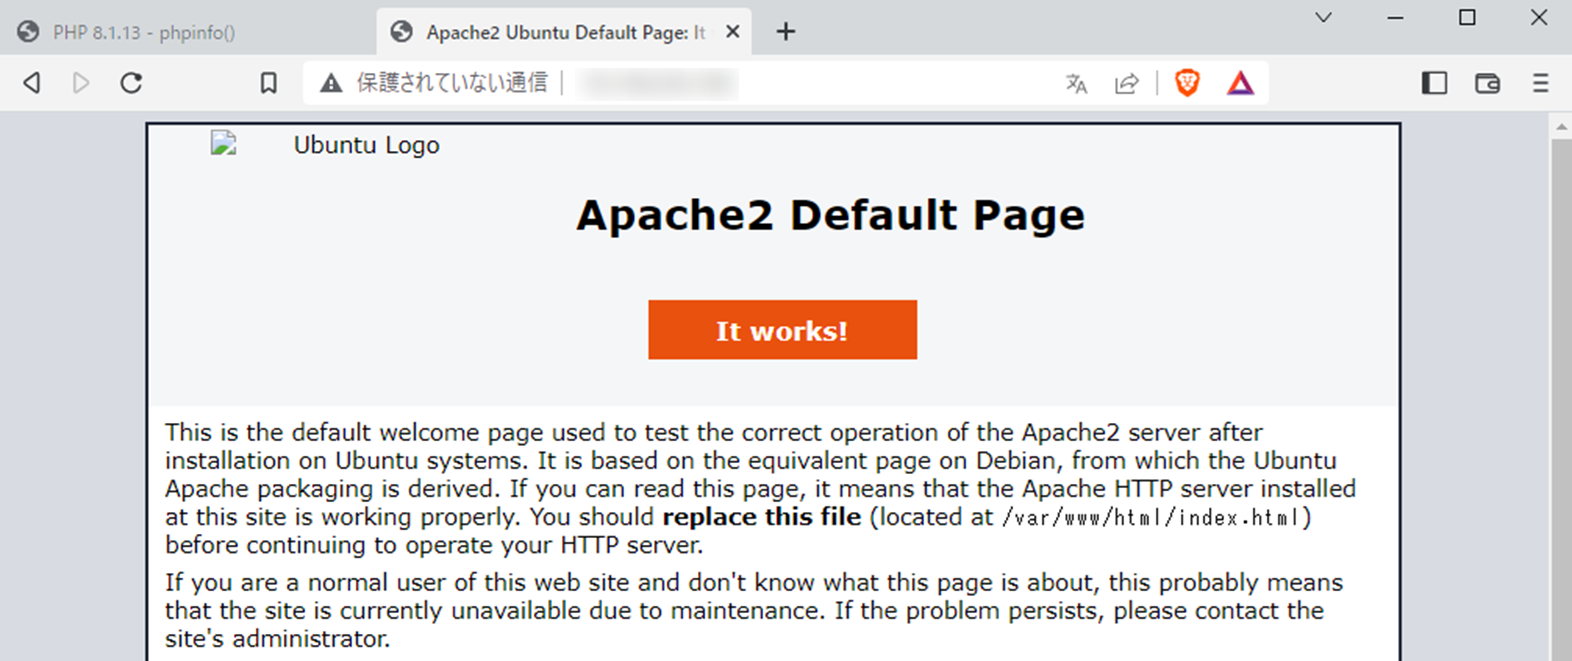
調べると、apt install php するからだって。。。apt remove phpしてapt install php-fpmしろってあるけど、ここまできて悲しい。というわけで、apache2 を削除する。
$ sudo apt-get purge apahce2
よし、戻ってきた!