前提
DNS サーバのインストールが終わって、ふとルータもあった方がよいことに気づいた。(そして、今日は土曜日なのであまり難しいことはしたくない。)というわけで、Vyatta をインストールしよう。
環境
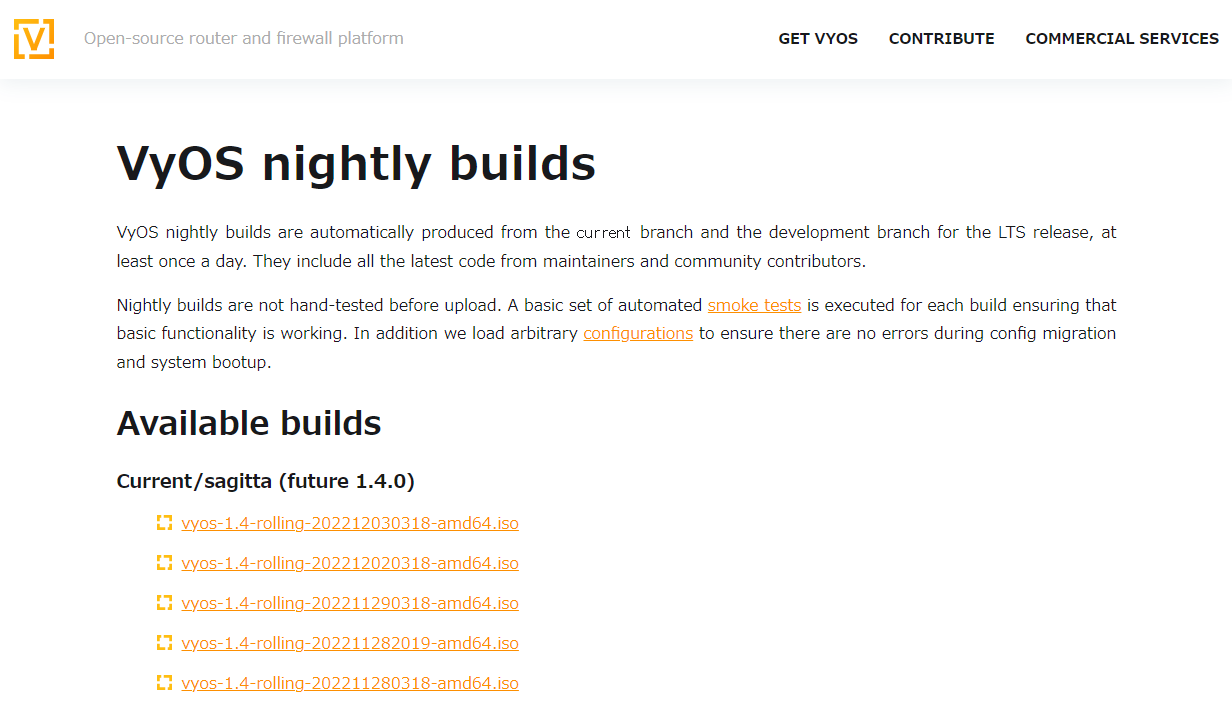
VyOS 1.4.0
(vyos-1.4-rolling-202212030318-amd64.iso)
設定
https://vyos.io/ にアクセスしてRolling Releaseをクリックします。
※LTS Release は有償版です。

とりあえず、いっちゃん上にあるやつをダウンロードします。
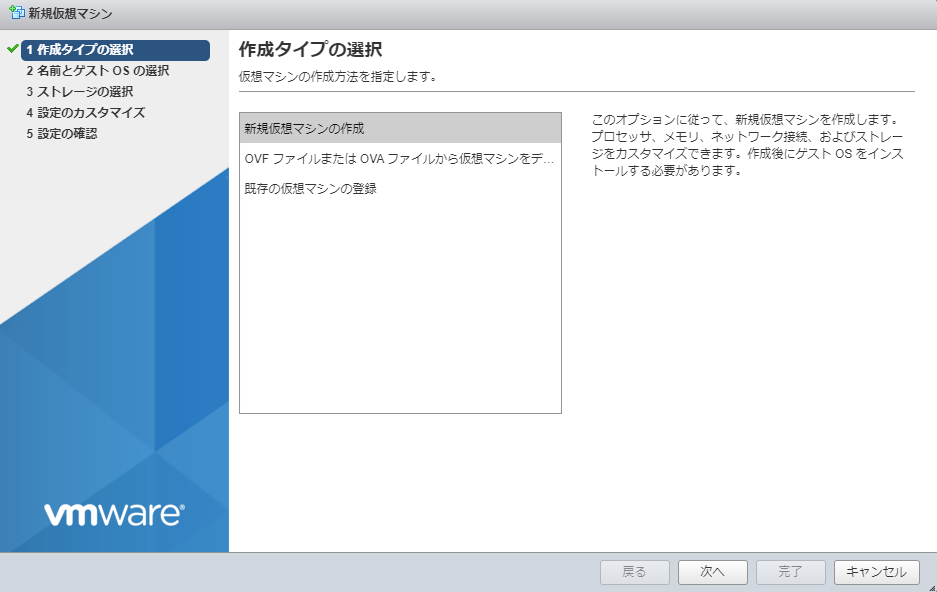
1. 作成タイプの選択
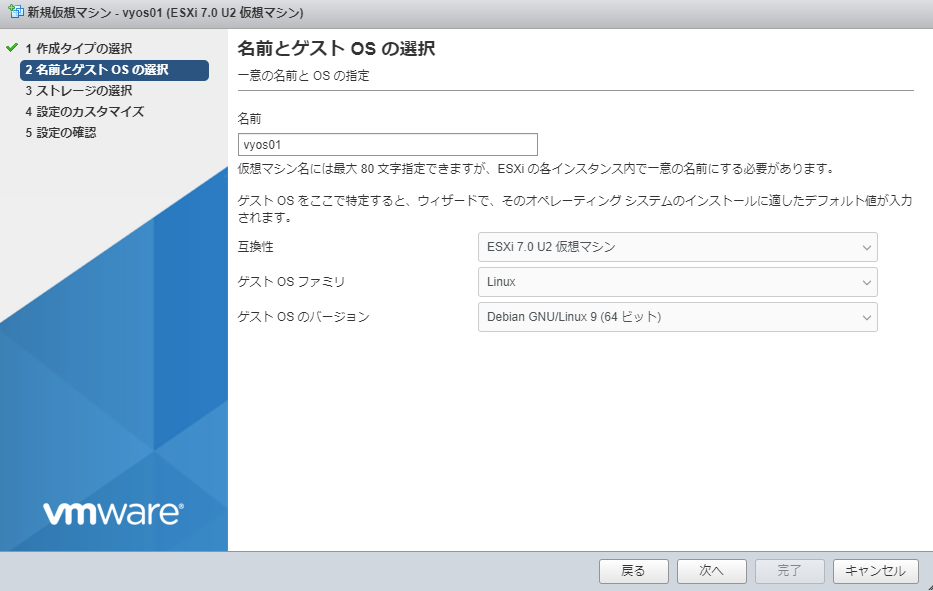
2. 名前とゲストOS の選択
ゲスト OS ファミリはLinux、ゲスト OS のバージョンはDebian GNU/Linux 9 (64 ビット)にした。VyOS は Debian GNU/Linux で動くらしいんだけど、どのバージョンにすればいいかわからなかったので、とりあえず、最新で。
参考)一度は目を通した方がいいやつ。
https://docs.vyos.io/en/latest/installation/install.html
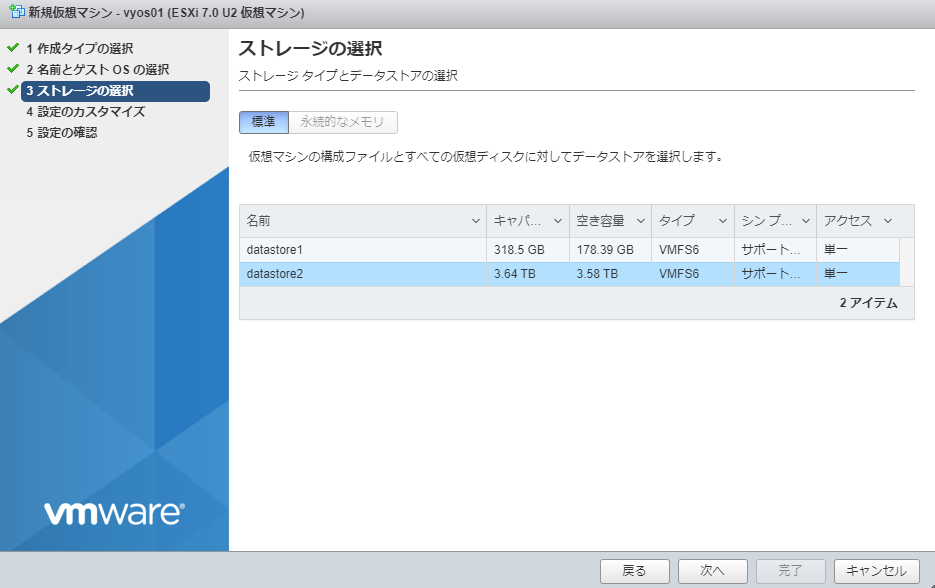
3. ストレージの選択
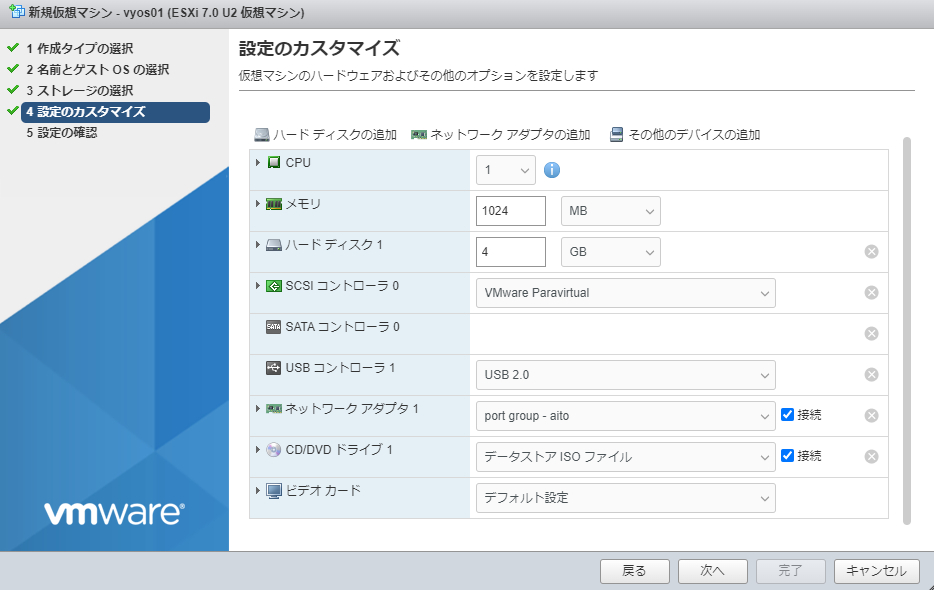
設定のカスタマイズ
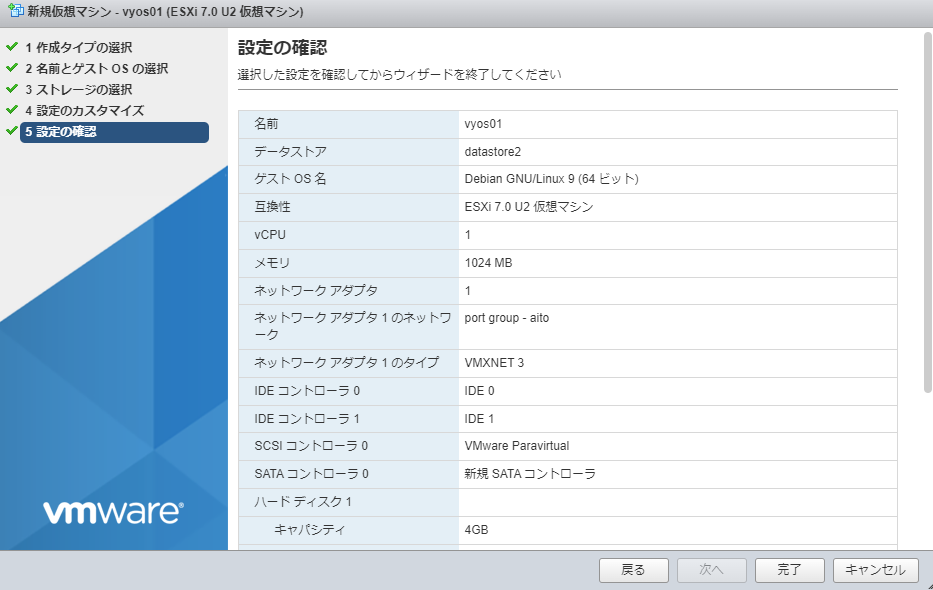
ここで少しだけカスタマイズをした。メモリ1024 MB、ハードディスク 1 4 GBに。
ちょっと節約。
CD/DVD ドライブ 1でデータストアに保存している Vyatta の ISO ファイルをマウントする。
5. 設定の確認
Vyatta にアクセス
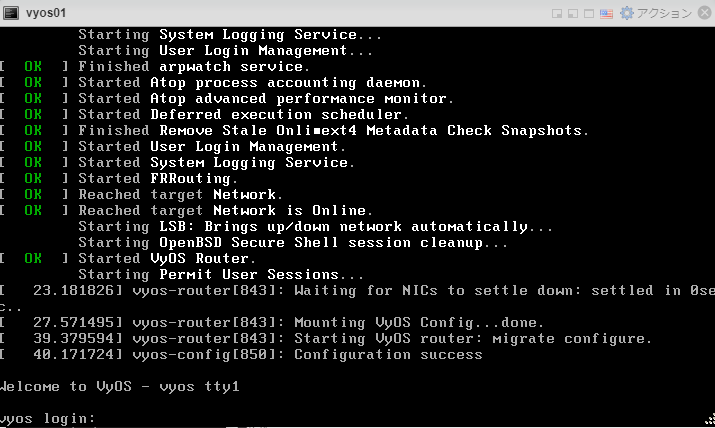
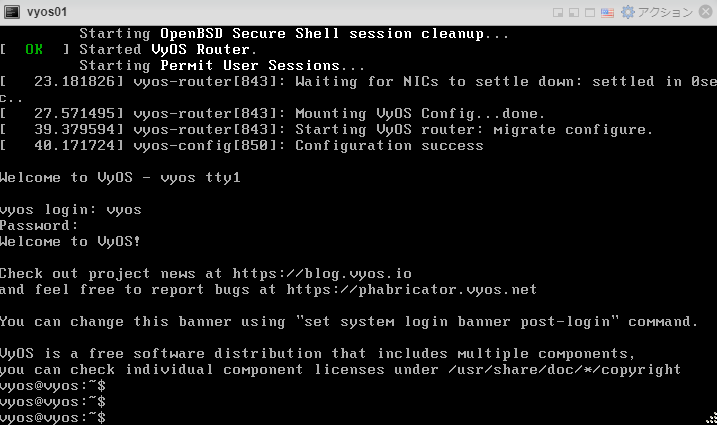
ログイン画面登場。初期はvyos/vyosでログインできる。
アクセス完了!
Permanent installation とやら
これをやらないと次に起動すると設定が消えてしまうらしいので、設定しておく。
https://docs.vyos.io/en/latest/installation/install.html#permanent-installation
$ install image
Yからのエンター!エンター!からの、Yes!(No のままエンターしちゃだめw)
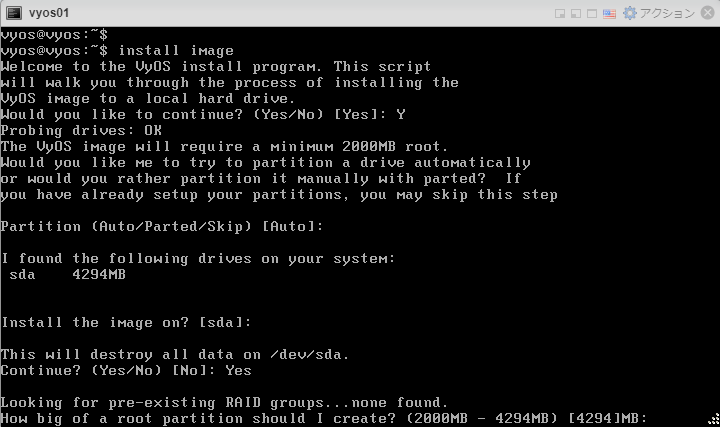
あとは、だいたいエンターで、vyos のパスワードを 2 回入力して、エンターで完了。
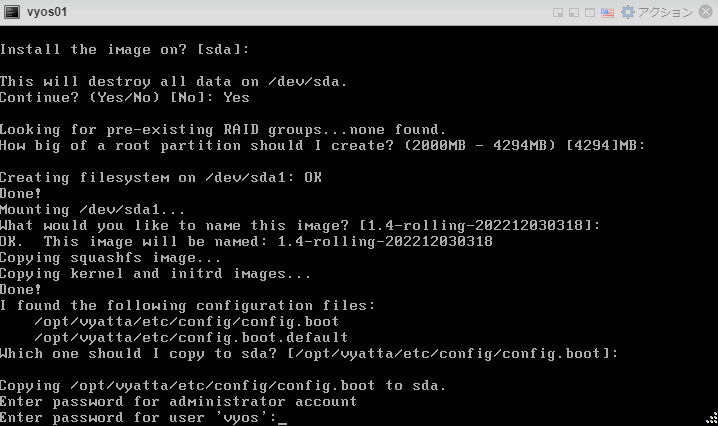
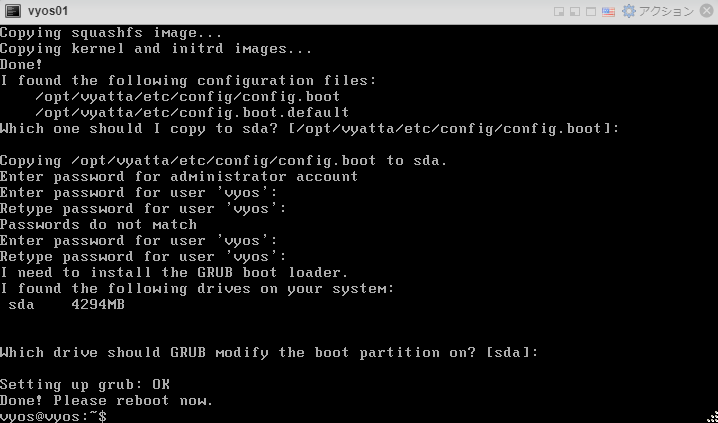
最後にリブートしておく。(コマンドは$ reboot)
ついでにバージョンの確認をする。
$ show version
CCIE 保持者としてはこのコマンドは地味にうれしいw
今日はここまで。
