Xserverは管理画面を使ってアクセス制限(Basic認証)をかけることができるが、phpを使用して独自の管理画面を設置できたのでそのメモです。
設置例
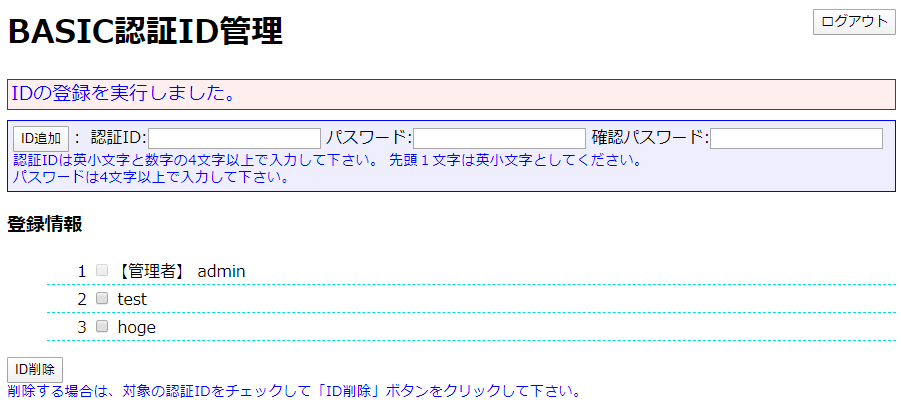
こんな感じで管理画面からユーザーを追加できるようになります。

htaccessの設定
AuthUserFile "/home/xserverのユーザー名/ドメイン名/htpasswd/ディレクトリ/.htpasswd"
AuthName "Member Site"
AuthType BASIC
require valid-user

RewriteEngine On
RewriteCond %{HTTP:Authorization} ^(.*)
RewriteRule ^(.*) - [E=HTTP_AUTHORIZATION:%1]
参照:http://piyopiyocs.blog115.fc2.com/blog-entry-1072.html
htpasswdの設置
/home/xserverのユーザー名/ドメイン名/htpasswd/ディレクトリ/に
adminというユーザー名の「.htpasswd」を設置
phpの設定
ツールのダウンロード:https://www.space-i.jp/wp/?p=1690
Xserverでの初期設定の例
index.php
	$admins = array("admin");	// 管理者のBASIC認証ID
	$htpasswd = "/usr/bin/htpasswd";	// htpasswdコマンドフルパス

	/*** パスワードファイルパス(htpasswdで生成したファイル) ***/
	$htfile = "/home/xserverのユーザー名/ドメイン名/htpasswd/ディレクトリ/.htpasswd";

	/*** htaccessで指定しているrealm -- ログアウトに使用 ***/
	$authname = "Member Site";

	$passwd_min = 4;						// パスワードは最小文字数
	$uid_min = 4;							// 認証ID最小文字数
管理画面から追加できるようなりました。
以上