はじめに
最近、Azure App ServiceにAzure Active Directoryを利用した簡易認証を適用する必要がったのでAzure Portalを開いたのですが、UIが変わりすぎてて混乱してしまったので、備忘録として残すことにしました。
Azure Active Directoryの設定
-
Azureポータルにログインし、画面上部の検索フォームから「Azure Active Directory」を入力し、選択します。

-
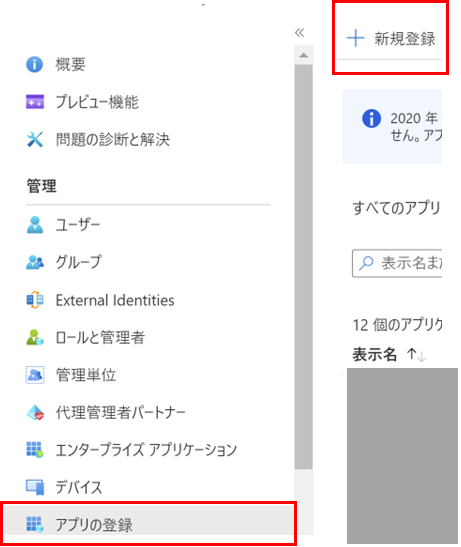
Azure Active Directoryのメニューからで「アプリの登録」を選択後、「新規登録」をクリックします。
-
以下を設定し、登録ボタンをクリックします。
- 名前:任意の名前
- サポートされているアカウントの種類:この組織ディレクトリに含まれるアカウント
- リダイレクトURL:WEBを選択し、https://サーバー名/.auth/login/aad/callback

-
登録した以下の情報をメモ帳に保存しておきます。
- アプリケーション(クライアント)ID
- ディレクトリ (テナント) ID

-
暗黙的な許可およびハイブリッドフローで「IDトークン」にチェックをつけて「保存」をクリックします。

App Serviceの認証設定
-
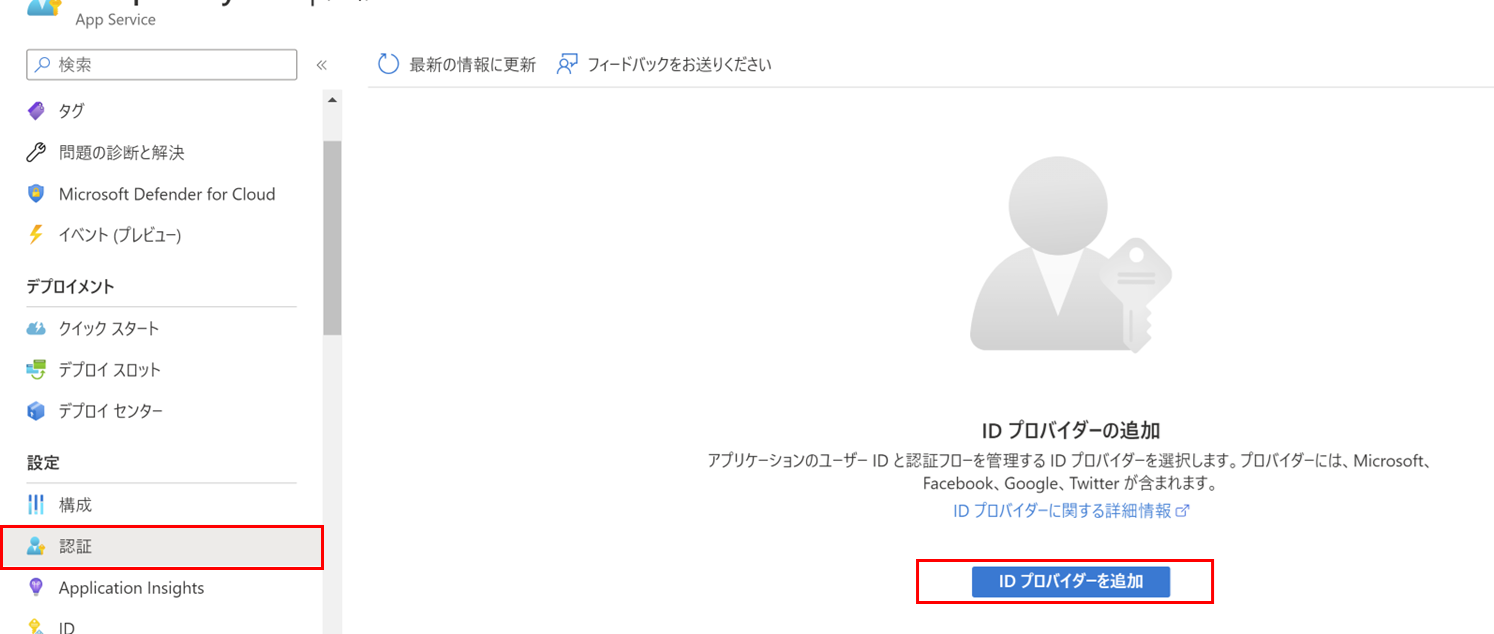
App Serviceのメニューから「認証」を選択後、「IDプロバイダーを追加」をクリックします
-
以下を設定し、追加ボタンをクリックします。
- IDプロバイダー:Microsoft
- アプリ登録の種類:既存アプリの登録の詳細を提供します
- クライアントID:メモしたアプリケーション(クライアント)ID
- 発行者のURL:https://sts.windows.net/メモしたディレクトリ (テナント) ID/v2.0
- その他はデフォルト
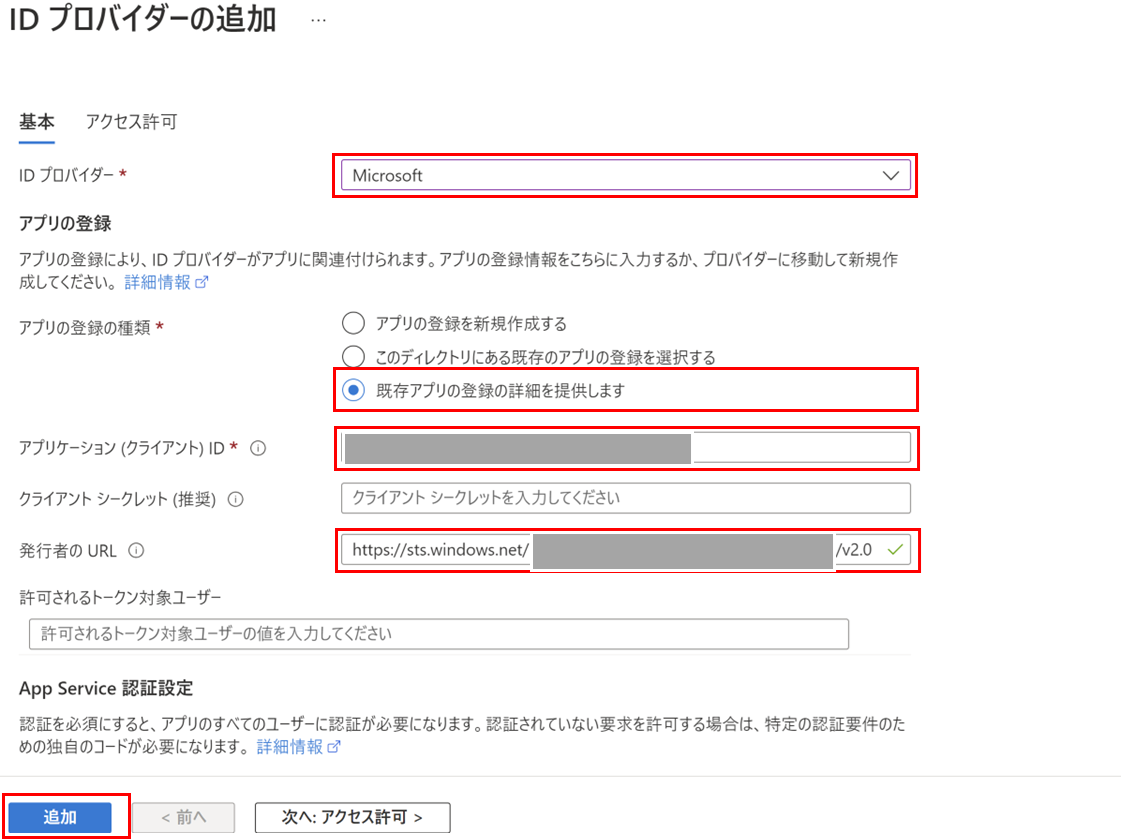
※ Active Directoryへのアクセスがある場合は、「このディレクトリにある既存のアプリの登録を選択する」で登録済みのアプリケーションを選択するのみでOKとなります。
稼働確認
認証をかけたページにアクセスするとログイン画面が表示され、
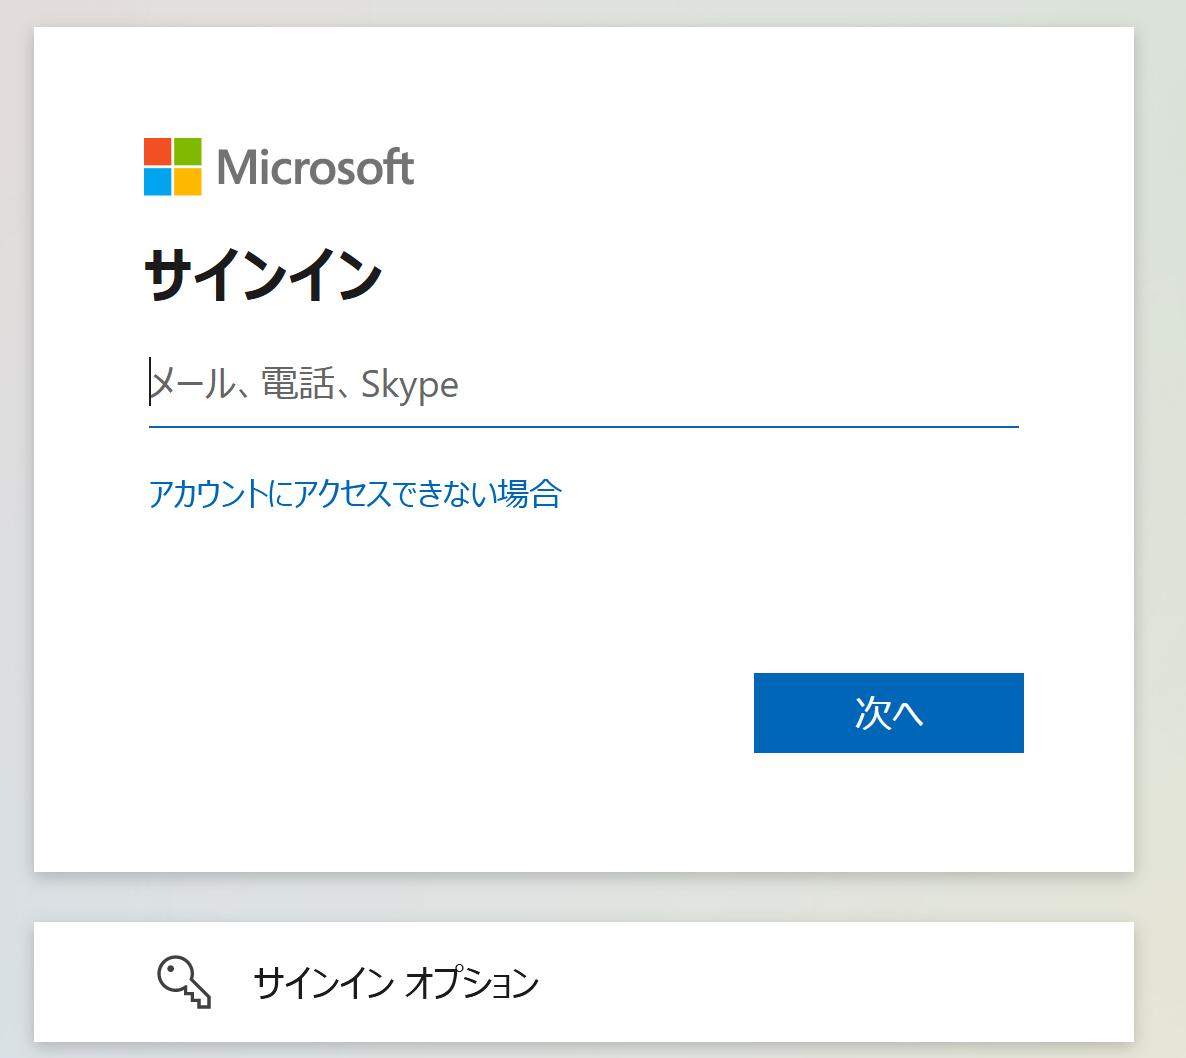
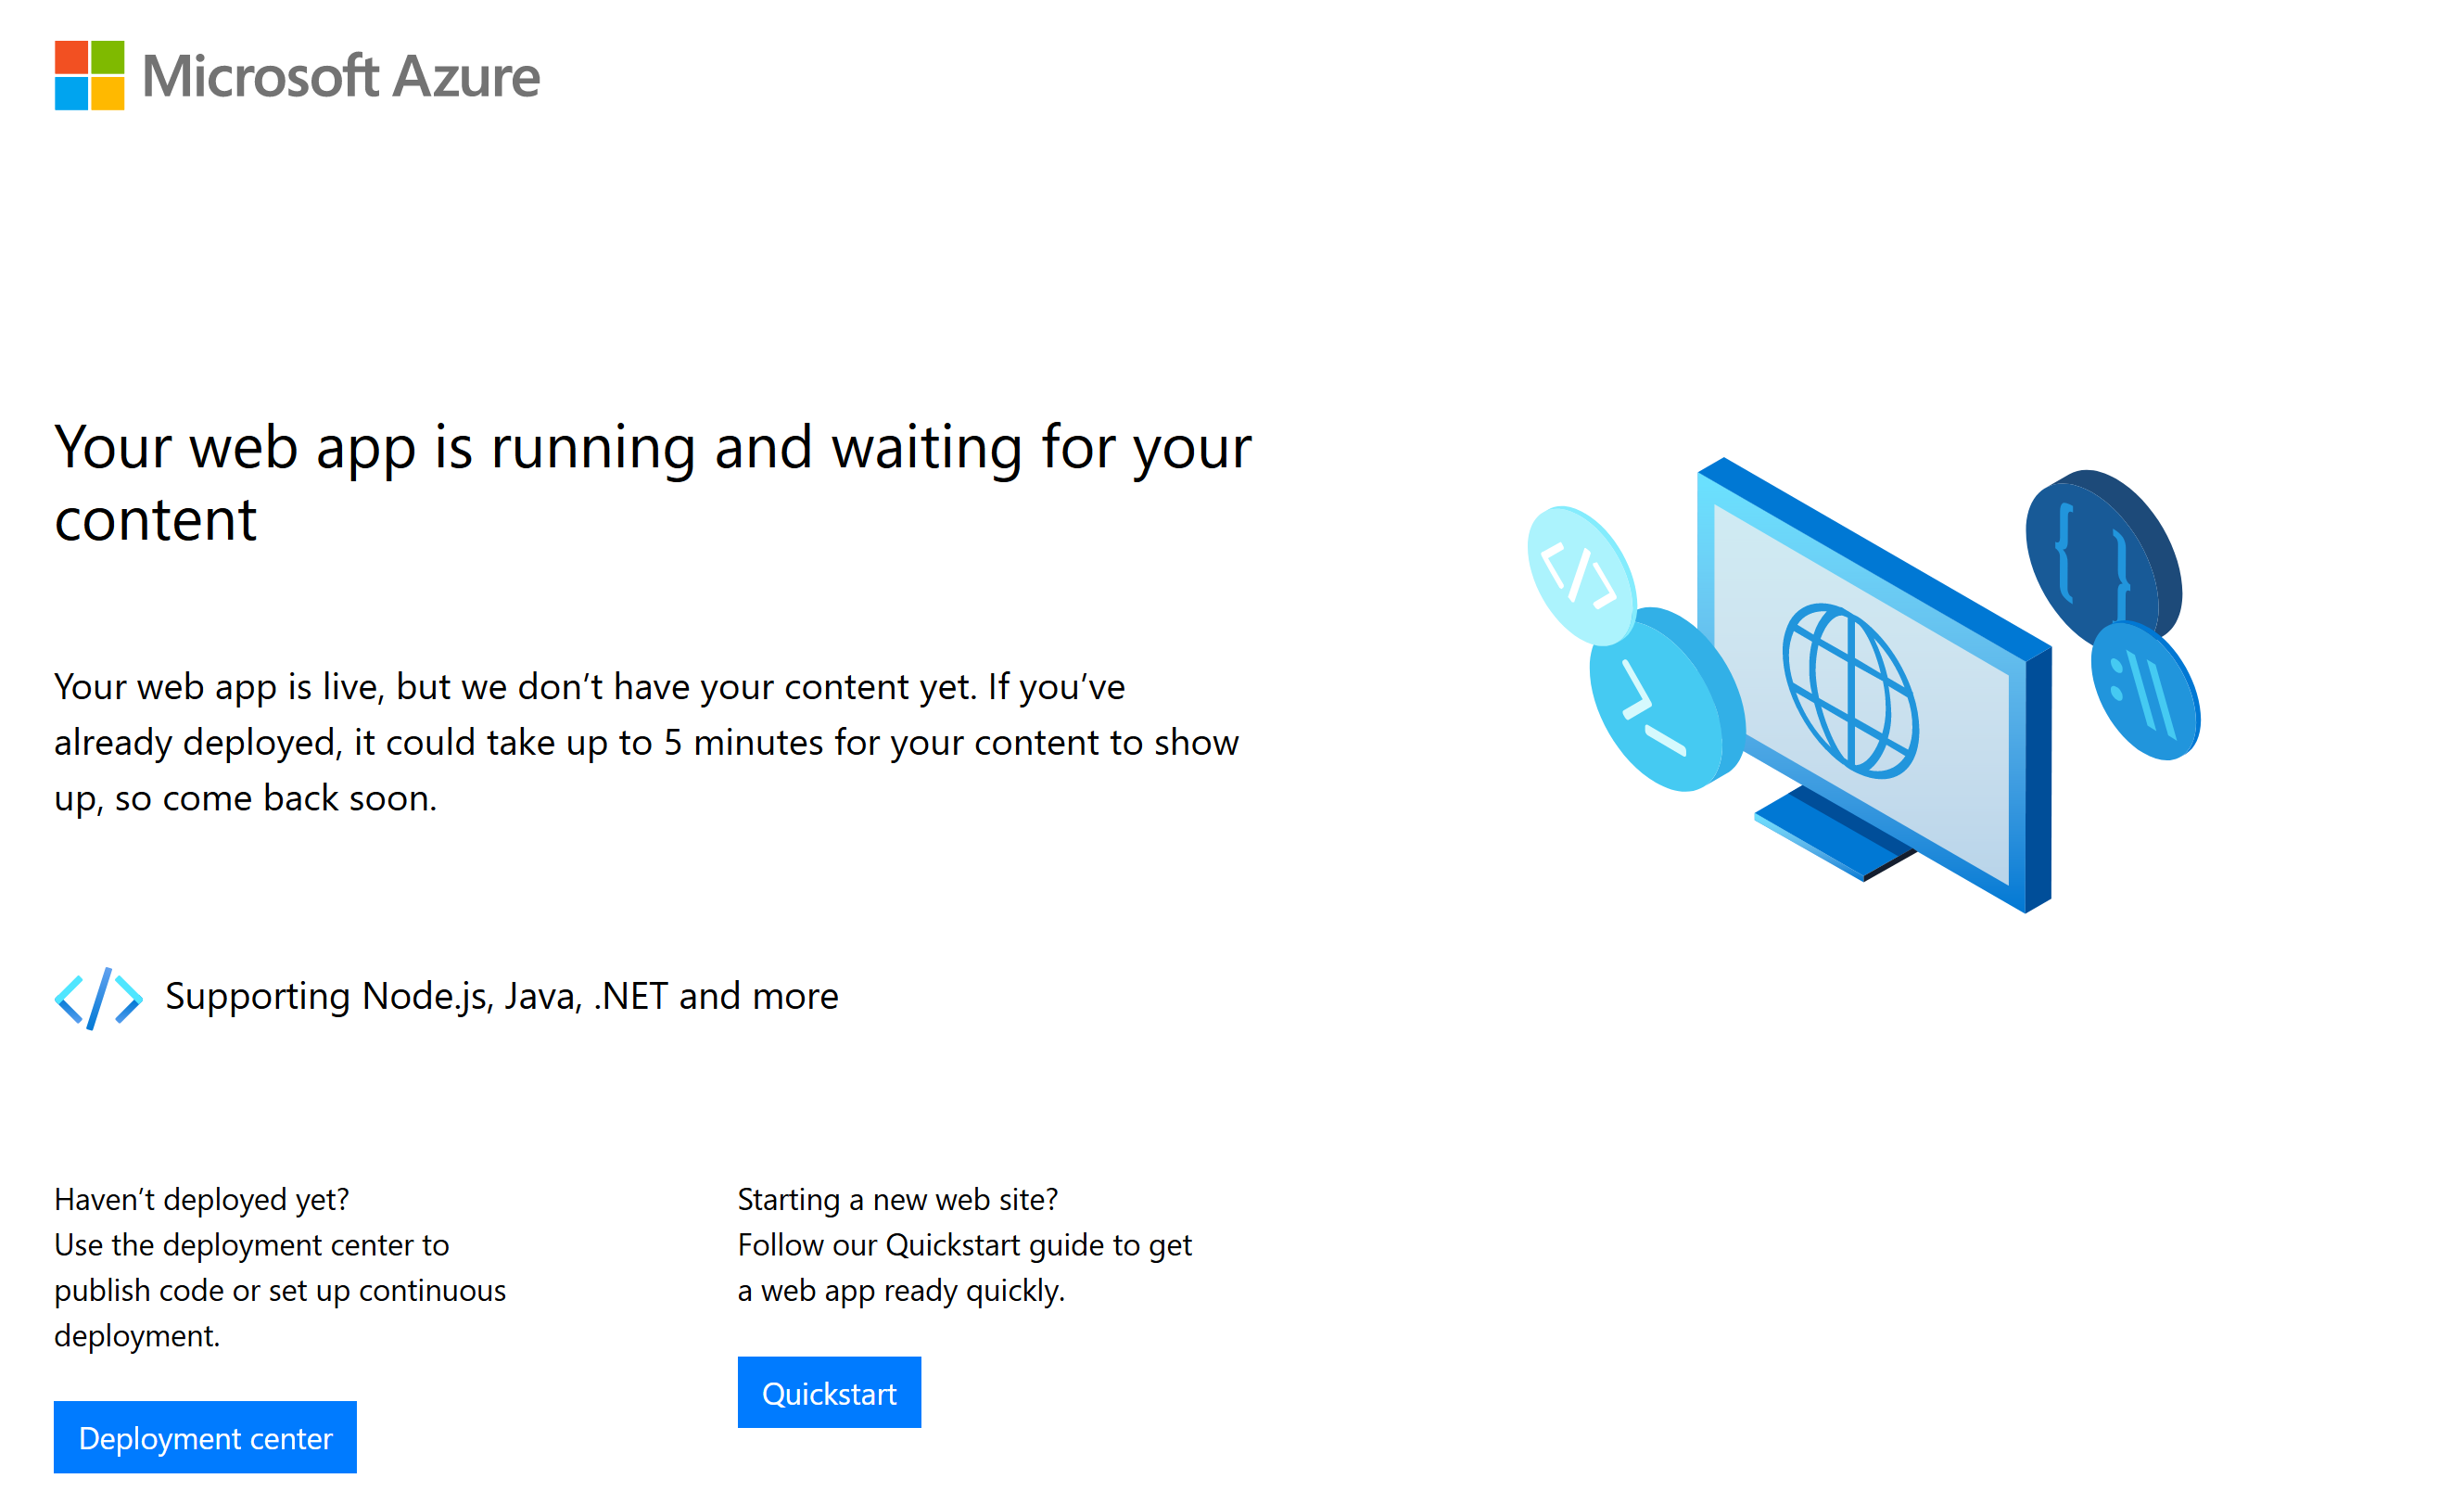
ログイン後、無事デフォルトのページが表示されました。
まとめ
今回は無事、App ServiceにAzure Active Directory認証をかけることが出来ました。
次回は、OpenIDコネクトを利用したAzure AD B2Cも思い出しも含めて実施したいと思います。


