つまづいたので備忘録
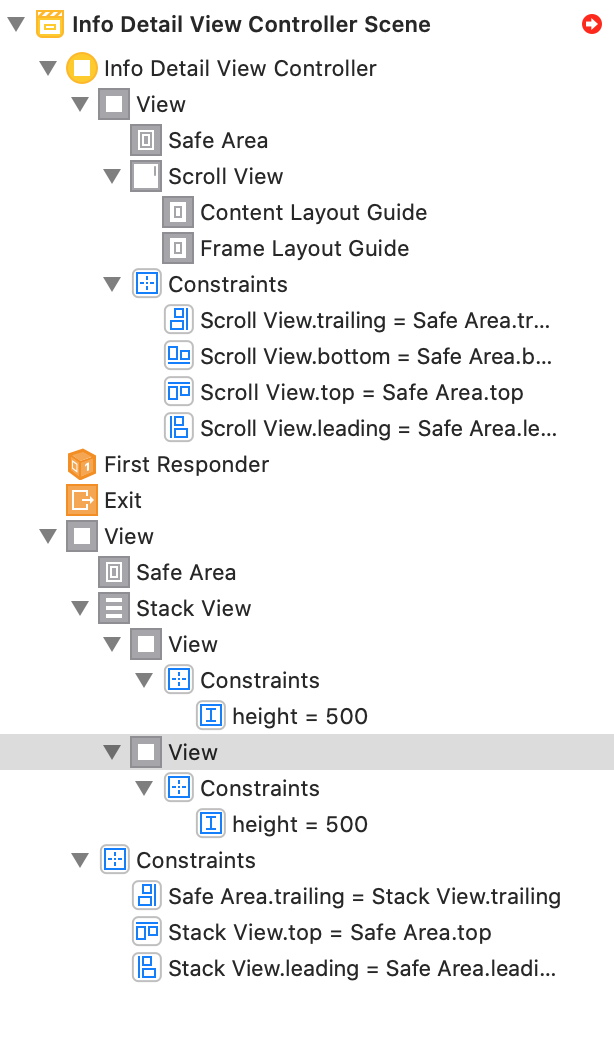
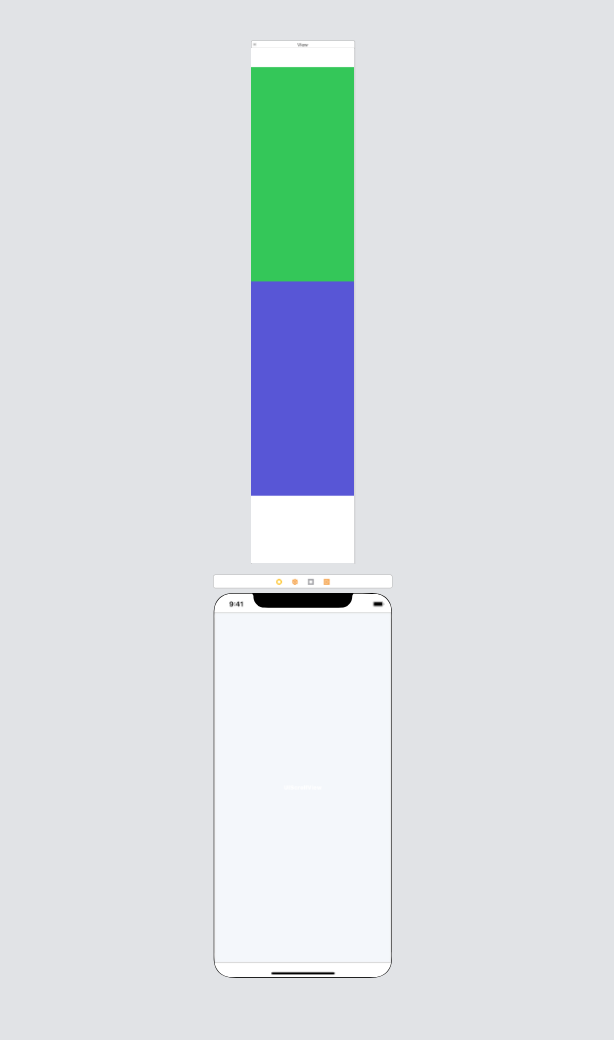
storyboardの配置
1,ViewにScrollViewを設置しオートレイアウト設定
2,Exit下にScrollView内に表示させたいViewを設置 高さを600に設定
3,今回はStackViewを使用 オートレイアウトはbottom以外の3点を設定
4,StackView内のViewを設置 高さを500に設定
画面View範囲外まで及ばないとスクロールされない
5,わかりやすいように、背景色を変更


コード
追記
Exit下のViewの名前をcontentViewに変更しました
名前の変更はコードには影響しませんが、下のコードでOutletを接続する際の誤解を防ぐためです。
ViewController.swift
import UIKit

class ViewController: UIViewController {
    @IBOutlet weak var scrollView: UIScrollView!
    @IBOutlet var stackView: UIStackView!
    @IBOutlet var contentView: UIView!

    override func viewDidLoad() {
        super.viewDidLoad()
        // コンテンツViewを載せる
        contentView.frame.origin = CGPoint.zero
        scrollView.addSubview(contentView)
        self.stackView.layoutIfNeeded() //重要//
    }

    override func viewWillLayoutSubviews() {
        super.viewWillLayoutSubviews()
        // コンテンツの幅を画面に合わせる
        contentView.frame.size.width = scrollView.frame.width
        // コンテンツの高さを調整する
        contentView.frame.size.height = stackView.frame.height
        // スクロール範囲をコンテンツに合わせる
        scrollView.contentSize = contentView.frame.size
    }
}
コンテンツの幅のサイズなどを調整すると横のスライドはなくすことが出来ます
以上です。
