概要
Swiftのプロジェクトでボタンを動的に管理したいとき、UIButtonをStoryboardからではなく、コードで作成したいことがあると思います。
StoryboardからUIButtonを作成した場合はアウトレットで名前がついているので操作がしやすいのですが、コードで作成した場合は操作がしづらい場合があります。
本投稿では、コードから作成したUIButtonを操作する方法を一つご紹介します。
この方法が使えると、例えばラジオボタン(複数選択肢から一つだけを選択可能なボタン)をコードで実装することができます。
実行環境
- Apple Swift version 5.4
- Xcode 12.5
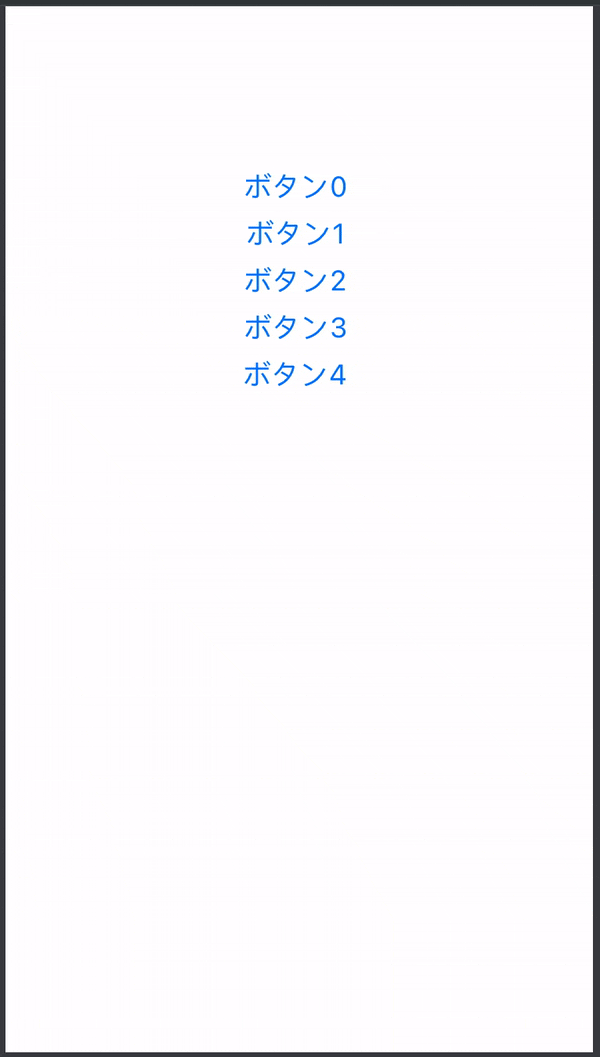
表示
方法
クラスの変数にUIButtonの配列を持たせておき、番号でアクセスする。
以下のコードをPlaygroundに貼り付けると動きます。
コード
第一段階
コードで複数のボタンを作成する。
MyPlayground.playground
import UIKit
import XCPlayground
import PlaygroundSupport

class ViewController: UIViewController{

    @objc func tap(_ sender:UIButton) {
        print("\(sender.tag)番目がタップされた")
        sender.isSelected = !sender.isSelected
    }

    override func viewDidLoad() {
        super.viewDidLoad()
        self.view.frame = CGRect(x: 0, y: 0, width: 375, height: 667)

        for i in 0..<5 {
            let button = UIButton()
            button.setTitle("ボタン"+String(i), for: .normal)
            button.setTitleColor(.systemBlue, for: .normal)
            button.setTitleColor(.systemGreen, for: .selected)
            button.frame = CGRect(x:0, y:100 + 30 * i, width:370, height:30)
            button.addTarget(self, action: #selector(ViewController.tap), for: .touchUpInside)
            button.tag = i
            self.view.addSubview(button)
        }
    }
}

PlaygroundPage.current.liveView = ViewController()
第二段階
ボタンを保持する配列を定義することで後から操作できるようにしていきます。
MyPlayground.playground
import UIKit
import XCPlayground
import PlaygroundSupport

class ViewController: UIViewController{

    var buttons = [UIButton()] // 追加

    @objc func tap(_ sender:UIButton) {
        print("\(sender.tag)番目がタップされた")
        if !sender.isSelected {
            buttons.forEach({element in element.isSelected = false})
        }
        sender.isSelected = !sender.isSelected
        // isSelectedがFalseのボタンを選ぶ場合はすべてのボタンを解除してから選択したボタンのisSelectedをTrueにして、
        // Tureのボタンを選んだ場合は単に選択をisSelectedをFalseにする
    }

    override func viewDidLoad() {
        super.viewDidLoad()
        self.view.frame = CGRect(x: 0, y: 0, width: 375, height: 667)

        for i in 0..<5 {
            let button = UIButton()
            button.setTitle("ボタン"+String(i), for: .normal)
            button.setTitleColor(.systemBlue, for: .normal)
            button.setTitleColor(.systemGreen, for: .selected)
            button.frame = CGRect(x:0, y:100 + 30 * i, width:370, height:30)
            button.addTarget(self, action: #selector(ViewController.tap), for: .touchUpInside)
            button.tag = i
            self.view.addSubview(button)
            self.buttons.append(button) // 追加
        }
    }
}

PlaygroundPage.current.liveView = ViewController()