ContentViewから任意のViewに変更しよう
環境
- Xcode11.5
- Swift5
- SwiftUI
この記事で何をしようとしているか
Xcodeから新規プロジェクトを作成後、デフォルトで設定されているContentViewを自分の好きなViewに変更したい。
例えば, ContentView -> RootView, LoginView等
1. 任意ファイルを作成
File > New > FileからSwiftUIを選択して、新しいファイルを作成します。今回はファイル名を"RootView"とします。

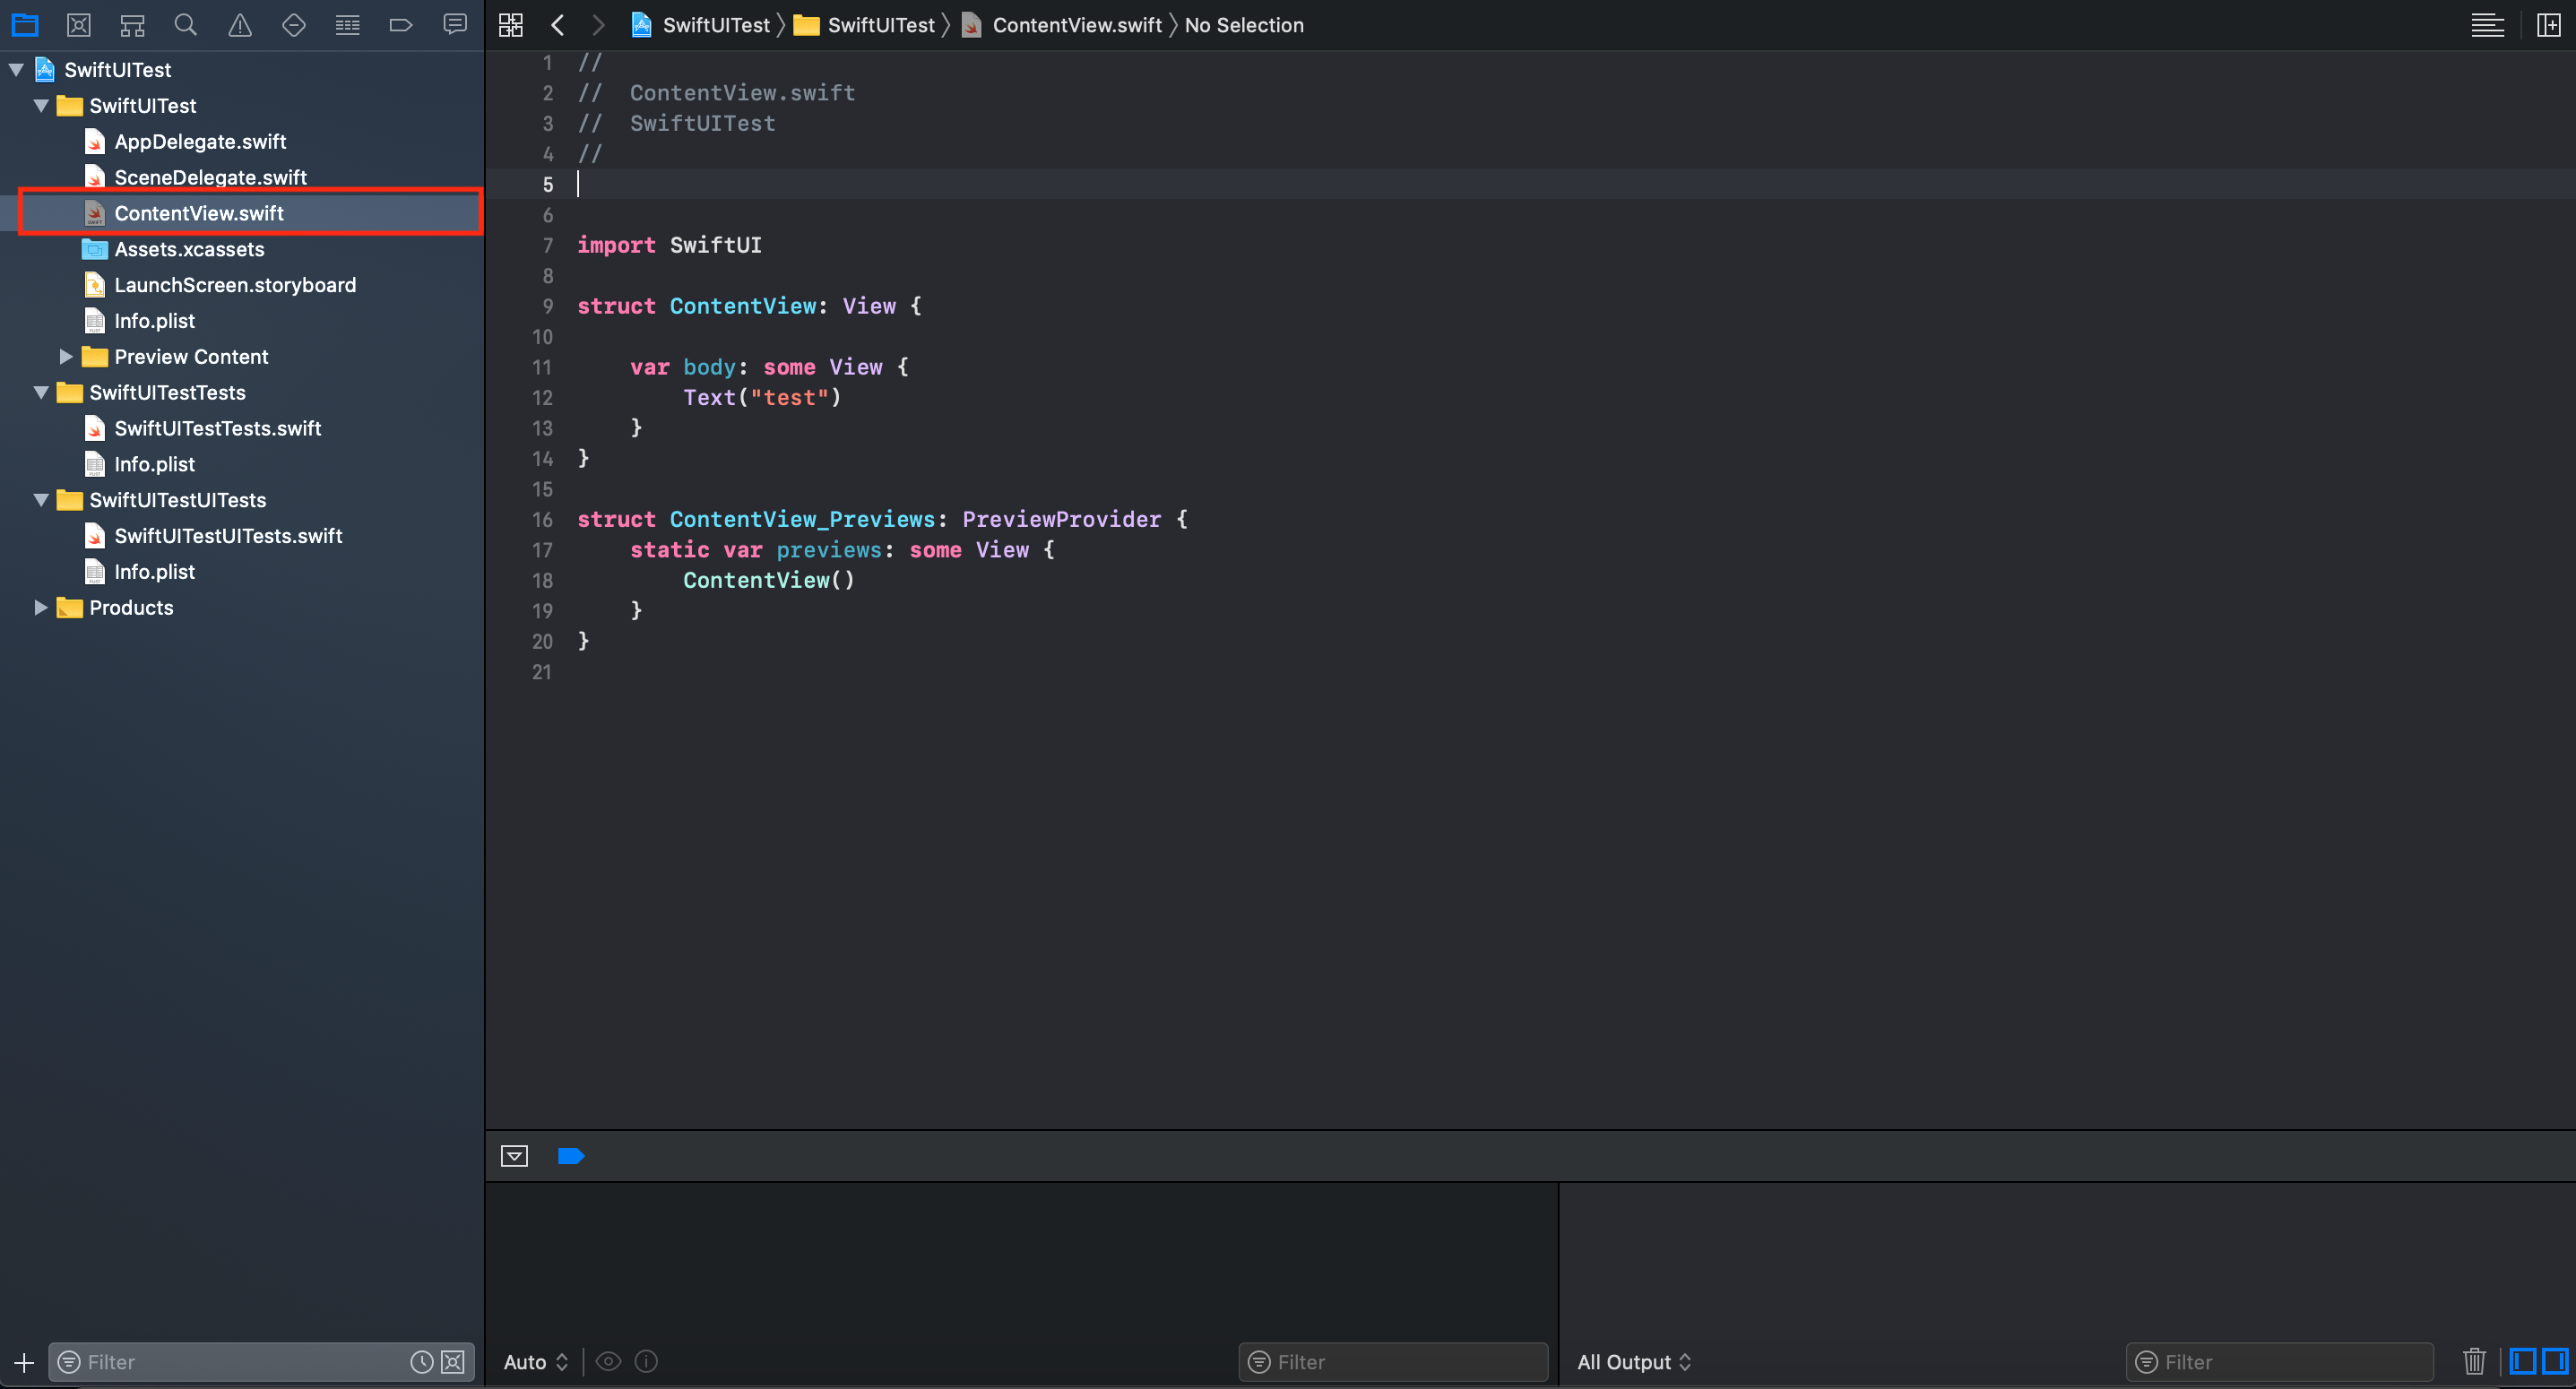
下図のようにRootView.swiftファイルが作成できたことが確認できます。

以下、作成したRootView.swiftのコード
RootView.swift
import SwiftUI

struct RootView: View {
    var body: some View {
        Text("Root View なんだぜ〜")
    }
}

struct RootView_Previews: PreviewProvider {
    static var previews: some View {
        RootView()
    }
}
2. SceneDelegate.swiftを編集
SceneDelegate.swift
import UIKit
import SwiftUI

class SceneDelegate: UIResponder, UIWindowSceneDelegate {

    var window: UIWindow?


    func scene(_ scene: UIScene, willConnectTo session: UISceneSession, options connectionOptions: UIScene.ConnectionOptions) {
        // Use this method to optionally configure and attach the UIWindow `window` to the provided UIWindowScene `scene`.
        // If using a storyboard, the `window` property will automatically be initialized and attached to the scene.
        // This delegate does not imply the connecting scene or session are new (see `application:configurationForConnectingSceneSession` instead).

        // Create the SwiftUI view that provides the window contents.
        // 以下、作成したViewを指定
        // let contentView = ContentView()
        let rootView = RootView()

        // Use a UIHostingController as window root view controller.
        if let windowScene = scene as? UIWindowScene {
            let window = UIWindow(windowScene: windowScene)
            // contentView -> rootView
            window.rootViewController = UIHostingController(rootView: rootView)
            self.window = window
            window.makeKeyAndVisible()
        }
    }

 // ...  以下、不要なので省略

}
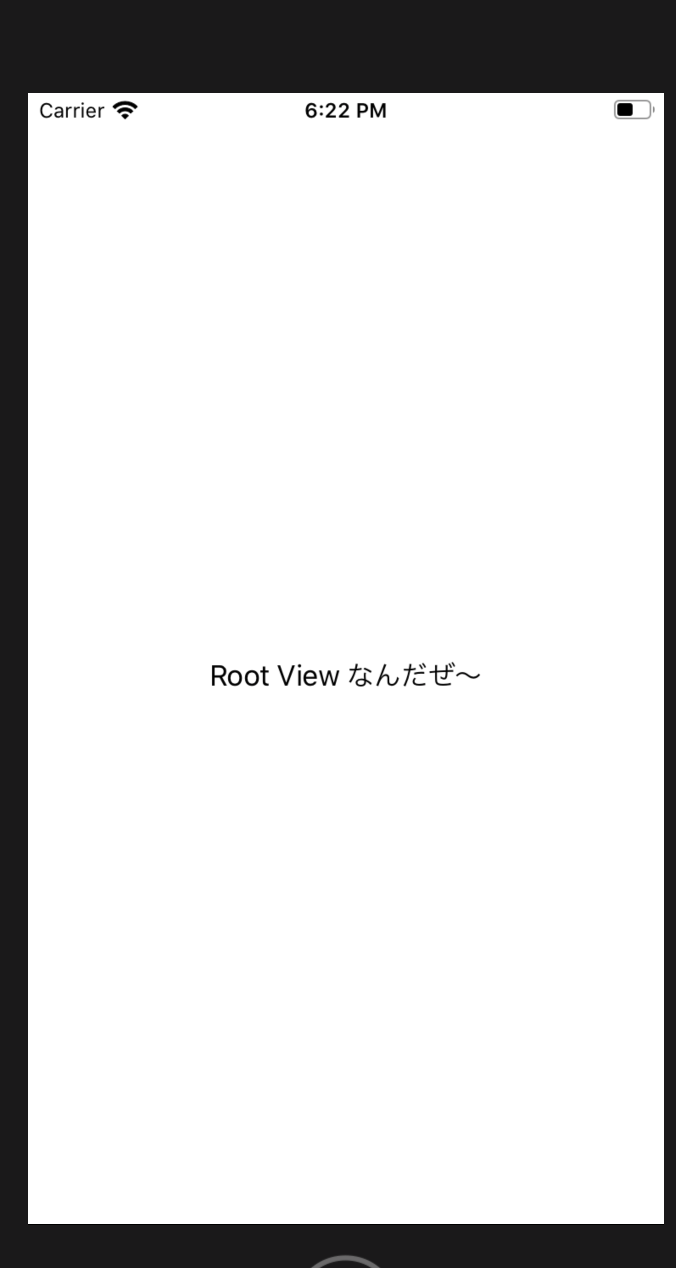
3. シュミレータまたは実機で実行
下図のように、RootViewに変更できていることがわかります。
ついでに
本記事のように、新規ファイルを作成せず、ContentView.swiftファイルを編集することもできます。