はじめに
ある朝、目が覚めると、イーロン・マスクがSF映画も真っ青なプレゼンをしていました。なんでも脳とマシンを直接接続するデバイスを作って、私たち凡夫の脳の潜在パワーを引き出してくれるというではありませんか。この手のデバイスはBMI(Brain Machine Interface)と呼ばれ、アカデミック領域では1970年代から研究されているようです1。
2020年のうちに人間を対象に臨床実験を始めると言うイーロン・マスクの神託が実現されるかは不透明ですが、MRIを始めとする非侵襲式(=脳みそに電極をぶっ刺さない)技術の発展を追い風に、BMIはここ十数年で飛躍的に伸びているアツアツの研究領域であるようです。
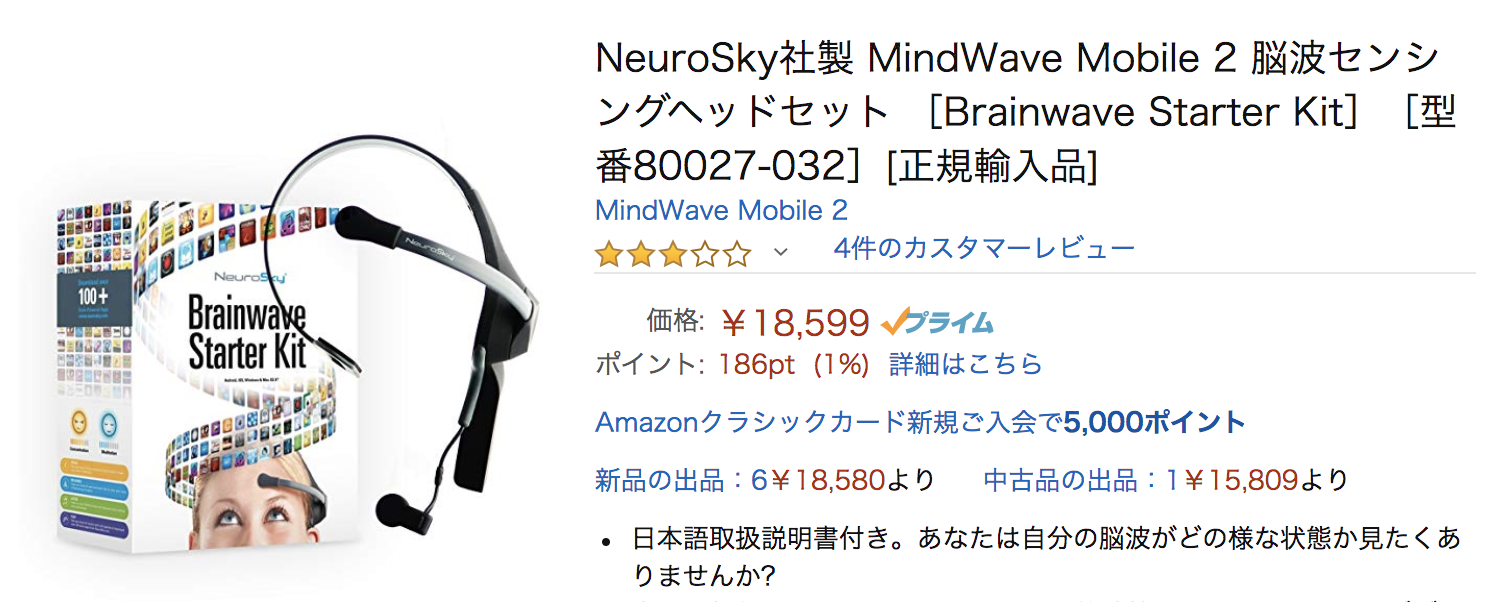
すぐにメルカリでBMIデバイスを探したところ、MindWave Mobileという簡易脳波計が5,000円で出品されていました。買いました。どうやら定価でも20,000円弱の模様です。
この記事ではBMIの面白さを体験することを目的に、MindWave Mobileを用いて簡単なゲームを作ってみます。
作るもの
脳波計をメルカリで買いました。車を脳波で動かすクソゲーをElectronで作って遊んでます。集中すると加速、瞑想すると停止、まばたきで車線変更します。MindWave Mobileという脳波計です。コードはGitHubに上げました。そのうちQiitaとかにまとめたい。https://t.co/V0BIKyLbtT pic.twitter.com/CWMWejLVNO
— 秋山 雅之@Bizerのエンジニア (@aki202) August 17, 2019
上は私が脳波計を装着しながらベローチェ2で書いたゲームです。ソースコードはMITライセンスで https://github.com/aki202/neuro_drive_electron に置いてあります。(MindWave Mobileさえご自宅にあれば)ビルドしてすぐに遊べます。
この記事では下の画像の通り、車を脳波で動かすところまでを作ってみましょう。
MindWave Mobileとは
MindWave MobileはNeuroSky社が作っている簡易的な脳波計です。前頭葉に当てた1cm四方以下のチップで3〜100Hzの脳波を計測し、Bluetoothで送信してくれます。
人間の脳波は次のように分類されます。
| 名称 | 周波数(Hz) | いつ出るの |
|---|---|---|
| デルタ波(δ波) | 0.5-4 | 深入り眠り、無意識、脳死。 |
| シータ波(θ波) | 4-8 | 深い瞑想状態、まどろみ。 |
| アルファ波(α波) | 8-14 | リラックス状態。 |
| ベータ波(β波) | 14-38 | やや緊張状態。 |
| ガンマ波(γ波) | 26-70 |
この表から、3〜100Hzというレンジは人間の脳波をカバーするのに充分であると言えそうです。なお、γ波はβ波の一部であるとする流派も存在しますが、γ波として別個の種類としておくと何かと研究に有意らしいです。
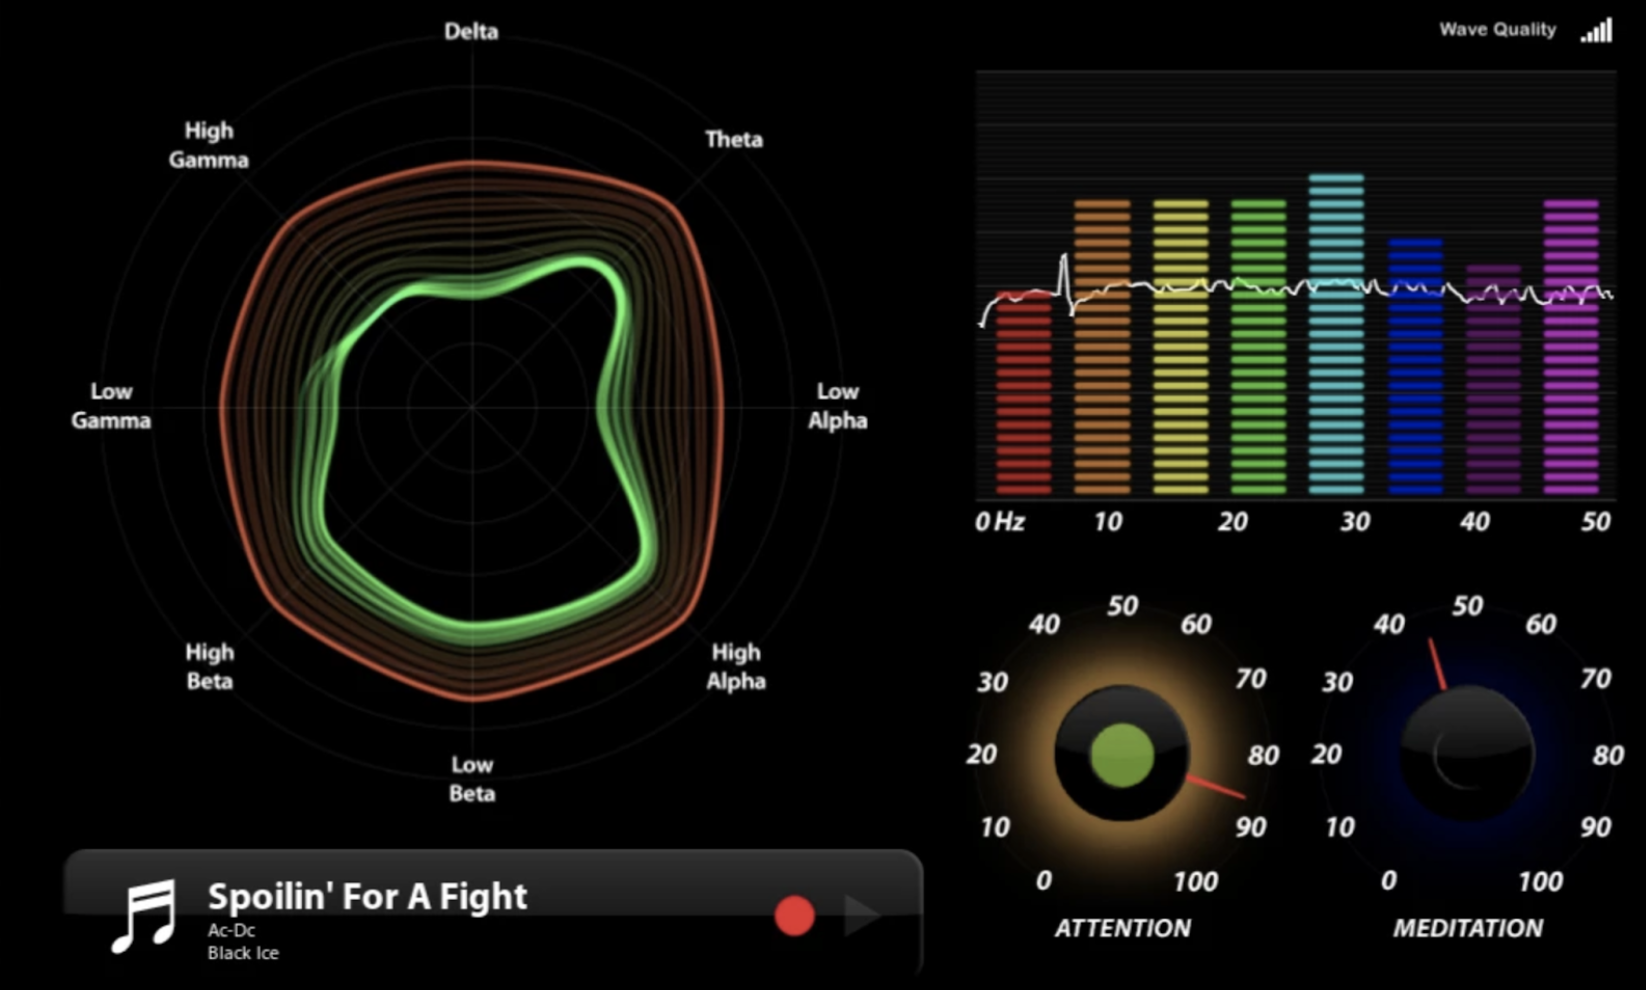
MindWave Mobileは各周波数別の脳波の強度と、次の3つの値を0〜100の数値で取得できます。3つの値の計算式はブラックボックスです。
- Attention(集中度)
- Meditation(瞑想度)
- Blinkness(またばき)
Electronとは
ElectronはGitHub社がエディタAtomを創造するために作った、デスクトップアプリケーション用のフレームワークです。HTML, CSS, JavaScriptを用いて、Windows, OSX, Linux上で動作するGUIアプリをビルドできます。
作ってみよう
Node.jsがインストール済みであることを確認してください。なおnpmコマンドの代わりにyarnコマンドを使います。npm派の方はコマンド対応表などを参考に読み替えてください。
Electronプロジェクトを作る
プロジェクト用のディレクトリを作成し、その中でnode packageのelectronを追加します。
mkdir neuro_drive_app
cd neuro_drive_app
yarn init -y
yarn add electron
package.jsonにelectronコマンドを叩くscriptを追加します。
{
  "name": "neuro_drive_app",
  "version": "1.0.0",
  "main": "index.js",
  "license": "MIT",
  "dependencies": {
    "electron": "^6.0.8"
  },
  "scripts": {
    "start": "electron ."
  }
}
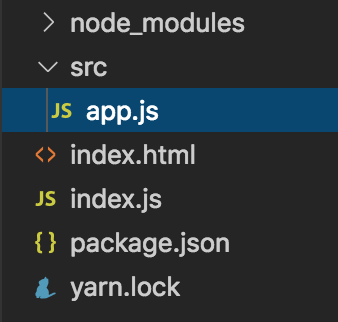
エントリポイントとなるindex.js、Electronウィンドウ内に表示するindex.html、index.htmlから読み込まれるsrc/app.jsをそれぞれ次のように作ります。
const { app, BrowserWindow } = require('electron')

let win

const createWindow = () => {
  win = new BrowserWindow({
    width: 1150,
    height: 838,
    webPreferences: {
      nodeIntegration: true
    }
  })
  win.loadFile('index.html')
  win.webContents.openDevTools()
  win.on('closed', () => {
    win = null
  })
}

app.on('ready', createWindow)

app.on('activate', () => {
  if (win != null) return
  createWindow()
})
<!DOCTYPE html>
<html>
  <head>
    <meta http-equiv="Content-Security-Policy" content="default-src 'self'; style-src 'self' 'unsafe-inline';">
    <meta charset="UTF-8">
    <title>Neuro Drive App</title>
    <style>
    #game { background: lightgrey }
    </style>
  </head>
  <body>
    <canvas id="game" width="580" height="800"></canvas>
    <script src="src/app.js"></script>
  </body>
</html>
console.log("Hello, I'm Electron app!")
ファイルツリーは次にようになっています。
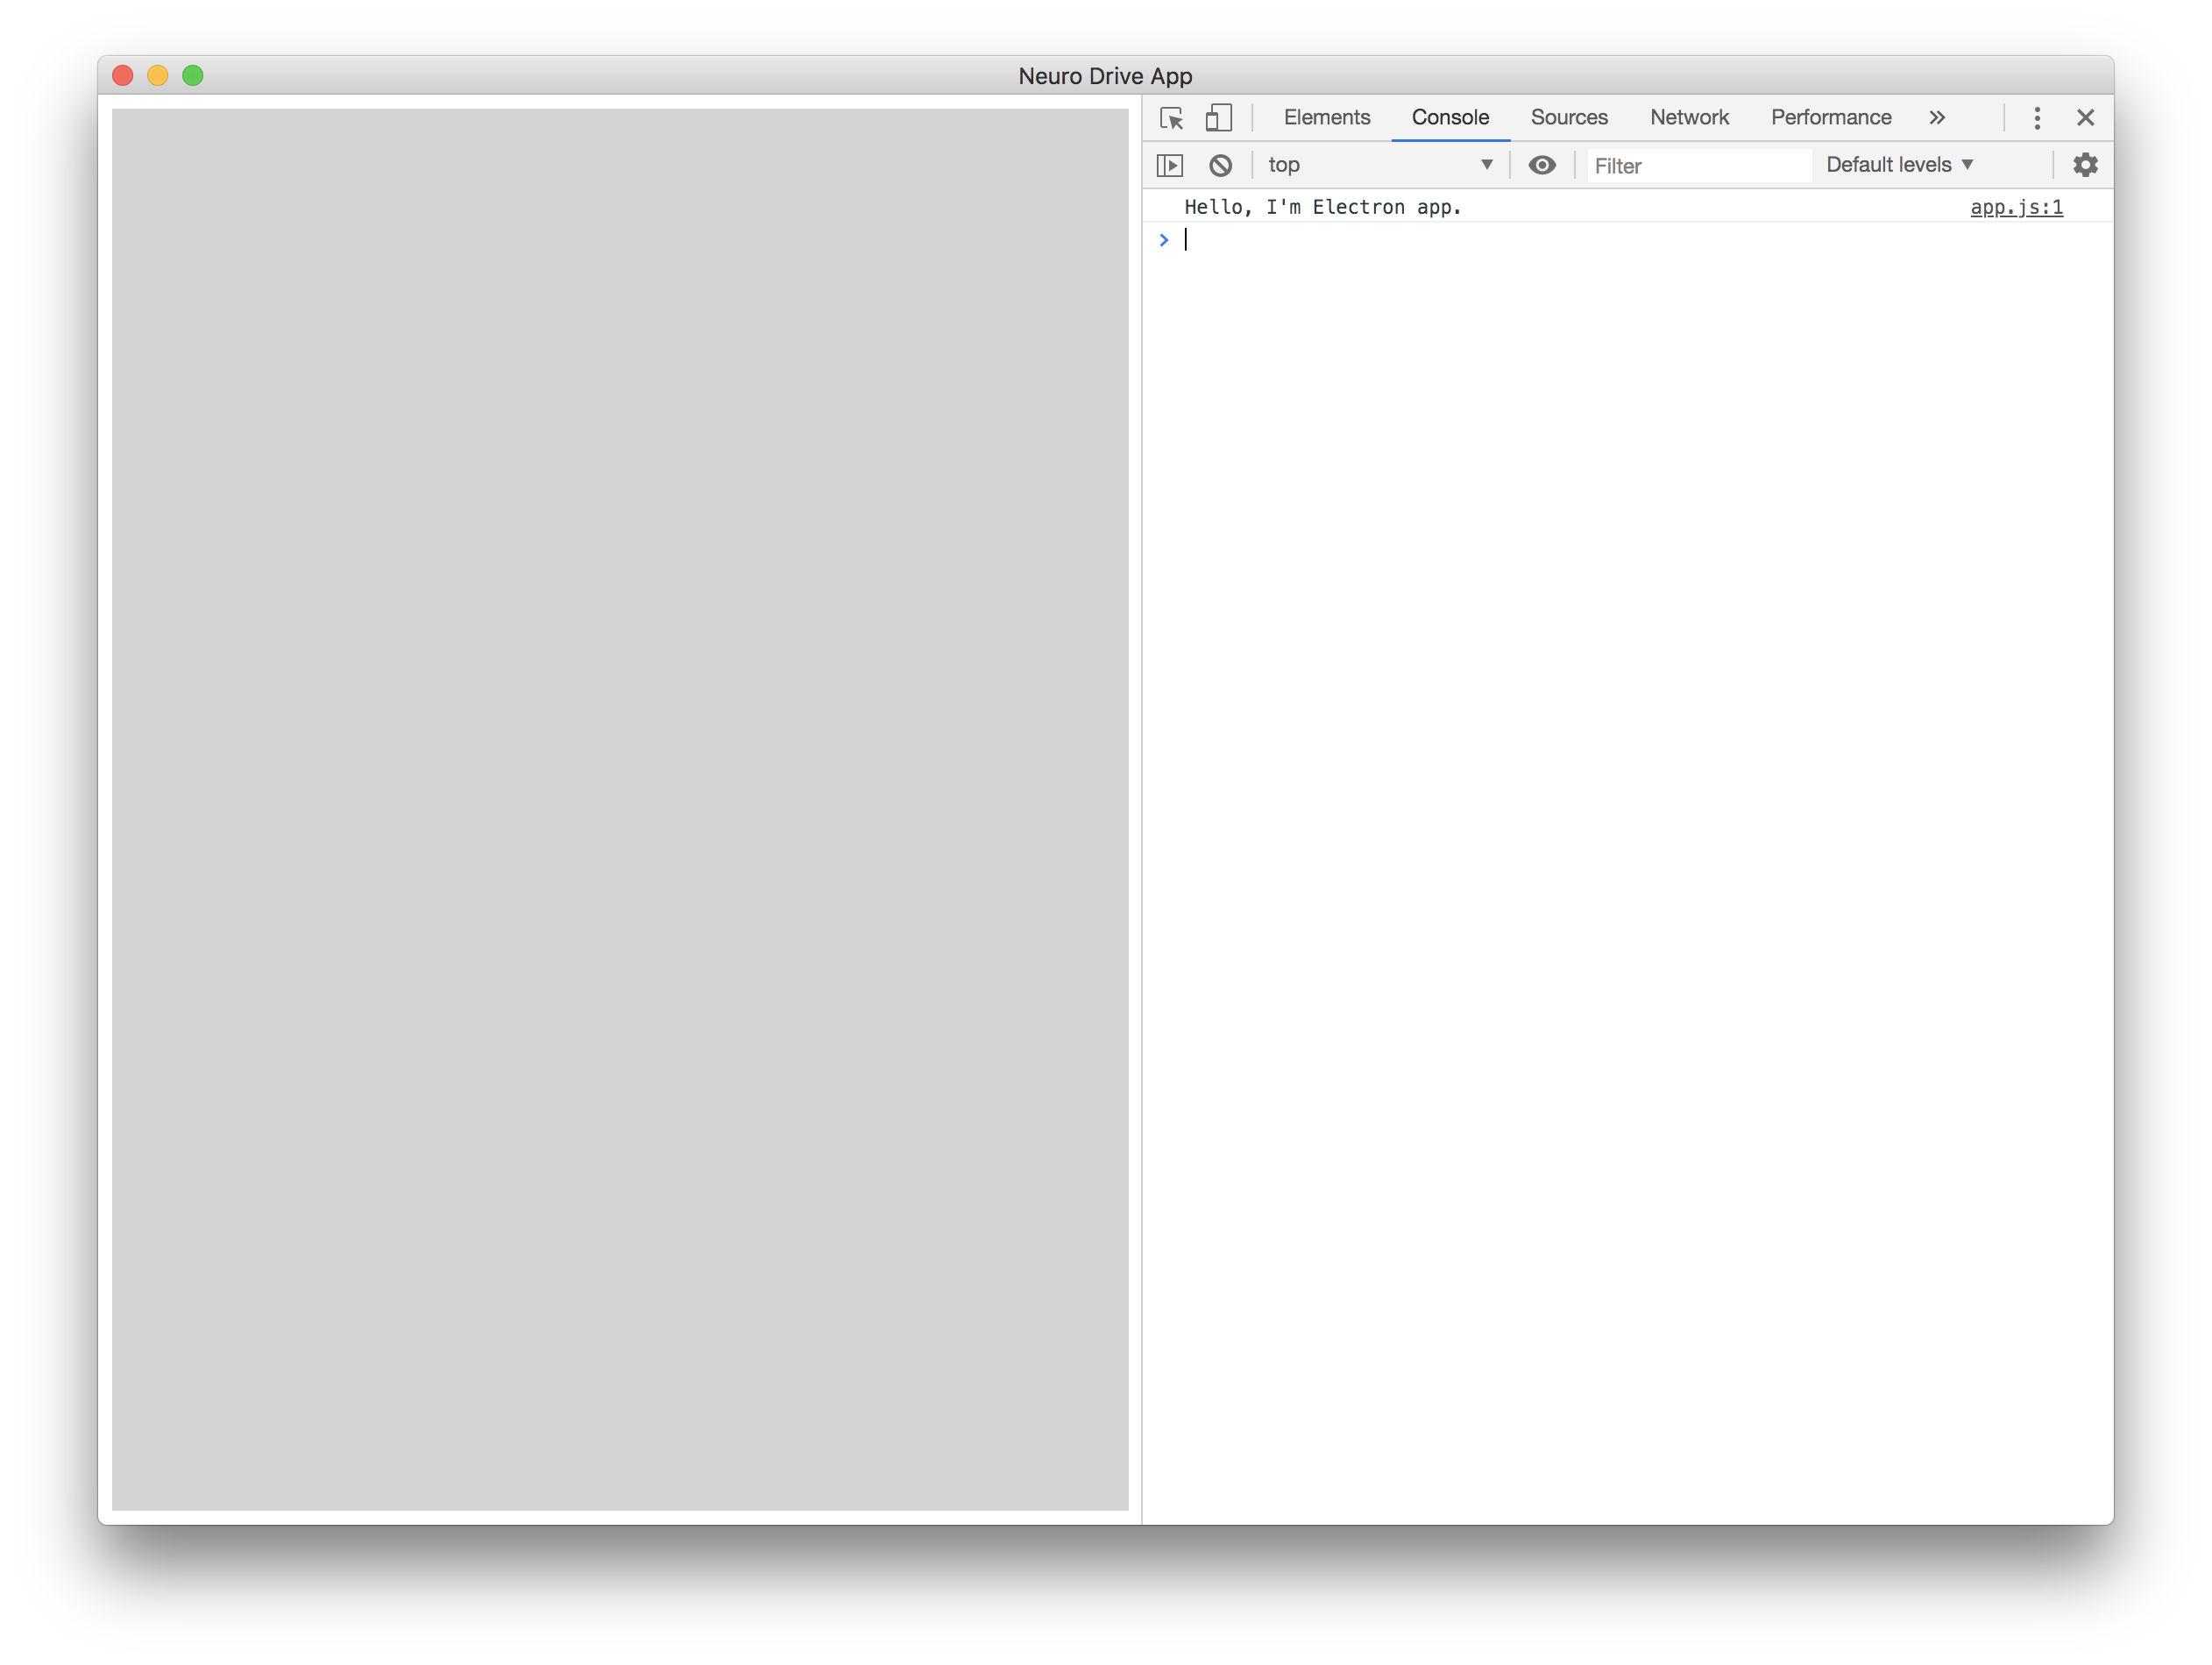
ここまで済んだら実際にビルドして立ち上げてみましょう。下記のコマンドを叩きます。
yarn start
次にようなウィンドウが表示されればOKです。
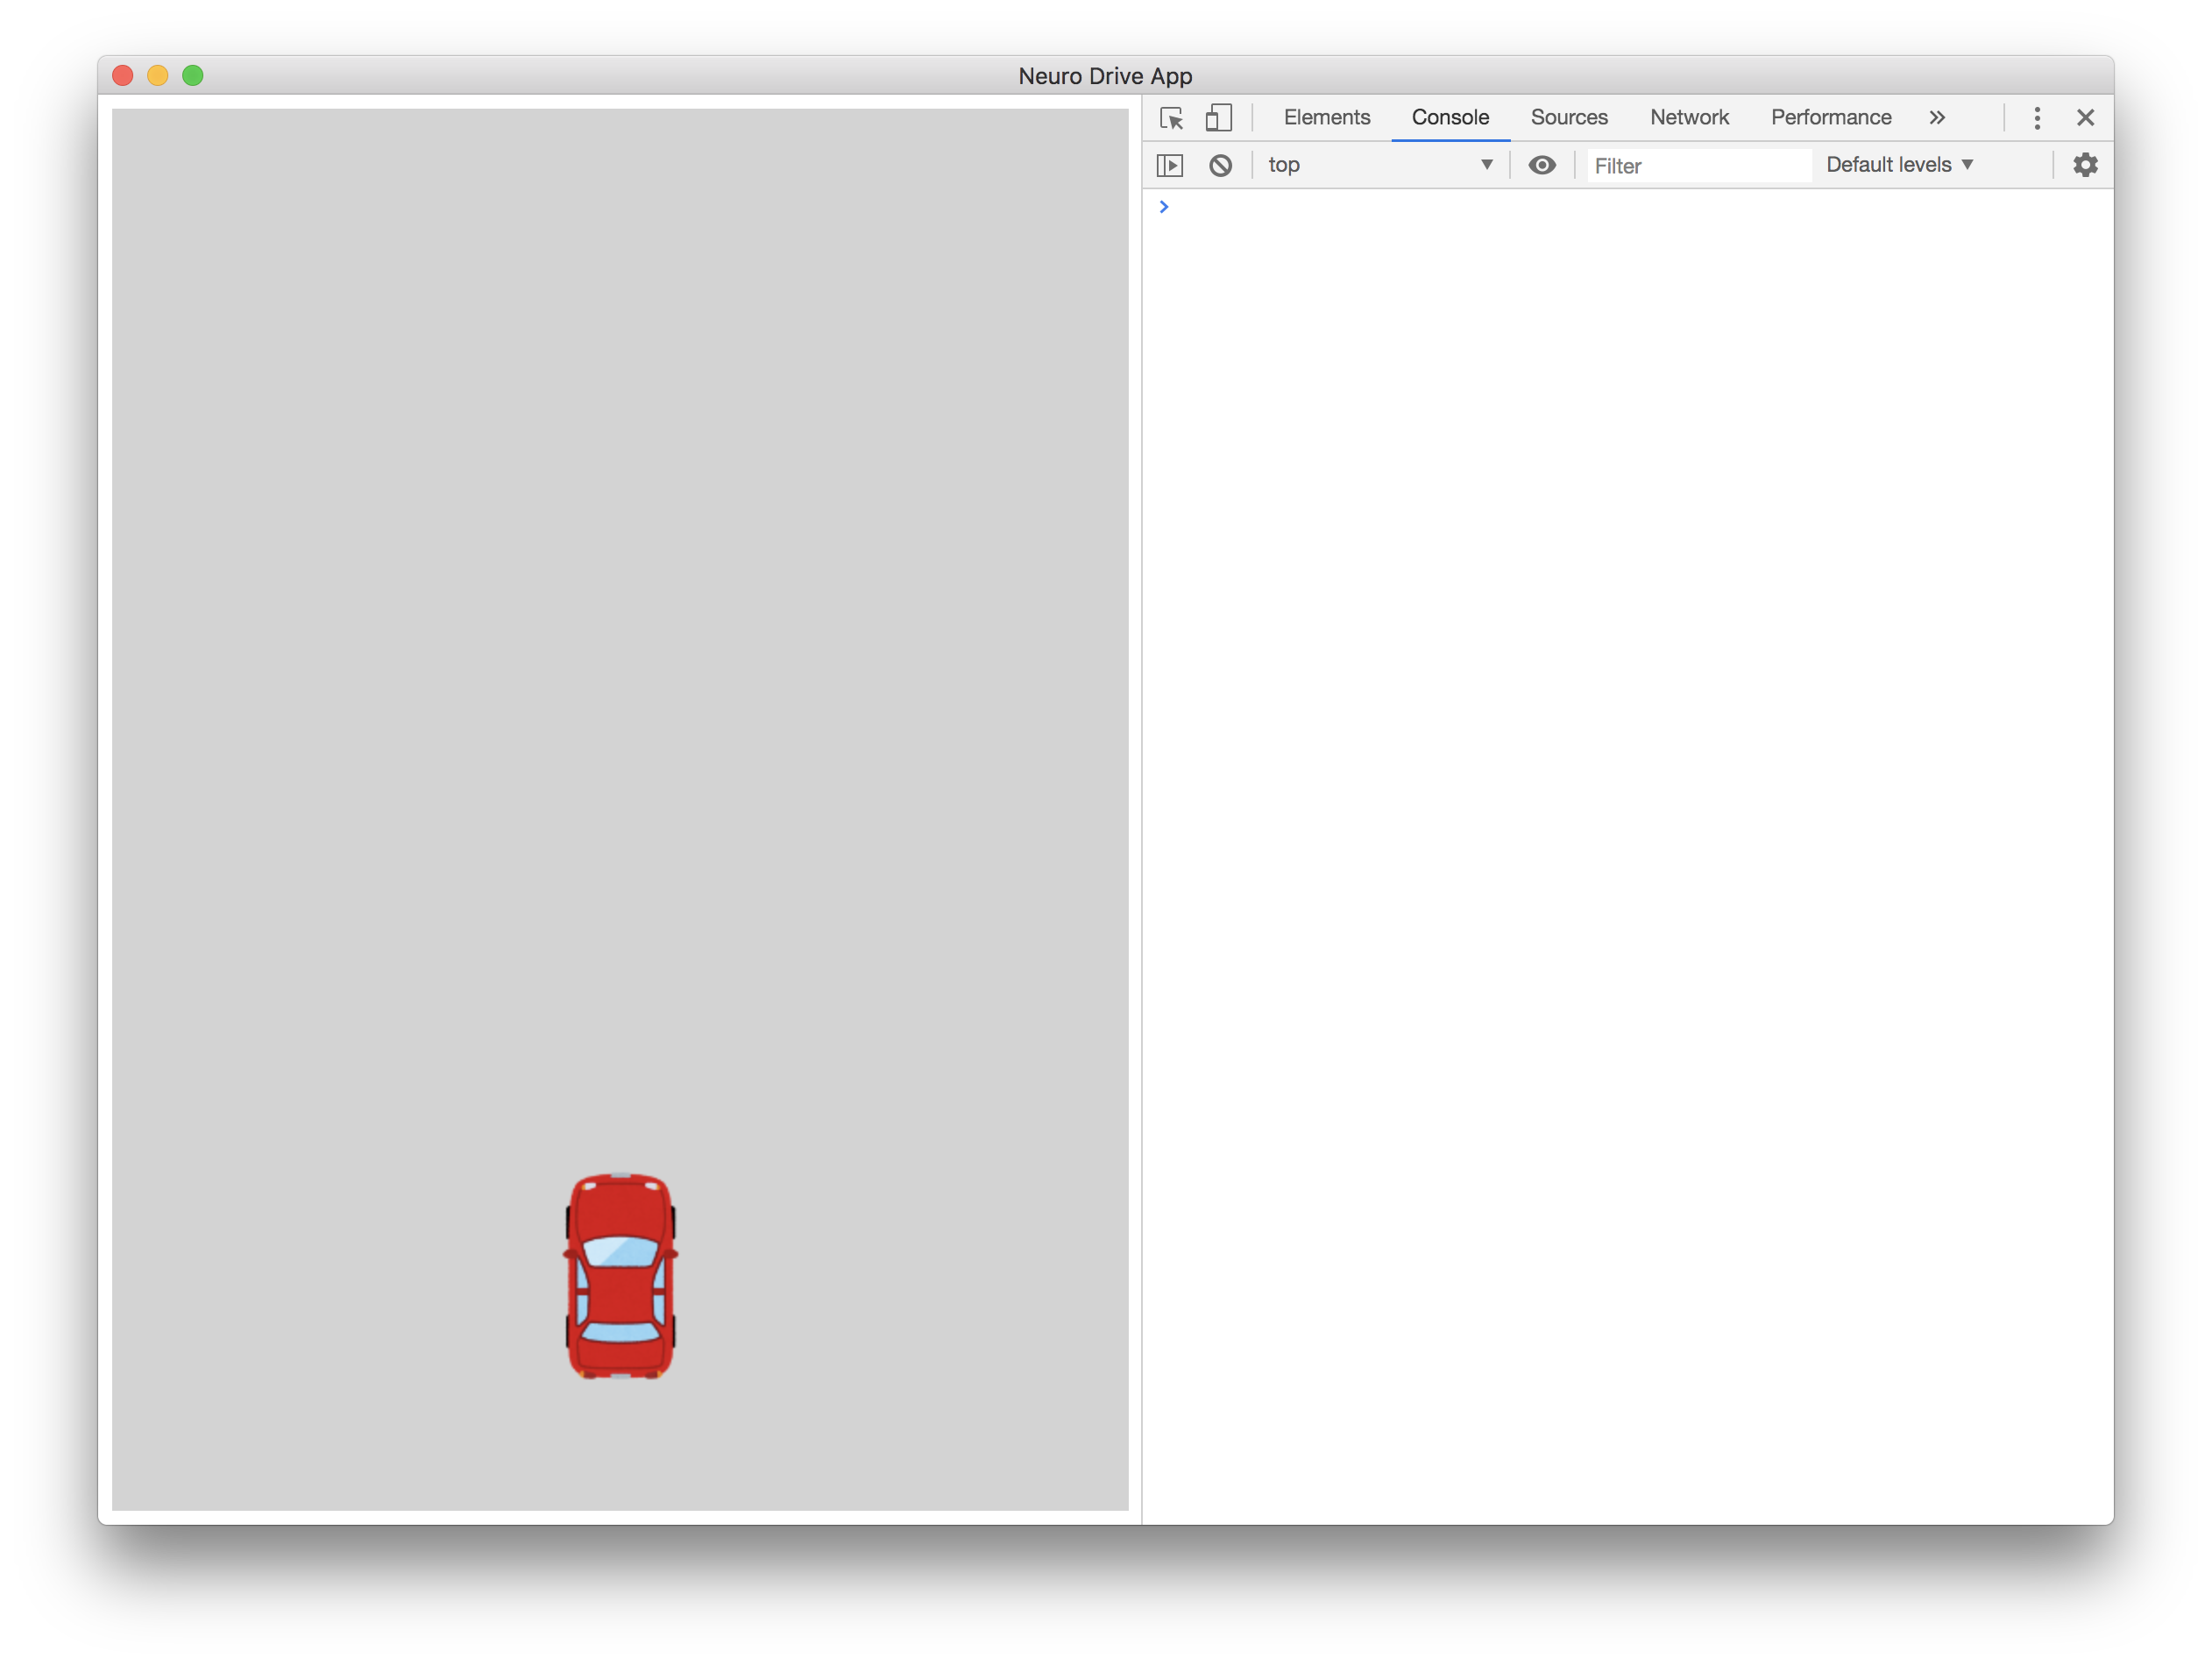
車を置く
いらすとや様から車の画像をお借りします。
https://www.irasutoya.com/2015/11/blog-post_793.html
車のpngファイルをsrc/images/car.pngとして保存します。
車を表現するクラスをsrc/components/Car.jsに作ります。
const width  = 100
const height = 134

class Car {
  constructor(canvas) {
    this.canvas = canvas
    this.loaded = false

    this.img = new Image()
    this.img.onload = () => this.loaded = true
    this.img.src = path.resolve('src/images/car.png')

    this.x = canvas.width/2 - width/2
    this.y = canvas.height*0.75
  }

  draw() {
    if (!this.loaded) return

    this.canvas.getContext('2d').drawImage(this.img, this.x, this.y, width, height)
  }
}

module.exports = Car
src/app.jsの中身を消して次にように書き換えます。
const path = require('path')
const Car  = require(path.resolve('src/components/Car.js'))

const canvas = document.getElementById('game')
const ctx    = canvas.getContext('2d')

const car = new Car(canvas)

const draw = () => {
  ctx.clearRect(0, 0, canvas.width, canvas.height)

  car.draw()
}

setInterval(draw, 10)
Electronアプリをリロードすると次にようになるはずです。
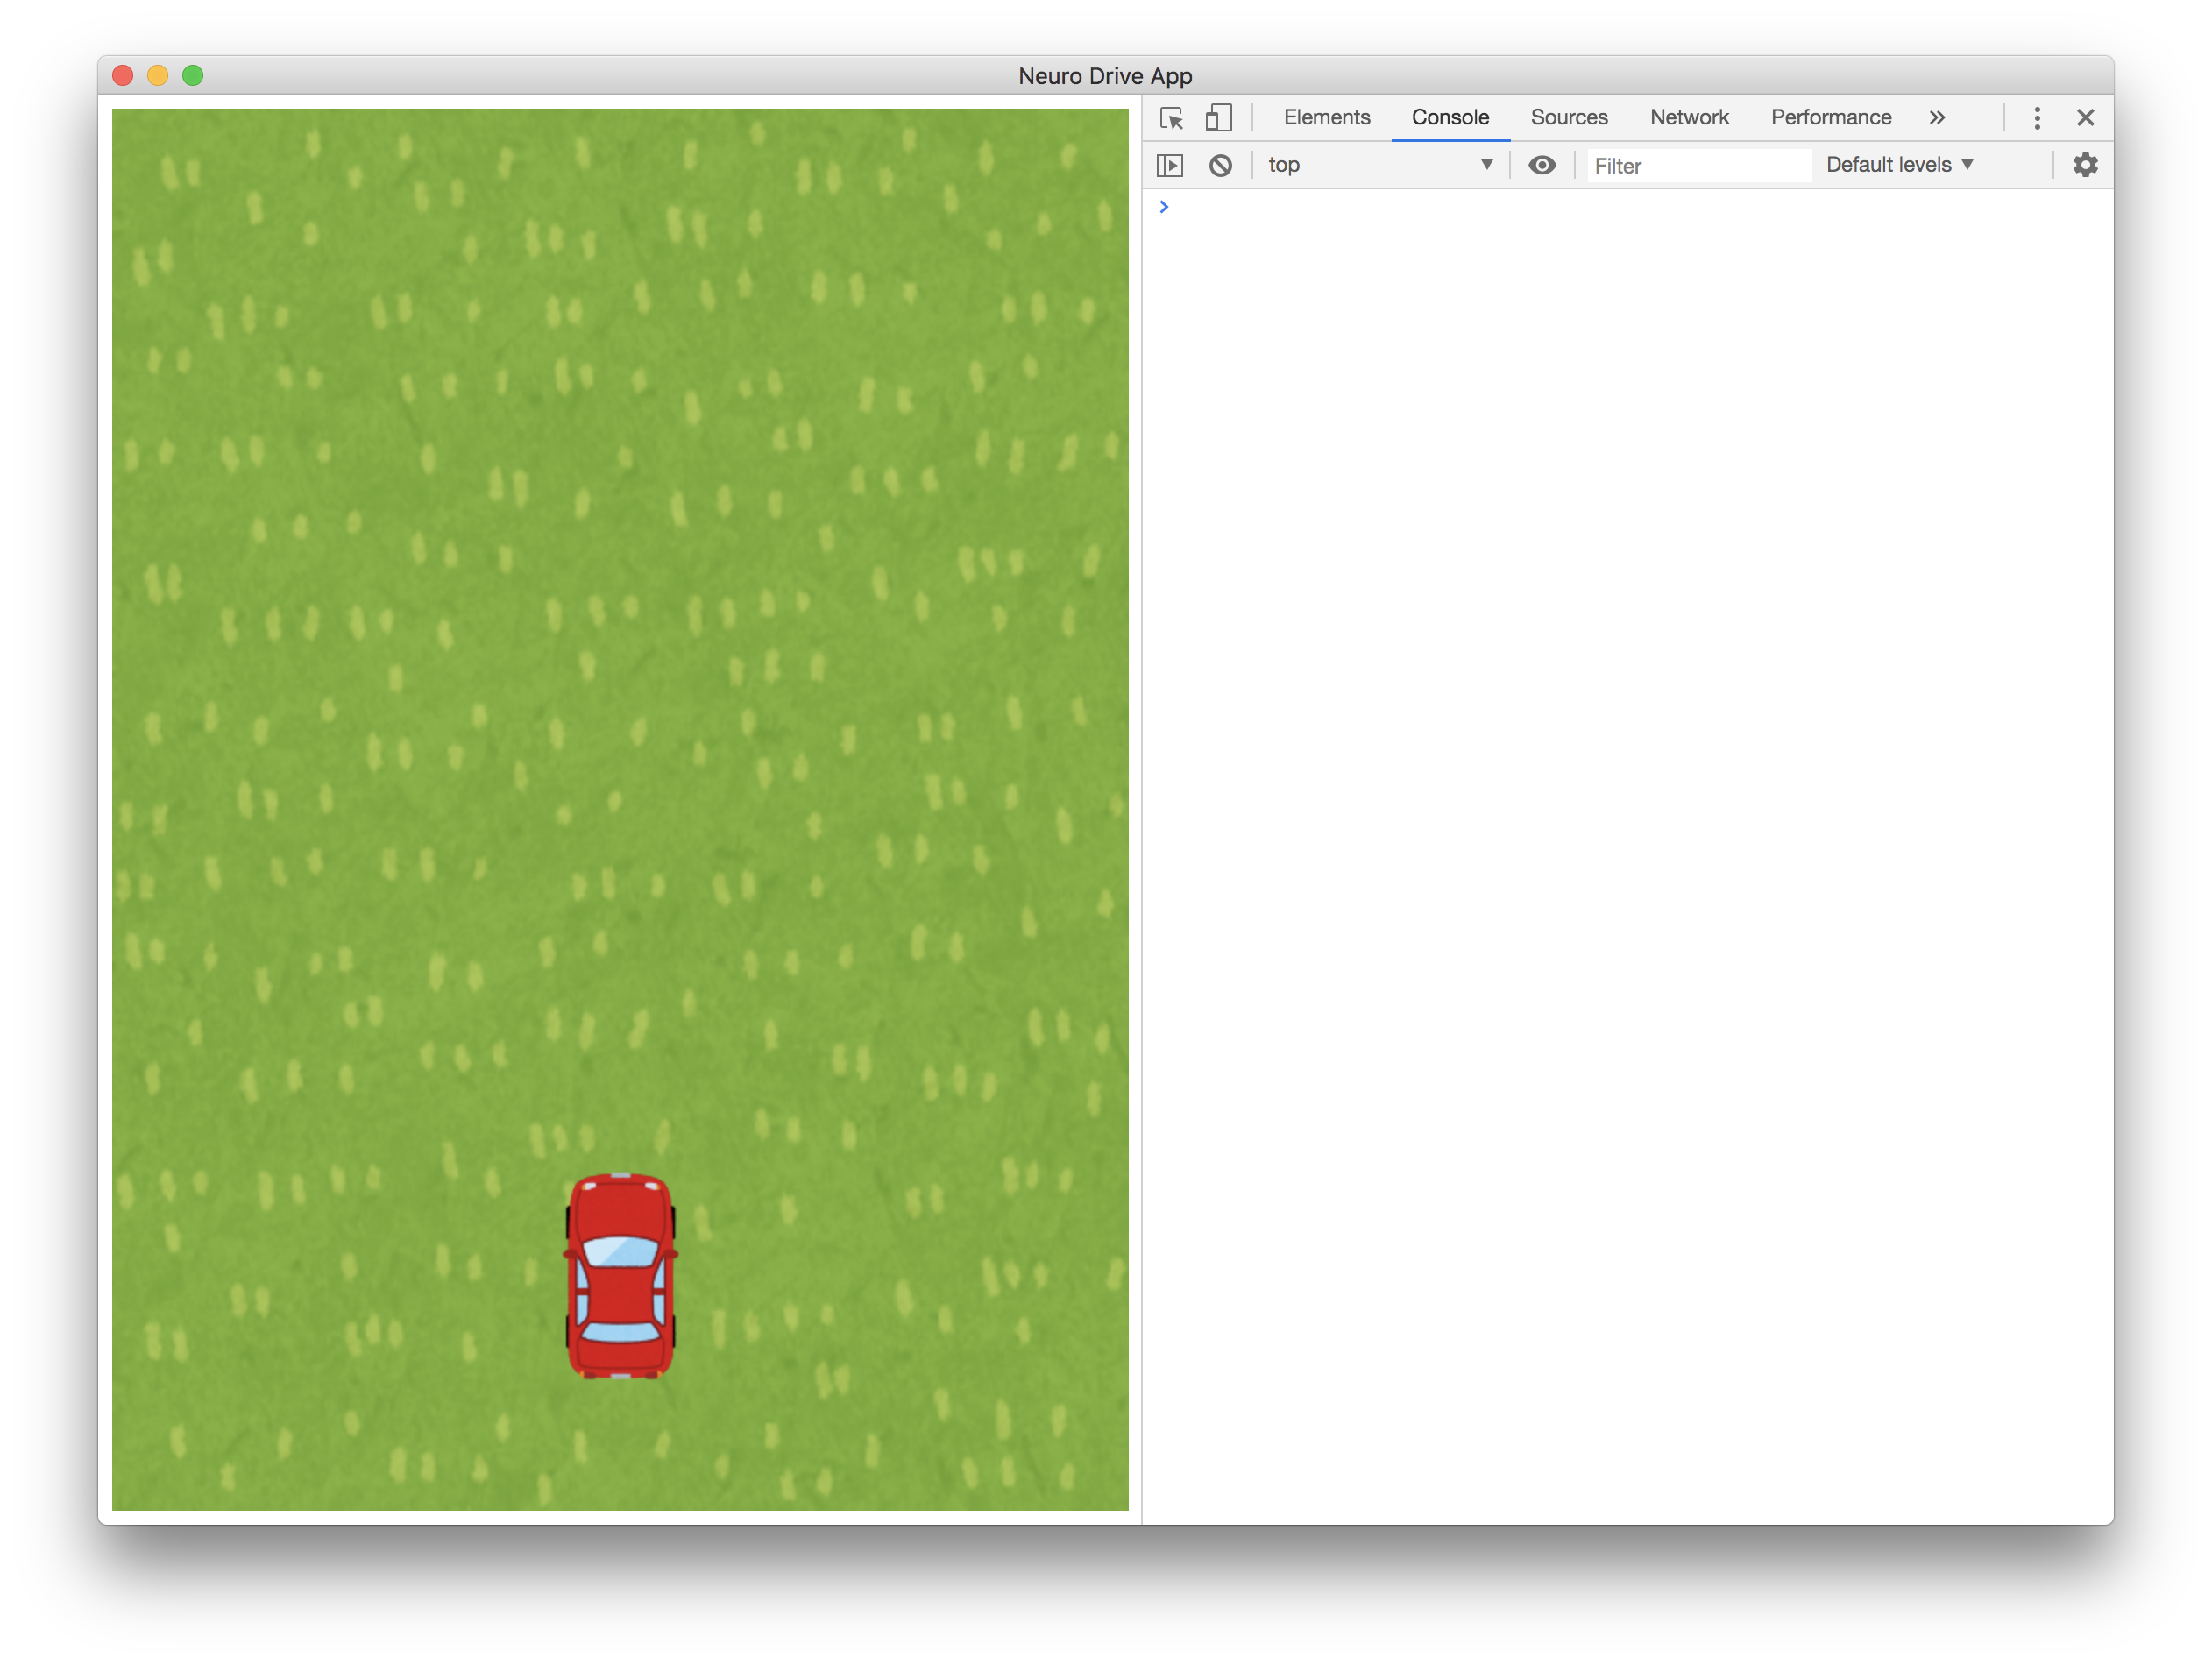
芝生を張る
このままでは寂しいので芝生を張りましょう。
いらすとや様から芝生の画像をダウンロードしてsrc/images/lawn.pngとして保存します。
https://www.irasutoya.com/2015/07/blog-post_732.html
背景を表現するクラスをsrc/components/Background.jsに作ります。
class Background {
  constructor(canvas) {
    this.canvas = canvas
    this.loaded = false

    this.img = new Image()
    this.img.onload = () => this.loaded = true
    this.img.src = path.resolve('src/images/lawn.png')
  }

  draw() {
    if (!this.loaded) return

    const ctx = this.canvas.getContext('2d')
    ctx.drawImage(this.img, 0, 0, this.canvas.width, this.canvas.height)
  }
}

module.exports = Background
芝生画像をキャンバス全体に描画するため、src/app.jsを次にように修正します。
const path       = require('path')
const Car        = require(path.resolve('src/components/Car.js'))
const Background = require(path.resolve('src/components/Background.js')) // 追加

const canvas = document.getElementById('game')
const ctx    = canvas.getContext('2d')

const car        = new Car(canvas)
const background = new Background(canvas) // 追加

const draw = () => {
  ctx.clearRect(0, 0, canvas.width, canvas.height)

  background.draw() // 追加
  car.draw()
}

setInterval(draw, 10)
リロードするとこんな感じなります。
等速で車を動かす
車が走っているよう見せかけるため、背景を動かします。いわゆるミニドライブ方式です。
そのためにまず速度を管理するクラスsrc/SpeedSource.jsを作ります。
class SpeedSource {
  constructor() {
    this.speed = 40
  }

  getSpeed() {
    return this.speed
  }
}

module.exports = SpeedSource
src/app.jsを変更し、BackgroundのコンストラクタにSpeedSourceのインスタンスを渡します。
const path        = require('path')
const Car         = require(path.resolve('src/components/Car.js'))
const Background  = require(path.resolve('src/components/Background.js'))
const SpeedSource = require(path.resolve('src/SpeedSource.js')) // 追加

const canvas = document.getElementById('game')
const ctx    = canvas.getContext('2d')

const car         = new Car(canvas)
const speedSource = new SpeedSource() // 追加
const background  = new Background(canvas, speedSource) // 変更

const draw = () => {
  ctx.clearRect(0, 0, canvas.width, canvas.height)

  background.draw()
  car.draw()
}

setInterval(draw, 10)
2つの背景画像を縦に並べ、速度に応じて上から下に移動させます。背景画像が画面外に出たらもう一方の背景画像の上に移動させることで、無限に背景がループします。
class Background {
  constructor(canvas, speedSource) { // 変更
    this.canvas = canvas
    this.speedSource = speedSource // 追加
    this.loaded = false
    this.y1 = -this.canvas.height // 追加
    this.y2 = 0 // 追加

    this.img = new Image()
    this.img.onload = () => this.loaded = true
    this.img.src = path.resolve('src/images/lawn.png')
  }

  draw() {
    if (!this.loaded) return

    const speed = this.speedSource.getSpeed() * 0.1 // 追加
    const ctx = this.canvas.getContext('2d')

    ctx.drawImage(this.img, 0, this.y1, this.canvas.width, this.canvas.height) // 変更
    ctx.drawImage(this.img, 0, this.y2, this.canvas.width, this.canvas.height) // 追加
    this.y1 += speed // 追加
    this.y2 += speed // 追加
    if (this.y1 > this.canvas.height) this.y1 = -this.canvas.height + speed // 追加
    if (this.y2 > this.canvas.height) this.y2 = -this.canvas.height + speed // 追加
  }
}

module.exports = Background
リロードすると車が軽快に動き始めます。
満を持して脳波計
MindWave MobileにはThinkGear Connectorというアプリケーションが付属しています。ThinkGear Connectorは脳波計本体からBluetoothで飛ばされたデータをシリアルポートで受け取って、ソケットにリダイレクトしてくれます。

ThinkGear Connectorとソケット通信を行い、脳波データを受け取るクラスsrc/EegReceiver.jsを作ります。
const net    = require('net')
const events = require('events')
const util   = require('util')

class EegReceiver {
  constructor(options = {}) {
    this.port = options.port || 13854
    this.host = options.host || 'localhost'

    this.config = {
      enableRawOutput: !!options.enableRawOutput,
      format         : 'Json'
    }

    events.EventEmitter.call(this);
  }

  connect() {
    this.client = net.connect(this.port, this.host, () => {
      this.client.write(JSON.stringify(this.config))
    })

    this.client.on('data', data => {
      try {
        const json = JSON.parse(data.toString())
        this.emit('data', json)
      } catch(e) {
        this.emit('parse_error', data.toString());
      }
    });
  }
}

util.inherits(EegReceiver, events.EventEmitter);

module.exports = EegReceiver
MindWave Mibileが正常に接続されていれば、EegReceiver.jsが脳波データを取得します。
脳波で車を動かす
src/SpeedSource.jsが脳波データを基に速度を決定するようにします。次にように書き換えてください。
class SpeedSource {
  constructor(eegReceiver) {
    this.eegReceiver = eegReceiver
    this.speed = 0

    this.eegReceiver.on('data', data => {
      if (this.stopping) return
      this.speed = data.eSense.attention * 1000
      if (this.speed < 0) this.speed = 0
      console.log(`eeg: attention=${data.eSense.attention}`)
    })
    this.eegReceiver.connect()
  }

  getSpeed() {
    return this.speed
  }
}

module.exports = SpeedSource
最後に、src/app.jsでEegReceiverインスタンスをSpeedSourceのコンストラクタに渡してあげます。
const path        = require('path')
const Car         = require(path.resolve('src/components/Car.js'))
const Background  = require(path.resolve('src/components/Background.js'))
const EegReceiver = require(path.resolve('src/EegReceiver.js')) // 追加
const SpeedSource = require(path.resolve('src/SpeedSource.js'))

const canvas = document.getElementById('game')
const ctx    = canvas.getContext('2d')

const eegReceiver = new EegReceiver() // 追加
const speedSource = new SpeedSource(eegReceiver) // 変更
const car         = new Car(canvas)
const background  = new Background(canvas, speedSource)

const draw = () => {
  ctx.clearRect(0, 0, canvas.width, canvas.height)

  background.draw()
  car.draw()
}

setInterval(draw, 10)
MindWave Mobileを装着してリロードすると、脳波データに応じて速度が変化することが分かります。
なお脳波データの値を車の加速度ではなく速度として代入しています。そのため停まっていた車がノーモーションでトップスピードに入ることもあります。
おわりに
20人程度の方にMindWave Mobileを装着しゲームをプレイしてもらいましたが、集中度や瞑想度を意識によってコントロールすることは非常に難しいです。一方、まばたきの検知はそこそこの精度がでます。
今後さらにBMI技術が進化すれば、私たちソフトウェアエンジニアが力を発揮できる領域がさらに現実へ侵食できるかも知れません。
この記事のコード:https://github.com/aki202/neuro_drive_app
完成したゲームのコード:https://github.com/aki202/neuro_drive_electron
変なものを作ってTwitterで共有するのが趣味です:@aki202
-
Wikipedia, 『ブレイン・マシン・インターフェース』, https://ja.wikipedia.org/wiki/ブレイン・マシン・インタフェース, 2019/8/14 ↩
-
ベローチェ:日本のカフェを牛耳るシャノアールグループが展開するコーヒーチェーン。新宿駅周辺に10店舗程あるため、待ち合わせ場所に選ぶと大体待ち合わせできない。 ↩