背景
Pythonの約35000倍速いという噂のMojoについて以前から話題になっていたけど、アカウント申請したまま、ずっと動かせずにいた。Qiitaで使ってみた記事があったため、自分の試したくなったので、その結果を載せる。
なお、以下の記事はMac対象にしているので、筆者はWindowsを対象にしている。
目的
Mojoを使える状態にし、Hello Worldまで試す。
対象者
- 先端技術に興味がある人
- Pythonの基礎を理解している
- 計算、処理速度に興味がある人
環境
- Windows11
- WSLインストール済
- VSCODEインストール済
Mojoの初期設定
VSCODEを起動し、WSLターミナルを起動する
curl https://get.modular.com | sh - && \
modular auth <認証トークン>
Mojo SDKをインストール
modular install mojo
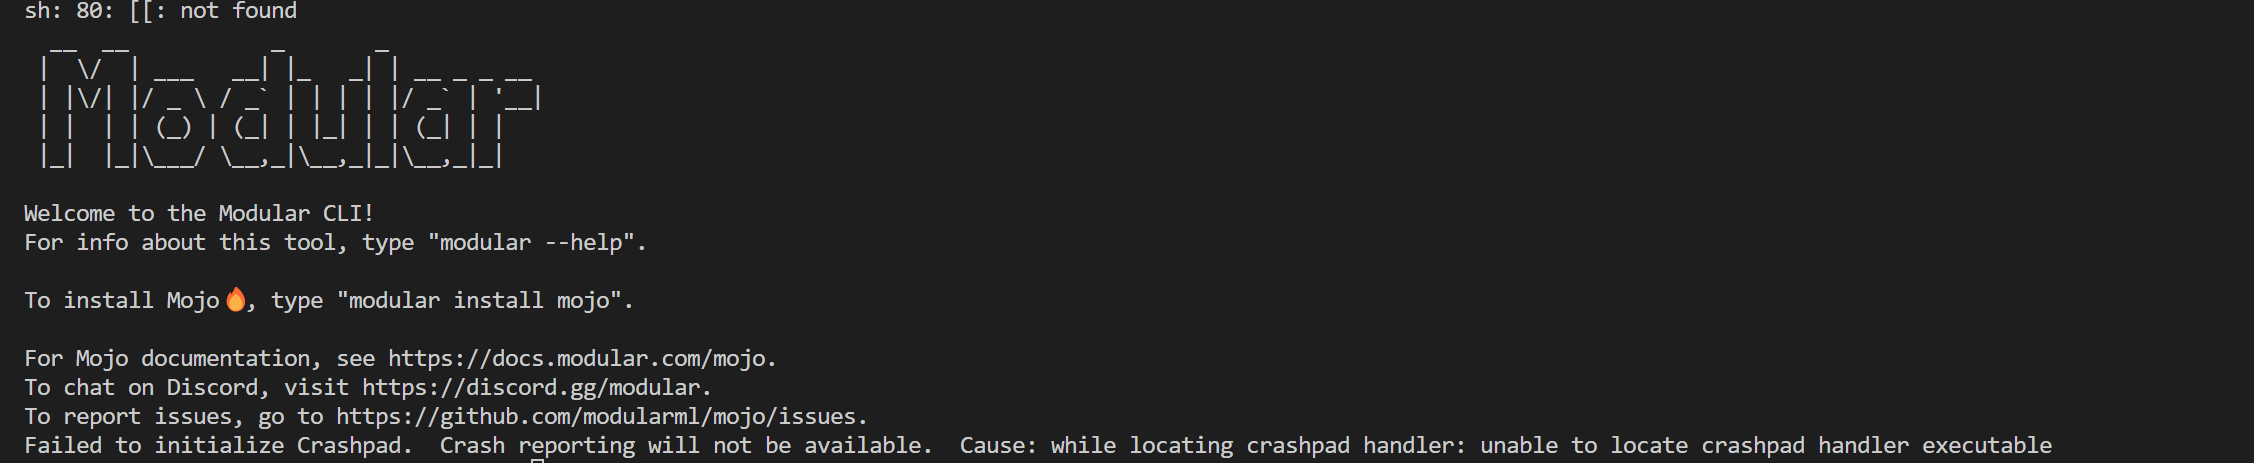
上記のコマンドで以下のエラーが出た
Failed to initialize Crashpad.  Crash reporting will not be available.  Cause: while locating crashpad handler: unable to locate crashpad handler executable

# Found release for https://packages.modular.com/mojo @ 0.6.3
# Installing to /home/akeyi2016/.modular/pkg/packages.modular.com_mojo
# Downloading artifacts. Please wait...
[files    124/124][bytes    133MiB/133MiB @  24.8MiB/s][██████████████████████████████] 💯%
# Downloads complete, setting configs...
# Configs complete, running post-install hooks...
The virtual environment was not created successfully because ensurepip is not
available.  On Debian/Ubuntu systems, you need to install the python3-venv
package using the following command.

    apt install python3.10-venv

You may need to use sudo with that command.  After installing the python3-venv
package, recreate your virtual environment.

Failing command: /home/akeyi2016/.modular/pkg/packages.modular.com_mojo/venv/bin/python3

modular: error: failed to run script
==========================
Failure Information:
        - Script: `PATH=/home/akeyi2016/.local/bin:/usr/local/sbin:/usr/local/bin:/usr/sbin:/usr/bin:/sbin:/bin:/usr/games:/usr/local/games:/usr/lib/wsl/lib:/mnt/d/python_pgm/venv/Scripts:/mnt/c/Program Files/Common Files/Oracle/Java/javapath:/mnt/c/Windows/system32:/mnt/c/Windows:/mnt/c/Windows/System32/Wbem:/mnt/c/Windows/System32/WindowsPowerShell/v1.0/:/mnt/c/Windows/System32/OpenSSH/:/mnt/c/Program Files (x86)/NVIDIA Corporation/PhysX/Common:/mnt/c/Program Files/NVIDIA Corporation/NVIDIA NvDLISR:/mnt/c/Program Files/Git/cmd:/mnt/c/WINDOWS/system32:/mnt/c/WINDOWS:/mnt/c/WINDOWS/System32/Wbem:/mnt/c/WINDOWS/System32/WindowsPowerShell/v1.0/:/mnt/c/WINDOWS/System32/OpenSSH/:/mnt/c/Program Files/nodejs/:/mnt/d/python_pgm/bin:/mnt/c/Program Files/Docker/Docker/resources/bin:/mnt/c/Users/yamamoto/.pyenv/pyenv-win/bin:/mnt/c/Users/yamamoto/.pyenv/pyenv-win/shims:/mnt/c/Users/yamamoto/AppData/Local/Microsoft/WindowsApps:/mnt/c/Users/yamamoto/AppData/Local/Programs/Microsoft VS Code/bin:/mnt/c/Users/yamamoto/AppData/Local/Programs/Python/Python310:/mnt/c/Program Files/heroku/bin:/mnt/c/Windows/System32:/mnt/c/Program Files/MySQL/MySQL Server 8.0/bin:/mnt/c/Users/yamamoto/AppData/Roaming/npm:/mnt/d/python_pgm/bin:/snap/bin/usr/bin/sh /home/akeyi2016/.modular/pkg/packages.modular.com_mojo/scripts/post-install/install-dependencies.sh /home/akeyi2016/.modular/pkg/packages.modular.com_mojo /home/akeyi2016/.modular/pkg/packages.modular.com_mojo/scripts/post-install/requirements.txt`
`       - Result: 1
仮想環境を作ってみる
akeyi2016@akeyi2021:/mnt/d/python_pgm$ sudo apt install python3.10-venv
Reading package lists... Done
Building dependency tree... Done
Reading state information... Done
The following additional packages will be installed:
  python3-pip-whl python3-setuptools-whl
The following NEW packages will be installed:
  python3-pip-whl python3-setuptools-whl python3.10-venv
0 upgraded, 3 newly installed, 0 to remove and 63 not upgraded.
Need to get 2473 kB of archives.
After this operation, 2884 kB of additional disk space will be used.
Do you want to continue? [Y/n] y
Get:1 http://archive.ubuntu.com/ubuntu jammy-updates/universe amd64 python3-pip-whl all 22.0.2+dfsg-1ubuntu0.4 [1680 kB]
Get:2 http://archive.ubuntu.com/ubuntu jammy-updates/universe amd64 python3-setuptools-whl all 59.6.0-1.2ubuntu0.22.04.1 [788 kB]
Get:3 http://archive.ubuntu.com/ubuntu jammy-updates/universe amd64 python3.10-venv amd64 3.10.12-1~22.04.3 [5716 B]
Fetched 2473 kB in 3s (897 kB/s)
Selecting previously unselected package python3-pip-whl.
(Reading database ... 31904 files and directories currently installed.)
Preparing to unpack .../python3-pip-whl_22.0.2+dfsg-1ubuntu0.4_all.deb ...
Unpacking python3-pip-whl (22.0.2+dfsg-1ubuntu0.4) ...
Selecting previously unselected package python3-setuptools-whl.
Preparing to unpack .../python3-setuptools-whl_59.6.0-1.2ubuntu0.22.04.1_all.deb ...
Unpacking python3-setuptools-whl (59.6.0-1.2ubuntu0.22.04.1) ...
Selecting previously unselected package python3.10-venv.
Preparing to unpack .../python3.10-venv_3.10.12-1~22.04.3_amd64.deb ...
Unpacking python3.10-venv (3.10.12-1~22.04.3) ...
Setting up python3-setuptools-whl (59.6.0-1.2ubuntu0.22.04.1) ...
Setting up python3-pip-whl (22.0.2+dfsg-1ubuntu0.4) ...
Setting up python3.10-venv (3.10.12-1~22.04.3) ...
Mojoインストール成功
🔥 Mojo installed! 🔥

Mojo's Python virtual environment created at /home/akeyi2016/.modular/pkg/packages.modular.com_mojo/venv

If you are using ZSH (default on macOS), run the following commands:

echo 'export MODULAR_HOME="/home/akeyi2016/.modular"' >> ~/.zshrc
echo 'export PATH="/home/akeyi2016/.modular/pkg/packages.modular.com_mojo/bin:$PATH"' >> ~/.zshrc
source ~/.zshrc

If you are using bash, run the following commands:

BASHRC=$( [ -f "$HOME/.bash_profile" ] && echo "$HOME/.bash_profile" || echo "$HOME/.bashrc" )
echo 'export MODULAR_HOME="/home/akeyi2016/.modular"' >> "$BASHRC"
echo 'export PATH="/home/akeyi2016/.modular/pkg/packages.modular.com_mojo/bin:$PATH"' >> "$BASHRC"
source "$BASHRC"

Then enter 'mojo' to start the Mojo REPL.

For tool help, enter 'mojo --help'.
For more docs, see https://docs.modular.com/mojo.
パスを設定(一時的)
export MODULAR_HOME="$HOME/.modular"
export PATH="$MODULAR_HOME/pkg/packages.modular.com_mojo/bin:$PATH"
パスを設定(恒久的)bashrcに書き込みして、ターミナルを再起動する
# bashrcを編集する
$ sudo nano ~/.bashrc
# 上記の2行を一番下にコピーする
# 上書き保存する
# bashrcを適用する
$ . ~/.bashrc
CLIで動かす(「:quit」で抜ける)
akeyi2016@akeyi2021:/mnt/d/python_pgm/mojo$ mojo
Welcome to Mojo! 🔥

Expressions are delimited by a blank line.
Type `:quit` to exit the REPL and `:mojo help` for further assistance.

  1> print('hello')
  2.
hello
  2> :quit
Process 10002 exited with status = 9 (0x00000009) killed
akeyi2016@akeyi2021:/mnt/d/python_pgm/mojo$
hello worldのソースコードで作る
fn main():
    print('hello, world!')
ソースコードを実行する
$ mojo hello.mojo
hello, world!
感想
いろいろ情報が少なめだが、パス設定とmojoのインストールが正常に終わりました。