実現すること
ユーザ操作を止めるためにナビバー、ツールバーの上にviewを被せる。
完成品
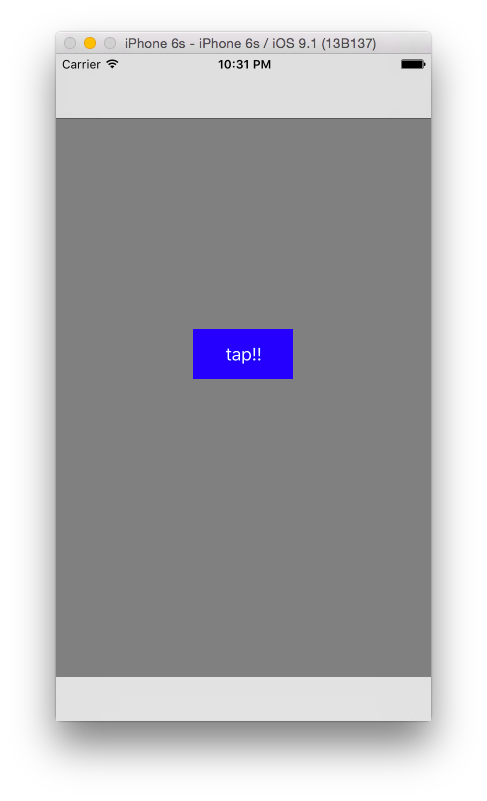
この状態から
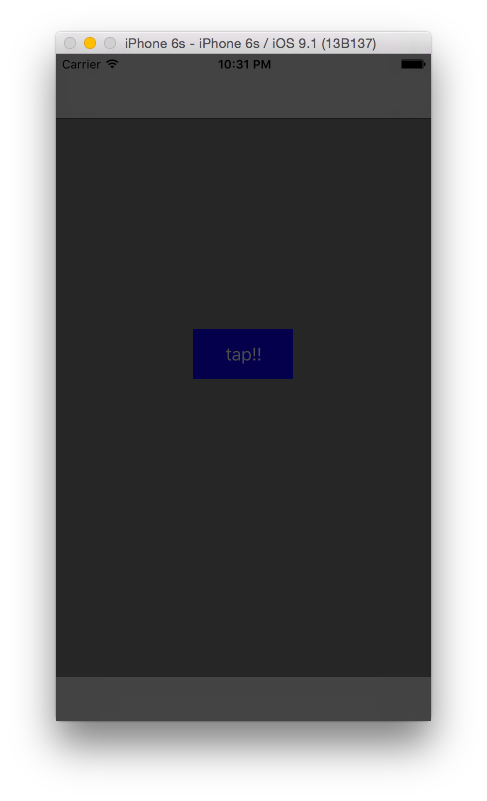
こんなふうにします。
コード
AppDelegateはUINavigationControllerを使うためにちょっと書き換えます。
AppDelegate.swift
func application(application: UIApplication, didFinishLaunchingWithOptions launchOptions: [NSObject: AnyObject]?) -> Bool {
        let vc: ViewController = ViewController()
        let navi: UINavigationController = UINavigationController(rootViewController: vc)
        self.window = UIWindow(frame: UIScreen.mainScreen().bounds)
        self.window?.rootViewController = navi
        self.window?.makeKeyAndVisible()
        return true
}
VCはこんなかんじ
ViewController.swift
class ViewController: UIViewController {

    override func viewDidLoad() {
        super.viewDidLoad()
        self.view.backgroundColor = UIColor.grayColor()
        self.navigationController?.toolbarHidden = false

        self.setupButton()
    }

    private func setupButton()
    {
        let button = UIButton()
        button.frame = CGRectMake(0, 0, 100, 50)
        button.layer.position = CGPoint(x: self.view.bounds.width / 2, y: 300)
        button.backgroundColor = UIColor.blueColor()
        button.setTitle("tap!!", forState: .Normal)
        button.addTarget(self, action: "tappedButton", forControlEvents: .TouchUpInside)
        self.view.addSubview(button)
    }

    @objc private func tappedButton()
    {
        self.navigationController?.view.addSubview(self.createView())
    }

    private func createView() -> UIView
    {
        let view = UIView(frame: CGRectMake(0, 0, self.view.bounds.width, self.view.bounds.height))
        view.backgroundColor = UIColor(red: 0, green: 0, blue: 0, alpha: 0.7)
        return view
    }

    override func didReceiveMemoryWarning() {
        super.didReceiveMemoryWarning()
    }
}
このようにself.navigationController?.view.addSubviewをすればバーの上にviewを被せることができます。