docomo Developer supportの@akatsukahaです
MacにFlutterの開発環境を構築する方法を記載いたします.
(最終更新日:2018/7/27)
手順
下記が設定手順
- 1. 動作環境の確認
-
2. Flutter SDKを設定
- 2.1. Flutter SDKをダウンロード
-
2.2. Flutter SDKをインストール
- 2.2.1. トラブルシューティング:XCodeライセンス
-
4. Android環境を構築
- 4.1. Android Studioをインストール
- 4.2. Android Studioで適当にプロジェクトを作成
- 4.3. Android Emulatorを作成
- 4.4. Android Emulatorを起動
- 4.5. flutterのサンプルプロジェクトを実行
-
5. iOS環境を構築
- 5.1. Xcodeをインストール
- 5.2. Xcode command-line toolsを設定
- 5.3. Xcodeのライセンスに同意
- 5.4. Xcodeを起動
- 5.5. Simulatorを起動
- 5.6. flutterのサンプルプロジェクトを実行
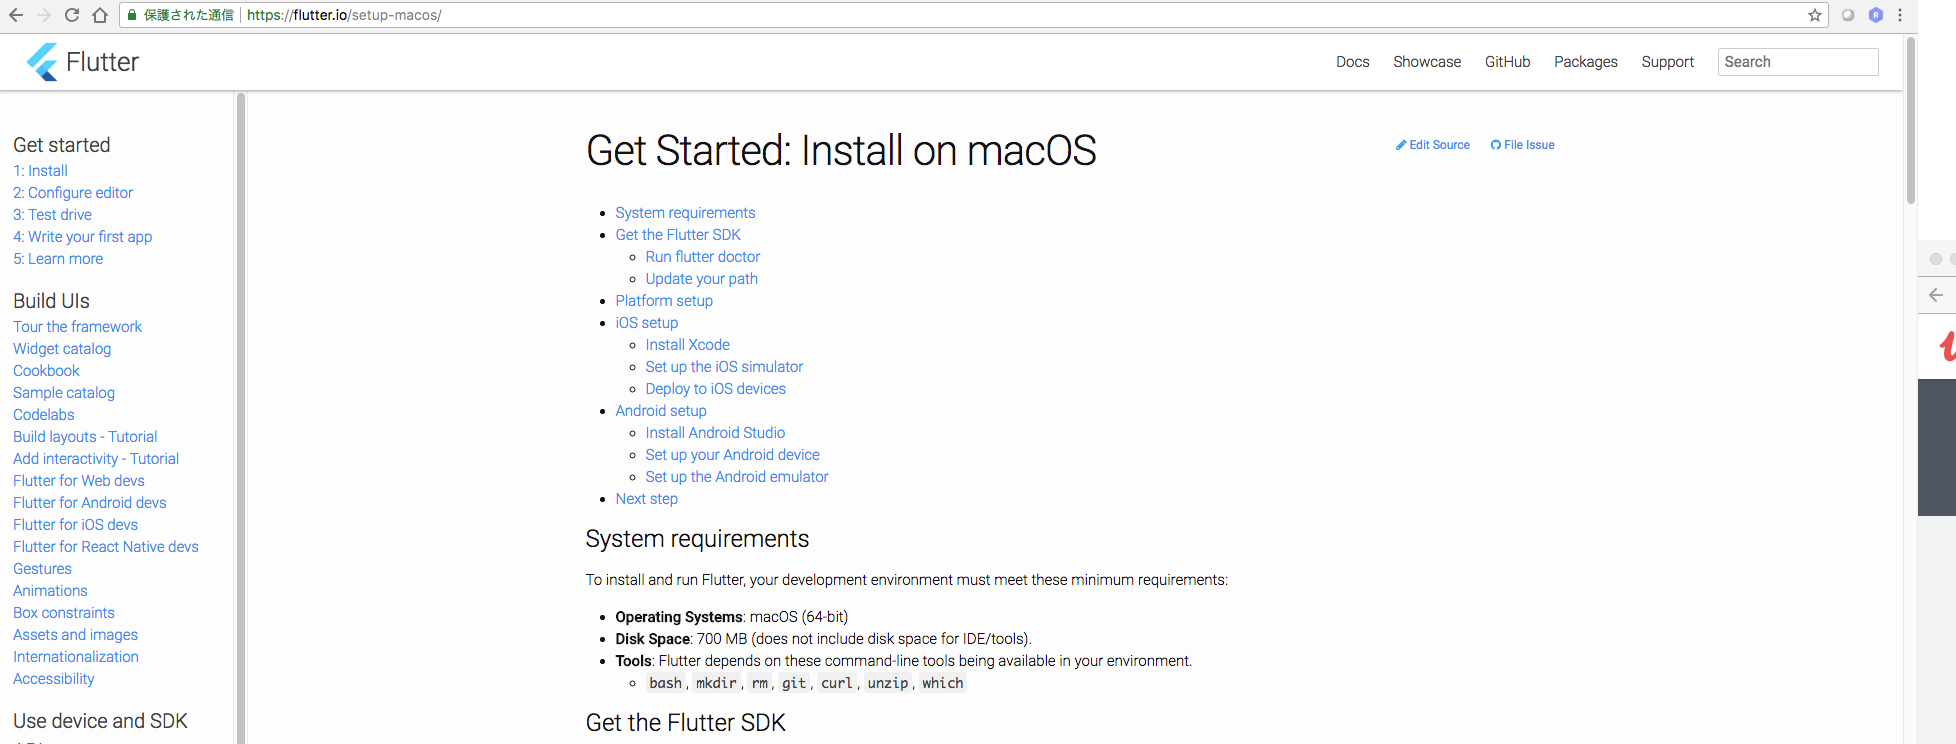
1. 動作環境の確認
| カテゴリ | 詳細 |
|---|---|
| OS | macOS (64-bit) |
| ディスク容量 | 700 MB |
| 3rd Party Tools | bash, mkdir, rm, git, curl, unzip, which |
2. Flutter SDKを設定
2.1. Flutter SDKをダウンロード
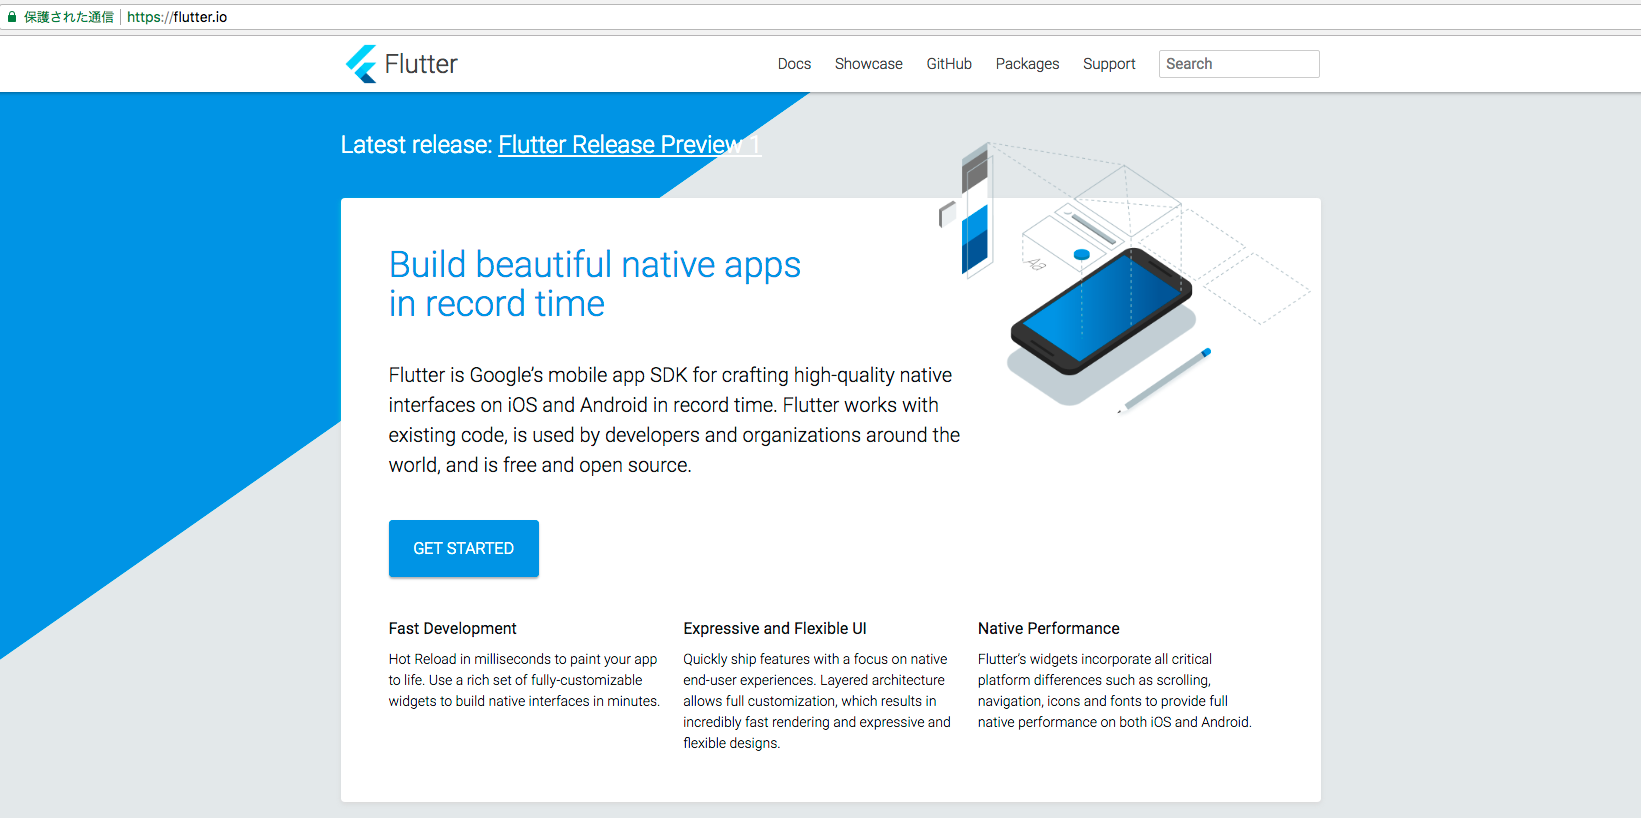
Flutter SDKをFlutterの公式サイトから取得
flutter_macos_v0.5.1-beta.zipをクリックし,SDKをダウンロード開始.サイズが700MB近くあるので時間がかかります.

2.2. Flutter SDKをインストール
作業ディレクトリにダウンロードしたZIPファイルをコピーし,解凍します.解答するとflutterというフォルダができます.
$ pwd
/Users/akatsuka/Developer/02_library

$ ls
flutter_macos_v0.5.1-beta.zip

$ unzip flutter_macos_v0.5.1-beta.zip

$ ls
flutter				flutter_macos_v0.5.1-beta.zip
解答したらbinフォルダにパスを通します.通さないと,flutterコマンドが実行できません.今回は,/Users/akatsuka/Developer/02_library/flutter/binに対してパスを通します.
$ vi ~/.bash_profile
# flutter
export PATH="/Users/akatsuka/Developer/02_library/flutter/bin:$PATH"
別Terminalを開きflutter sdkのバージョンを確認するflutter --versionコマンドを実行し,Flutter SDKが設定されていることを確認します.
$ flutter --version
Flutter 0.5.1 • channel beta • https://github.com/flutter/flutter.git
Framework • revision c7ea3ca377 (8 weeks ago) • 2018-05-29 21:07:33 +0200
Engine • revision 1ed25ca7b7
Tools • Dart 2.0.0-dev.58.0.flutter-f981f09760
2.2.1 トラブルシューティング:XCodeライセンス
下記のようなエラーメッセージが出る場合があるが,メッセージ内にある通り,sudo xcodebuild -licenseを実行してライセンスに同意する処理を実行します.
Agreeing to the Xcode/iOS license requires admin privileges, please run “sudo xcodebuild -license” and then retry this command.
Xcode/iOSのライセンスに同意する処理を実行する.
$ sudo xcodebuild -license
3.4. Flutterプロジェクトを作成
flutterでプロジェクトを作成します.これは後で使用します.
$ flutter create helloworld
$ ls
helloworld
4. Android環境を構築
4.1. Android Studioをインストール
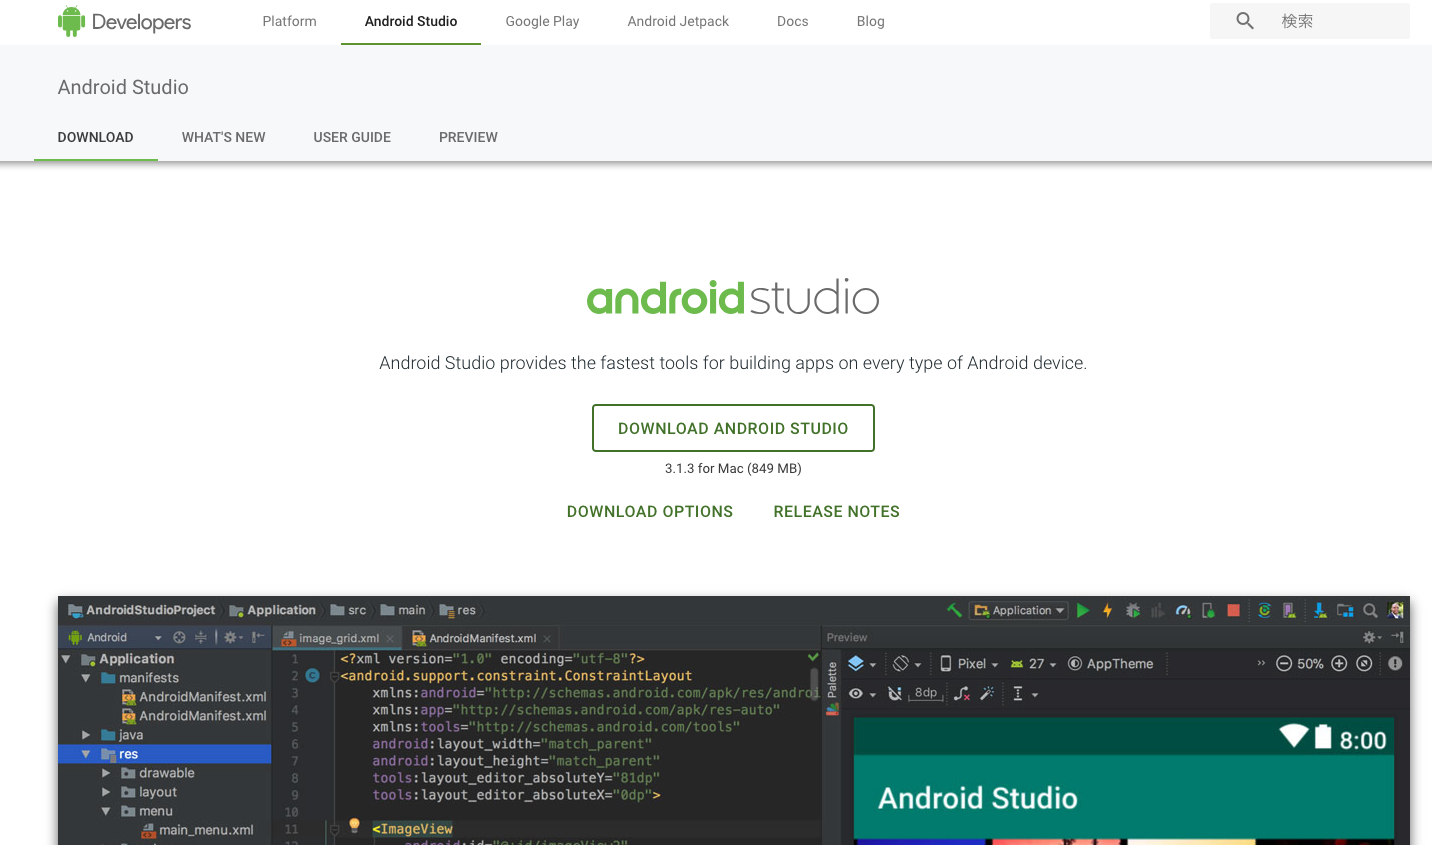
Android Studioにアクセスし,Android Studioをダウンロードします.Android Studioは900MB近くあるので,ダウンロードするのに時間がかかります.
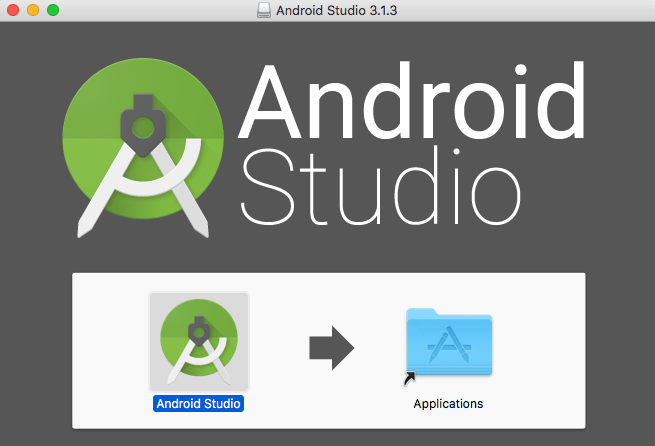
Android Studioをインストール
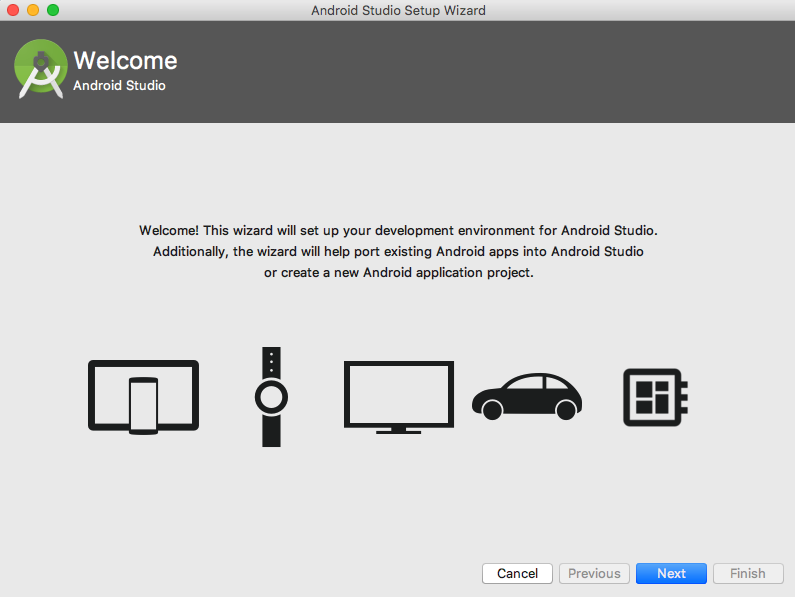
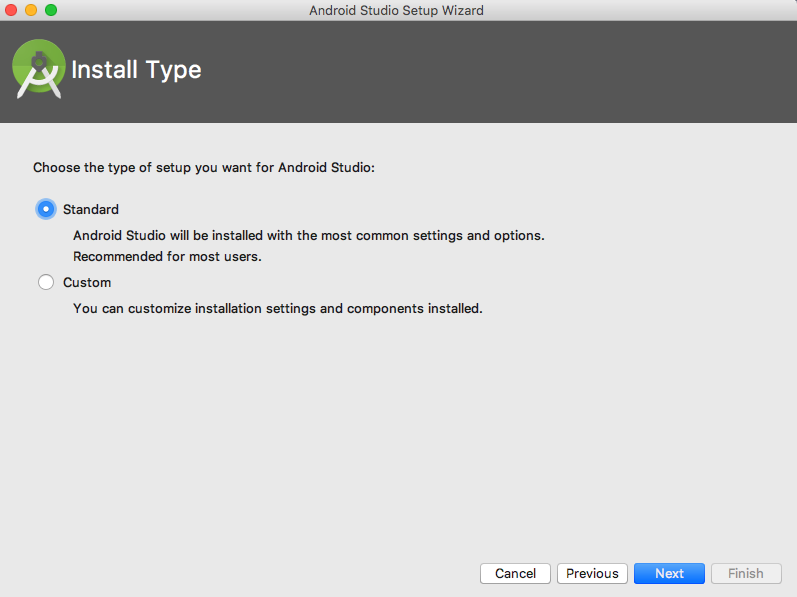
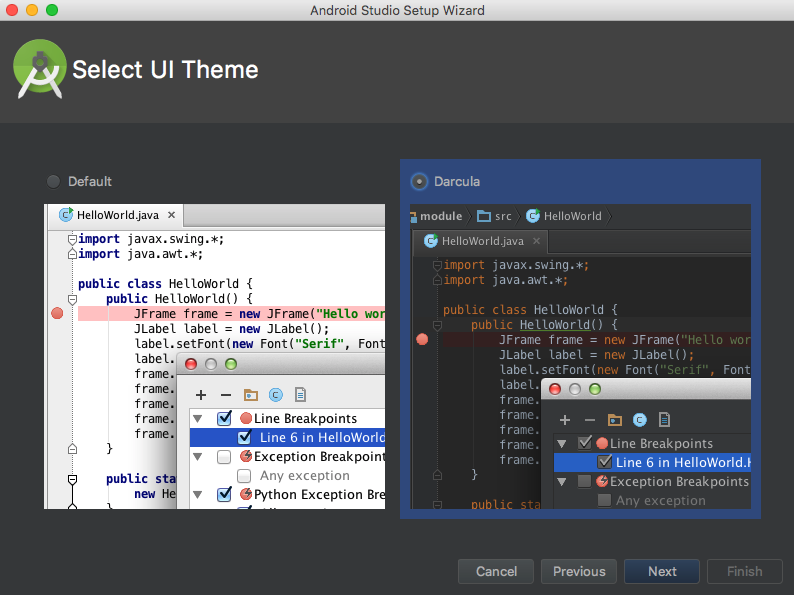
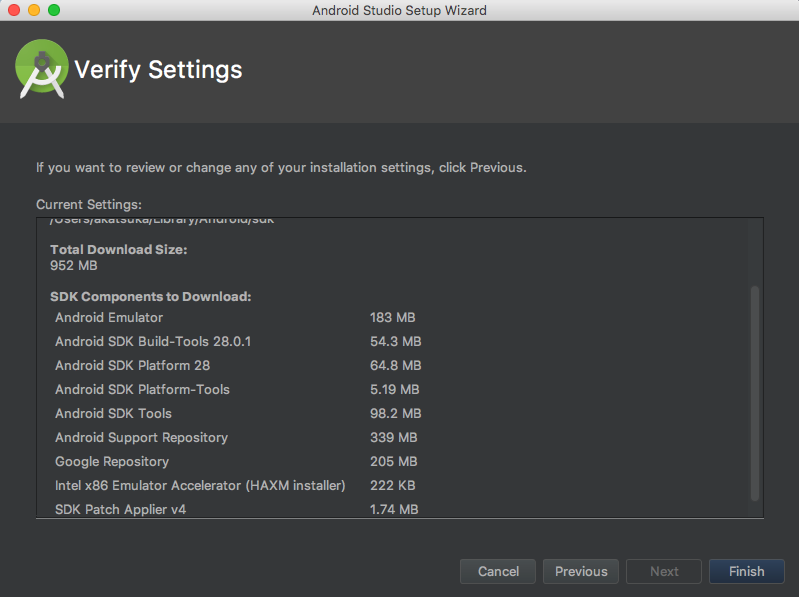
インストールしたAndroid Studioを開くと初回の設定画面が表示されるので設定を選択していく
ここまでで設定が完了.
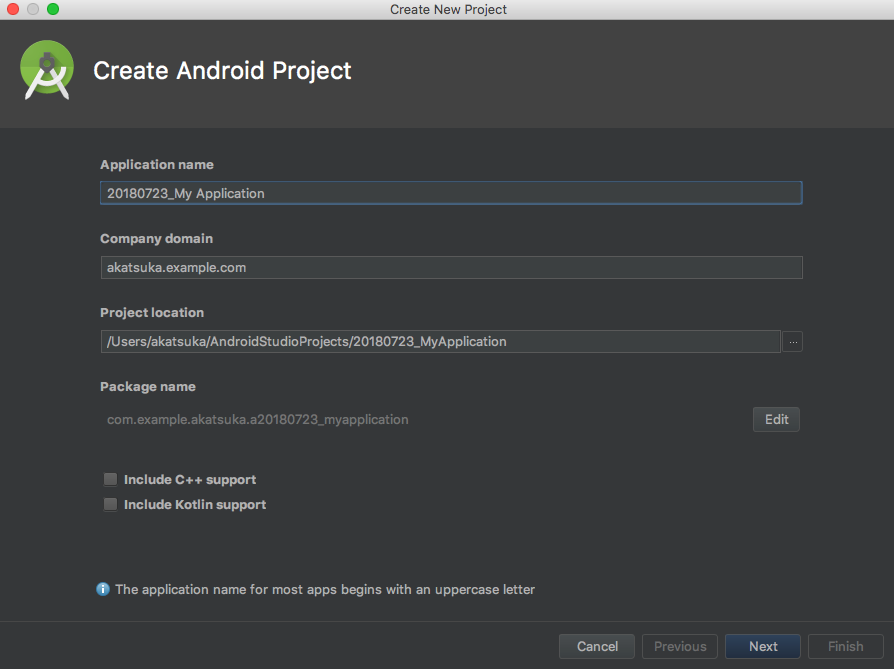
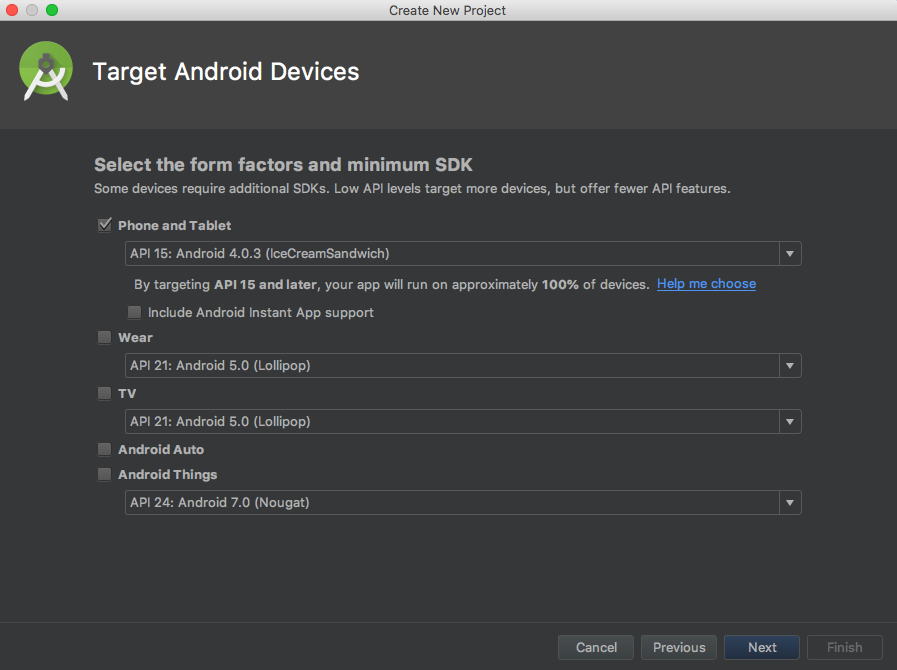
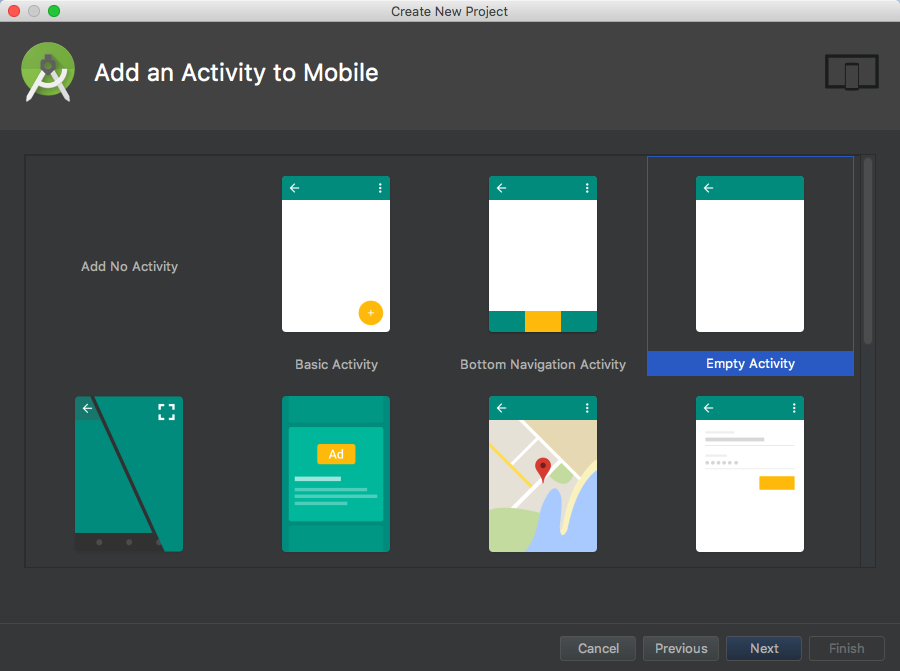
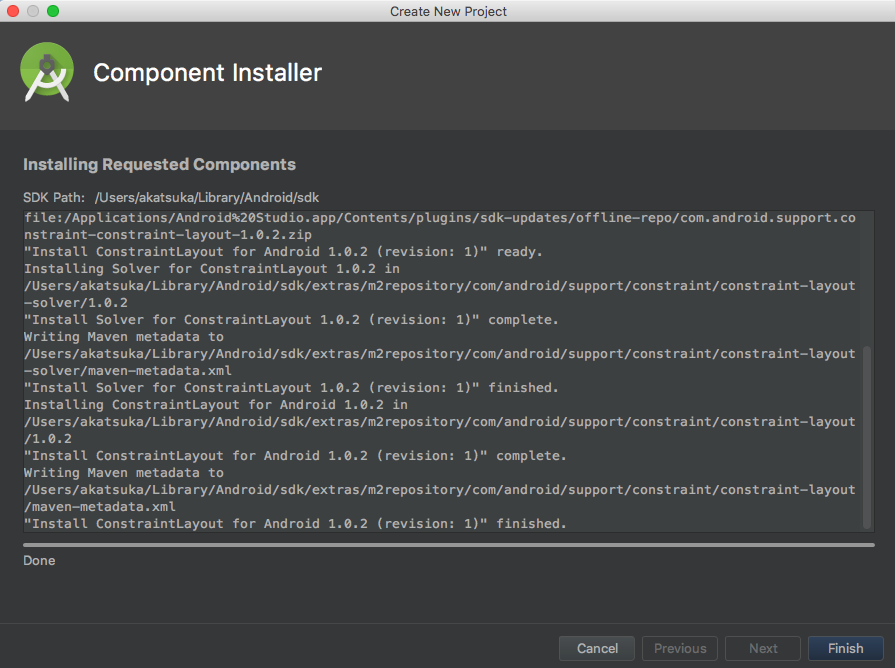
4.2. Android Studioで適当にプロジェクトを作成
flutterで作成したプロジェクトをシミュレーターで実行するために,Android Emulatorを実行します.適当にAndroidプロジェクトを作成していきます.
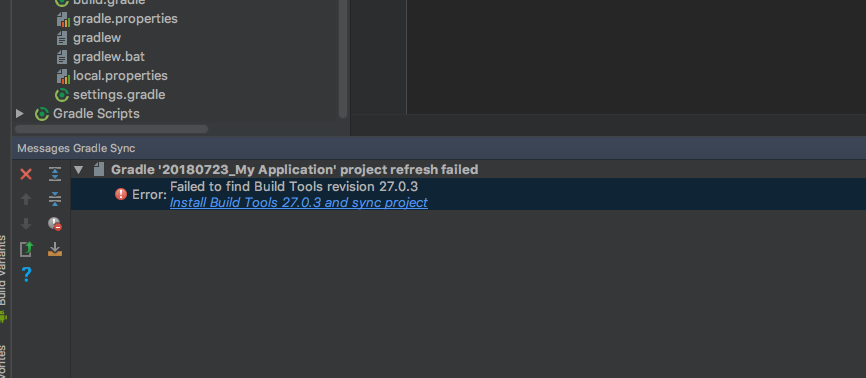
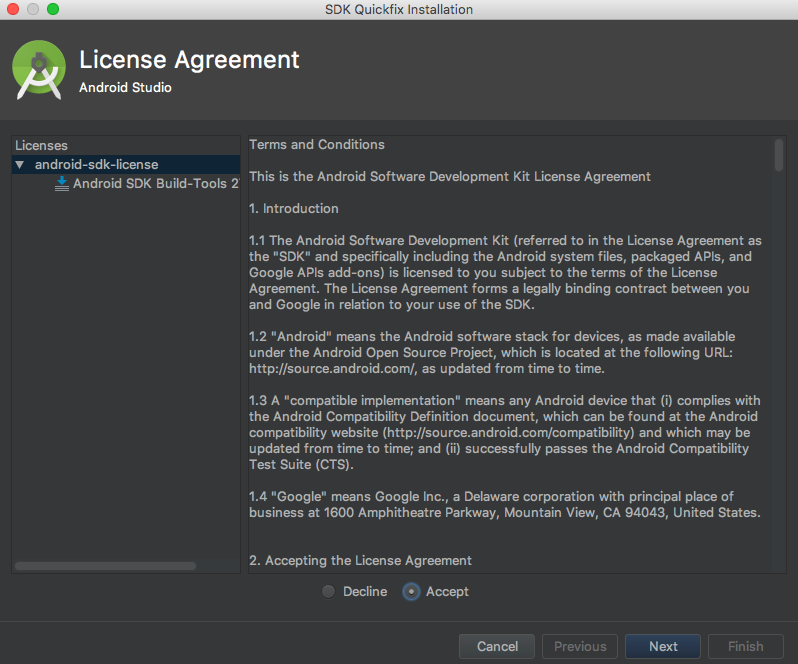
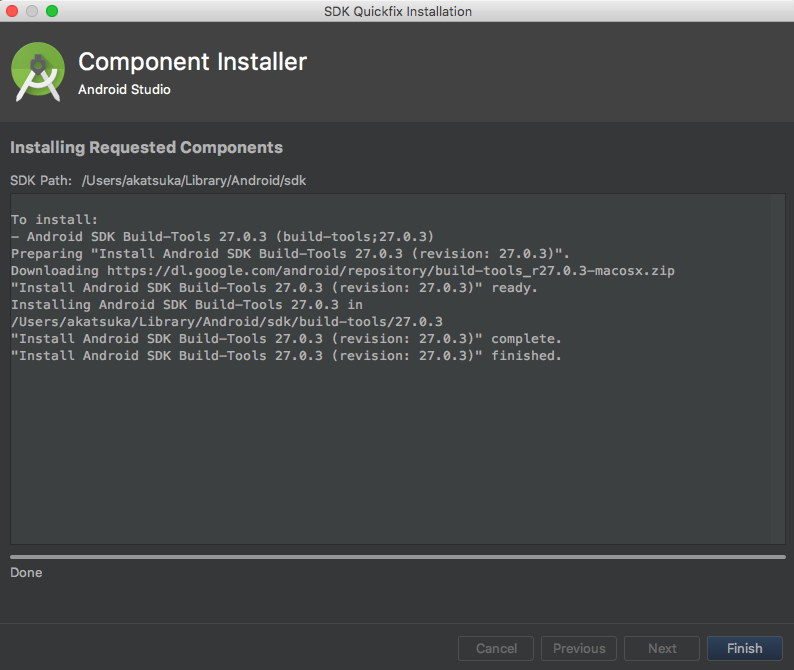
Androidプロジェクトを作成しました.Install Build Tools 27.0.3 and sync projectとエラーメッセージが出ている場合は,クリックして必要なツールをインストールします.
4.3. Android Emulatorを作成
準備ができたのでAndroid Emulatorを実行します.
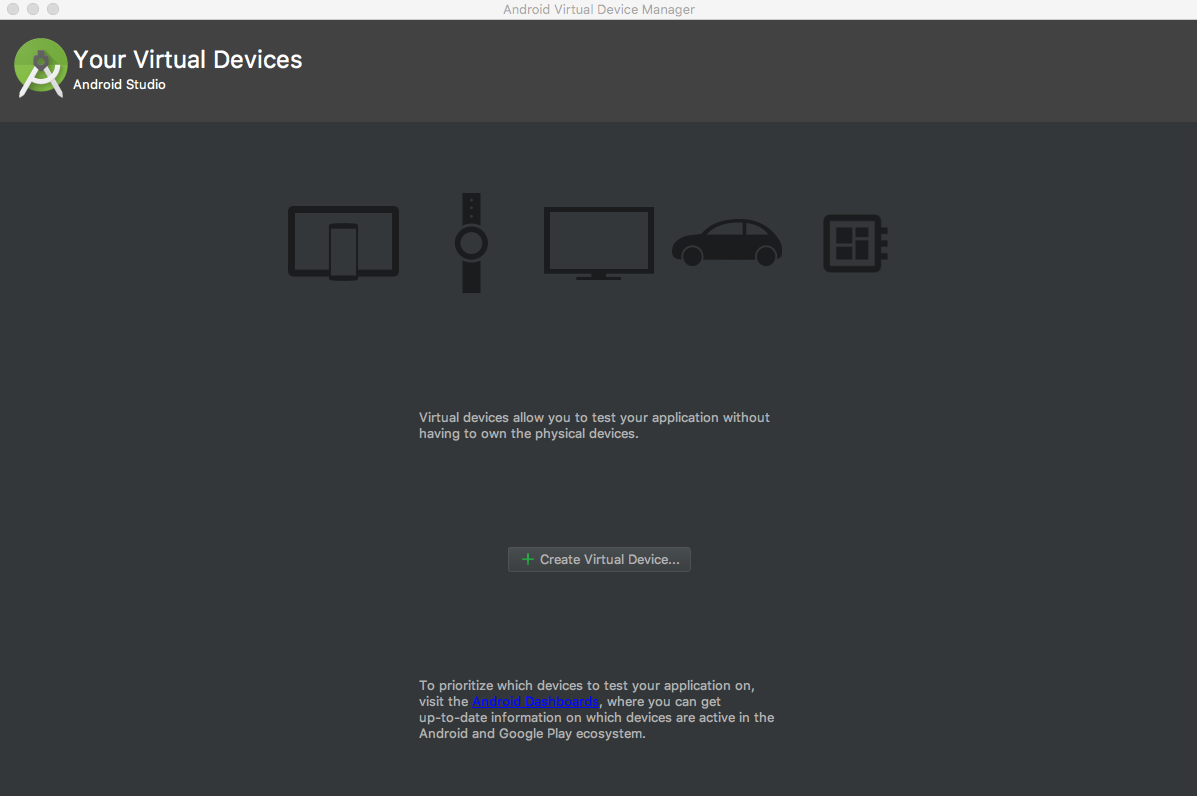
[Tools]->[AVD Manager]を選択
[+Create Virtual Device]をクリック
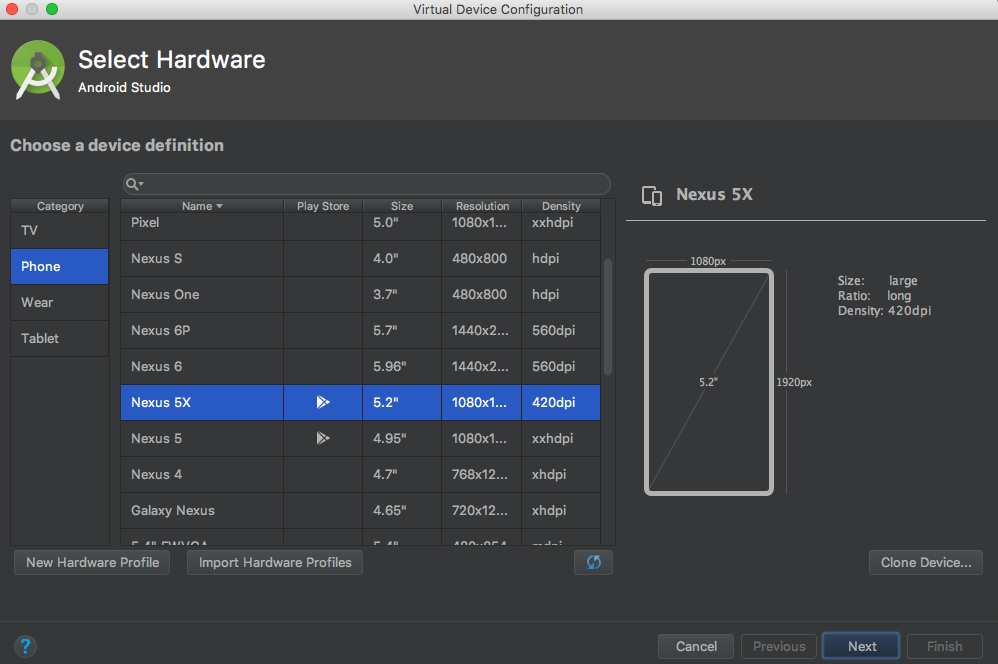
ここでは[Nexus 5X]を選択
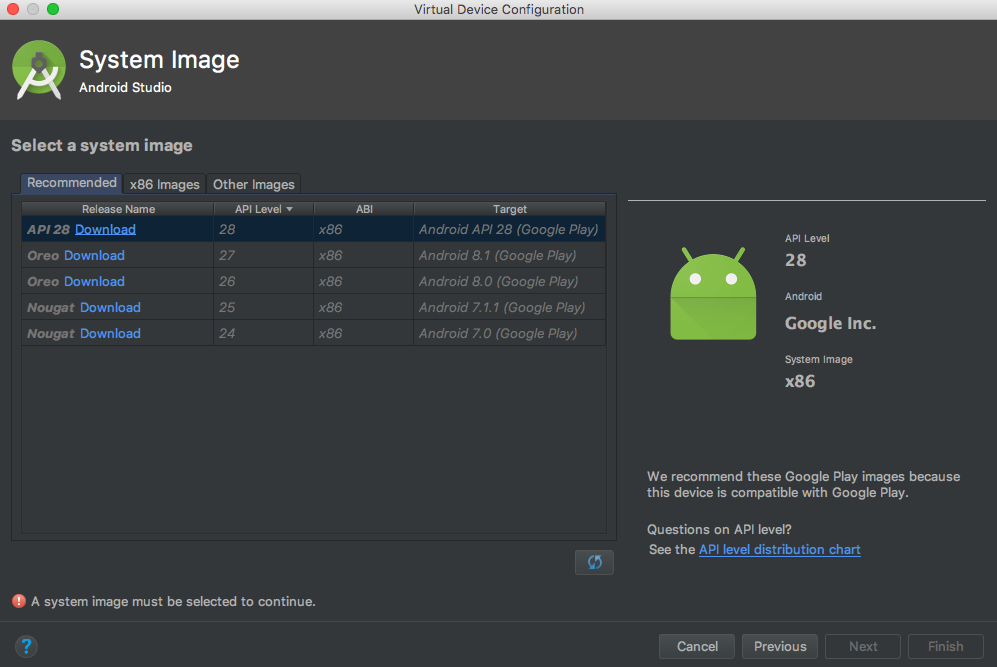
[API 28]を選択.[Download]を実行.ダウンロードが完了したら[Next]をクリック
[Finish]を選択
Emulator一覧に作成したEmulatorが表示される.
4.4. Android Emulatorを起動
Emulatorを選択肢,右のプレイボタンをクリックしEmulatorを実行します.
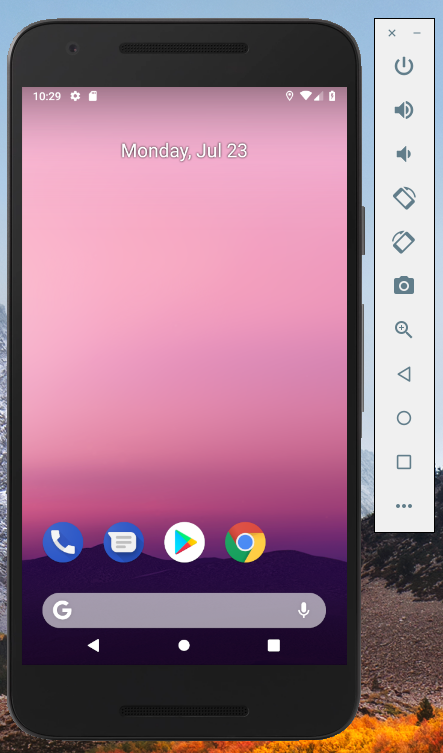
Emulatorが起動しました.
では,AndroidのEmulatorで,すでに作成してあるflutterプロジェクトを実行します.
その前に,下記を実行し,Androidのライセンスに同意します.
$ flutter doctor --android-licenses
4.5. flutterのサンプルプロジェクトを実行
作成したFlutterのプロジェクトディレクトリにcdします.
$ cd /Users/akatsuka/Developer/01_work/03_flutter/helloworld
そして,flutter runを実行し,Androidのエミュレーターで作成してプロジェクトを実行します.
$ flutter run
No connected devices.
なぜかエミュレーターがないとエラーが表示される.
エミュレーター一覧を出すと,先程作成したemulatorが表示される.
$ flutter emulators
1 available emulator:

Nexus_5X_API_28 • Nexus 5X • Google • Nexus 5X API 28

To run an emulator, run 'flutter emulators --launch <emulator id>'.
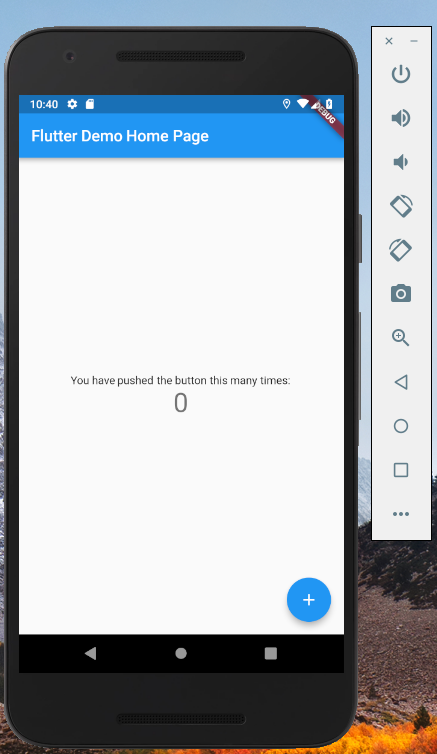
なぜ初回失敗するかわかりませんが,再度Android Emulatorを作成し,Android Emulatorを起動し,再度flutter runを実行するとflutterのプロジェクトがEmulator上で起動します.
$ flutter run
Using hardware rendering with device Android SDK built for x86. If you get graphics artifacts, consider enabling software rendering with "--enable-software-rendering".
Launching lib/main.dart on Android SDK built for x86 in debug mode...
Initializing gradle...                                      13.4s
Resolving dependencies...                                   66.0s
Running 'gradlew assembleDebug'...                          14.3s
Built build/app/outputs/apk/debug/app-debug.apk.
Installing build/app/outputs/apk/app.apk...                  1.4s
I/FlutterActivityDelegate( 6392): onResume setting current activity to this
D/EGL_emulation( 6392): eglMakeCurrent: 0xde22fd20: ver 3 0 (tinfo 0xcb17f170)
Syncing files to device Android SDK built for x86...
D/        ( 6392): HostConnection::get() New Host Connection established 0xde275980, tid 6420
D/EGL_emulation( 6392): eglMakeCurrent: 0xde22f540: ver 3 0 (tinfo 0xde276e40)

🔥  To hot reload changes while running, press "r". To hot restart (and rebuild state), press "R".
An Observatory debugger and profiler on Android SDK built for x86 is available at: http://127.0.0.1:8100/
For a more detailed help message, press "h". To quit, press "q".
5. iOS環境を構築
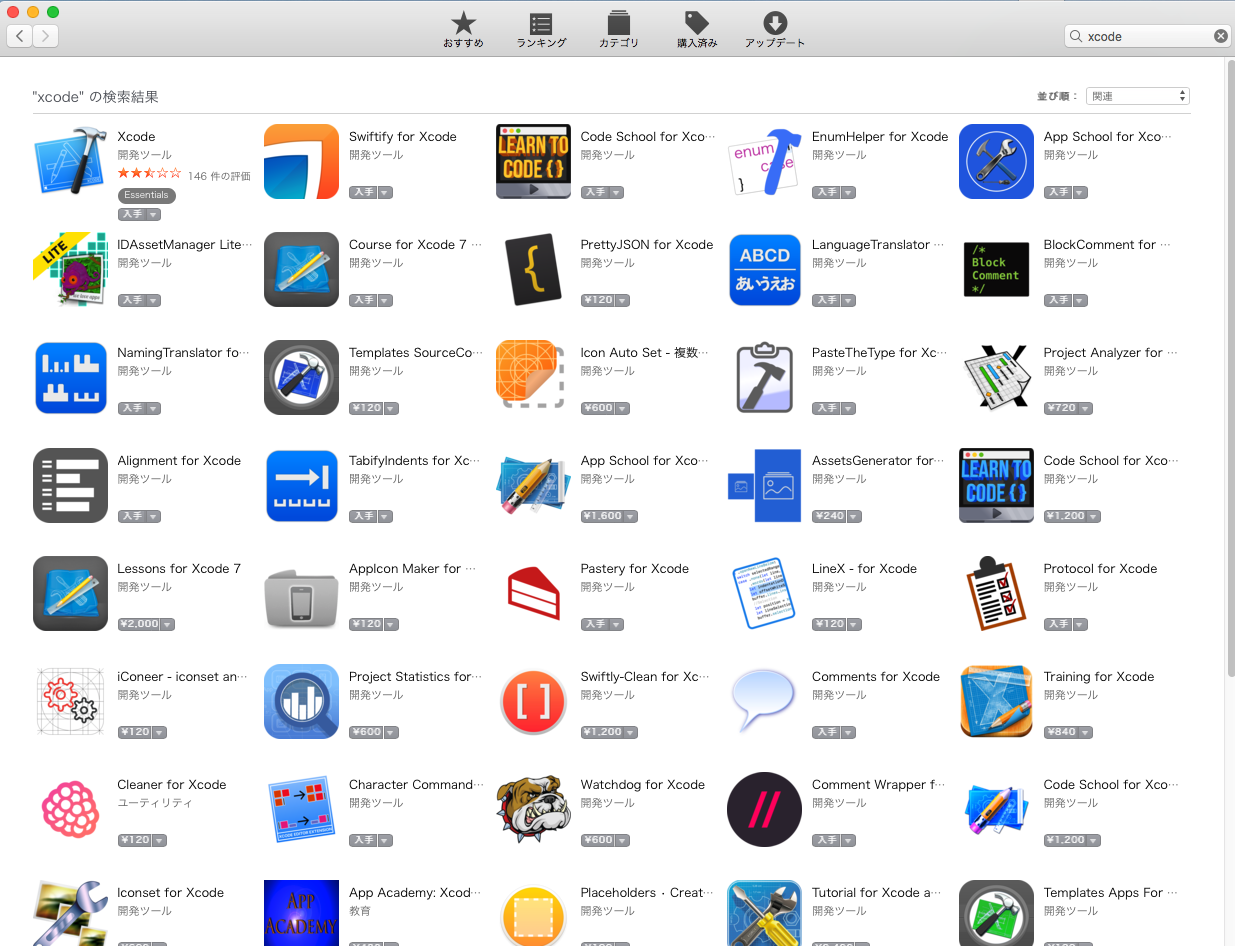
5.1. Xcodeをインストール
App StoreからXcodeをインストールします.時間が結構かかります.
5.2. Xcode command-line toolsを設定
Xcode command-line toolsを設定します.
$ sudo xcode-select --switch /Applications/Xcode.app/Contents/Developer from the command line.
5.3. Xcodeのライセンスに同意
Xcodeのライセンスを同意します.
$ sudo xcodebuild -license from
5.4. Xcodeを起動
Xcodeを実行すると下記のメッセージが表示されることがあります..Installを選択します.
Install Additional required components
5.5. Simulatorを起動
Simulatorを起動する方法は2つあります.
- コマンドラインからSimulatorを起動
- GUIからSimulatorを起動
5.5.1. コマンドラインからSimulatorを起動
Simulatorをコマンドラインから実行します.
$ open -a Simulator
5.5.2 GUIからSimulatorを起動
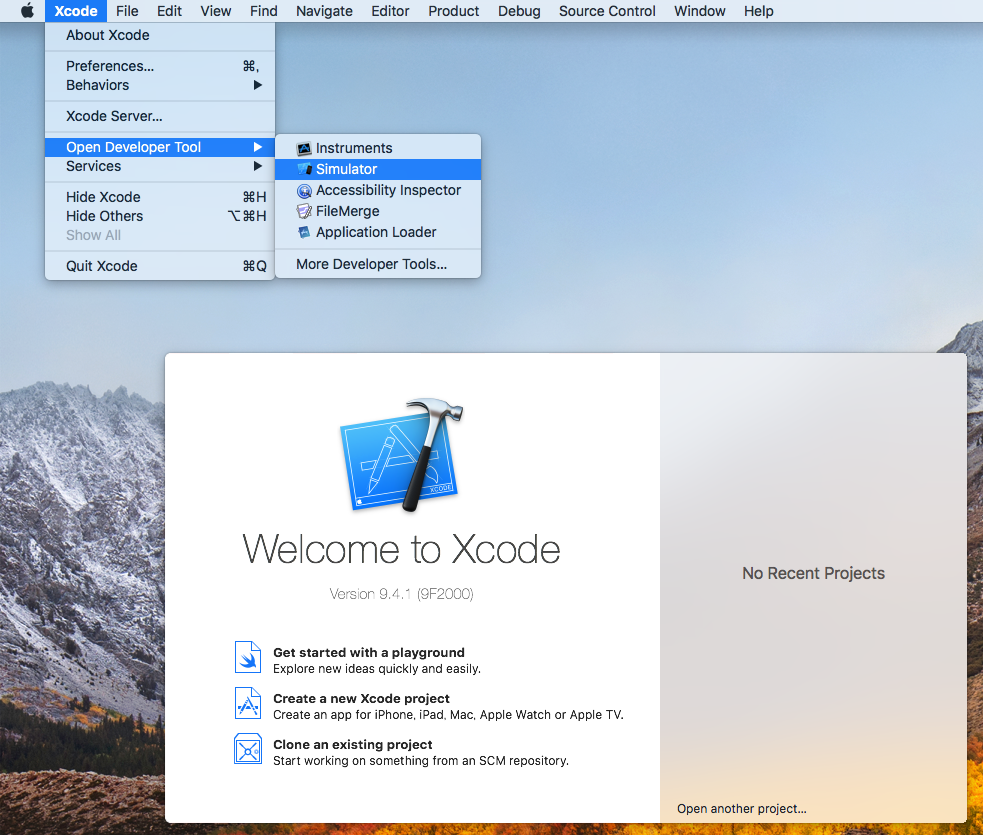
Xcodeを起動します.
[Xcode]->[Open Developer Tool]->[Simulator]でSimulatorを起動します.
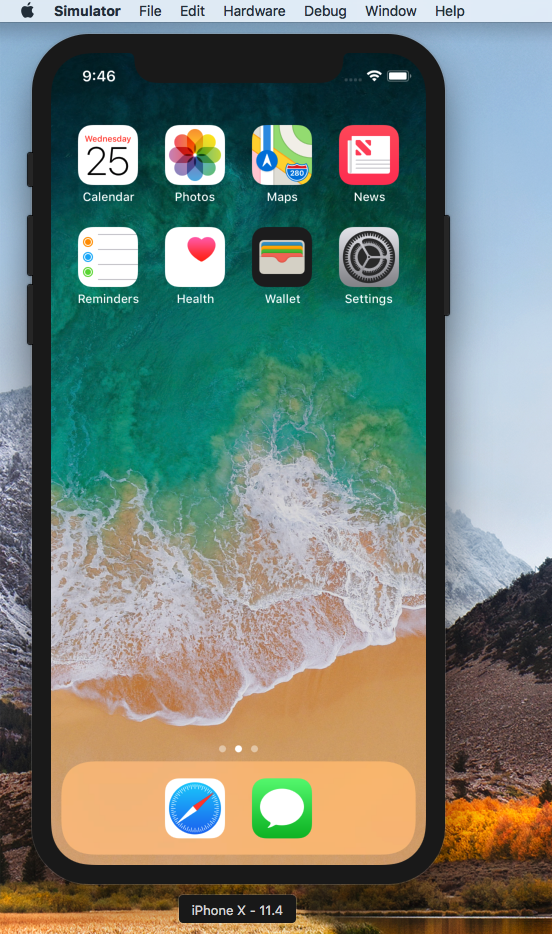
Simulatorが起動しました.
5.6. flutterのサンプルプロジェクトを実行
作成してあるflutterプロジェクトのディレクトリに移動します.
$ cd /Users/akatsuka/Developer/01_work/03_flutter/helloworld

$ ls
README.md		android			build			helloworld.iml		helloworld_android.iml	ios			lib			pubspec.lock		pubspec.yaml		test
デバイス一覧を確認しiOSシミュレーターが記載されるか確認します.
$ flutter devices
1 connected device:

iPhone X • 0B75AD0E-E767-421C-82EF-BAA7BE0FF6C3 • ios • iOS 11.4 (simulator)
flutterプロジェクトをiOSのシミュレーターで実行します.
$ flutter run
Launching lib/main.dart on iPhone X in debug mode...
Starting Xcode build...
 ├─Assembling Flutter resources...                    1.1s
 └─Compiling, linking and signing...                  8.7s
Xcode build done.                                           11.5s
Syncing files to device iPhone X...                          3.8s

🔥  To hot reload changes while running, press "r". To hot restart (and rebuild state), press "R".
An Observatory debugger and profiler on iPhone X is available at: http://127.0.0.1:8100/
For a more detailed help message, press "h". To quit, press "q".
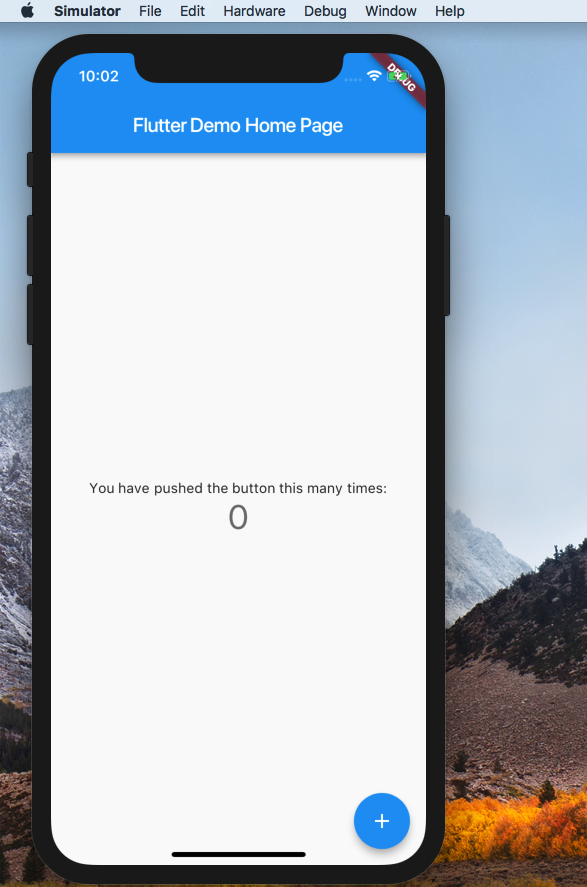
実行出来ました.
