はじめに
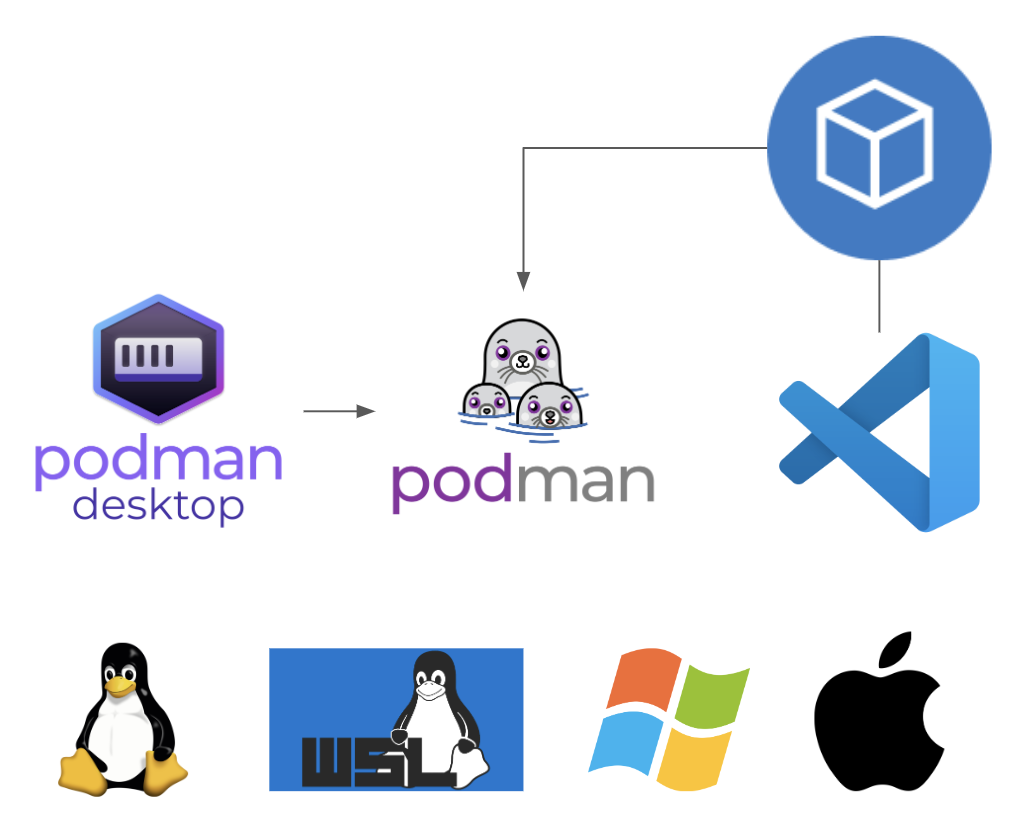
- VSCodeとその拡張機能Devcontainerで手軽にコンテナを用いた開発環境を手に入れたい
- コンテナランタイムは下記の理由でPodmanを採用したい
- Docker Desktopの無償利用にかなり制限がある(詳細)
- podmanはdocker互換のCLIを持つ など
- GUIでコンテナの状況を見たい場合を考慮してPodman Desktopもインストールしておく
ホスト環境
- Ubuntu 20.04
手順
1. Podman・Podman Composeインストール
- 下記のコマンドを実行
$ . /etc/os-release $ echo "deb http://download.opensuse.org/repositories/devel:/kubic:/libcontainers:/stable/xUbuntu_${VERSION_ID}/ /" | sudo tee /etc/apt/sources.list.d/devel:kubic:libcontainers:stable.list $ wget -nv https://download.opensuse.org/repositories/devel:kubic:libcontainers:stable/xUbuntu_${VERSION_ID}/Release.key -O- | sudo apt-key add - $ sudo apt update -y $ sudo apt install -y podman- ホスト環境が異なる場合、こちらを参照
- podmanコマンドの動作確認
$ podman version Version: 3.4.2 API Version: 3.4.2 Go Version: go1.15.2 Built: Thu Jan 1 09:00:00 1970 OS/Arch: linux/amd64-
ERRO[0000] cannot find UID/GID for user $USER:...のようなエラーが出る場合はこちらを参照
-
- podman-composeをインストール
$ sudo apt install python3-pip $ sudo pip3 install podman-compose -
podman-composeコマンドの動作確認$ podman-compose version podman-compose version 1.3.0 podman version 3.4.2
2. Podman Desktopインストール
- TerminalでFlatpakのインストール
$ sudo add-apt-repository ppa:flatpak/stable $ sudo apt update $ sudo apt install flatpak $ sudo apt install gnome-software-plugin-flatpak - Flatpakリポジトリの追加
$ flatpak remote-add --if-not-exists --user flathub https://flathub.org/repo/flathub.flatpakrepo - Ubuntuをログアウトし、ログイン
- Podman Desktopをインストール
$ flatpak install --user flathub io.podman_desktop.PodmanDesktop- 2回入力を求められるが、どちらも
yを入力で良い
- 2回入力を求められるが、どちらも
- Podman Desktopを起動
$ flatpak run io.podman_desktop.PodmanDesktop
3. Podman Desktop初回起動
- 初回起動後、表示されるサービス(Compose・kubectl CLI・Podman)に全てチェックした状態でStart onboardingをクリック
- その後、全てNextをクリック
4. VSCodeインストール
-
こちらでインストーラをダウンロードする
- Ubuntuの場合は、.debをダウンロード(以下、
~/Downloadsにcode_1.xxxxx.debをダウンロードした場合を想定) - ホスト環境がWindowsやMacの場合も同じ様にダウンロードし、インストーラを起動する
- Ubuntuの場合は、.debをダウンロード(以下、
- Terminalで下記のコマンドを実行し、VSCodeをインストール
$ sudo apt install ~/Downloads/code_1.xxxxx.deb
5. Devcontainer追加・設定
-
VSCodeを開いて、拡張機能ボタンをクリック

-
EXTENSIONS: MARKETPLACEの検索バーに「devcontainer」と入力し、MicrosoftのDev Containersを選択、Installをクリック

-
Dev Containersの歯車マークをクリックし、Settingsを選択

-
検索バーに
@ext:ms-vscode-remote.remote-containers DockerPathと入力 -
Dev>Containers: Docker Pathの値を
dockerからpodmanに変更

6. 動作確認
-
テストのフォルダを作成し、VSCodeのEXPLORERを開く
- 以降、
~/testで作業することを想定

- 以降、
-
Open Folderをクリックし、6.1.で作ったフォルダを選択
-
Do you trust the authors of the files in this folder?と聞かれたらTrust the authors of all files in the parent folderにチェックを入れて、Yes, I trust the authorsをクリック
-
Dockerfileを作成し下記の内容を記述FROM python:3.12- コンテナランタイムとしてDockerを使っていないが、
Dockerfileというファイル名にしておくと次のプロセスが楽
- コンテナランタイムとしてDockerを使っていないが、
-
VSCodeウィンドウ下部ステータスバーの左端 >< ボタンをクリック

-
ウィンドウ上部に現れる、Add Dev Container Configuration Files...を選択

-
Add configuration to workspaceを選択
-
From 'Dockerfile'を選択

-
以降、何もチェックせずにOKをクリック


-
.devcontainerフォルダとdevcontainer.jsonが生成されることを確認-
devcontainer.jsonの内容は下記// For format details, see https://aka.ms/devcontainer.json. For config options, see the // README at: https://github.com/devcontainers/templates/tree/main/src/docker-existing-dockerfile { "name": "Existing Dockerfile", "build": { // Sets the run context to one level up instead of the .devcontainer folder. "context": "..", // Update the 'dockerFile' property if you aren't using the standard 'Dockerfile' filename. "dockerfile": "../Dockerfile" } // Features to add to the dev container. More info: https://containers.dev/features. // "features": {}, // Use 'forwardPorts' to make a list of ports inside the container available locally. // "forwardPorts": [], // Uncomment the next line to run commands after the container is created. // "postCreateCommand": "cat /etc/os-release", // Configure tool-specific properties. // "customizations": {}, // Uncomment to connect as an existing user other than the container default. More info: https://aka.ms/dev-containers-non-root. // "remoteUser": "devcontainer" } - Dockerを使ってないので6.4.で作成した
Dockerfileというファイル名が気持ち悪い場合、ファイル名をContainerfileに変更、devcontainer.jsonの"dockerfile": "../Dockerfile"を"dockerfile": "../Containerfile"に変更しても良い
-
-
VSCodeウィンドウ下部ステータスバーの左端 >< ボタンをクリック
-
Reopen in Containerを選択
-
VSCodeウィンドウ内のTERMINALペインに、
root@xxxxx:/workspaces/test#と表示されコンテナがビルドされたことを確認
参考