この記事はSnowflake Advent Calendar 2023シリーズ3の25日目です。
おまけのシリーズ3!
Snowpark Container ServicesはSnowflakeのインフラ上でKubernetesクラスタを構築できる機能です。
略してSPCSと呼ばれることもあります。
この記事は走り書きなので検証が不十分です。
コンテナからステージにファイルを新規作成できないなどの挙動を確認しています。
確認した挙動から権限設定もしくはPythonソースコードに誤りがある可能性が高いです。
公式ドキュメント
ここに記載があります。
試してみる
Snowpark Container Servicesの最初のチュートリアルをベースに試してみましょう。
ボリュームとして指定できる場所は何種類かありますが、今回はデータを永続化することを想定してステージで試してみます。
ステージの設定
ボリュームとして指定するステージはSNOWFLAKE_SSEで暗号化する必要があるようなので、ステージを再作成します。
Snowsight
-- 一回削除して作り直す。作り直す前にステージに重要なデータがないことを確認すること!
DROP STAGE tutorial_stage;
CREATE STAGE tutorial_stage
  DIRECTORY = ( ENABLE = true )
  ENCRYPTION = (TYPE = 'SNOWFLAKE_SSE');
コンテナ内のプログラムの修正
ボリュームのデータを読み書きするようにコンテナ内のプログラムを修正します。
echo_service.py
@app.route("/ui", methods=["GET", "POST"])
def ui():
    '''
    Main handler for providing a web UI.
    '''
    if request.method == "POST":
        # getting input in HTML form
        input_text = request.form.get("input")
        # add history
        response_text = get_echo_response(input_text)
        add_history(response_text)
        # display input and output
        return render_template("basic_ui.html",
            echo_input=input_text,
            echo_reponse=response_text,
            history=get_history())
    return render_template("basic_ui.html")

# volume path on stage
HISTORY_FILE = '/data/history.txt'

# 追加する関数:ステージにレスポンス履歴を書き出す
def add_history(text):
    with open(HISTORY_FILE, 'a') as f:
        f.write(text + '\n')

# 追加する関数:ステージからレスポンス履歴を読み込む
def get_history():
    with open(HISTORY_FILE, 'r') as f:
        history = f.read()
        return history
basic_ui.html
<!DOCTYPE html>
<html lang=“en”>

<head>
  <title>Welcome to echo service!</title>
</head>

<body>
  <h1>Welcome to echo service!</h1>
  <form action="{{ url_for("ui") }}" method="post">
    <label for="input">Input:<label><br>
    <input type="text" id="input" name="input"><br>
  </form>
  <h2>Input:</h2>
    {{ echo_input }}
  <h2>Output:</h2>
    {{ echo_reponse }}
  <h2>History:</h2>
  <pre>{{ history }}</pre>
</body>

</html>
プログラムを修正したらコンテナイメージをビルドしてリポジトリにアップロードします。
サービスの設定
Snowsight
-- サービスを一回削除する
DROP SERVICE echo_service;
-- サービスを起動する
CREATE SERVICE echo_service
  IN COMPUTE POOL tutorial_compute_pool
  FROM SPECIFICATION $$
    spec:
      containers:
      - name: echo
        image: /tutorial_db/data_schema/tutorial_repository/my_echo_service_image:tutorial
        env:
          SERVER_PORT: 8000
          CHARACTER_NAME: Bob
        readinessProbe:
          port: 8000
          path: /healthcheck
        volumeMounts:
        - name: data
          mountPath: /data
      endpoints:
      - name: echoendpoint
        port: 8000
        public: true
      volumes:
      - name: data
        source: "@TUTORIAL_DB.DATA_SCHEMA.TUTORIAL_STAGE"
      $$
   MIN_INSTANCES=1
   MAX_INSTANCES=1;

-- パブリックURLが変更されるはずなので確認する
SHOW ENDPOINTS IN SERVICE echo_service;
動作確認する
ステージTUTORIAL_DB.DATA_SCHEMA.TUTORIAL_STAGEに適当な文字列を書き込んだhistory.txtを配置します。
上記で確認したパブリックURLでアクセスしてみると…
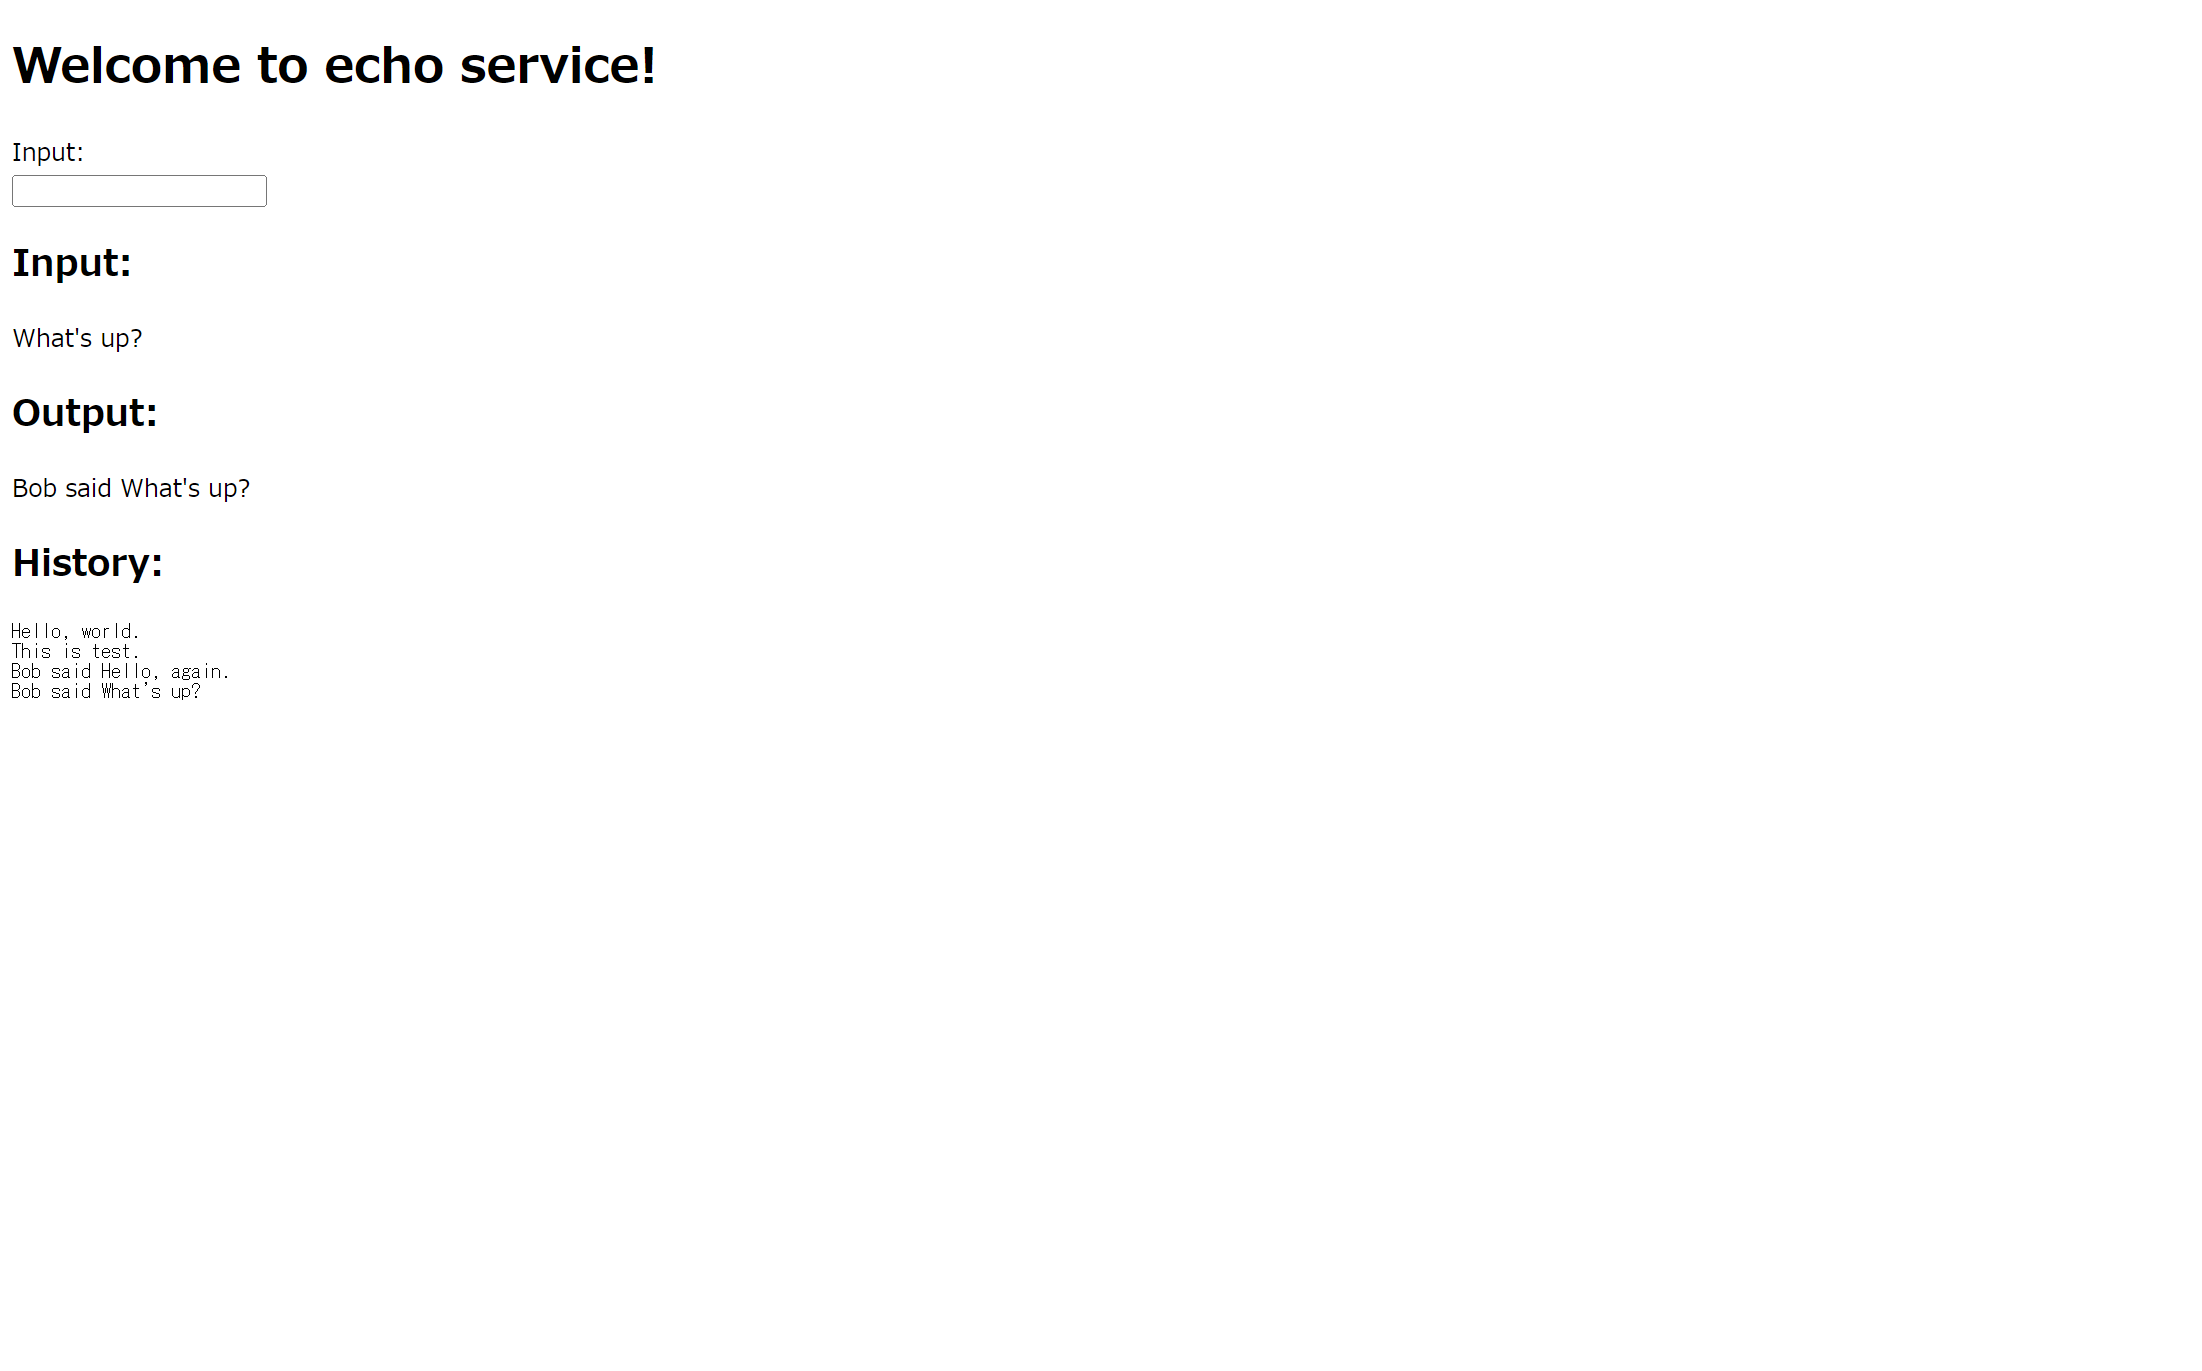
ちゃんと読み込めました。
書き込みもステージに反映されているようです。