最初に
この記事は以下の2つの記事
Snowflake Arcticを試してみる
続・Chromaで埋め込みを体感してみる~日本語対応編~
を組み合わせてみたメモとなります。
昨日(2024/5/6)にSnowflakeのVector EmbeddingsがPublic Preview(PuPr)になったので、RAGの実装をSnowflakeで完結させることもできるのですが、この記事ではプリミティブな方法を理解するという目的でベクトルデータベースを別途導入して接続しています。
RAGの仕組み
RAGの仕組みについては、Snowflake社のBLOG Snowflake Cortexを使用した簡単かつ安全なRAGからLLMへの推論に記載されている以下の図が分かりやすいです。

大まかには以下のような流れになります。
- Embedしたドキュメントをあらかじめベクトルデータベースに保存しておく
- ユーザプロンプトをEmbedする
- Embedしたユーザプロンプトでベクトルデータベースを検索することで関連するドキュメントを取得する
- ユーザプロンプトに関連するドキュメントを付記してLLMに問合せ
Snowflakeのクイックスタートでは関連するドキュメントを付記する際には以下のようなテンプレートを用いています。
Based on the chat history below and the question, generate a query that extend the question
with the chat history provided. The query should be in natual language.
Answer with only the query. Do not add any explanation.

<chat_history>
{chat_history}
</chat_history>
<question>
{question}
</question>
Python環境の構築
以下はAnaconda環境での構築を想定しています。
Anaconda環境なのですが、新しいライブラリを使う必要があることから、pipでパッケージを導入しています。
conda create -n arctic python=3.8
conda activate arctic
pip install snowflake-connector-python snowflake-snowpark-python snowflake-ml-python[all] streamlit chromadb sentence-transformers
Pythonプログラムの実装
Pythonで前述のRAGの仕組みを実装してみました。
ベクトルデータベースにはChromaを、EmbeddingにはChromaに実装されたSentence Transformersのラッパーを利用しています。
# 環境構築コマンド
# conda create -n arctic python=3.8
# conda activate arctic
# pip install snowflake-connector-python snowflake-snowpark-python snowflake-ml-python[all] streamlit chromadb sentence-transformers

# 実行コマンド
# streamlit run arctic_rag.py

import streamlit as st
import snowflake.connector
import snowflake.snowpark as snowpark
import snowflake.cortex as cortex
import chromadb
import glob
import os

# デフォルト以外の埋め込みモデルを読み込む
@st.cache_resource
def create_embedding_functions():
    # Sentence Transformers (sbert) の多言語対応の埋め込みモデルを使う
    model_name = "sentence-transformers/paraphrase-multilingual-MiniLM-L12-v2"
    # 例えば下記のものはモデルサイズは小さいが日本語に対応していない。そのためピンと来ない検索結果になる
    # model_name = "sentence-transformers/all-MiniLM-L6-v2"
    ef = chromadb.utils.embedding_functions.SentenceTransformerEmbeddingFunction(model_name=model_name)
    return ef

# Chromaのコレクションを作成する
@st.cache_resource
def create_collection():
    # Chromeのクライアントを取得する
    chroma_client = chromadb.Client()

    # コレクションを作成する。既にある場合はそれを参照する
    collection = chroma_client.get_or_create_collection(name="test_collection")

    return collection

# Chromaのコレクションにドキュメントを追加する
def add_collection(collection, ef, filename, document):
    # 与えられた埋め込みモデルでEmbeddingを計算
    embedding = ef([content])[0]

    # 計算したEmbeddingを指定してドキュメントを追加する
    collection.add(
        embeddings=[embedding],
        documents=[document],
        metadatas=[{"source": filename}],
        ids=[filename]
    )

    # 参考値としてEmbeddingを返す
    return embedding

# ファイルを列挙する
def glob_files():
    return glob.glob("data/*.txt")

# ローカルPython環境からSnowflakeに接続するための関数
@st.cache_resource(ttl=7200)
def connect_snowflake():
    # Snowflakeに接続する
    # 注意!本来はここに指定するパラメータをハードコーディングしてはいけない
    connection = snowflake.connector.connect(
        user='sakatoku',
        password='ここにパスワードを記載',
        account='XXXXXXX-TEST_OREGON (アカウント識別子のドット.をハイフン-に変えたものを記載)',
        role='cortex_user_role',
        warehouse='compute_wh')

    # Snowparkセッションを作成する
    snowpark.Session.builder.configs({"connection": connection}).create()

# 画面レイアウトを設定
st.set_page_config(layout="wide")

# Chromaのコレクションを取得
collection = create_collection()

# 埋め込みモデルを取得
ef = create_embedding_functions()

# ドキュメントとして使うファイルを列挙
filelist = glob_files()

# 各ファイルをベクトルデータベースに追加する
for filepath in filelist:
    with open(filepath, encoding="utf8") as f:
        content = f.read()
        filename = os.path.basename(filepath)
        # ベクトルデータベースに追加
        embedding = add_collection(collection, ef, filename, content)

# ユーザプロンプトを取得する。ユーザプロンプトが空の場合はここで終了
user_prompt = st.chat_input("Say something")
if not user_prompt:
    st.stop()

# 検索文字列のEmbeddingを計算
query_embedding = ef([user_prompt])[0]

# 検索して上位1件を取得する
knowledge = collection.query(
    query_embeddings=[query_embedding],
    n_results=1
)
knowledge_text = knowledge["documents"][0][0]

# RAGを実現するためのプロンプトテンプレート
prompt_template = '''You are an expert chat assistance that using information from the CONTEXT provided between <context> and </context> tags.
When ansering the question contained between <question> and </question> tags be concise and do not hallucinate.
If you don´t have the information just say so.

Do not mention the CONTEXT used in your answer.

<context>
{1}
</context>
<question>
{0}
</question>'''

# プロンプトを生成する
prompt = prompt_template.format(user_prompt, knowledge_text)

# 検索文字列などを表示
with st.chat_message("user"):
    st.write(user_prompt)
with st.expander("詳細", expanded=False):
    st.subheader("Embedding")
    st.write(embedding)
    st.subheader("検索結果")
    st.write(knowledge)
    st.subheader("プロンプト")
    st.code(prompt)

# Snowflakeに接続する
connect_snowflake()

# Snowflake Cortex LLM Functionsを呼び出してレスポンスを取得する
# 注意!現在は指定できるのはモデルの種類とプロンプトのみ
# これは指定できない:options = {"temperature": 0.5}
response = cortex.Complete("snowflake-arctic", prompt)

# レスポンスを表示
with st.chat_message("arctic"):
    st.write(response)
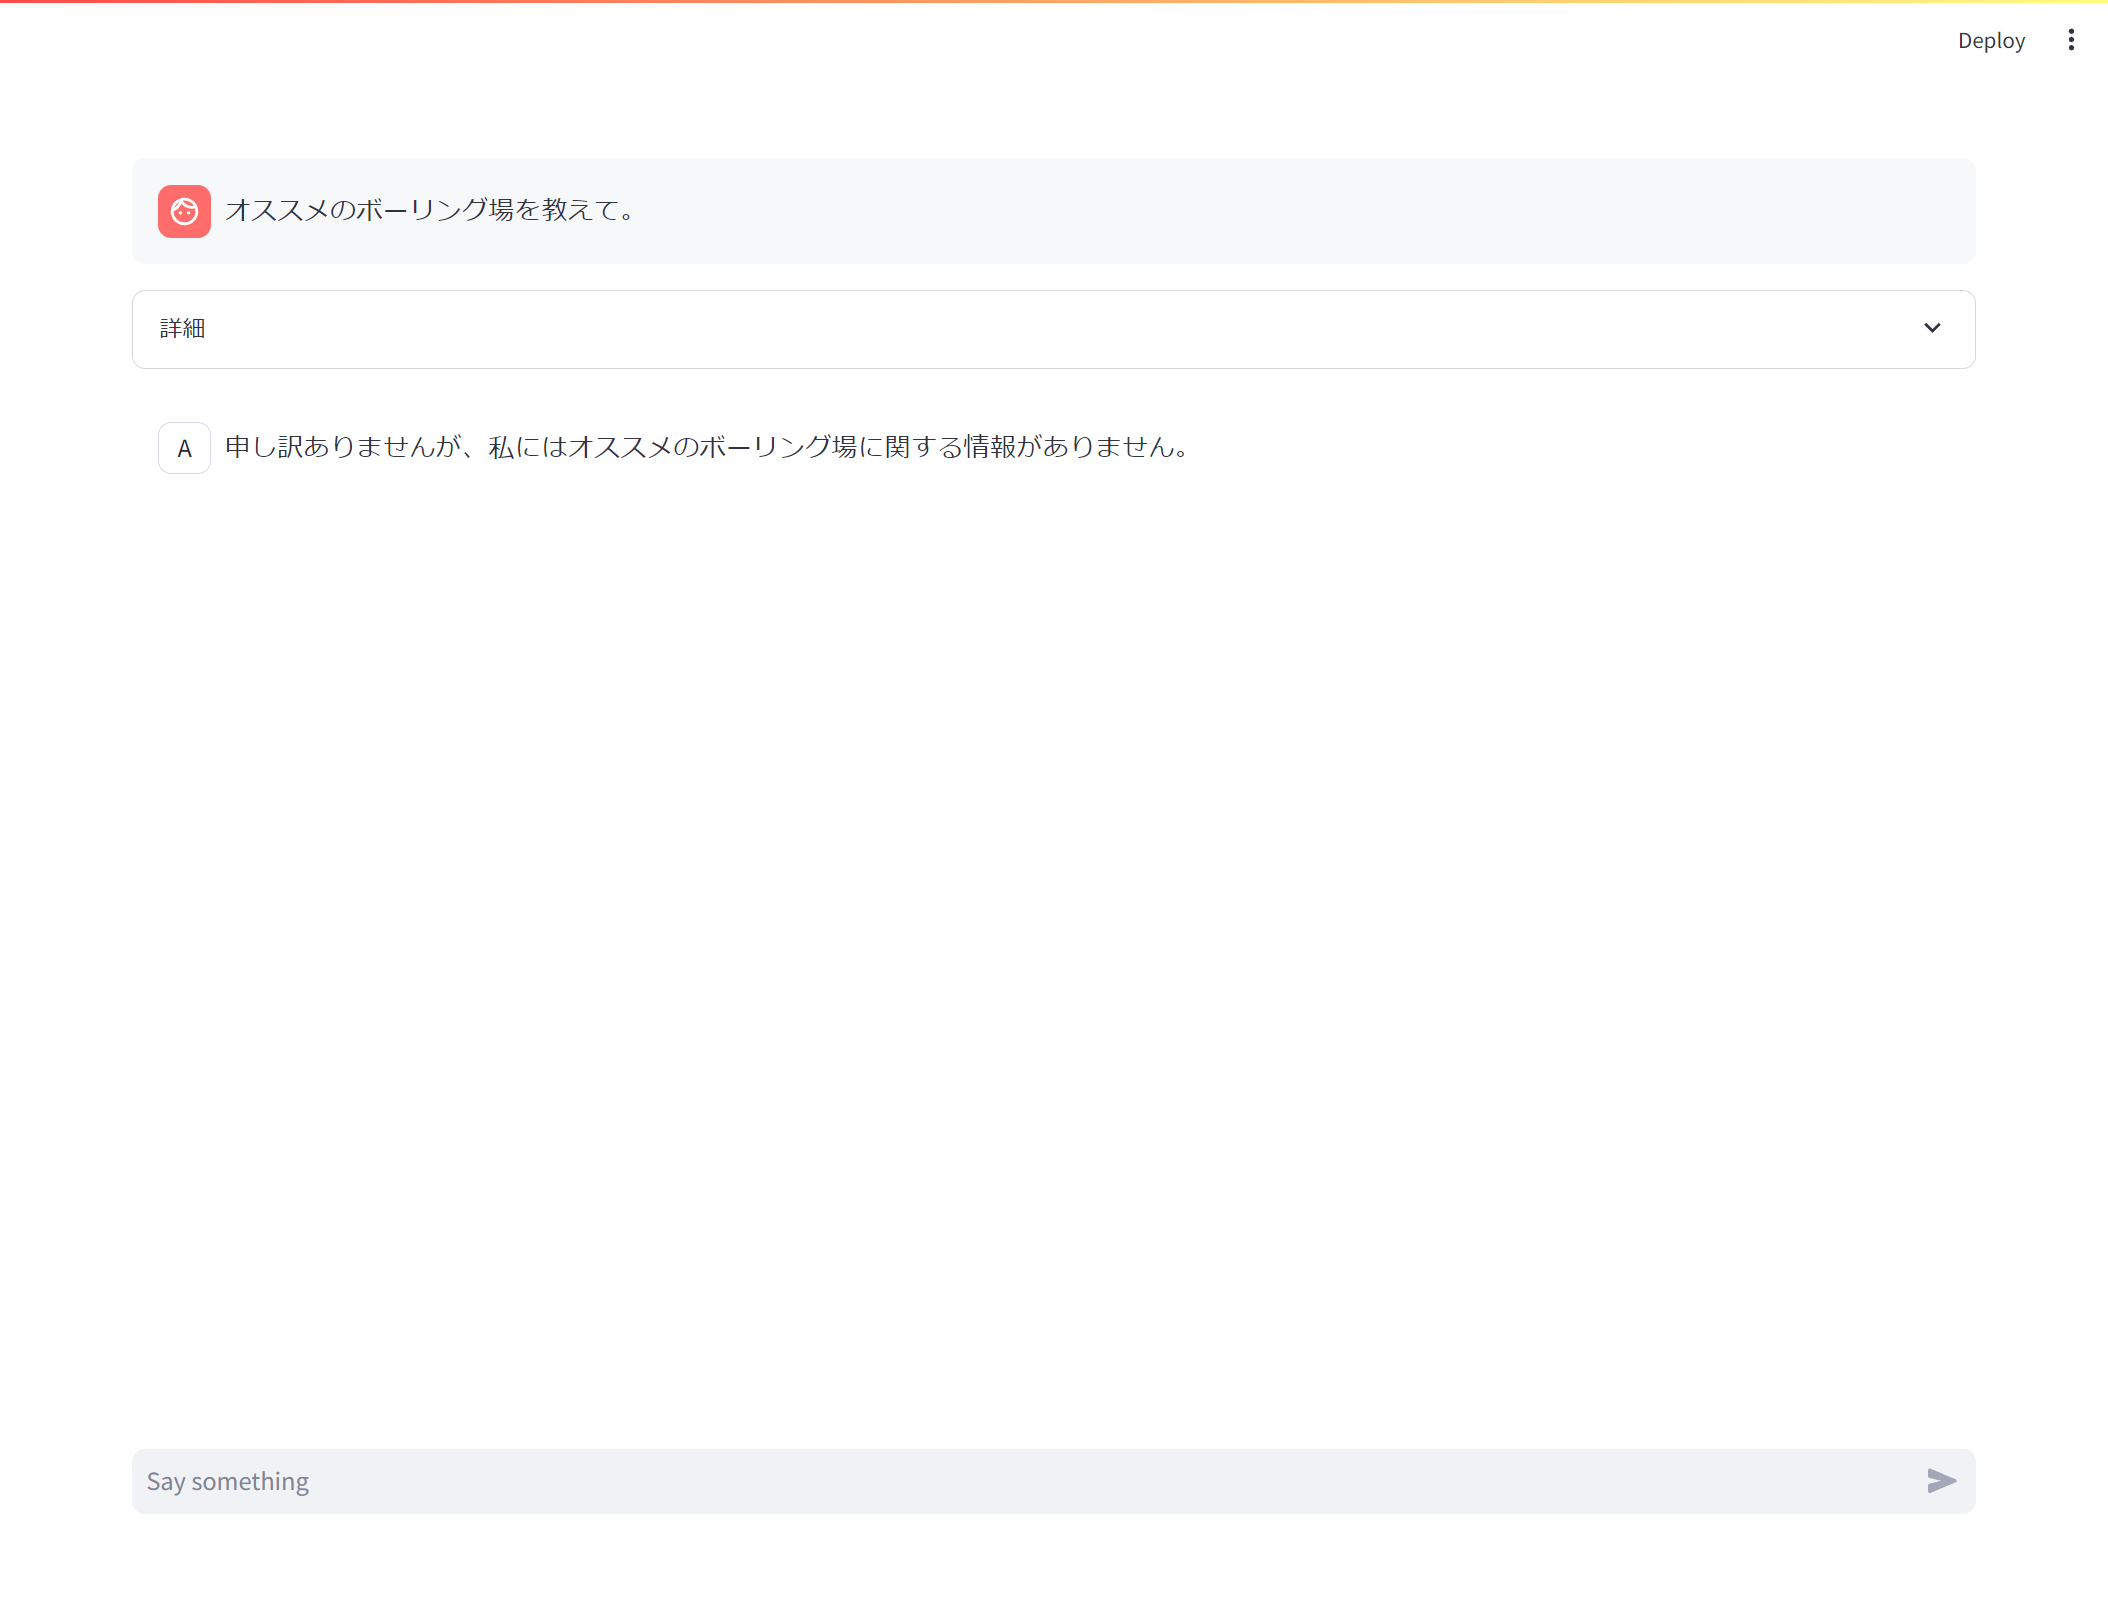
このプログラムをstreamlit run arctic_rag.pyで起動させます。
プロンプトを入力してみると、何となく動いてそうです。

情報がないときはそう答えるようにという指示をプロンプトテンプレートに含めているので、入力したプロンプトとベクトルデータベースから取得したドキュメントがかけ離れているときはちゃんと情報がないと回答してくれます。
また、Snowflake Arcticに指示することで、ただの検索エンジンとして動くだけではなくちょっとした整形もやってくれます。

一方で、色々なプロンプトを投げてみると、こちらが想定しているドキュメントが検索で上位にならない、ハルシネーションが発生する、なども確認できました。
精度を考えると色々な工夫が必要ですね。