はじめに
私は今のところ PC の OS は Windows しか使ったことがありません。最近 WSL2 が登場したので、はじめて Ubuntu を触ってみました。
Ubuntu の shell は fish !!!
みたいな記事(こんな過激なタイトルではなかった)を読んで使ってみると、![]() すごく使いやすい! Autosuggestions かっこいい!!
すごく使いやすい! Autosuggestions かっこいい!!
この記事は、特に使いもしない PowerShell でも Autosuggestions できるよ!ということを軽ーく書いていきます。
環境(2020/7/28 時点)
Windows 10 Home 2004
PowerShell 7.0.3
PSReadLine 2.1.0 beta2
結論
PowerShell わかる人は、これだけ知っといてください。
PSReadline の 2.1.0-beta2 をインストールし、profile.ps1 に
Set-PSReadLineOption -PredictionSource History
を追加する。
以上!
ここから解説
1. PowerShell でも Autosuggestions ができる
fish や zsh みたいに PowerShell でも Autosuggestions したいなぁ。
そんなことを思いながらネットをあさっていると、こんな動画を発見しました。
Tips & Tricks #1 : How to enable Bash style auto suggestion for PowerShell
英語ですが、タイトルにはっきりと
auto suggestion for PowerShell
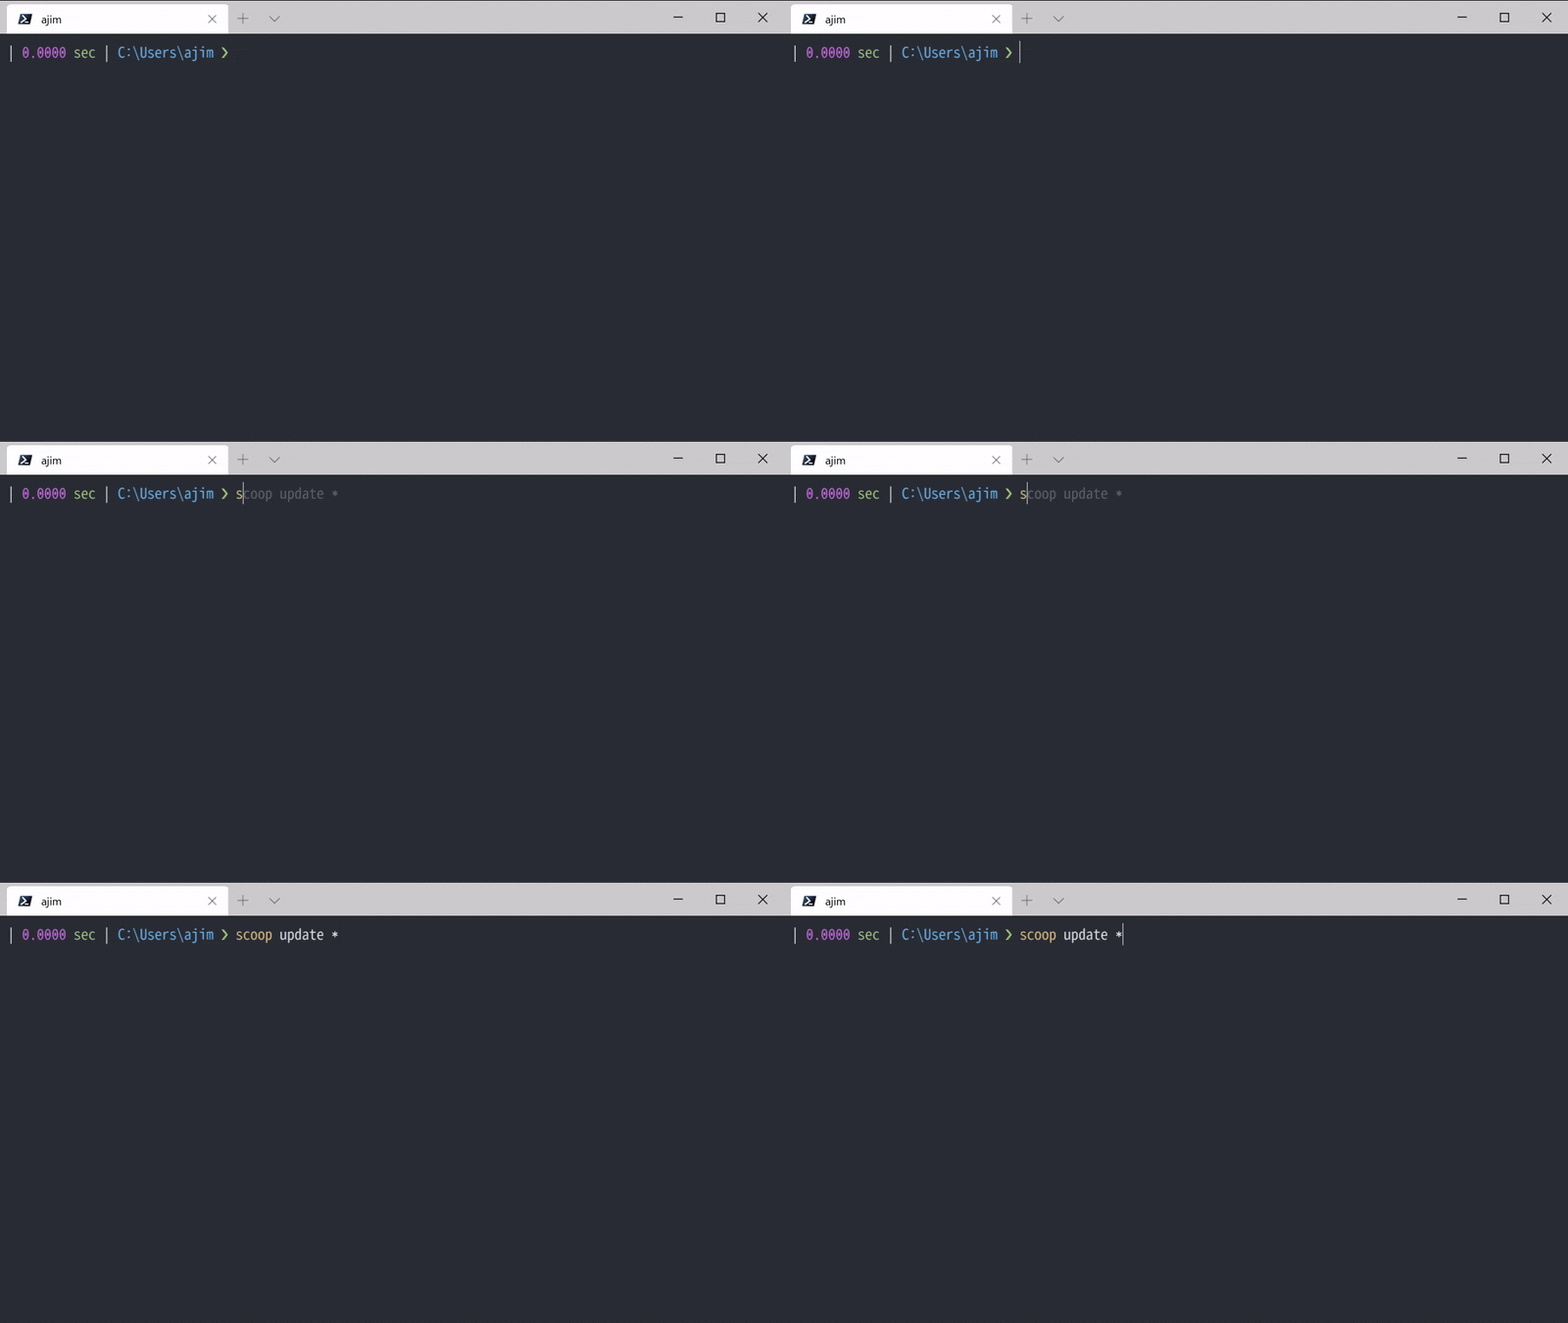
と書かれています。はい、実際にできています。
2. PSReadline をインストールする
動画によると、PSReadline というモジュールを使用することで Autosuggestions が利用できるようです。
PowerShellGet の更新
PSReadline は PowerShellGet からインストールする必要があります。
PowerShell 7 (PowerShell Core) を利用中の方は 1. に進んで大丈夫です。
Windows PowerShell を利用中の方は、こちらのページを参考に PowerShellGet を最新バージョンに更新してください。
PSReadline のインストール
今回インストールするのは、PSReadline の 2.1.0-beta2 です。
2.1.0-beta1 のリリースノートには、
This release includes the prototype to support the fish-like auto-suggestion in PSReadLine.
と書かれています。つまり、fish シェルのような Autosuggestion が使えるようになったよ!ということです。
インストールは簡単で、
Install-Module PSReadLine -AllowPrerelease -Force
これを実行するだけです。-AllowPrerelease をつけることでプレリリースの最新版を取得します。
※注意
Latest Release のバージョン 2.0.3 には Autosuggestion 機能はありません。あくまでもプレリリースであるため、問題が発生する可能性もあります。ご利用は自己責任でお願いします。
3. PowerShell Profile の編集
PowerShell Profile の作成
すでに Profile を作成されている方は飛ばしてください。わからない方は、そのまま読み進めてください。
プロファイルが作成されているか確認するには、以下を入力してください。
Test-Path $PROFILE
Trueが返ってくればプロファイルは作成されています。
Falseが返ってきた場合、プロファイルは作成されていないので、以下を入力し、プロファイルを作成してください。
New-Item -Path $PROFILE -ItemType file -Force
PowerShell Profile の編集
プロファイルのパスは$PROFILEで表示することができます。
おそらくドキュメントフォルダの中に作成されていると思います。編集はいつも使っているエディターがあればそれを、ない方はメモ帳で編集できます。
notepad $PROFILE
プロファイルを開いたら、
Import-Module PSReadLine
Set-PSReadLineOption -PredictionSource History
と入力し、保存してください。
4. 使い方
これまでの履歴から Autosuggestion が機能してくれるはずです。

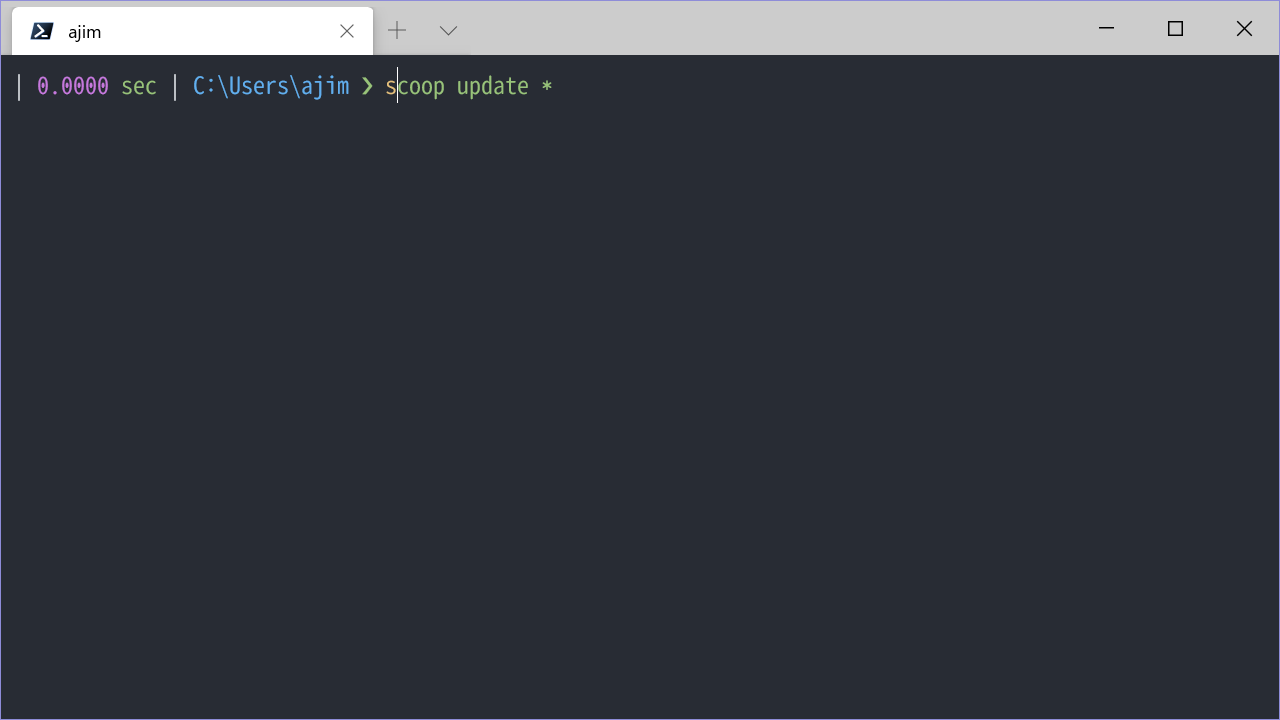
sと入力しただけで、続きを灰色で表示してくれています。
表示されたコマンドを使いたければ、矢印キーの右 ![]() を入力します。
を入力します。
灰色が味気ないという方は、Autosuggestion の色を変えることもできます。
プロファイルに
Set-PSReadlineOption -Colors @{ Prediction = 'DarkGreen' }
おわりに
Autosuggestion を導入することで、PowerShell をより快適にすることができました ![]()
補完があることで打ち間違いをなくし、一度打った長いコードをなんども使う場合に威力を発揮すると思います。
PSReadline は Autosuggestion だけではないので、興味のある方は調べてみてください ![]()
参考
PowerShell で Autosuggestion できることを教えてくれた動画
https://www.youtube.com/watch?v=I0iIZe0dUNw
PSReadline の GitHub ページ
https://github.com/PowerShell/PSReadLine
PowerShellGet の更新方法
https://docs.microsoft.com/ja-jp/powershell/scripting/gallery/installing-psget?view=powershell-7
PowerShell Profile の作成方法
https://www.zacoding.com/post/powershell-profile/
