Visual Studio CodeでGitを利用
内容
・Git for Windows セットアップ
・Visual Studio Code 設定
・ブランチをきる ブランチのマージ
・GitHubのリモートリポジトリにプッシュ
-
下記サイトよりGit for Windowsをダウンロード
https://gitforwindows.org/ -
ダウンロードした[Git-2.29.2.2-64-bit.exe]をダブルクリックしてインストールを実行
・Next

・Next

・Next
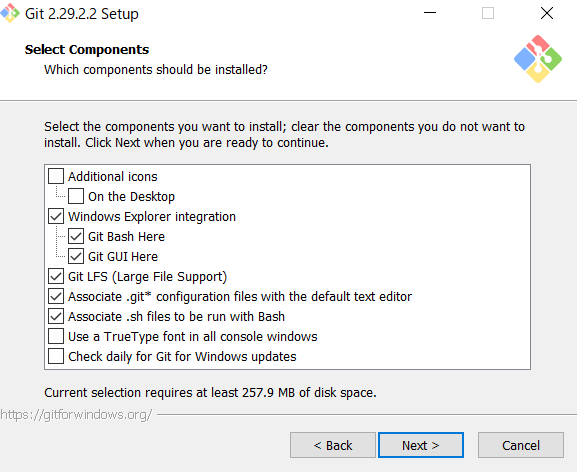
・Next
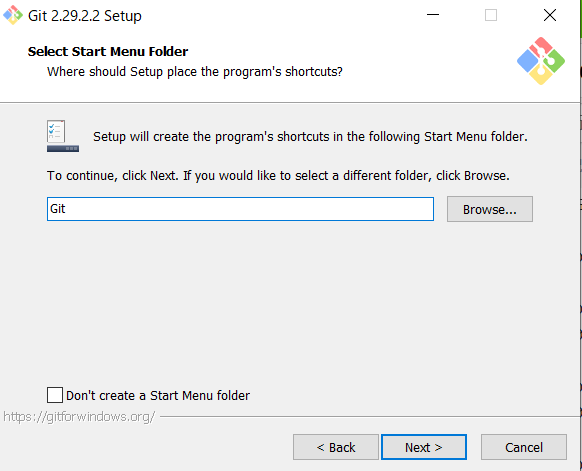
・Next
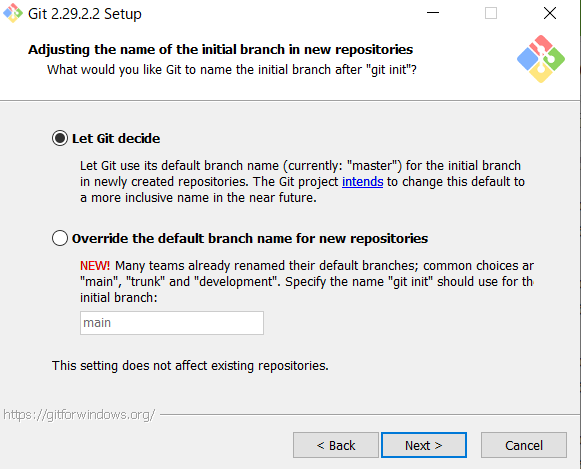
・Use Git from Git Bash onlyにチェックしNext

・Next

・Next
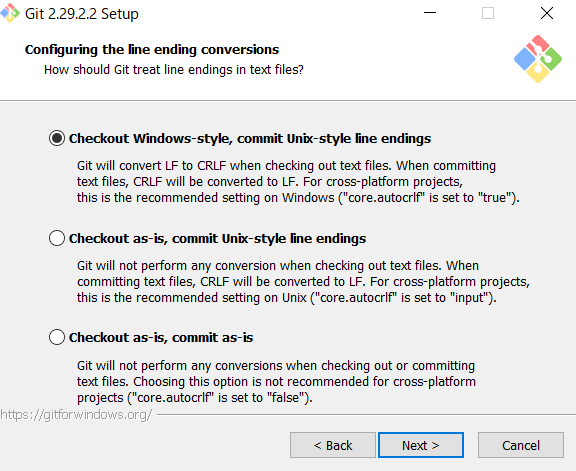
・Next

・Next
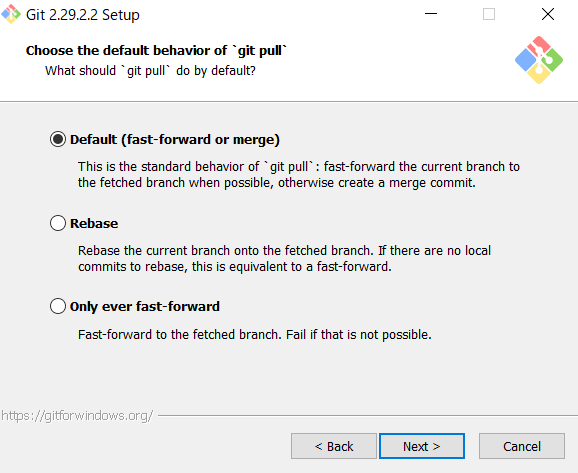
・Next

・Next

・Install
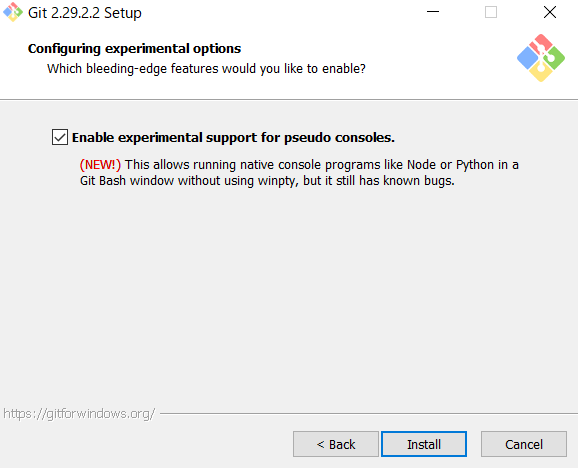
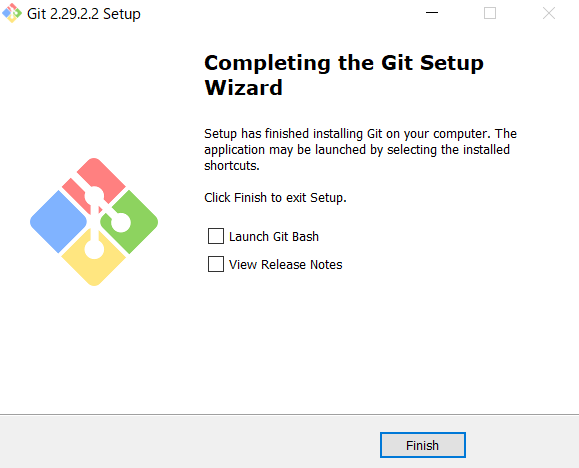
・チェックをはずしてFinish
・VSCにプラグイン[Git History]をインストール

・VSCに同様の手順でプラグイン[GitLens]をインストール

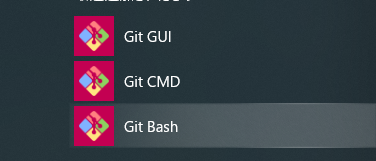
・GitBash起動(windowsのスタートメニューより)
・GitBash起動後の設定
ユーザ名設定
$ git config --global user.name 'snow'

メールアドレス設定
$ git config --global user.email 'XXXXXX@gmail.com'

VSCodeでローカルファイルのバージョン管理
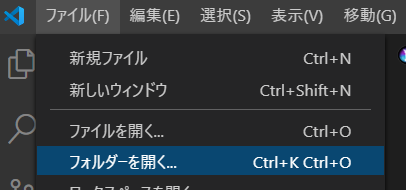
VSCodeで任意のフォルダを開く
例)[C:\share\testdir]
ローカルリポジトリ作成
Gitリポジトリの作成(初期化)を実施

初期化するとVSCが次の表に表示され[C:\share\testdir]に[.git]が生成される

VSCでsample.txtを作成し保存

作成したsample.txtをコミット
ファイルの作成と編集を行うとサイドバーのソース管理に更新ファイルの一覧が表示
「+」アイコンでステージング実行 「-」アイコン:取り消し

ステージング後、コミットメッセージを入力しチェックアイコンでコミットが完了

ここまでのコミットログを確認
Ctrl + Shift + Pでコマンドパレットを開き>Git: Viewと入力しGit: View History 「git log」を選択

git logが表示される

①、②の順で選択

最後にコミットしたファイル内容が表示される

[sample.txt]を選択すると[sample.txt(作業ツリー)]に差分が表示される

ブランチの作成(masterからブランチを作成)
ブランチ名(master)をクリックし,新しいブランチを作成を実行

新規ブランチ名「sub-branch1」を入力しEnter押下

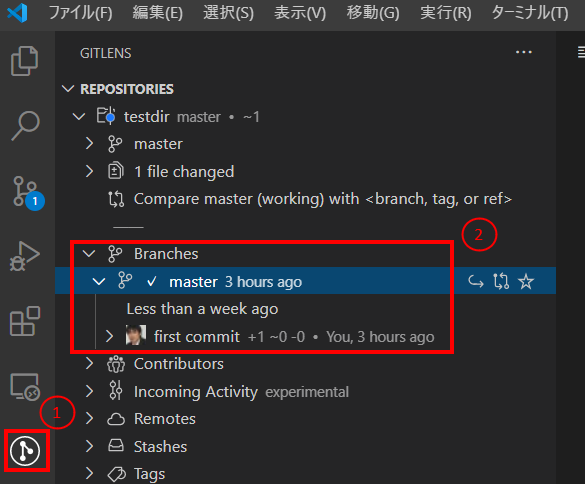
GitLensでブランチを確認
ブランチ「sub-branch1」がチェックアウトされている(チェックマークがついている)ことを確認

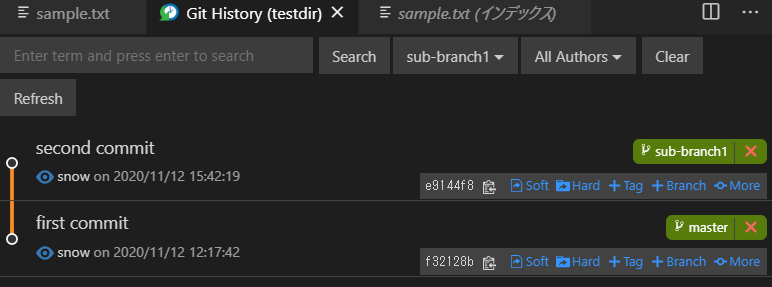
Git Historyでブランチ「sub-branch1」を確認
Ctrl + Shift + PでGit: View History 「git log」を選択

ブランチのスイッチ(Git History)
ブランチ「master」にスイッチ(チェックアウト)する場合
図の順に選択

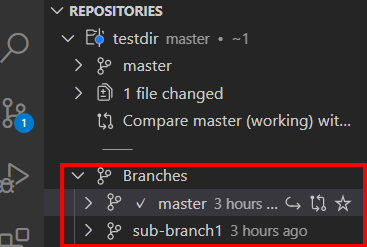
GitLensでブランチを確認
ブランチ「master」がチェックアウトされている(チェックマークがついている)ことを確認
ブランチのスイッチ(GitLens)
スイッチしたいブランチを右クリックし[Switch to Branch]を選択

ブランチが「sub-branch1」にスイッチされていることを確認

ステージングしたsample.txtの変更をコミット
コミットメッセージを入力し②のチェックマークを選択


ブランチのマージ
ブランチ「sub-branch1」をブランチ「master」にマージ
①ブランチ「master」に切り替え

Git Historyでマージ元のブランチ「sub-branch1」の[More]を選択後、[Merge this commit into current branch]を選択

同様に以下の手順を実行
・ブランチ「sub-branch1」に切り替え
・sample.txt を編集(内容は任意 今回は'Add Text2'の行を追加)
・ステージング
・コミット(コミットメッセージは任意 今回は'third commit')
・Git Historyよりコミット履歴確認

・ブランチ「master」に切り替え
・ブランチのマージ(ブランチ「sub-branch1」をブランチ「master」にマージ)
・Git Historyで[Refresh]を選択しコミット履歴確認

リモートリポジトリにプッシュ
リモートリポジトリ「GitHub」にプッシュ
あらかじめGitHubでリポジトリの作成をしておく(今回は[https://github.com/skymeets/test_rep.git])
Ctrl + Shift + Pでコマンドパレットを開きGit Add を入力し[リモートの追加]を選択

リモート名「origin」を入力しEnter

以上でリモートリポジトリの登録完了
プッシュ実行時にGitHubのアカウント「ユーザー、パスワード」を入力
以上でプッシュ完了
クローンの実施(リモートリポジトリを他PCのローカルにクローン)
VSCでクローンを配置するフォルダを開く 今回は「c:\share」

Ctrl + Shift + Pでコマンドパレットを開きGit Clone を入力し[Git: Clone]を選択


上記URL入力フィールドにcloneするURLを入力しEnter

cloneするフォルダ選択画面が表示されるのでcloneするフォルダを指定(今回は「c:\share」)

フォルダを指定したらボタン[リポジトリの場所を選択]を押下

以上でリポジトリのクローン完了


