一般的な LAN 内で使用する権威サーバーとして構築した例です。
環境
サーバー IP アドレス: 192.168.182.10
AlmaLinux 9.5
PostgreSQL 16.8
PowerDNS 権威サーバー 4.9.5
Poweradmin 3.9.2
SELinux 有効
PostgreSQLの準備
バックエンドには MySQL や MariaDB、汎用ODBC、SQLite、また DB 以外だと BIND 形式ファイル、LDAP なども使用できますが、今回は PostgreSQL を使用します。
# dnf module install postgresql:16/server
# postgresql-setup --initdb
以下の通り編集します。
listen_addresses = 'localhost'
host all all 127.0.0.1/32 scram-sha-256
自動起動を有効化して起動します。
# systemctl enable postgresql
# systemctl start postgresql
データベースとユーザーを作成します。
# sudo -u postgres psql
# create database pdns;
# create role pdns with login password '<パスワード>';
# grant all on database pdns to pdns;
# alter database pdns owner to pdns;
# quit
PowerDNS 権威サーバーのインストール・設定
PowerDNS のリポから最新バージョンが手に入ります。
インストール後、DB にテーブル・インデックスをセットアップします。
# dnf install epel-release && dnf upgrade
# curl https://repo.powerdns.com/repo-files/el-auth-49.repo -o /etc/yum.repos.d/powerdns-auth-49.repo
# dnf install pdns pdns-backend-postgresql
# psql -h 127.0.0.1 -U pdns < /usr/share/doc/pdns-backend-postgresql/schema.pgsql.sql
DB への接続設定とログの設定を行います。
version-string=anonymous

daemon=no
guardian=no

launch=gpgsql
gpgsql-host=127.0.0.1
gpgsql-port=5432
gpgsql-dbname=pdns
gpgsql-user=pdns
gpgsql-password=<パスワード>

setgid=pdns
setuid=pdns

loglevel=6
log-dns-details=yes
以下で確認。Done launching threads, ready to distribute questionsが出れば OK です。
# pdns_server --daemon=no --guardian=no --loglevel=9
PowerDNS 権威サーバーの自動起動を有効化して起動します。
# chown pdns:pdns -R /etc/pdns/
# systemctl enable pdns
# systemctl start pdns
Poweradmin の準備
PowerDNS 用の GUI は複数存在しますが、今回は使用例が多くメンテナンスも多く行われている Poweradmin を使用します。
Poweradmin の前提となるパッケージと、apache、unzip をインストールします。
最新版の PHP をインストールするため、Remi リポジトリを使用します。
# dnf install https://rpms.remirepo.net/enterprise/remi-release-9.rpm
# dnf module install php:remi-8.4
# dnf install php php-intl php-pgsql httpd unzip
apache を起動します。
# systemctl enable httpd
# systemctl start httpd
SELinux ブール値を変更し、httpd がデータベースに接続できるようにします。
# setsebool -P httpd_can_network_connect_db 1
Poweradmin のインストール
Poweradmin のリソースをダウンロードし、解凍します。
# curl -Lo v3.9.2.zip https://github.com/poweradmin/poweradmin/archive/refs/tags/v3.9.2.zip
# unzip v3.9.2.zip
Poweradmin のリソースを apache のデフォルトドキュメントルートにコピーし、またドキュメントルートの所有者を変更します。
# cp -r poweradmin-3.9.2/* /var/www/html/
# chown -R apache:apache /var/www/html/
FW の設定を実施します。
# firewall-cmd --add-service=http --permanent
# firewall-cmd --add-service=dns --permanent
# firewall-cmd --reload
Poweradmin の設定
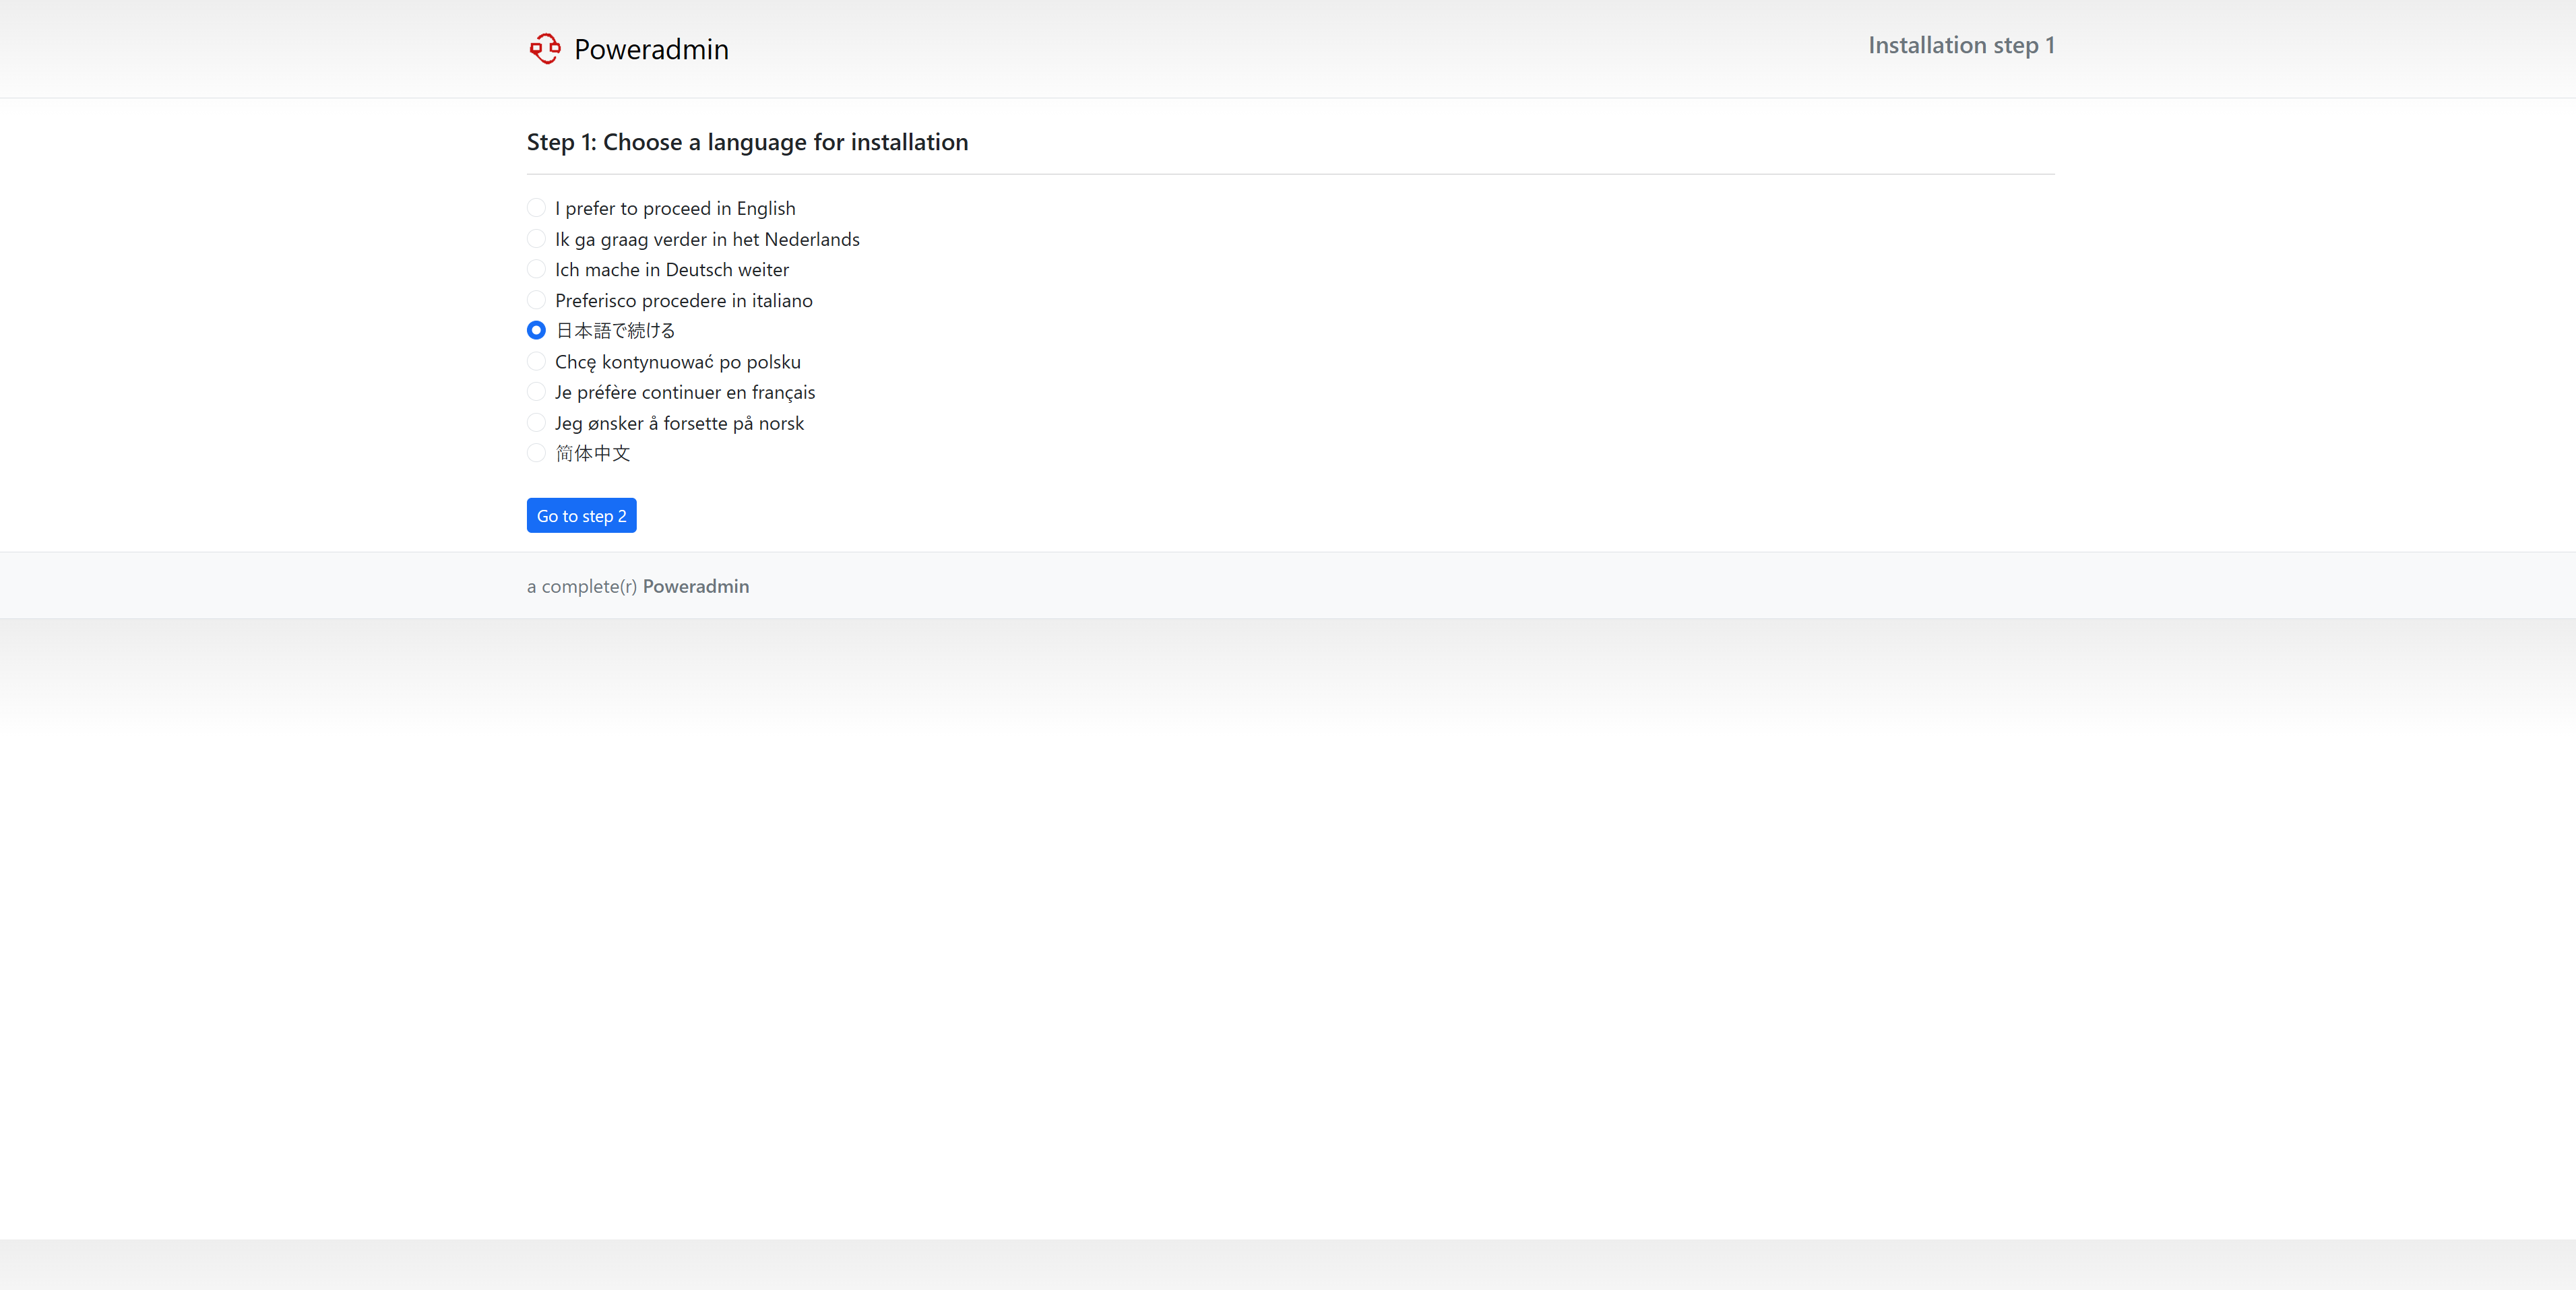
http://192.168.182.10/install にアクセスし、設定を行います。
まずは言語設定です。
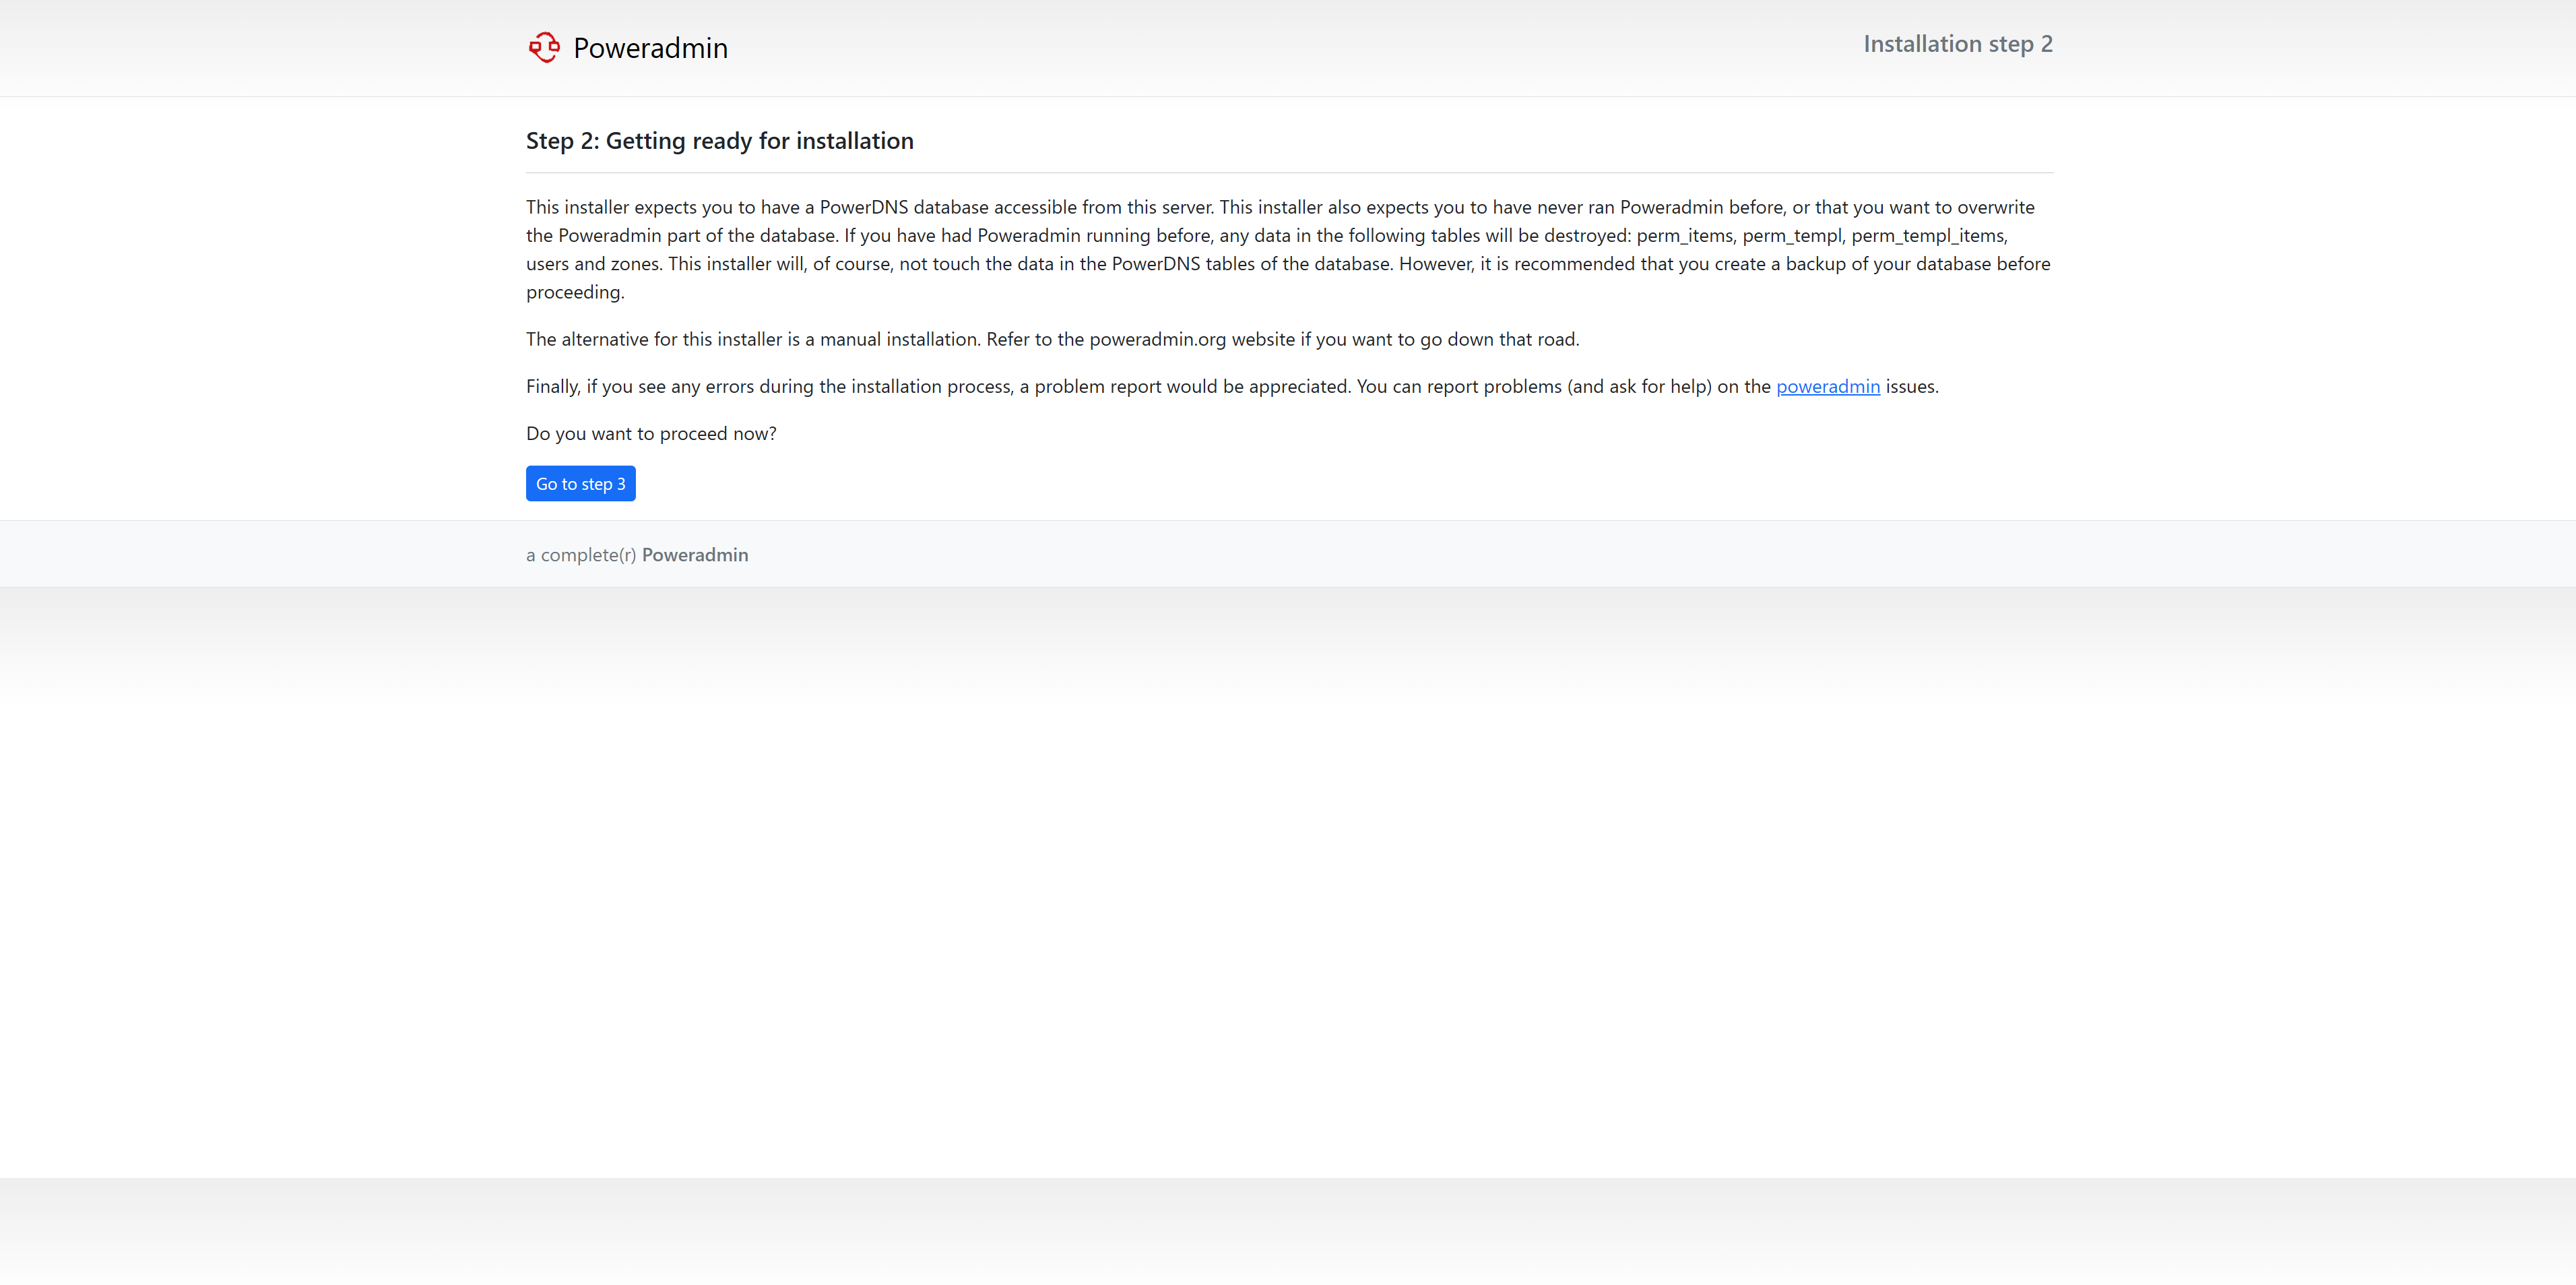
「DB が上書きされるが良いか?」という趣旨の質問ですが、初めてのインストールなので気にせず Step 3 に進みます。
データベースの接続設定と、Poweradmin の管理者パスワードを設定します。
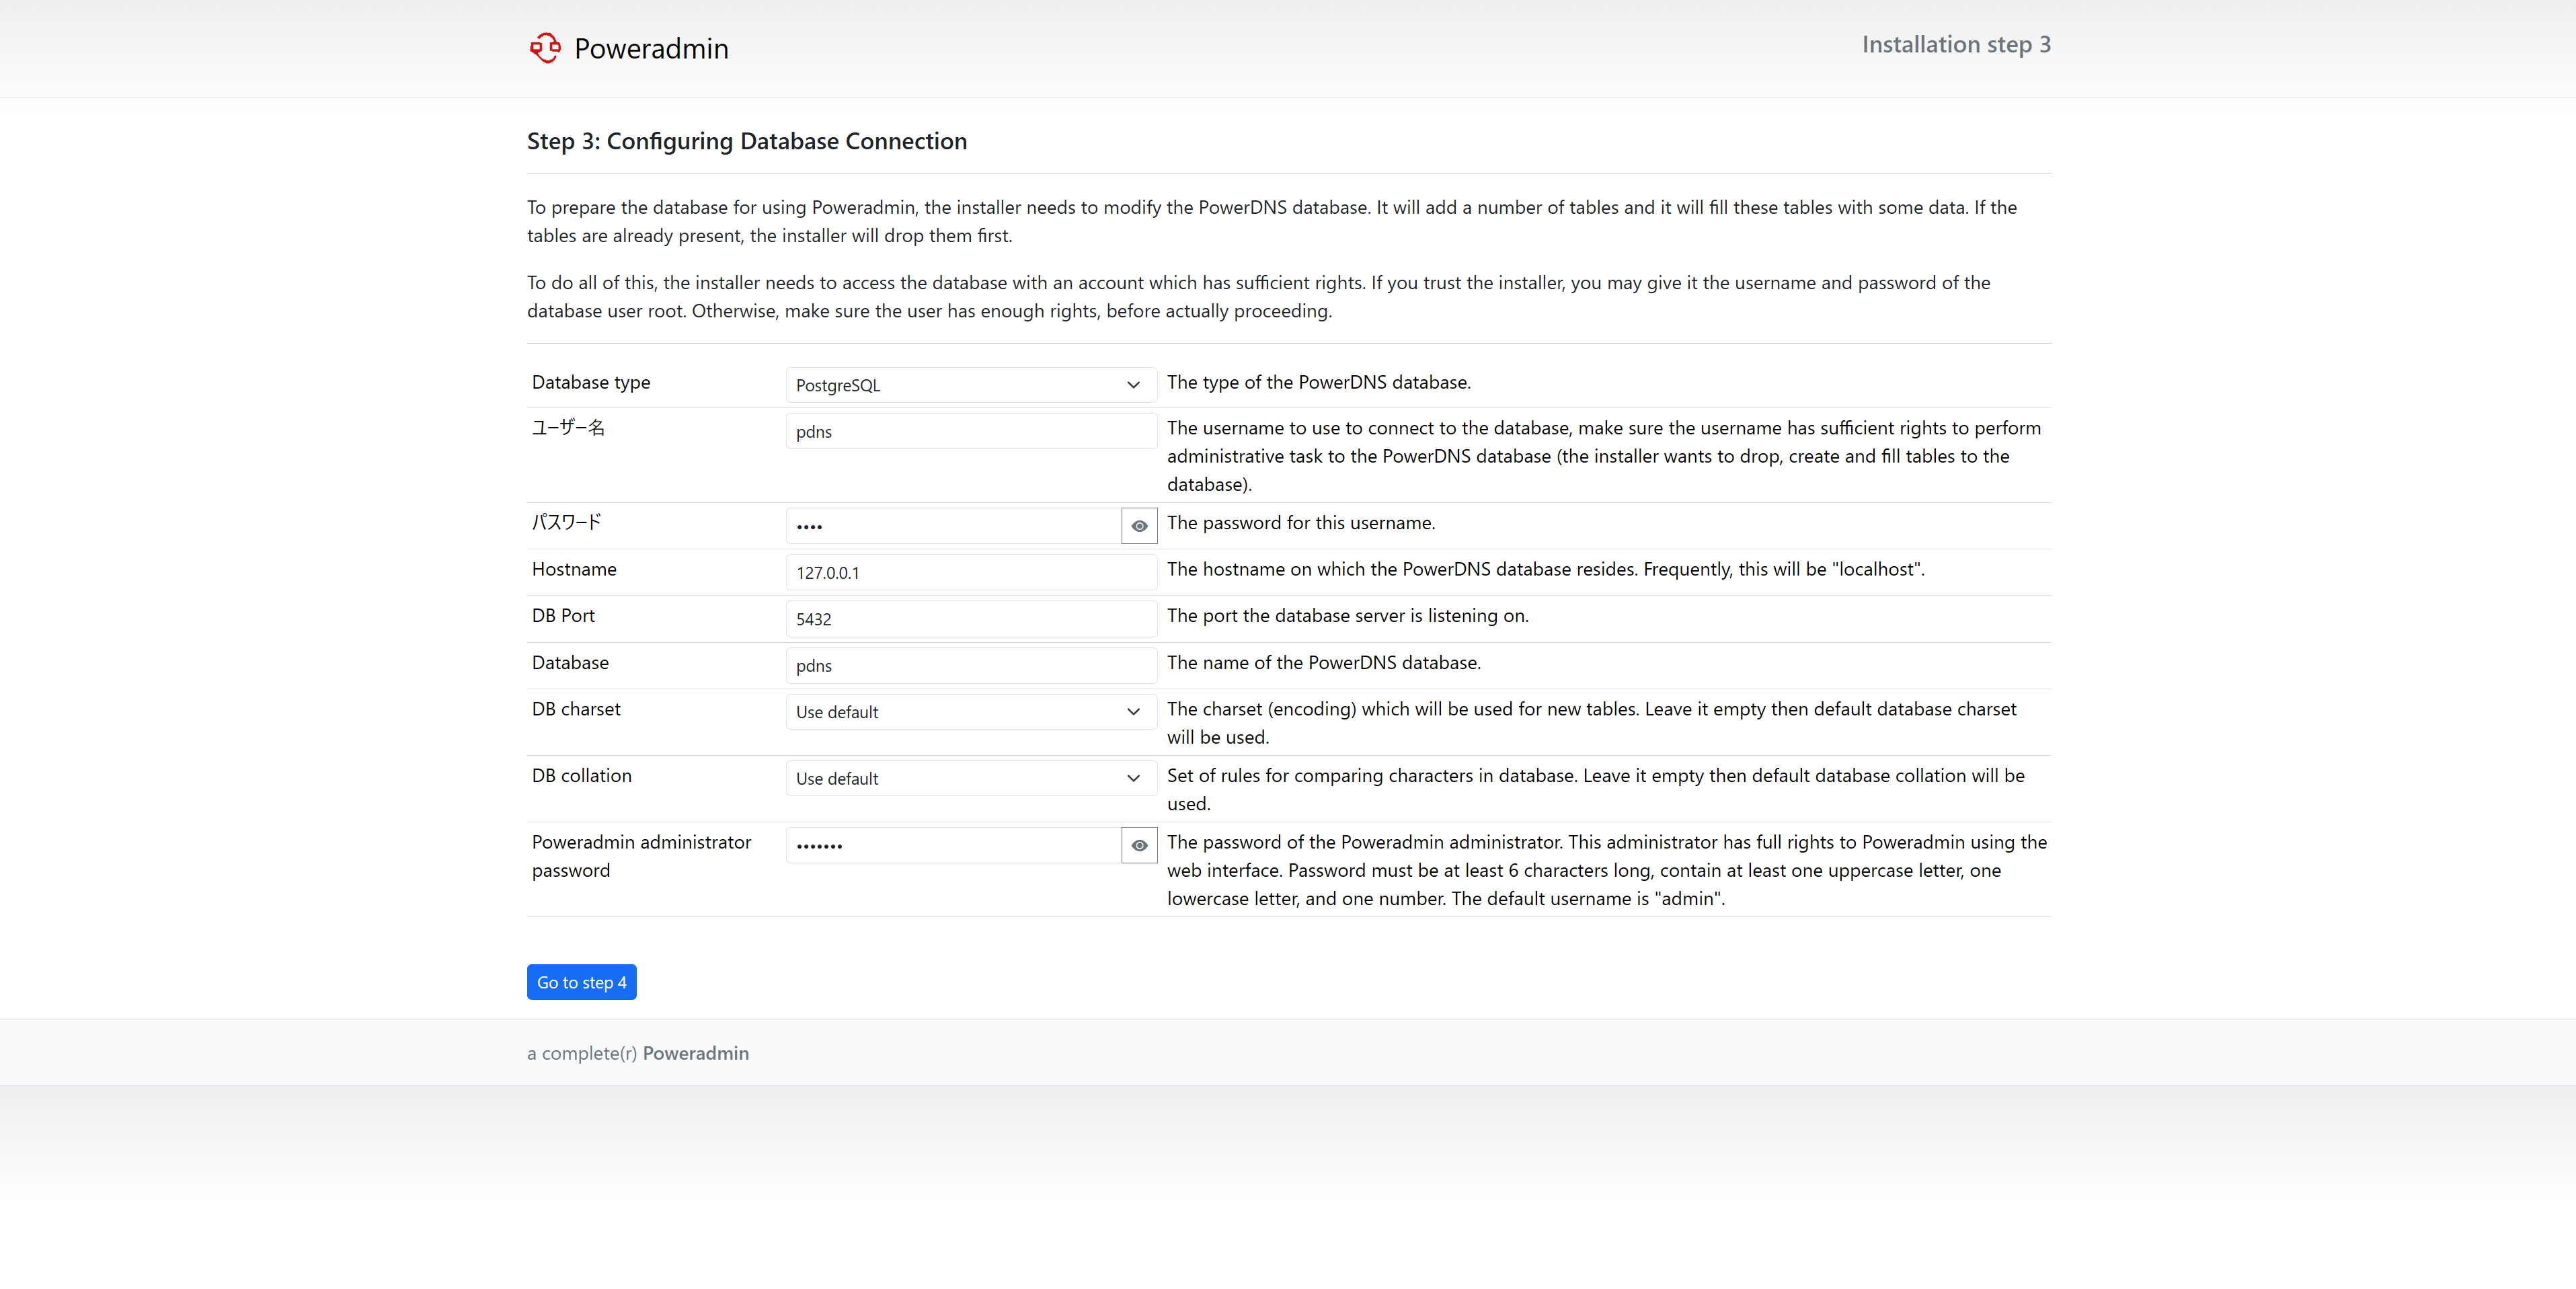
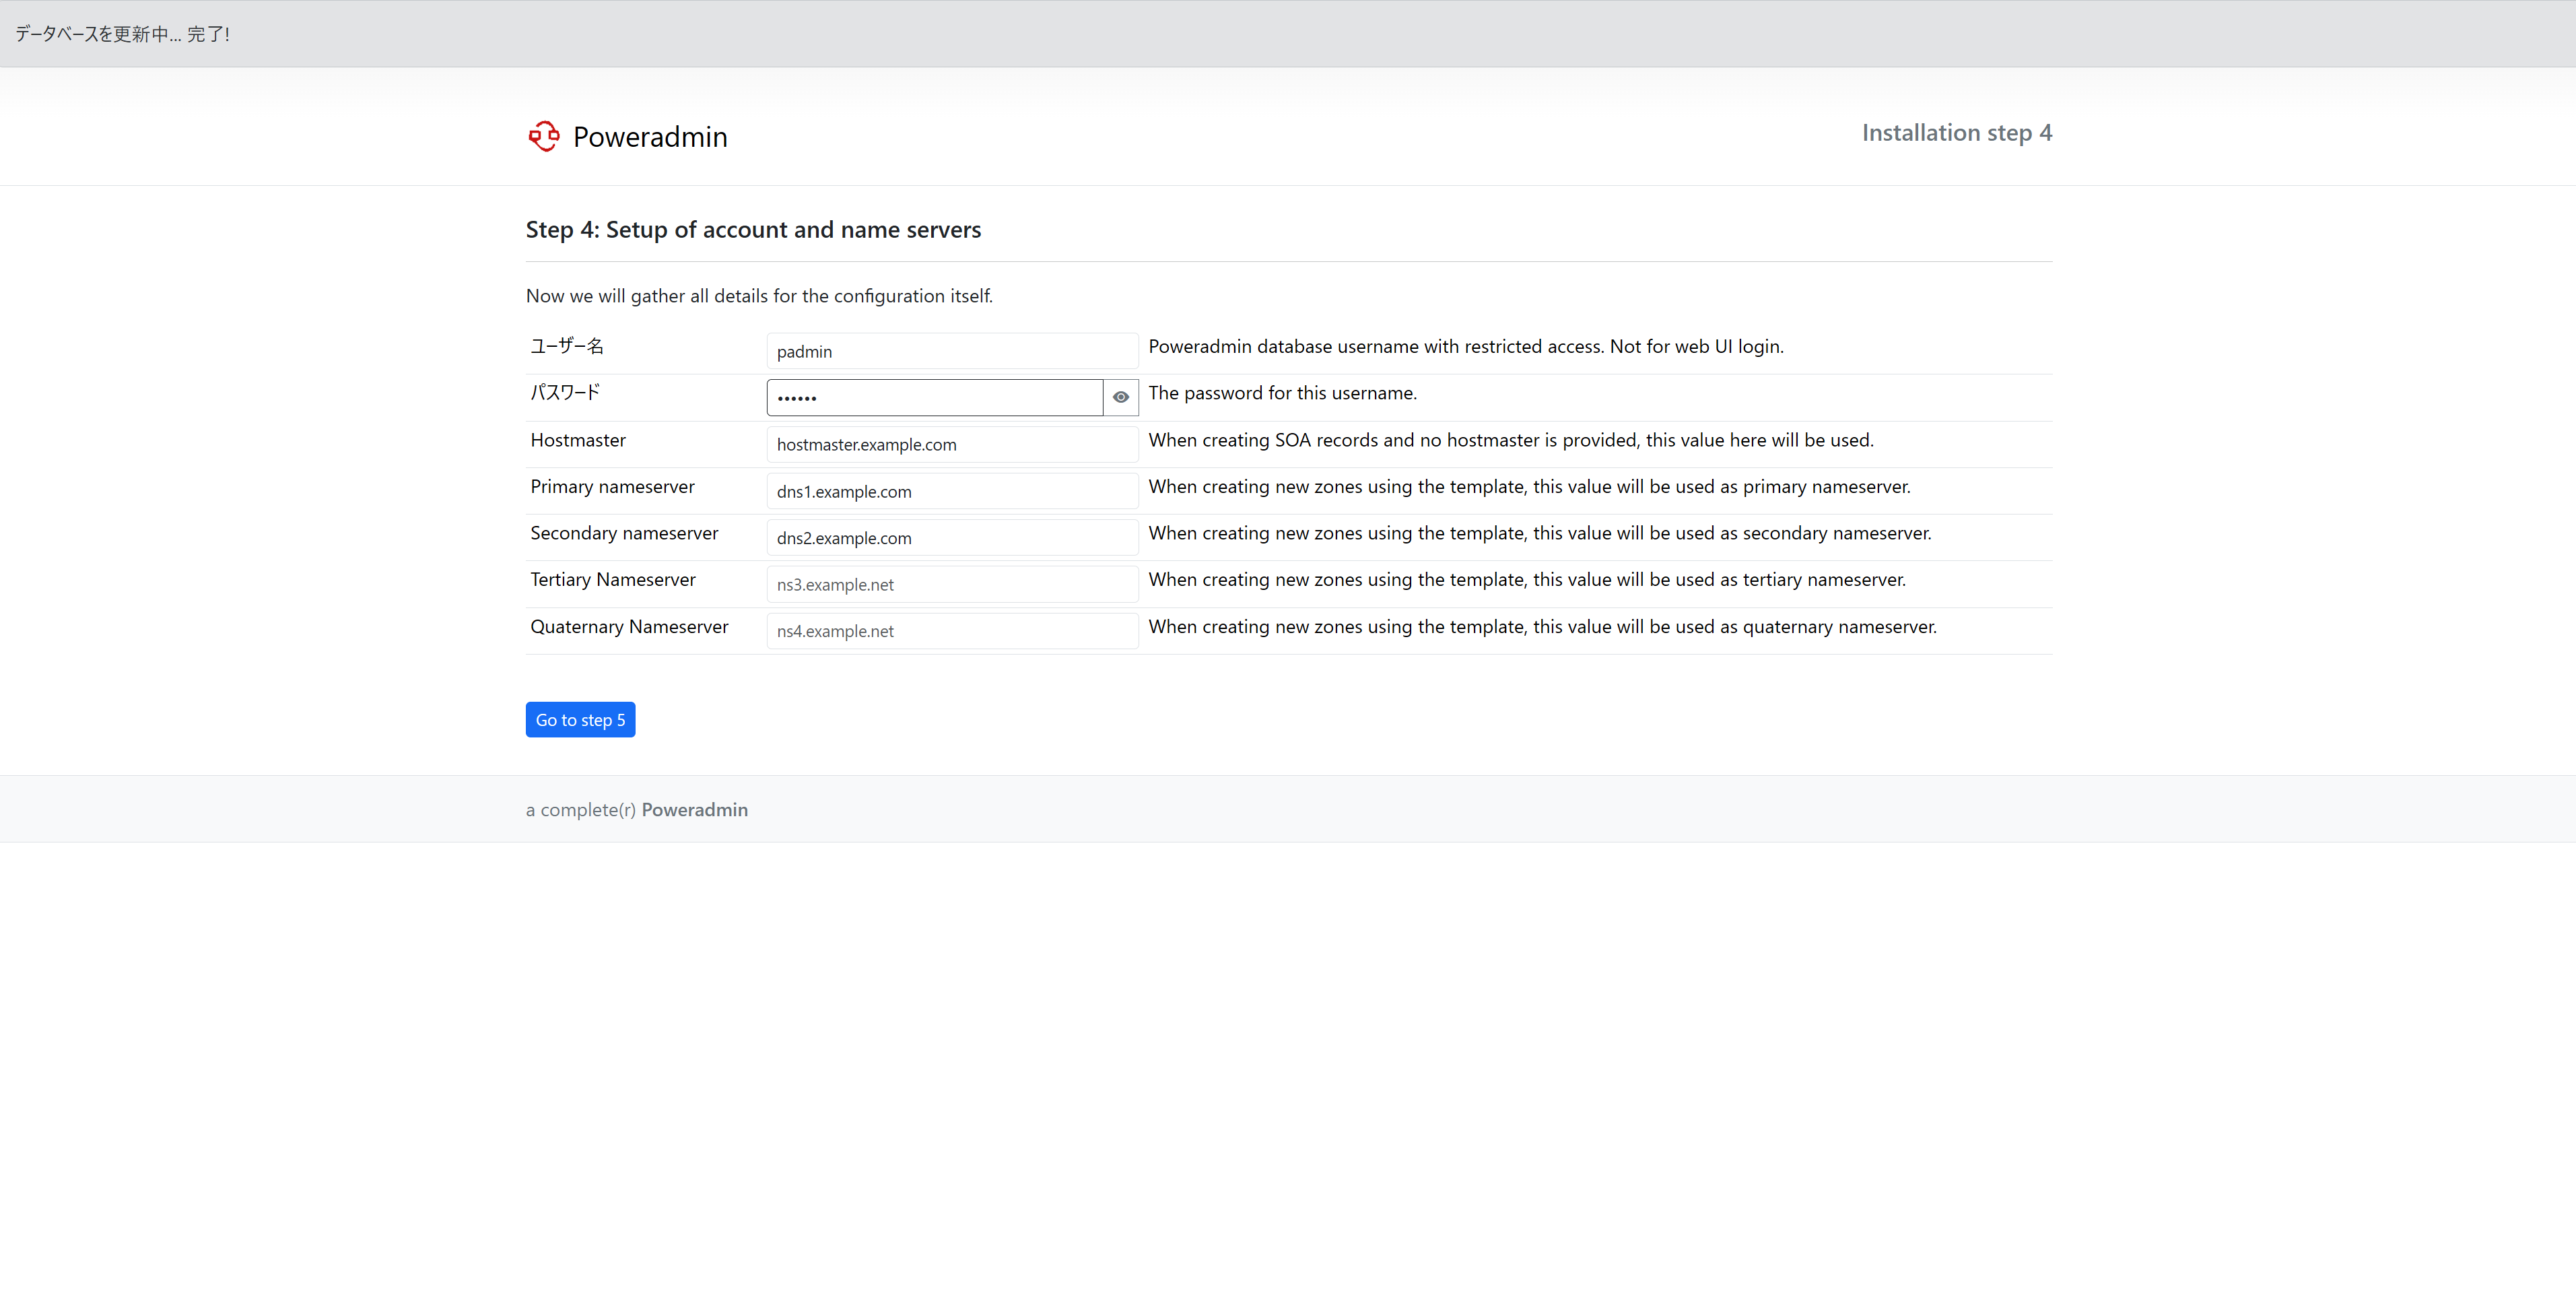
Poweradmin が作成するデータベース用のユーザーとそのパスワード、またSOAレコードの hostmaster のメールアドレス、プライマリ/セカンダリ DNS の FQDN を設定します。(セカンダリまで必須です。ターシャリー以降は任意です)
画面に表示の SQL 文を実行して次のステップに進みます。
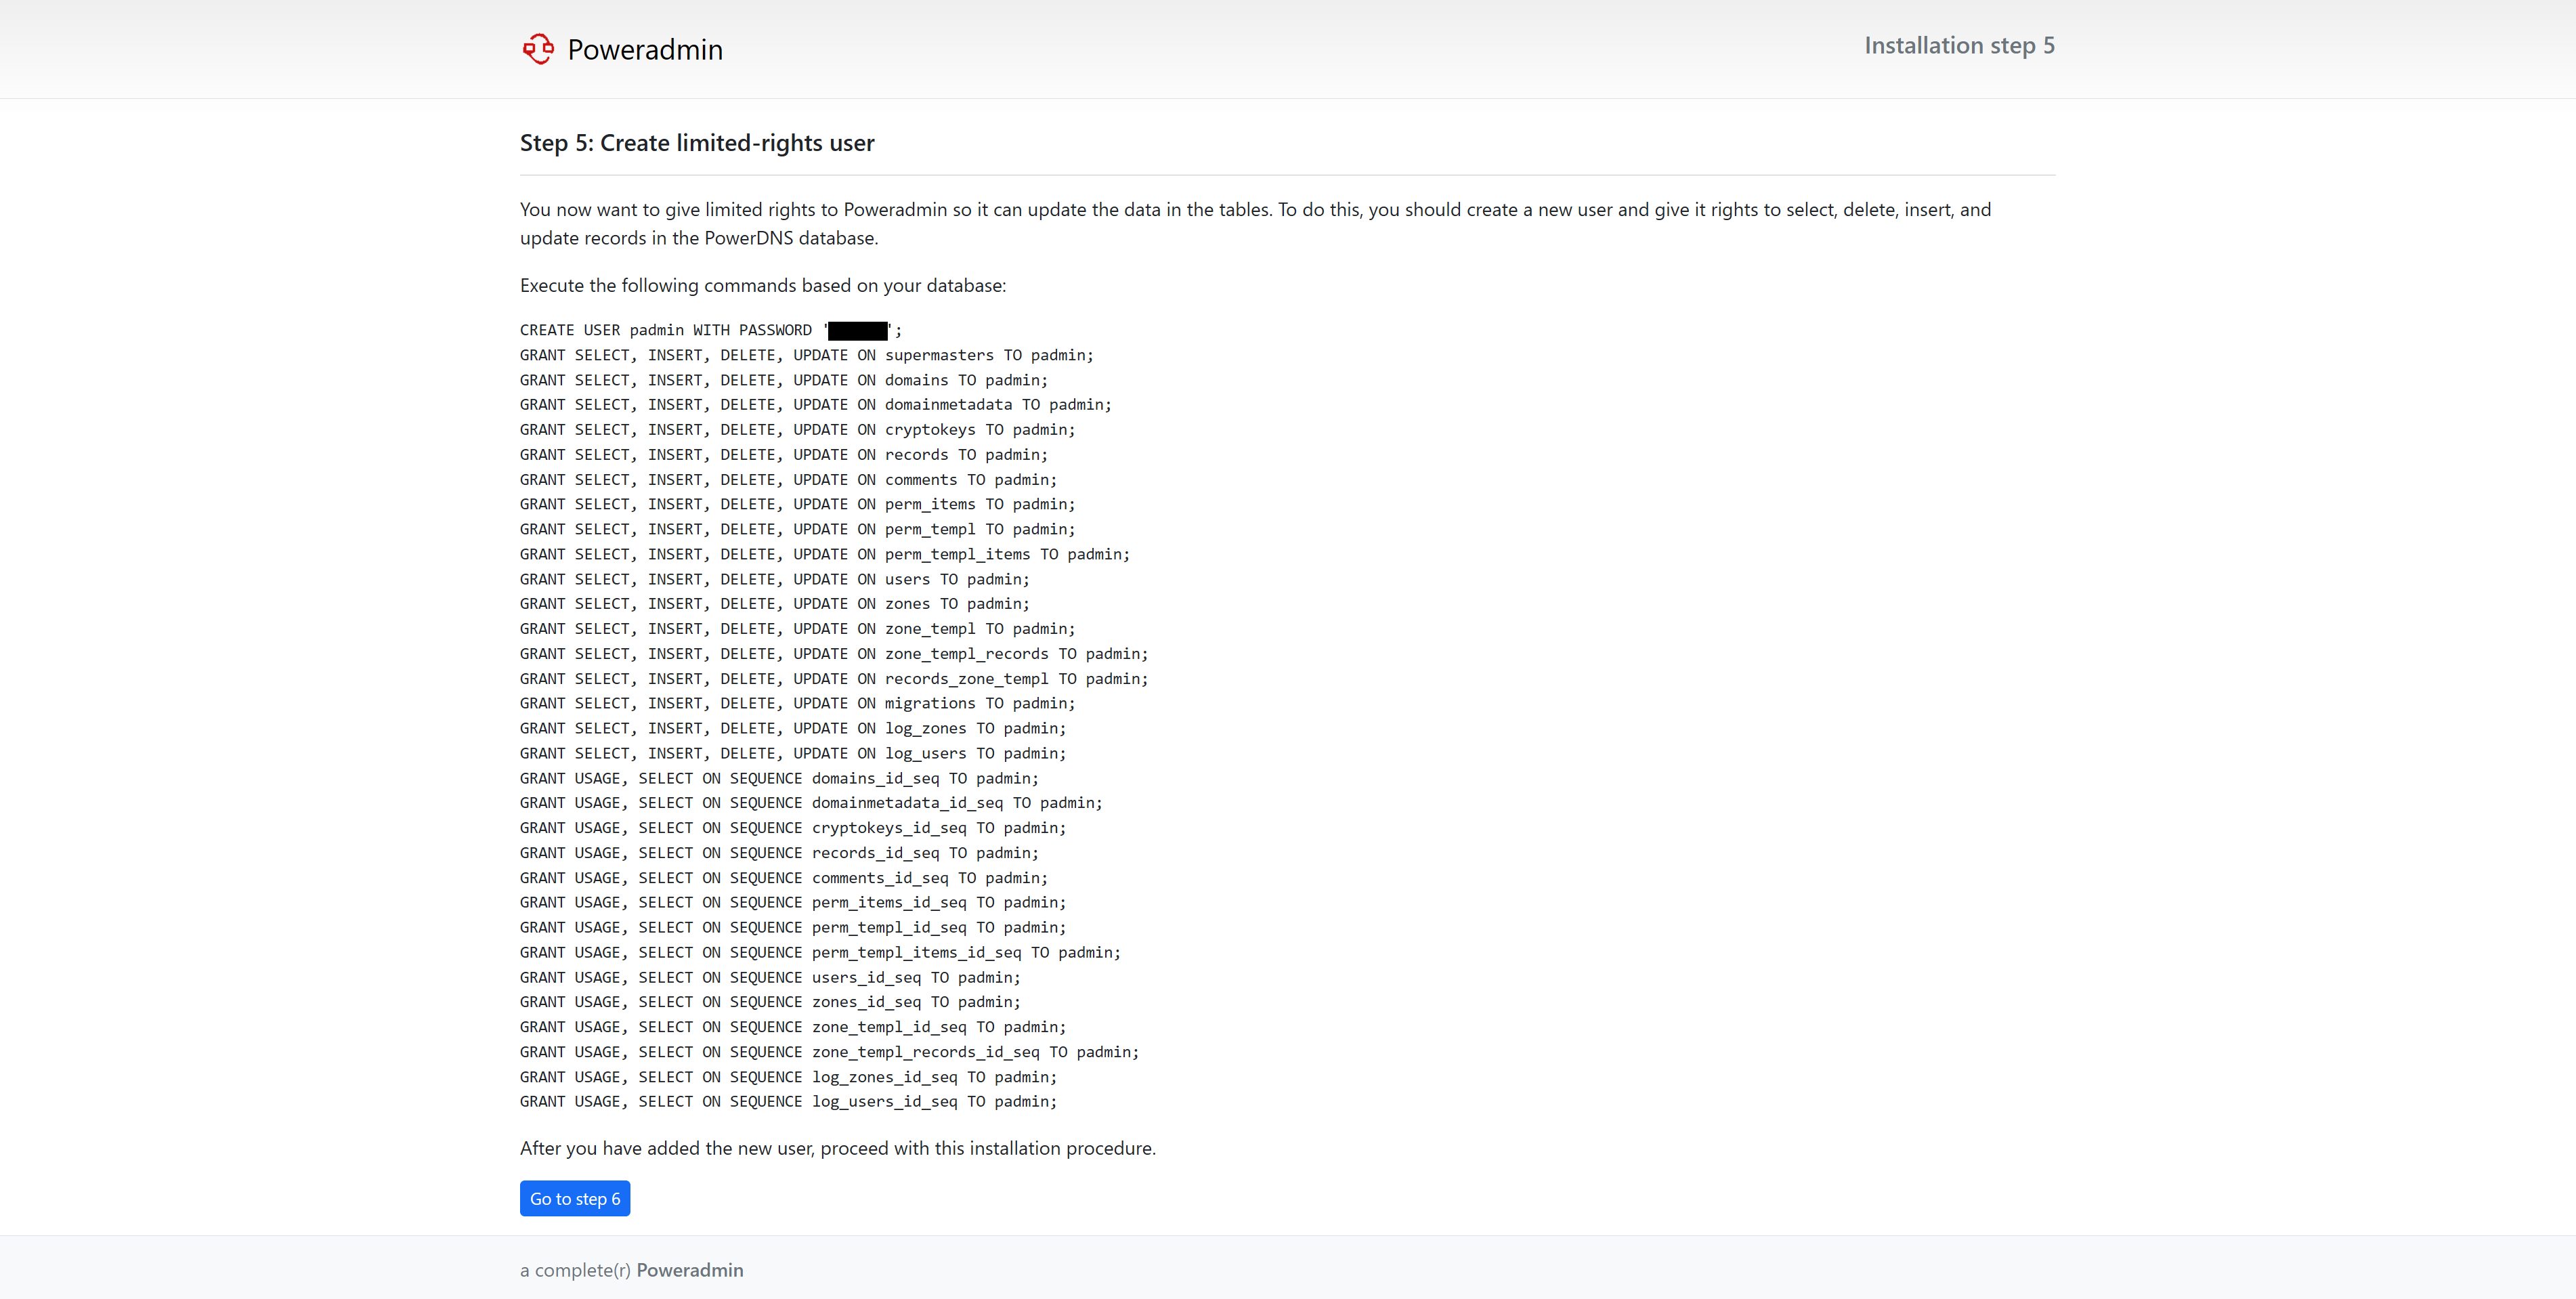
# sudo -u postgres psql
# \c pdns
# <SQL文>
以下のファイルを作成します。
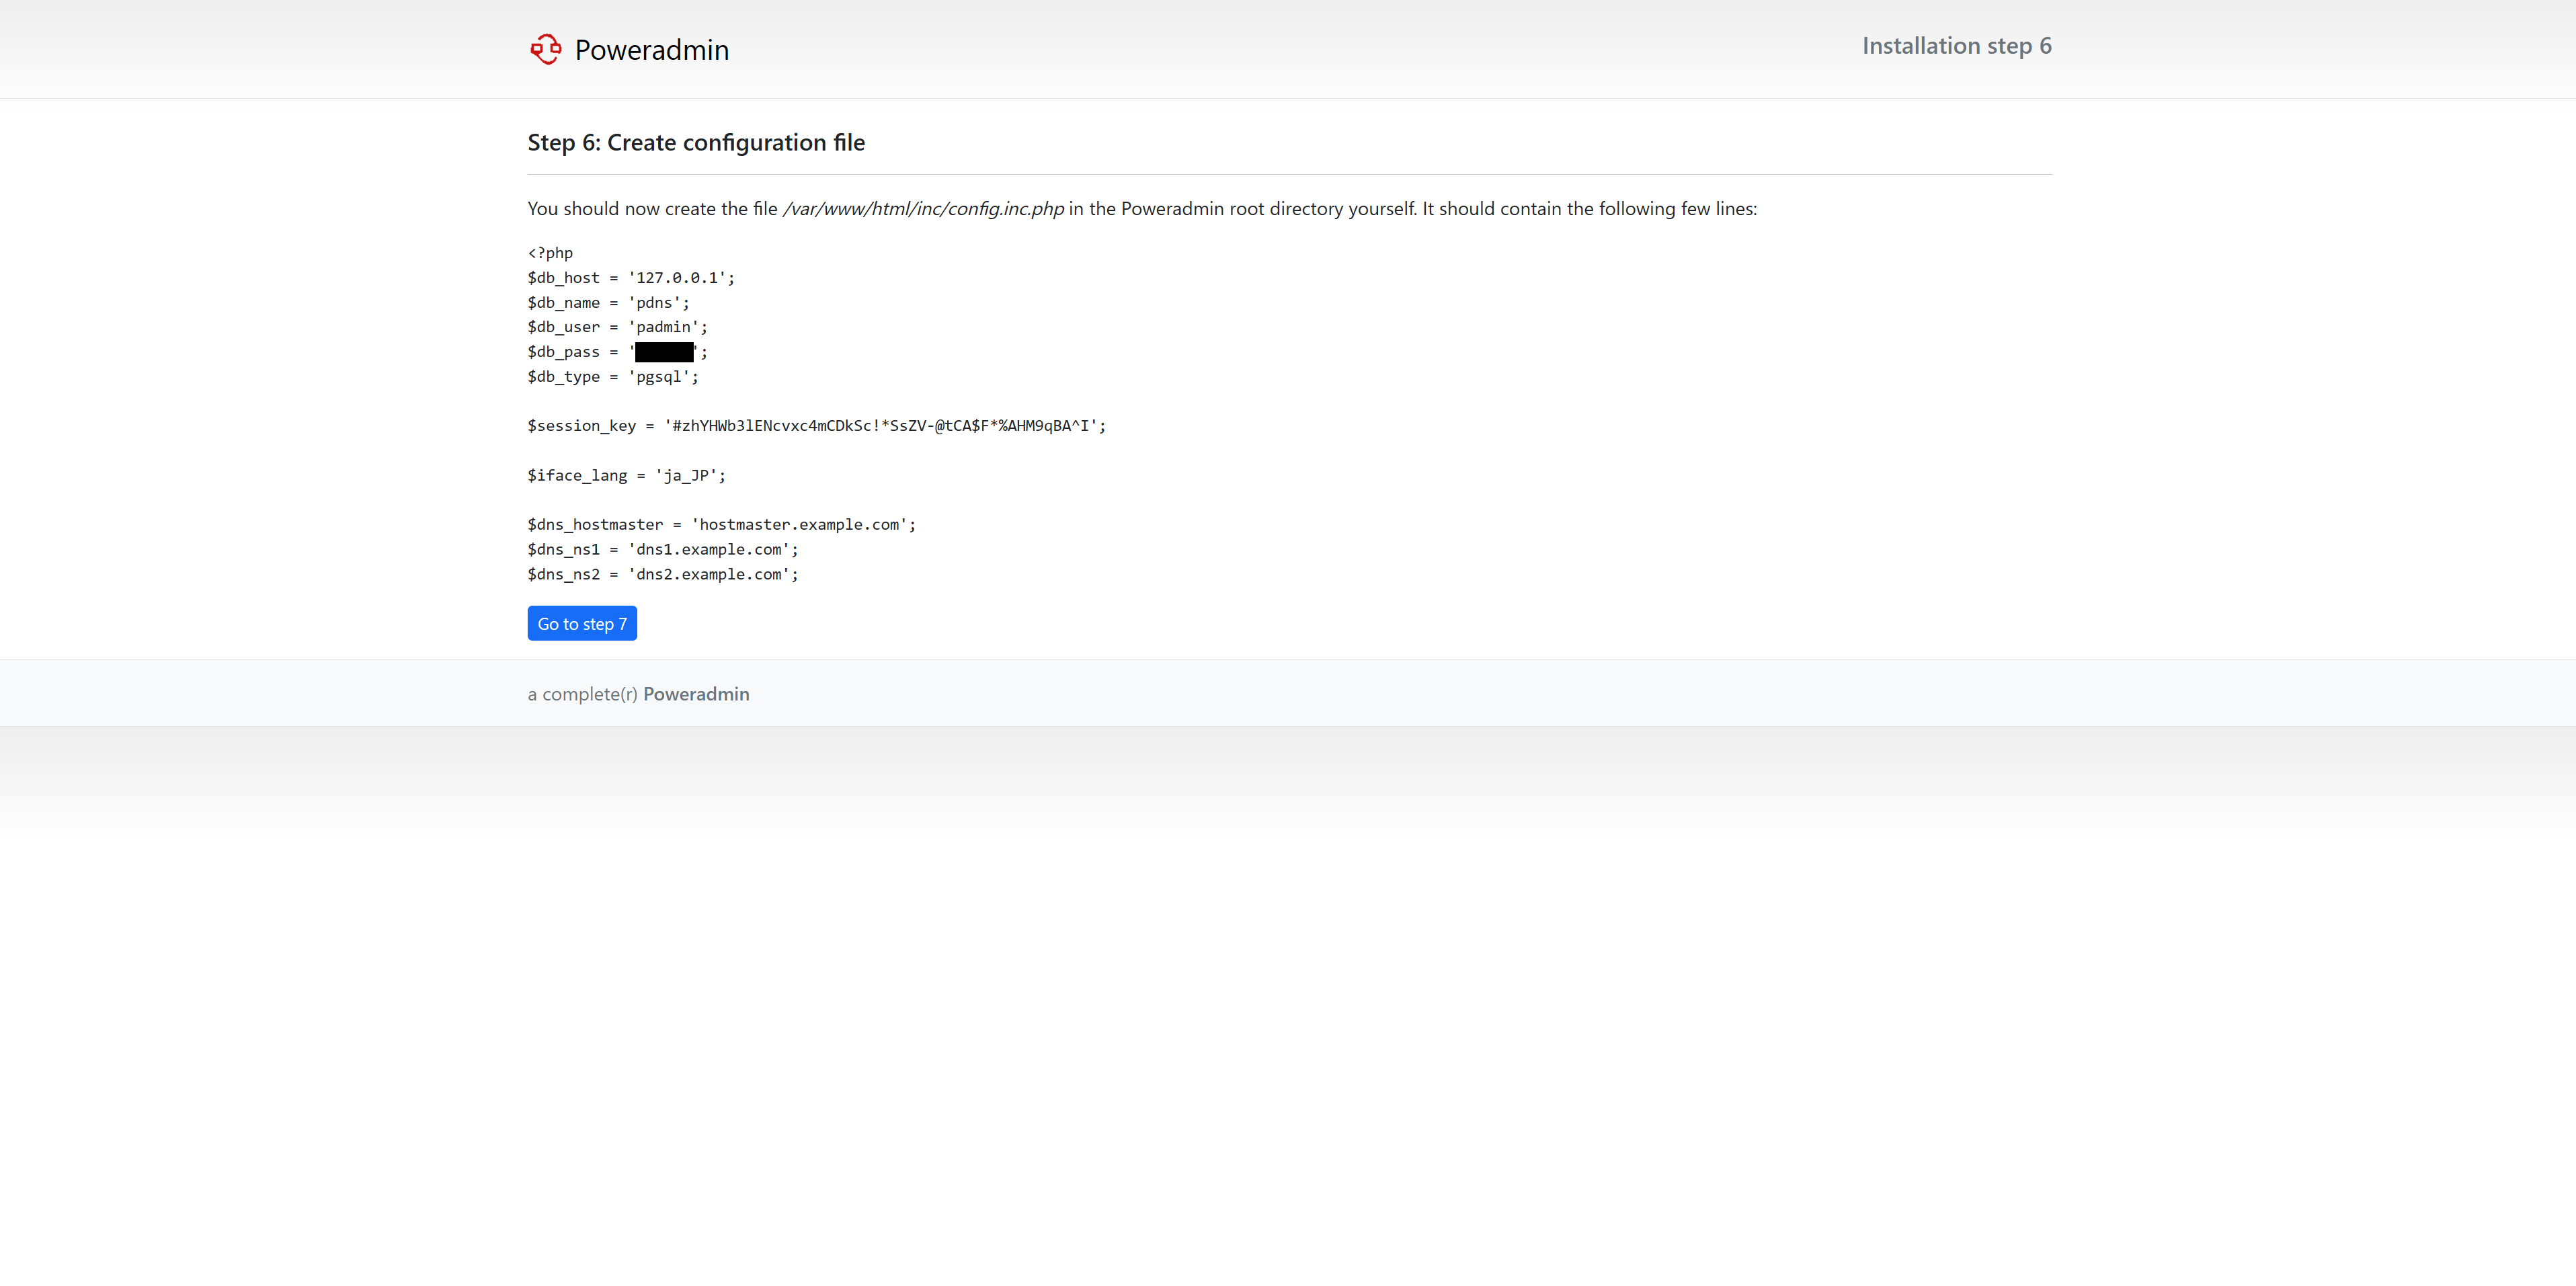
<?php
$db_host = '127.0.0.1';
$db_name = 'pdns';
$db_user = 'padmin';
$db_pass = '<padmin password>';
$db_type = 'pgsql';

$session_key = '#zhYHWb3lENcvxc4mCDkSc!*SsZV-@tCA$F*%AHM9qBA^I';

$iface_lang = 'ja_JP';

$dns_hostmaster = 'hostmaster.example.com';
$dns_ns1 = 'dns1.example.com';
$dns_ns2 = 'dns2.example.com';
画面の指示の通りにinstall/ディレクトリを削除します。
これで Poweradmin がインストールできました。
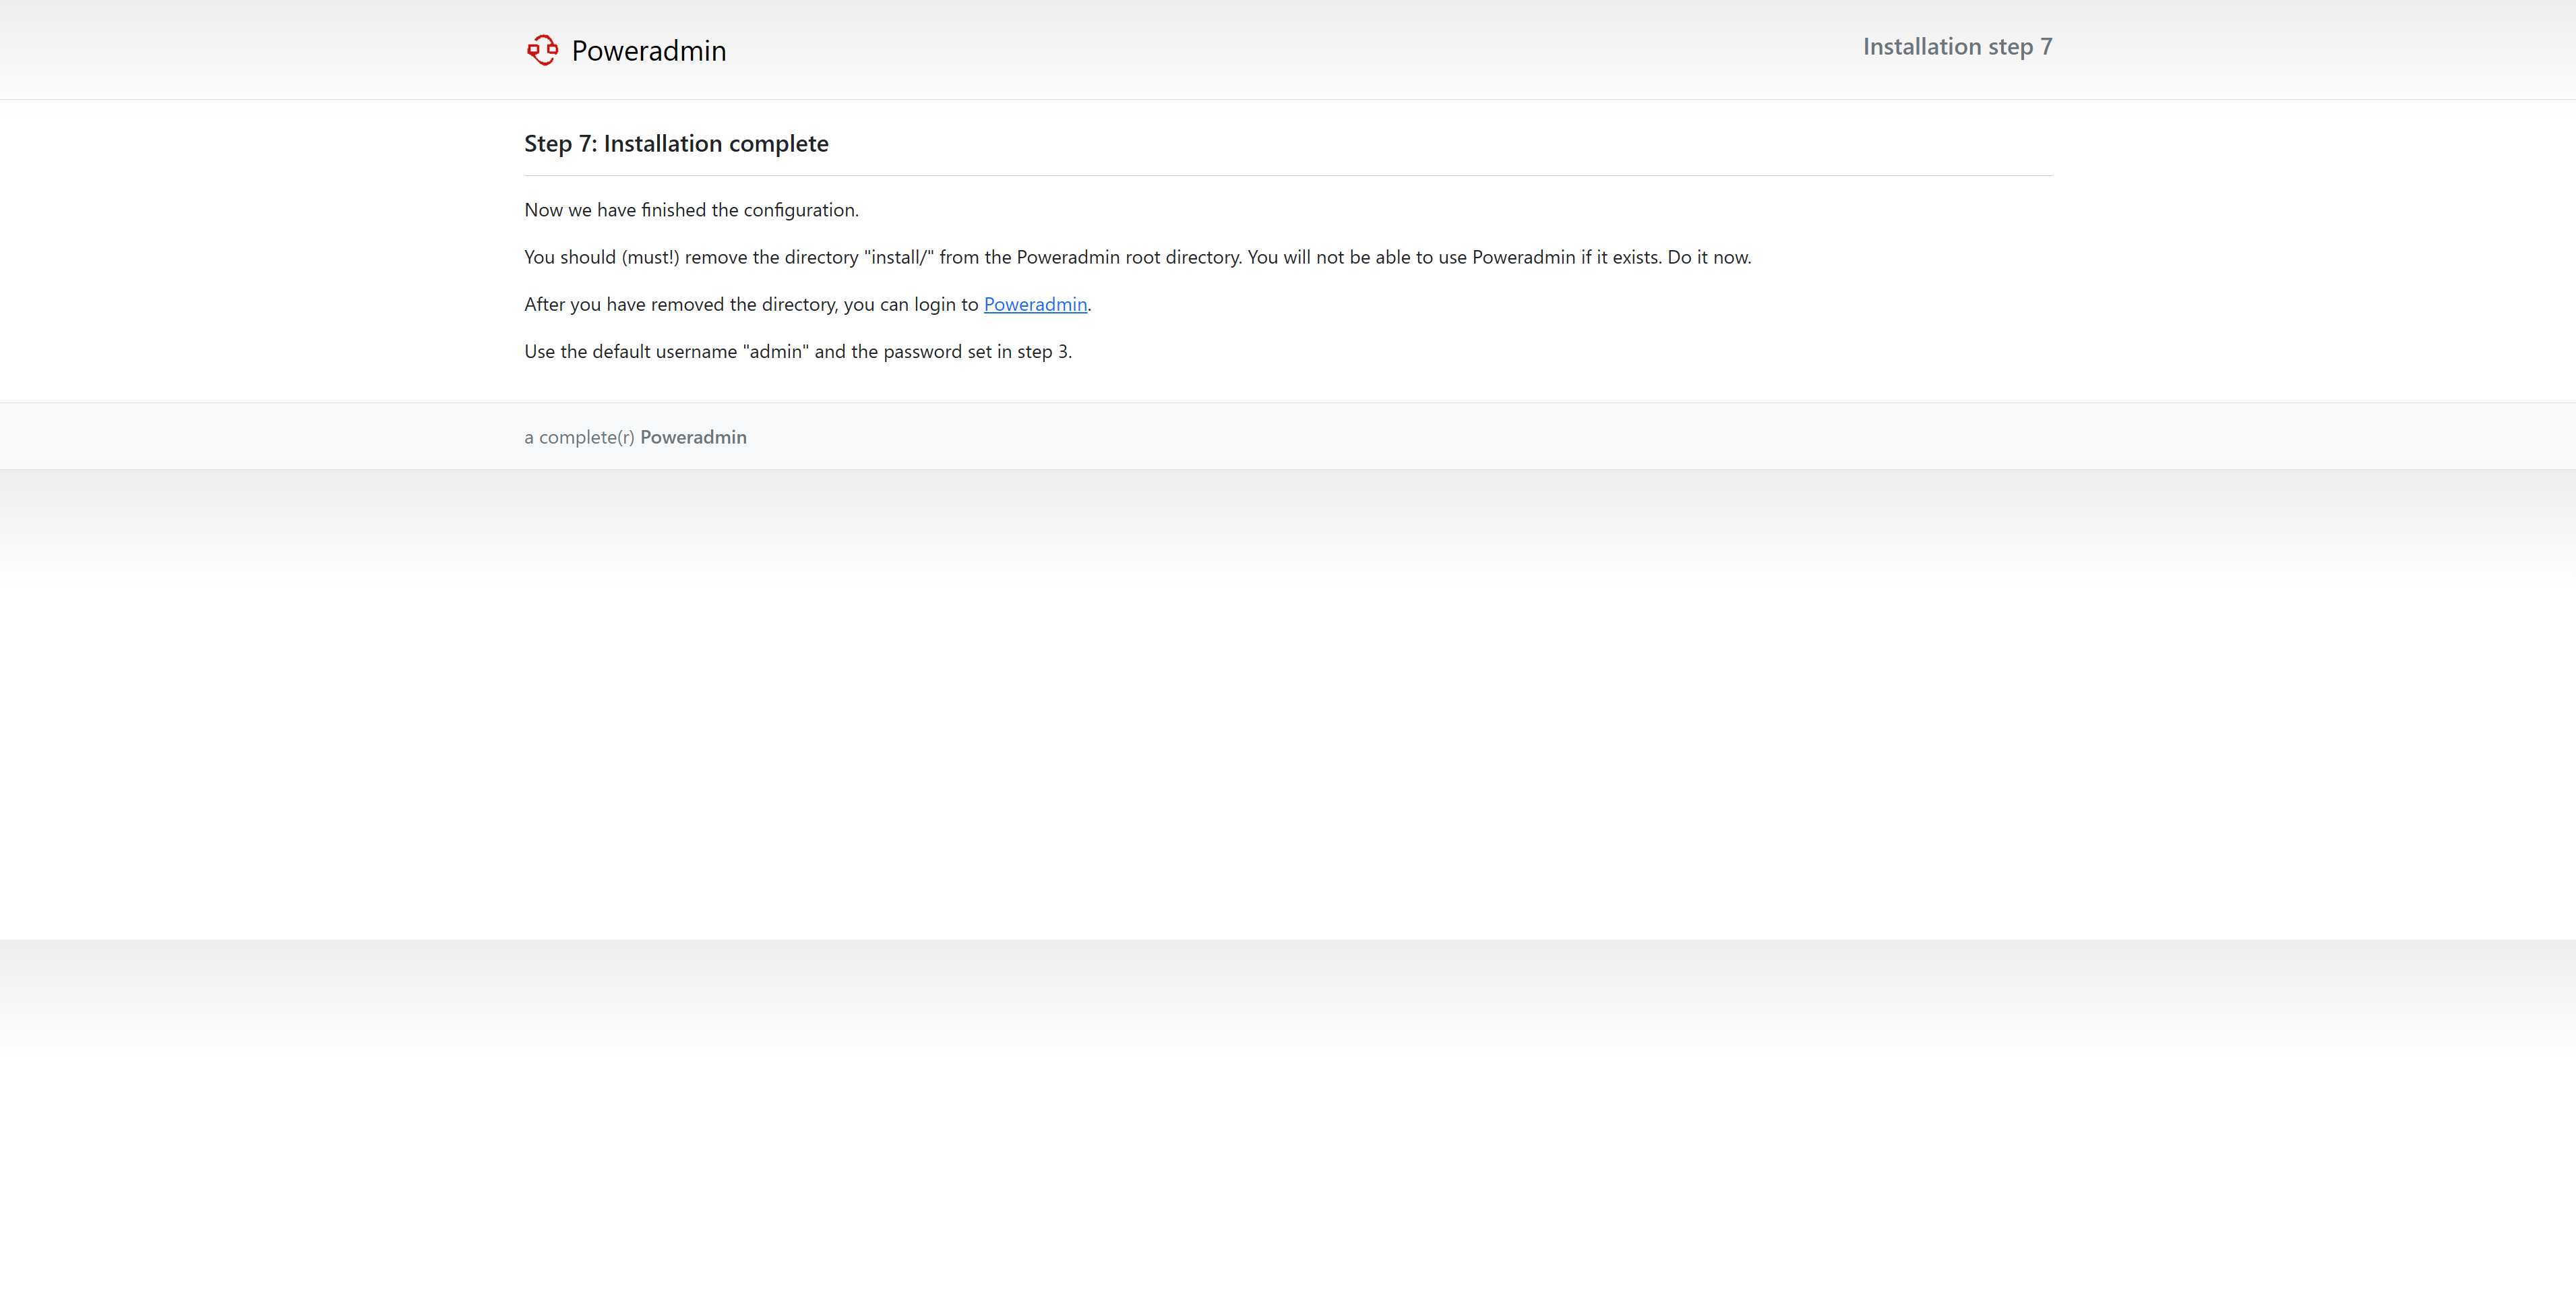
# rm -f -R /var/www/html/install/
確認
ログインします。
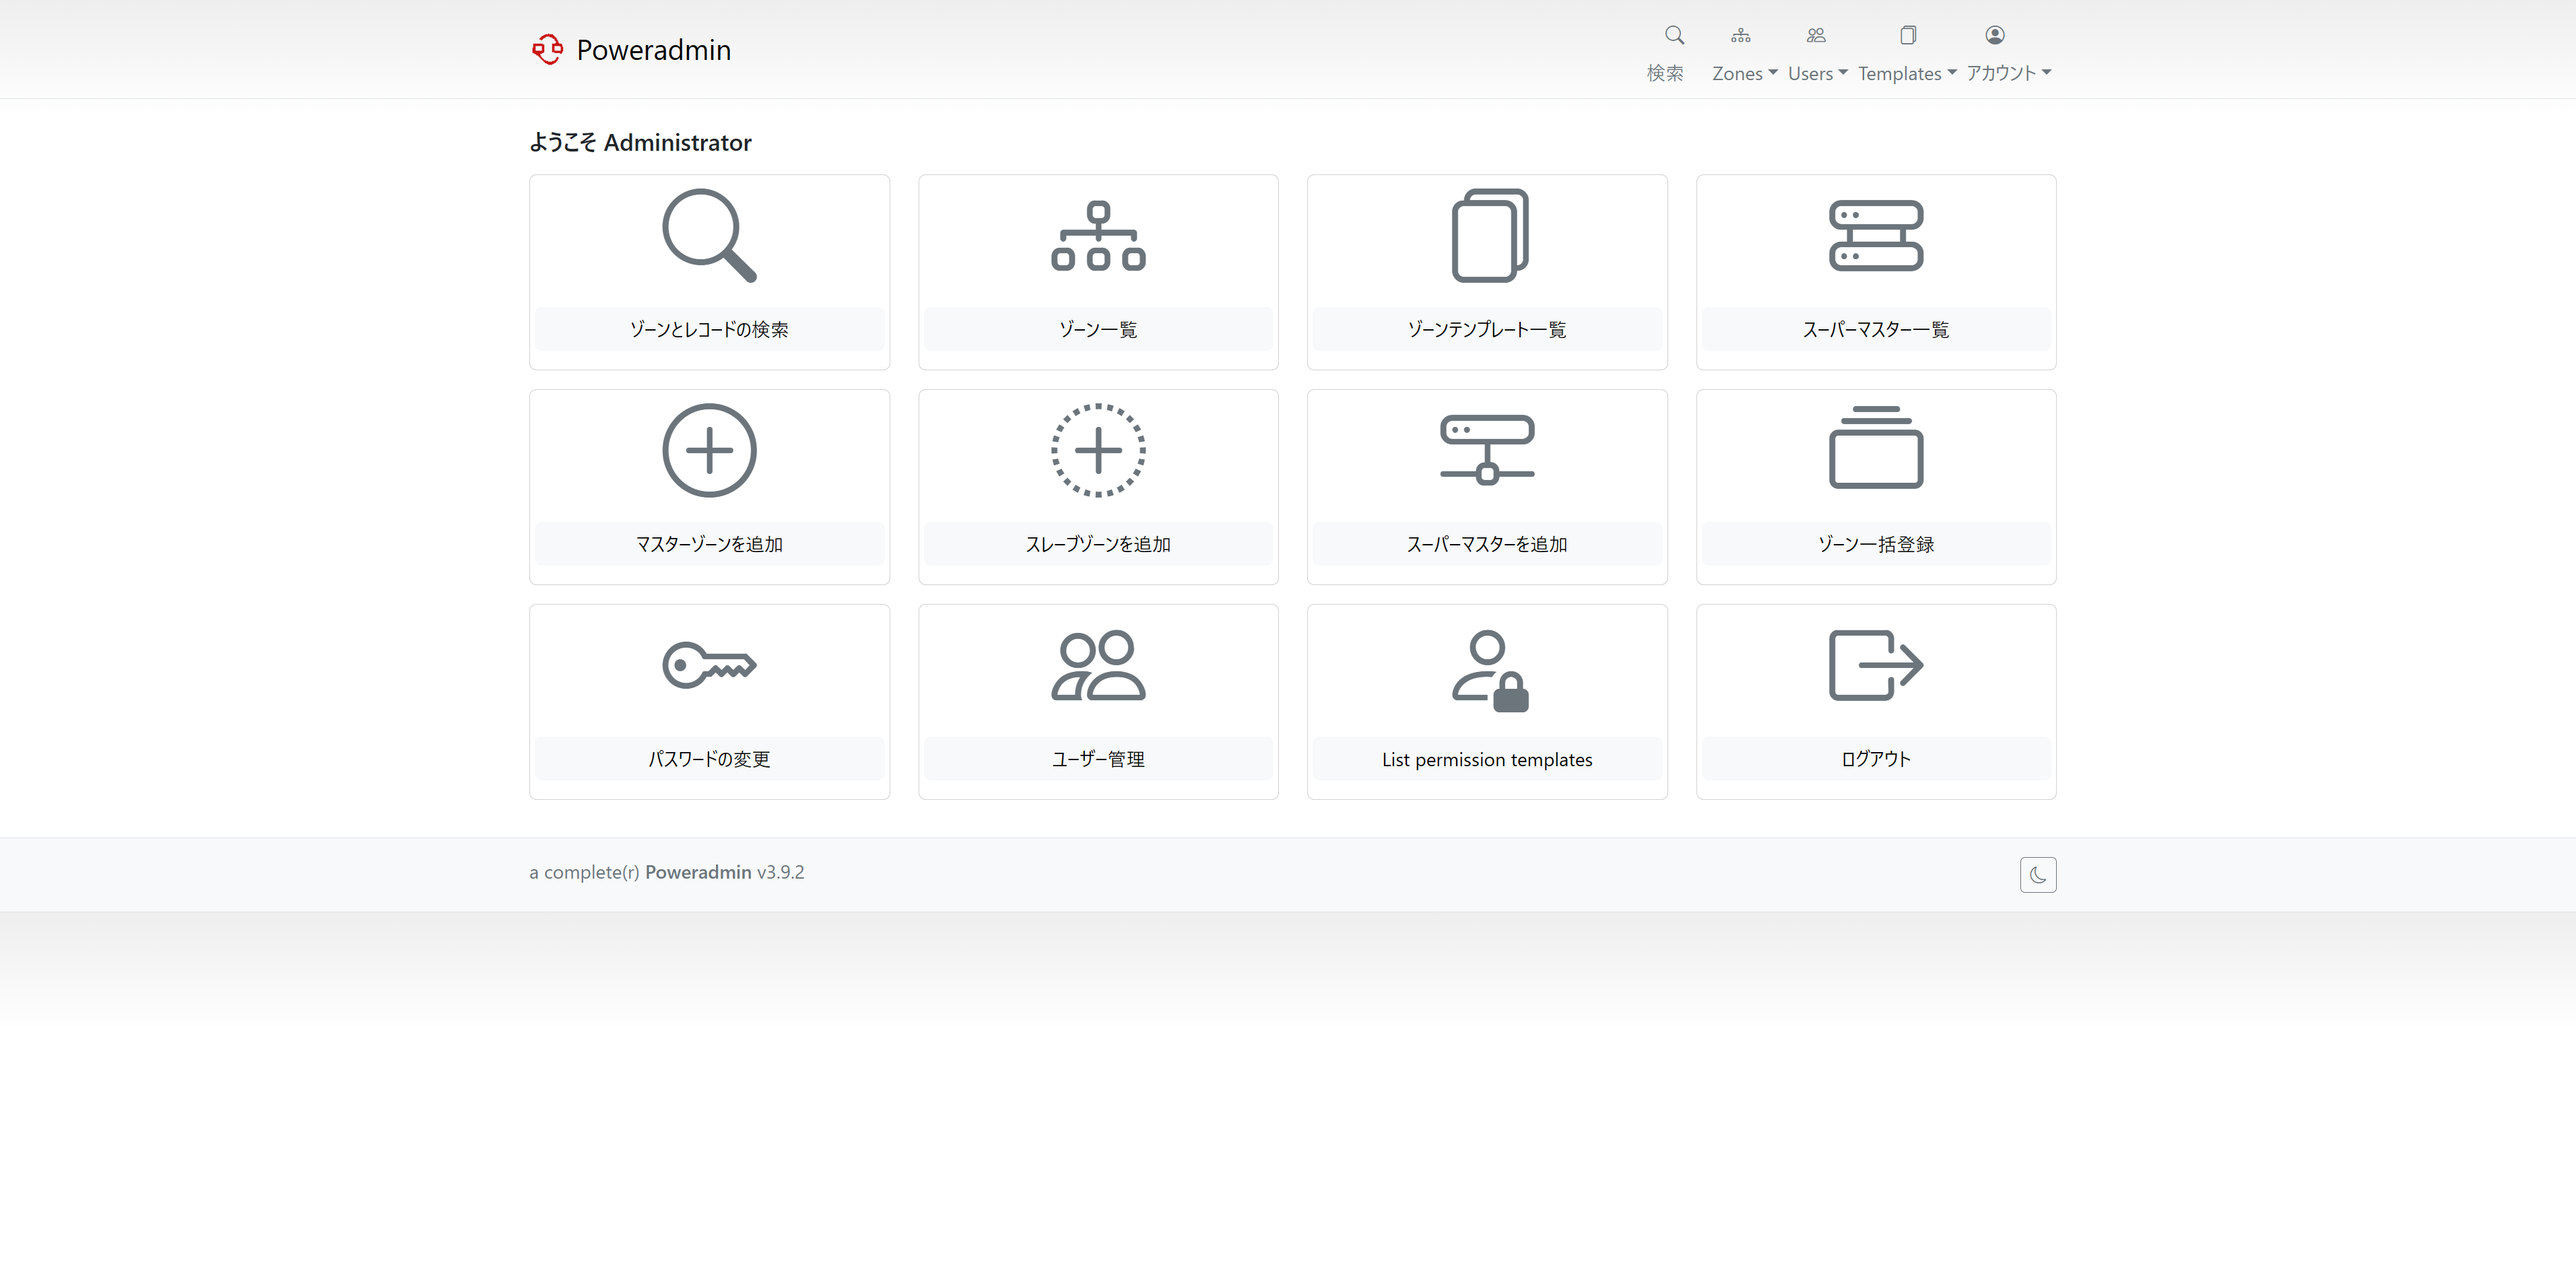
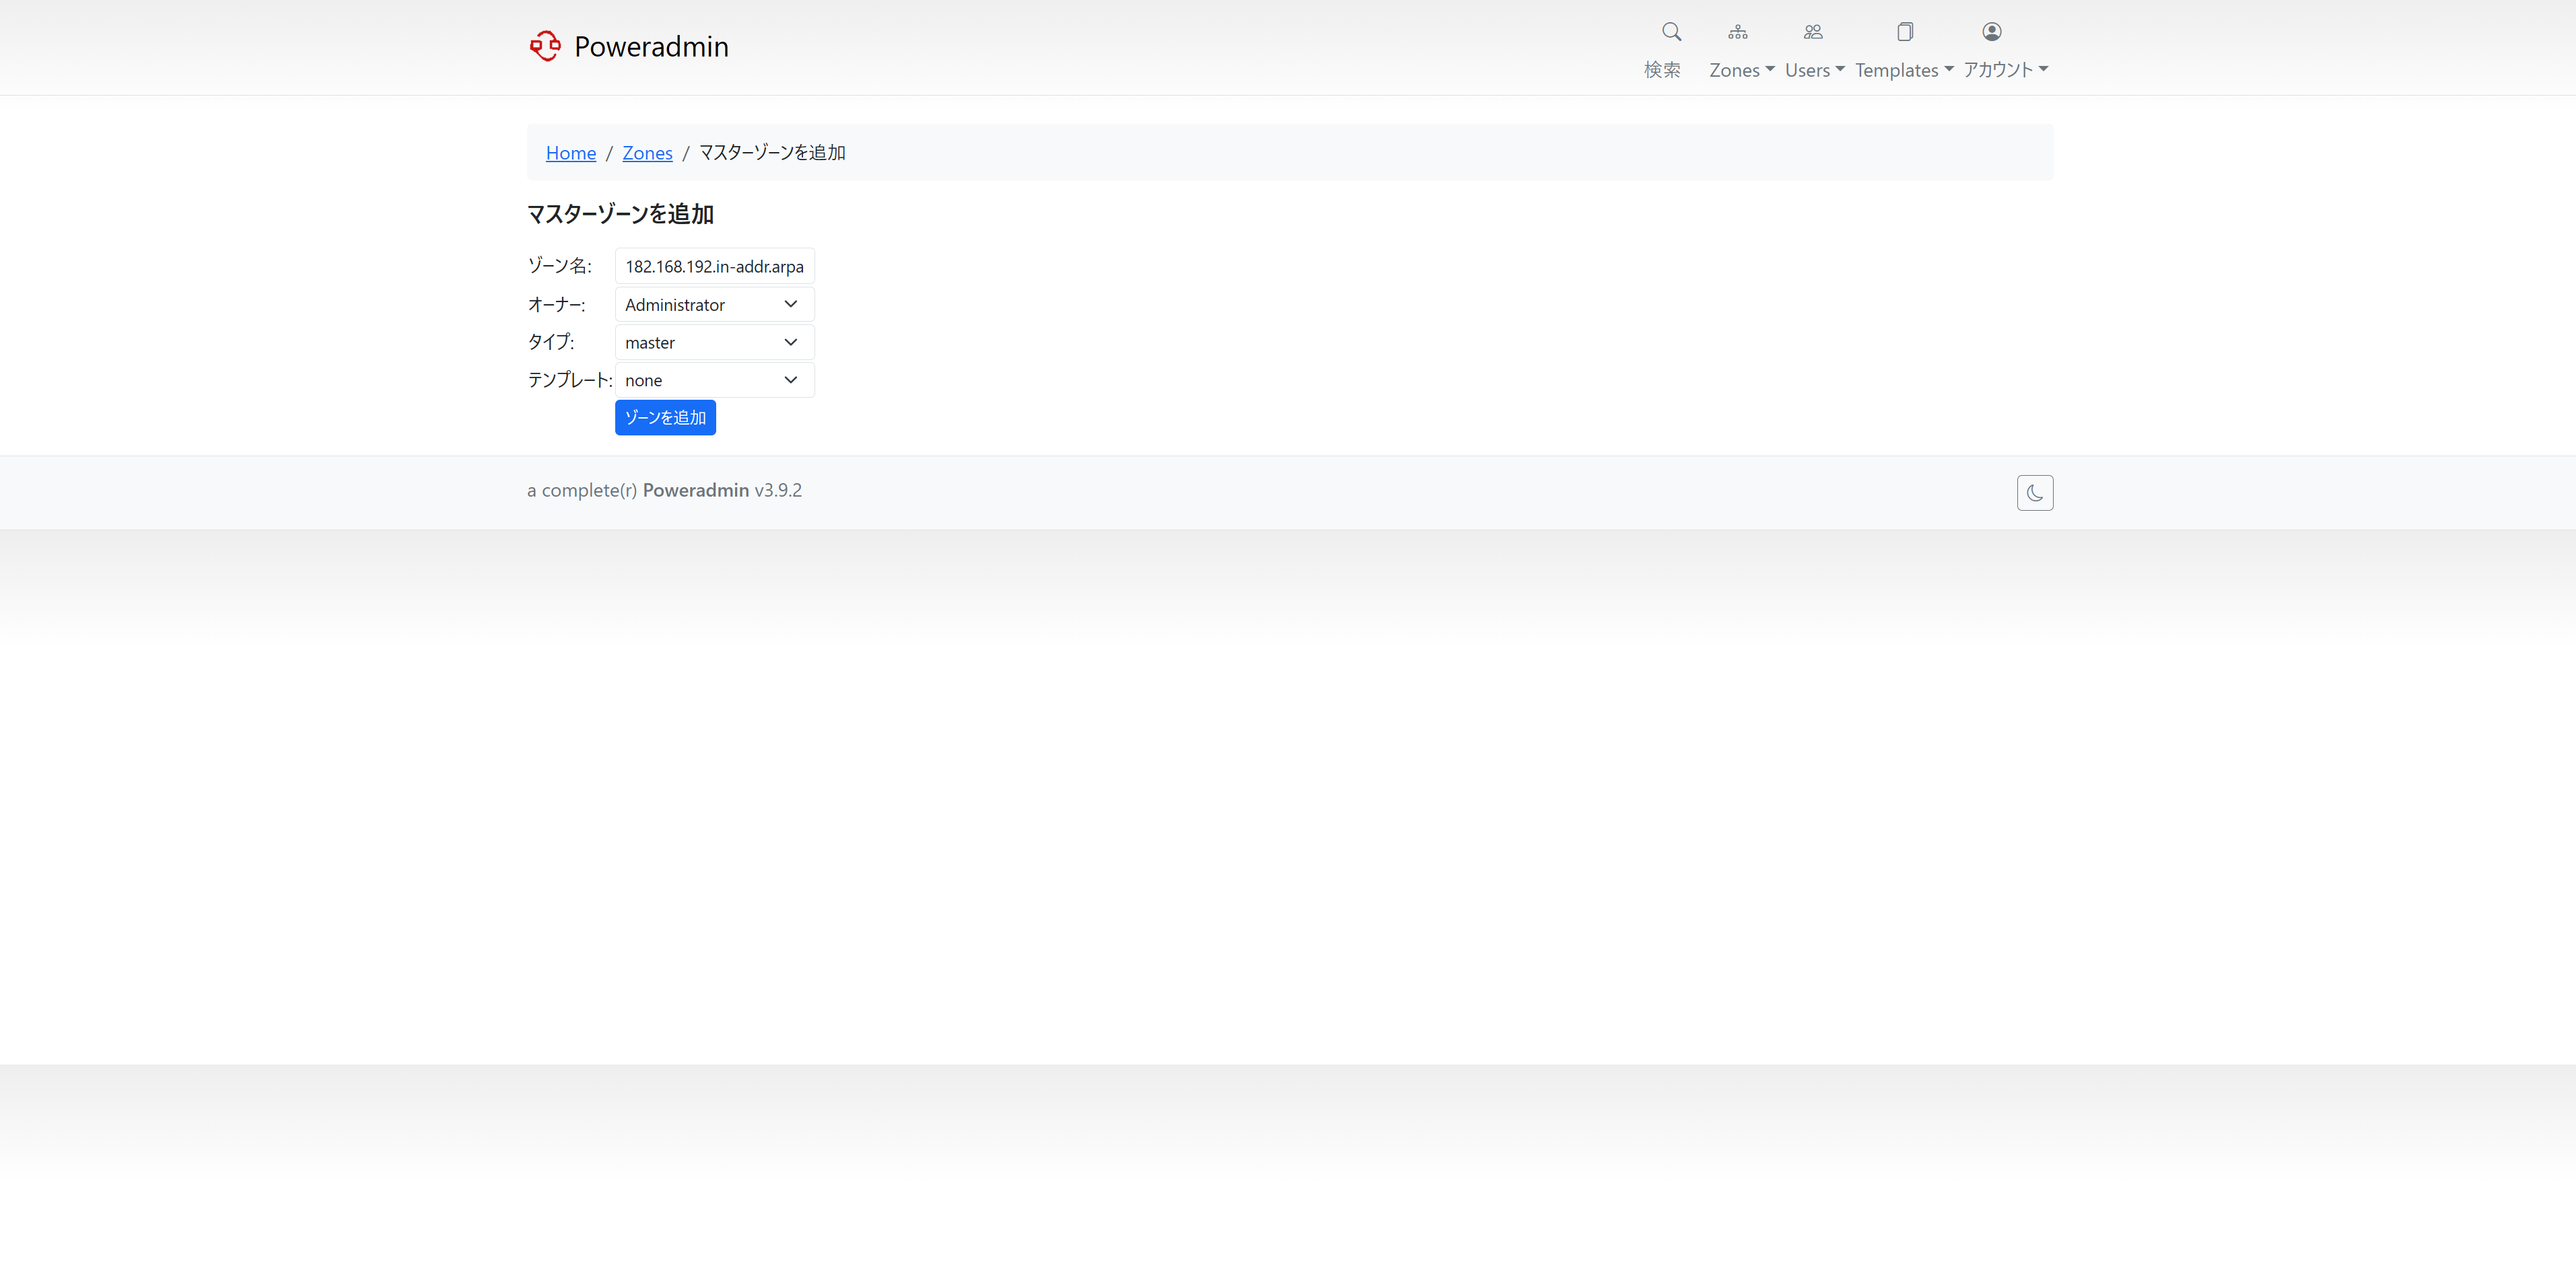
以下の画面に遷移します。「マスターゾーンを追加」を押下します。
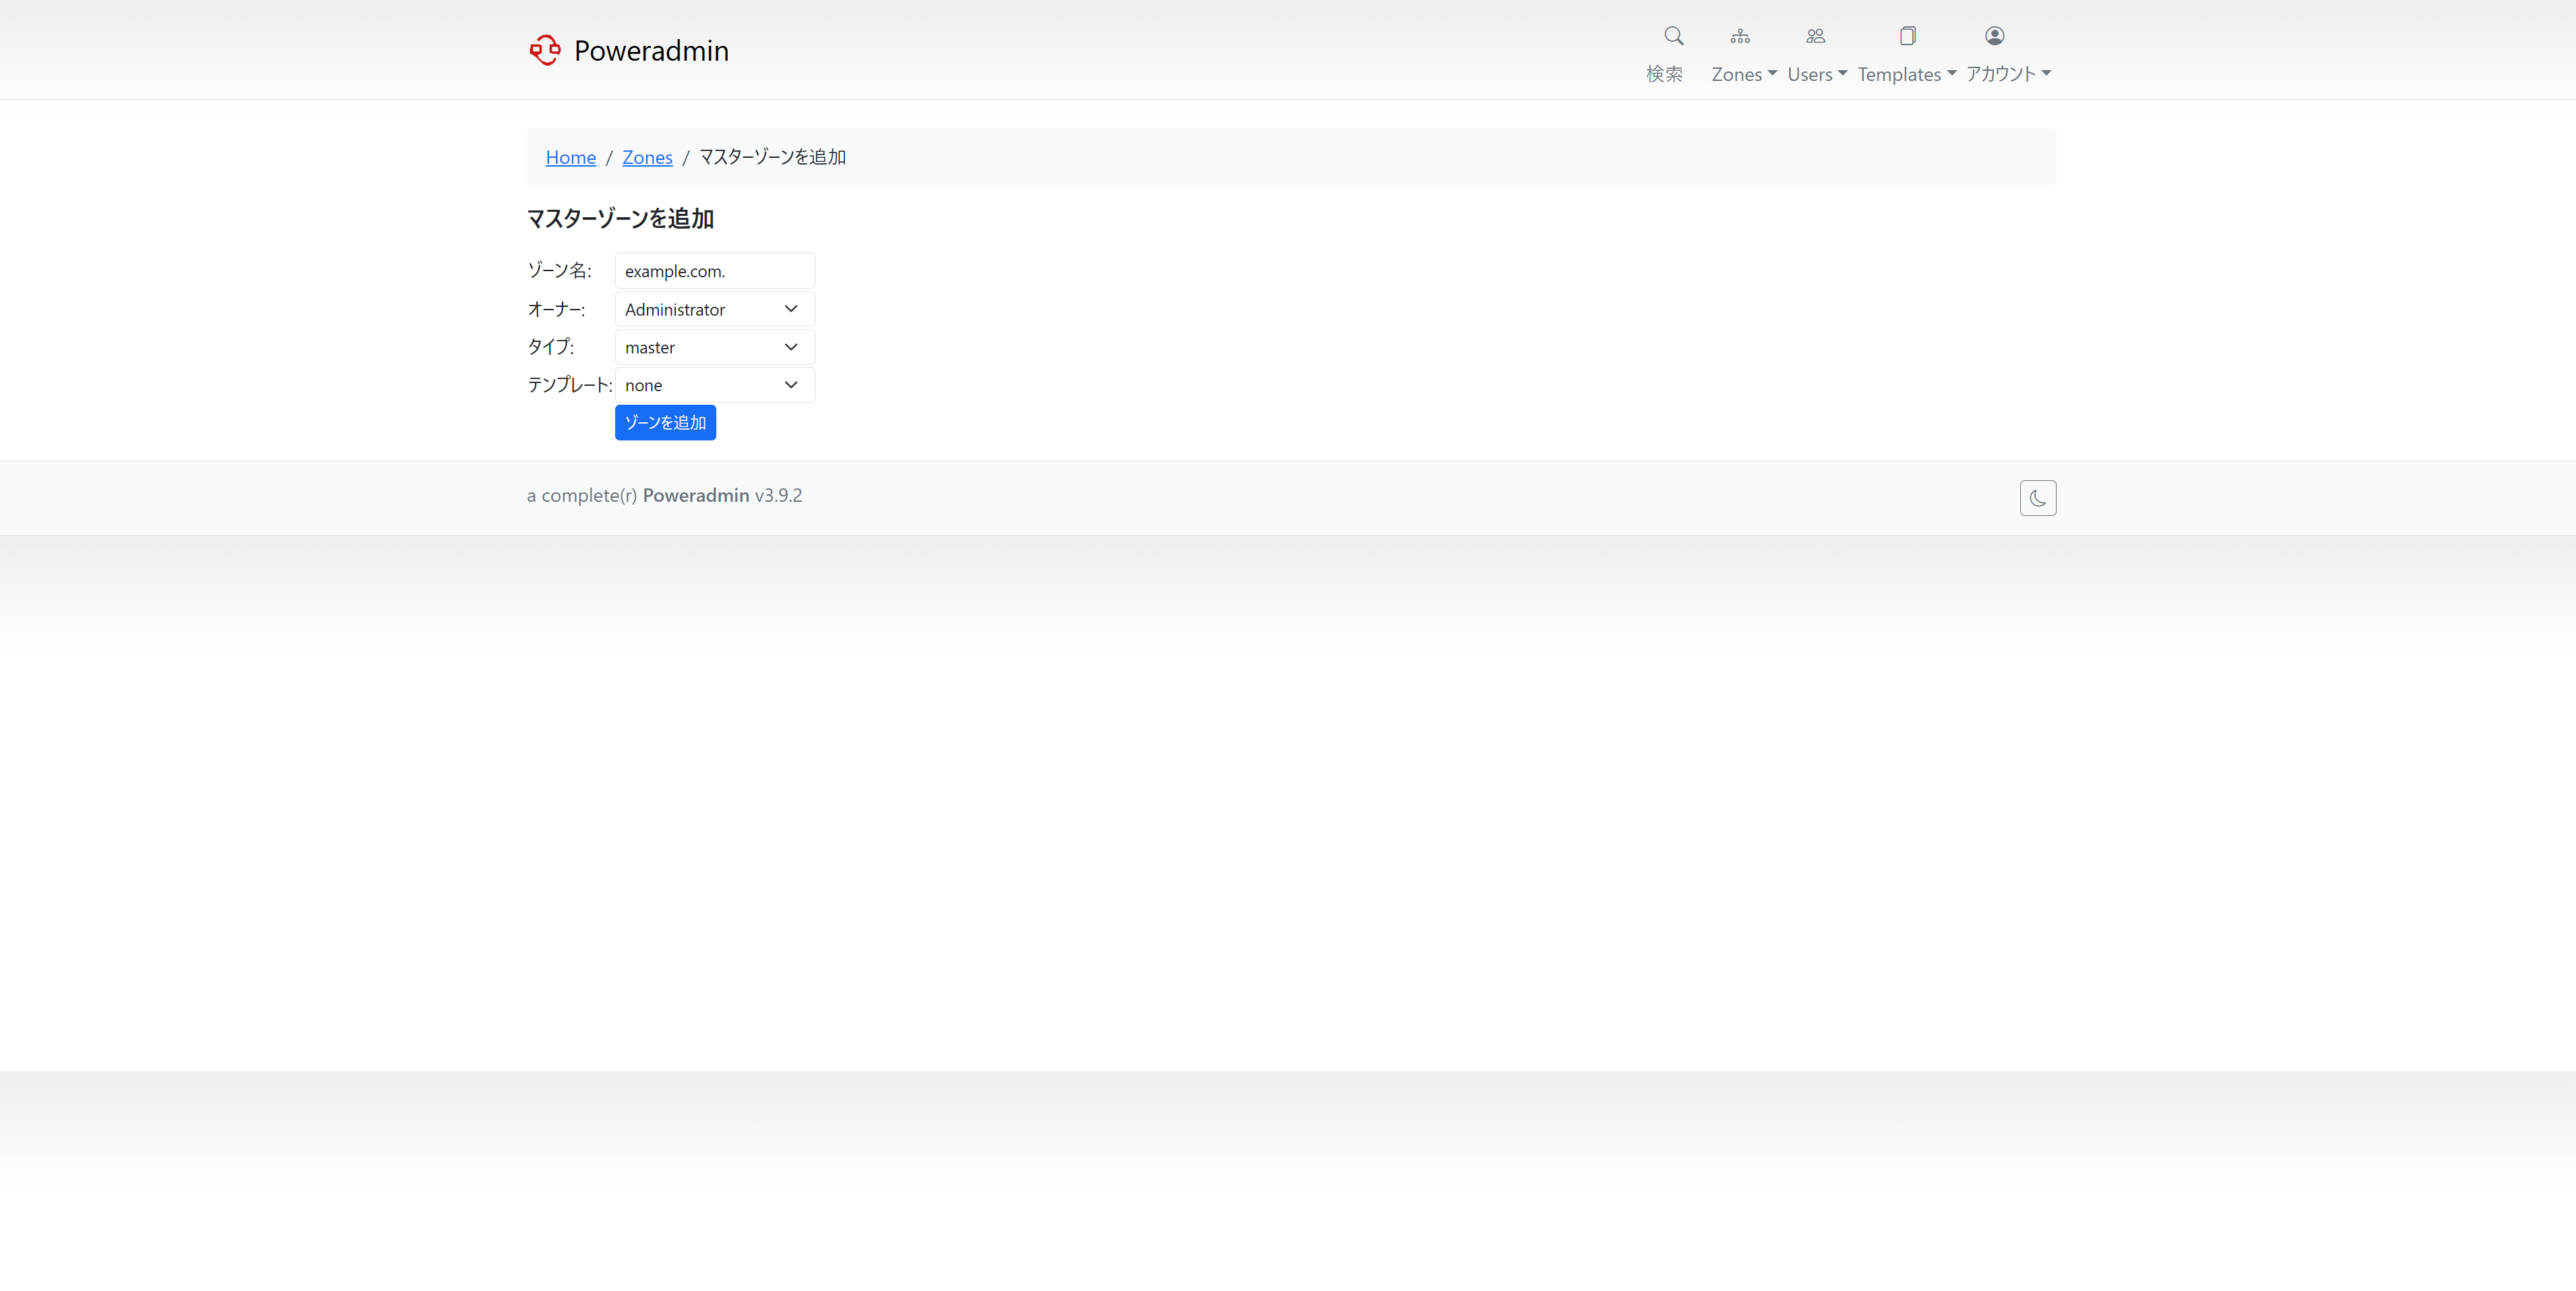
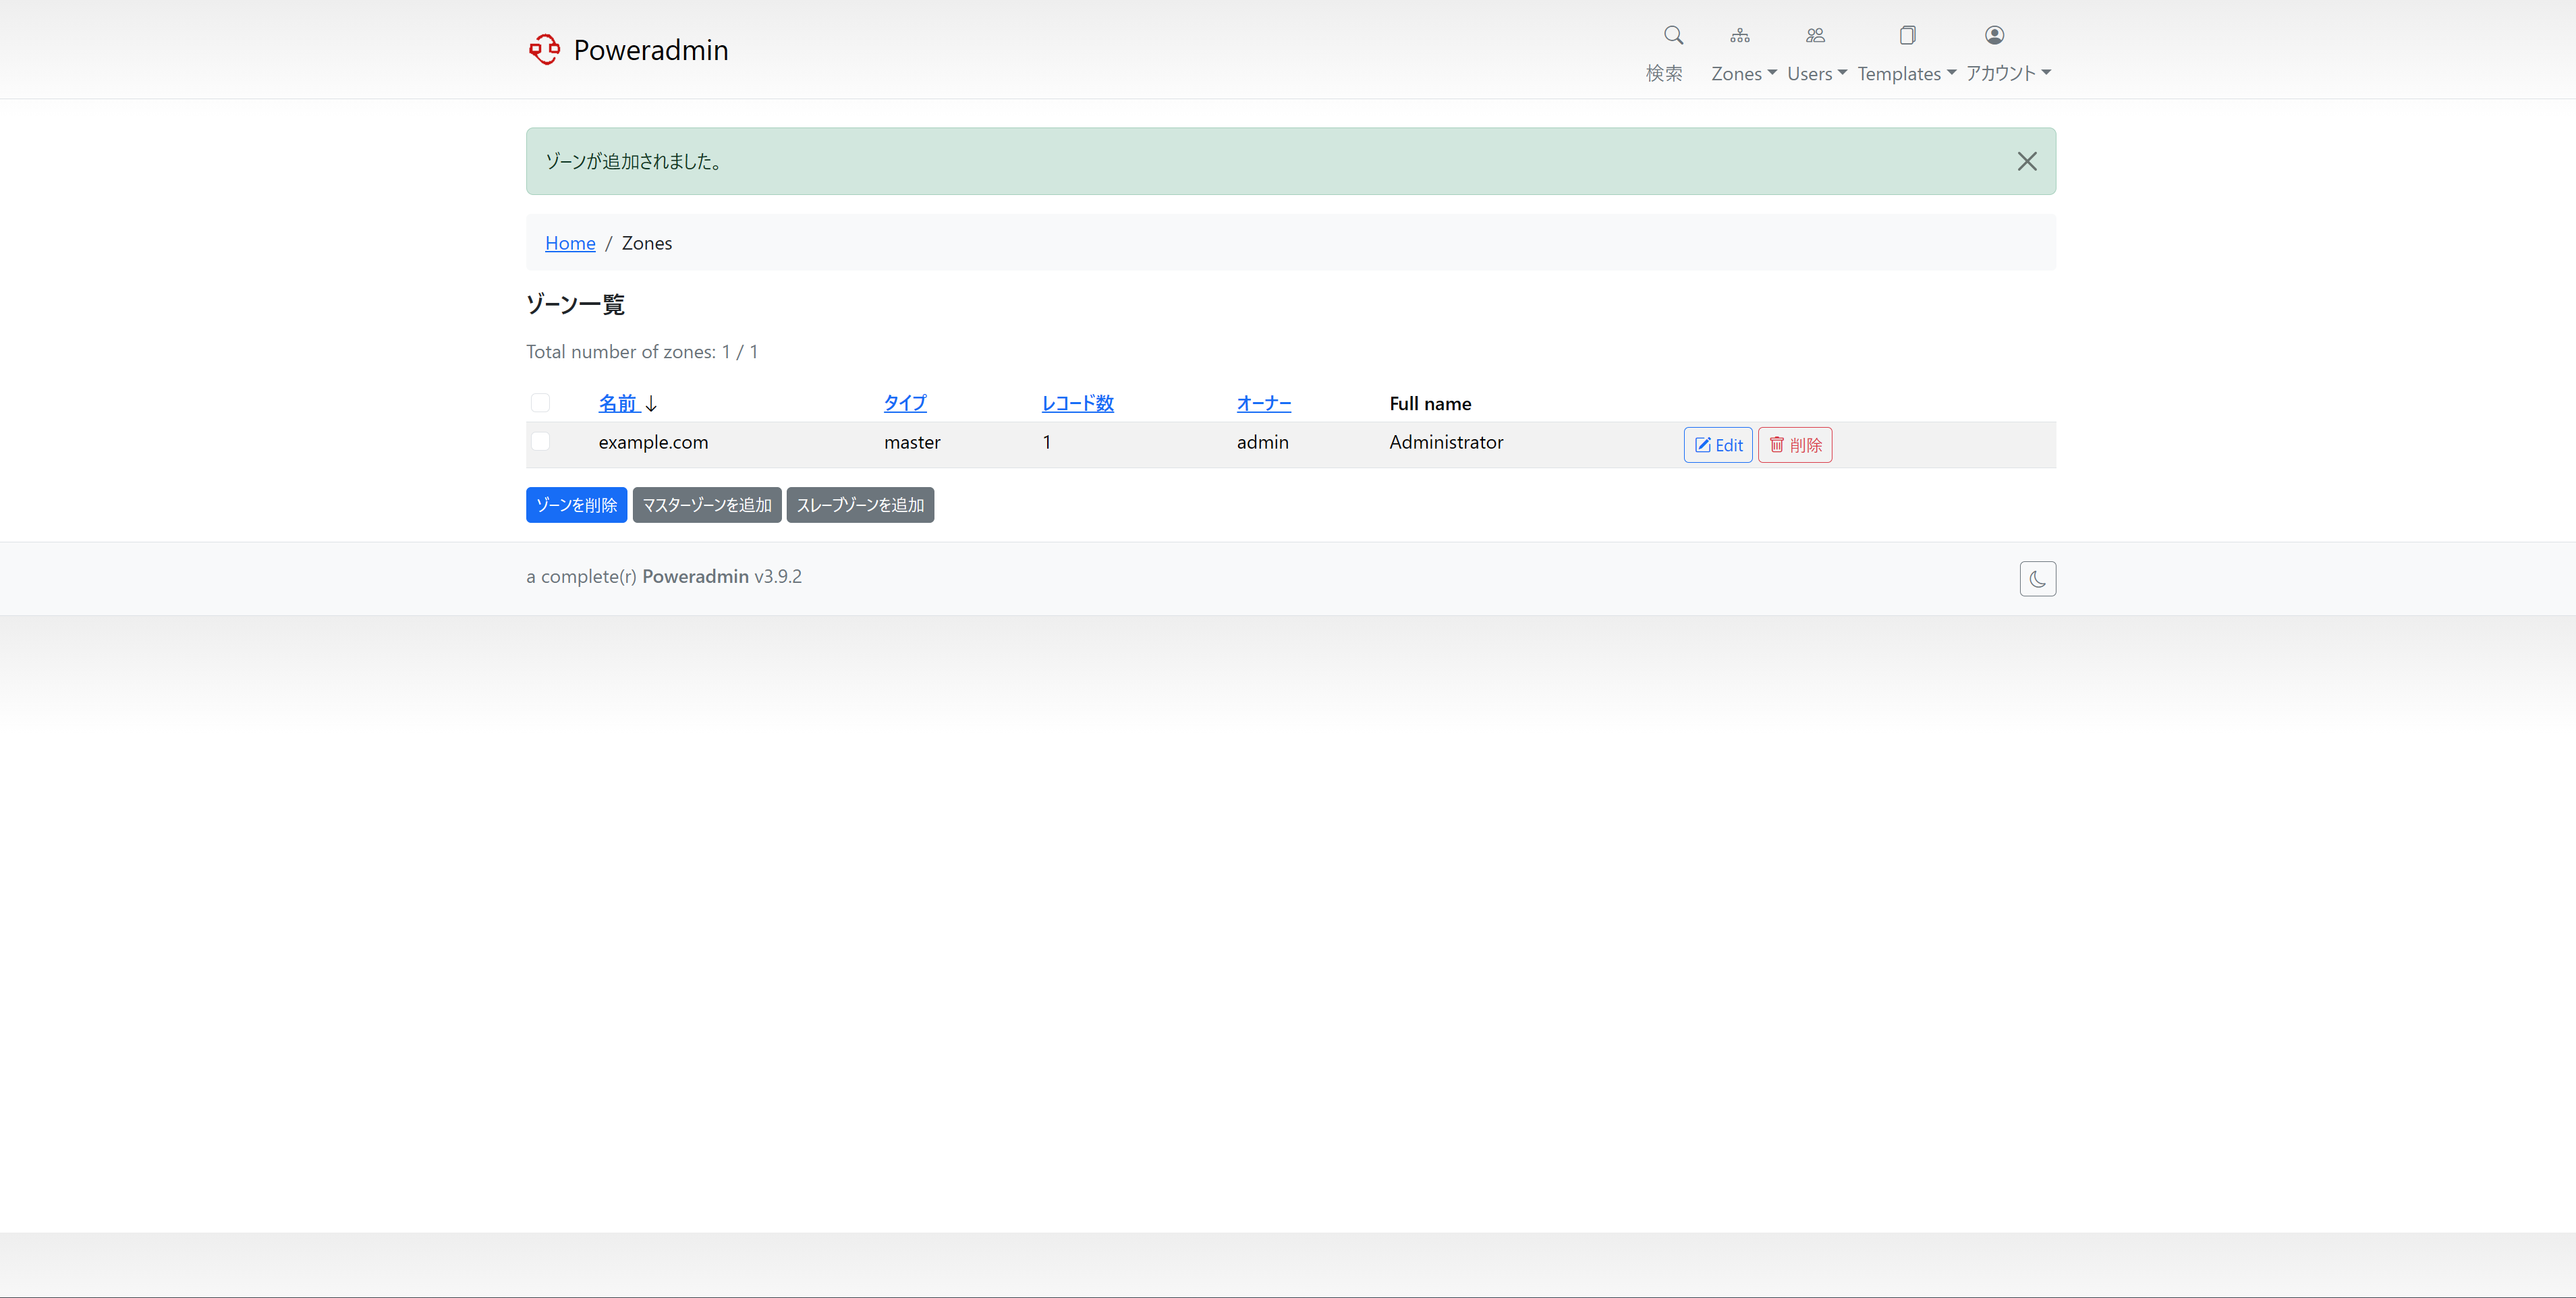
ゾーン名を入力し、「ゾーンを追加」を押下します。
「Edit」を押下します。
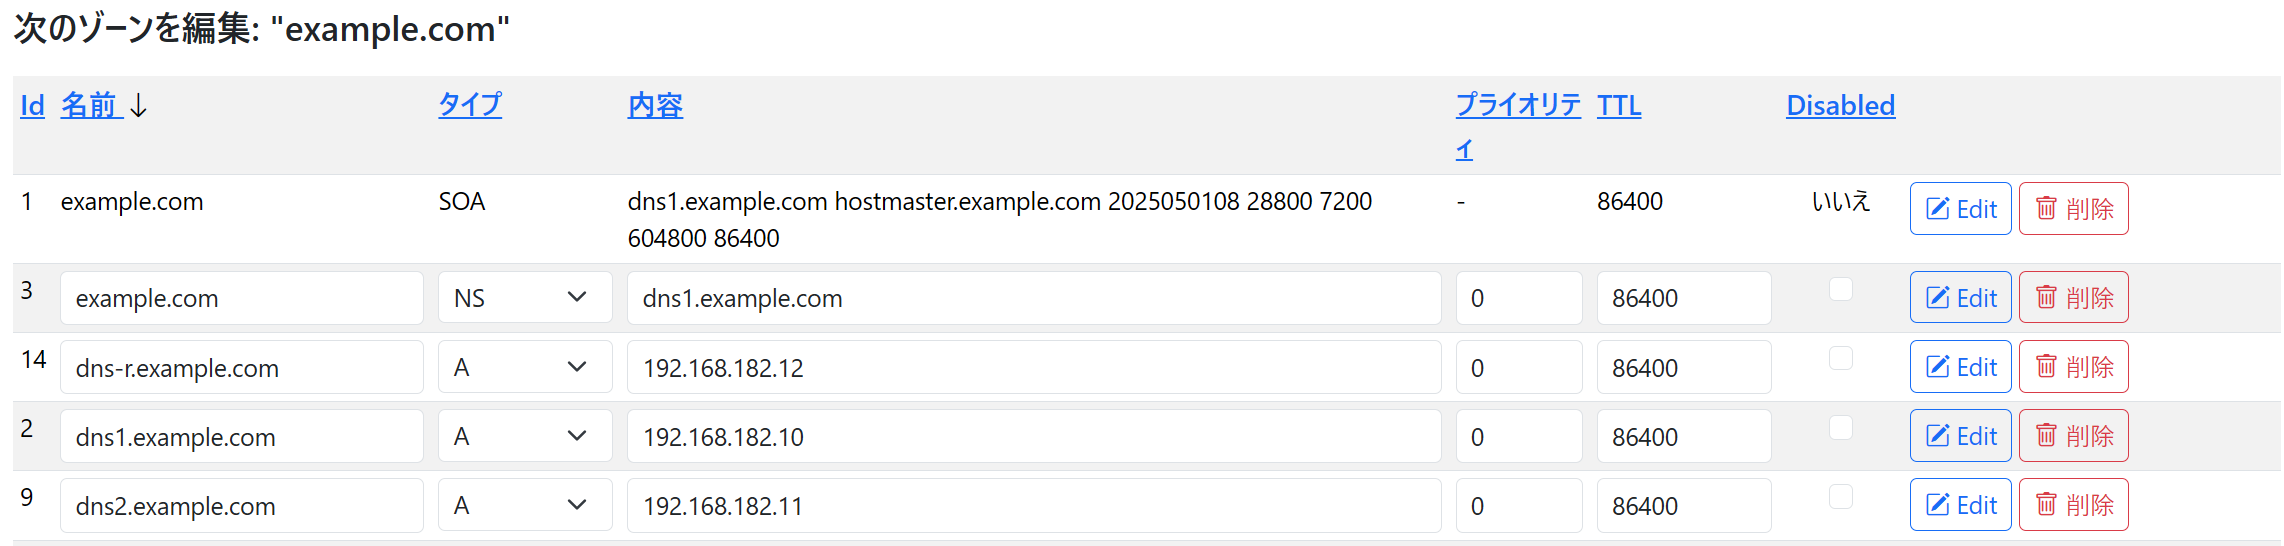
以下のような SOA を持つゾーンが作成されます。
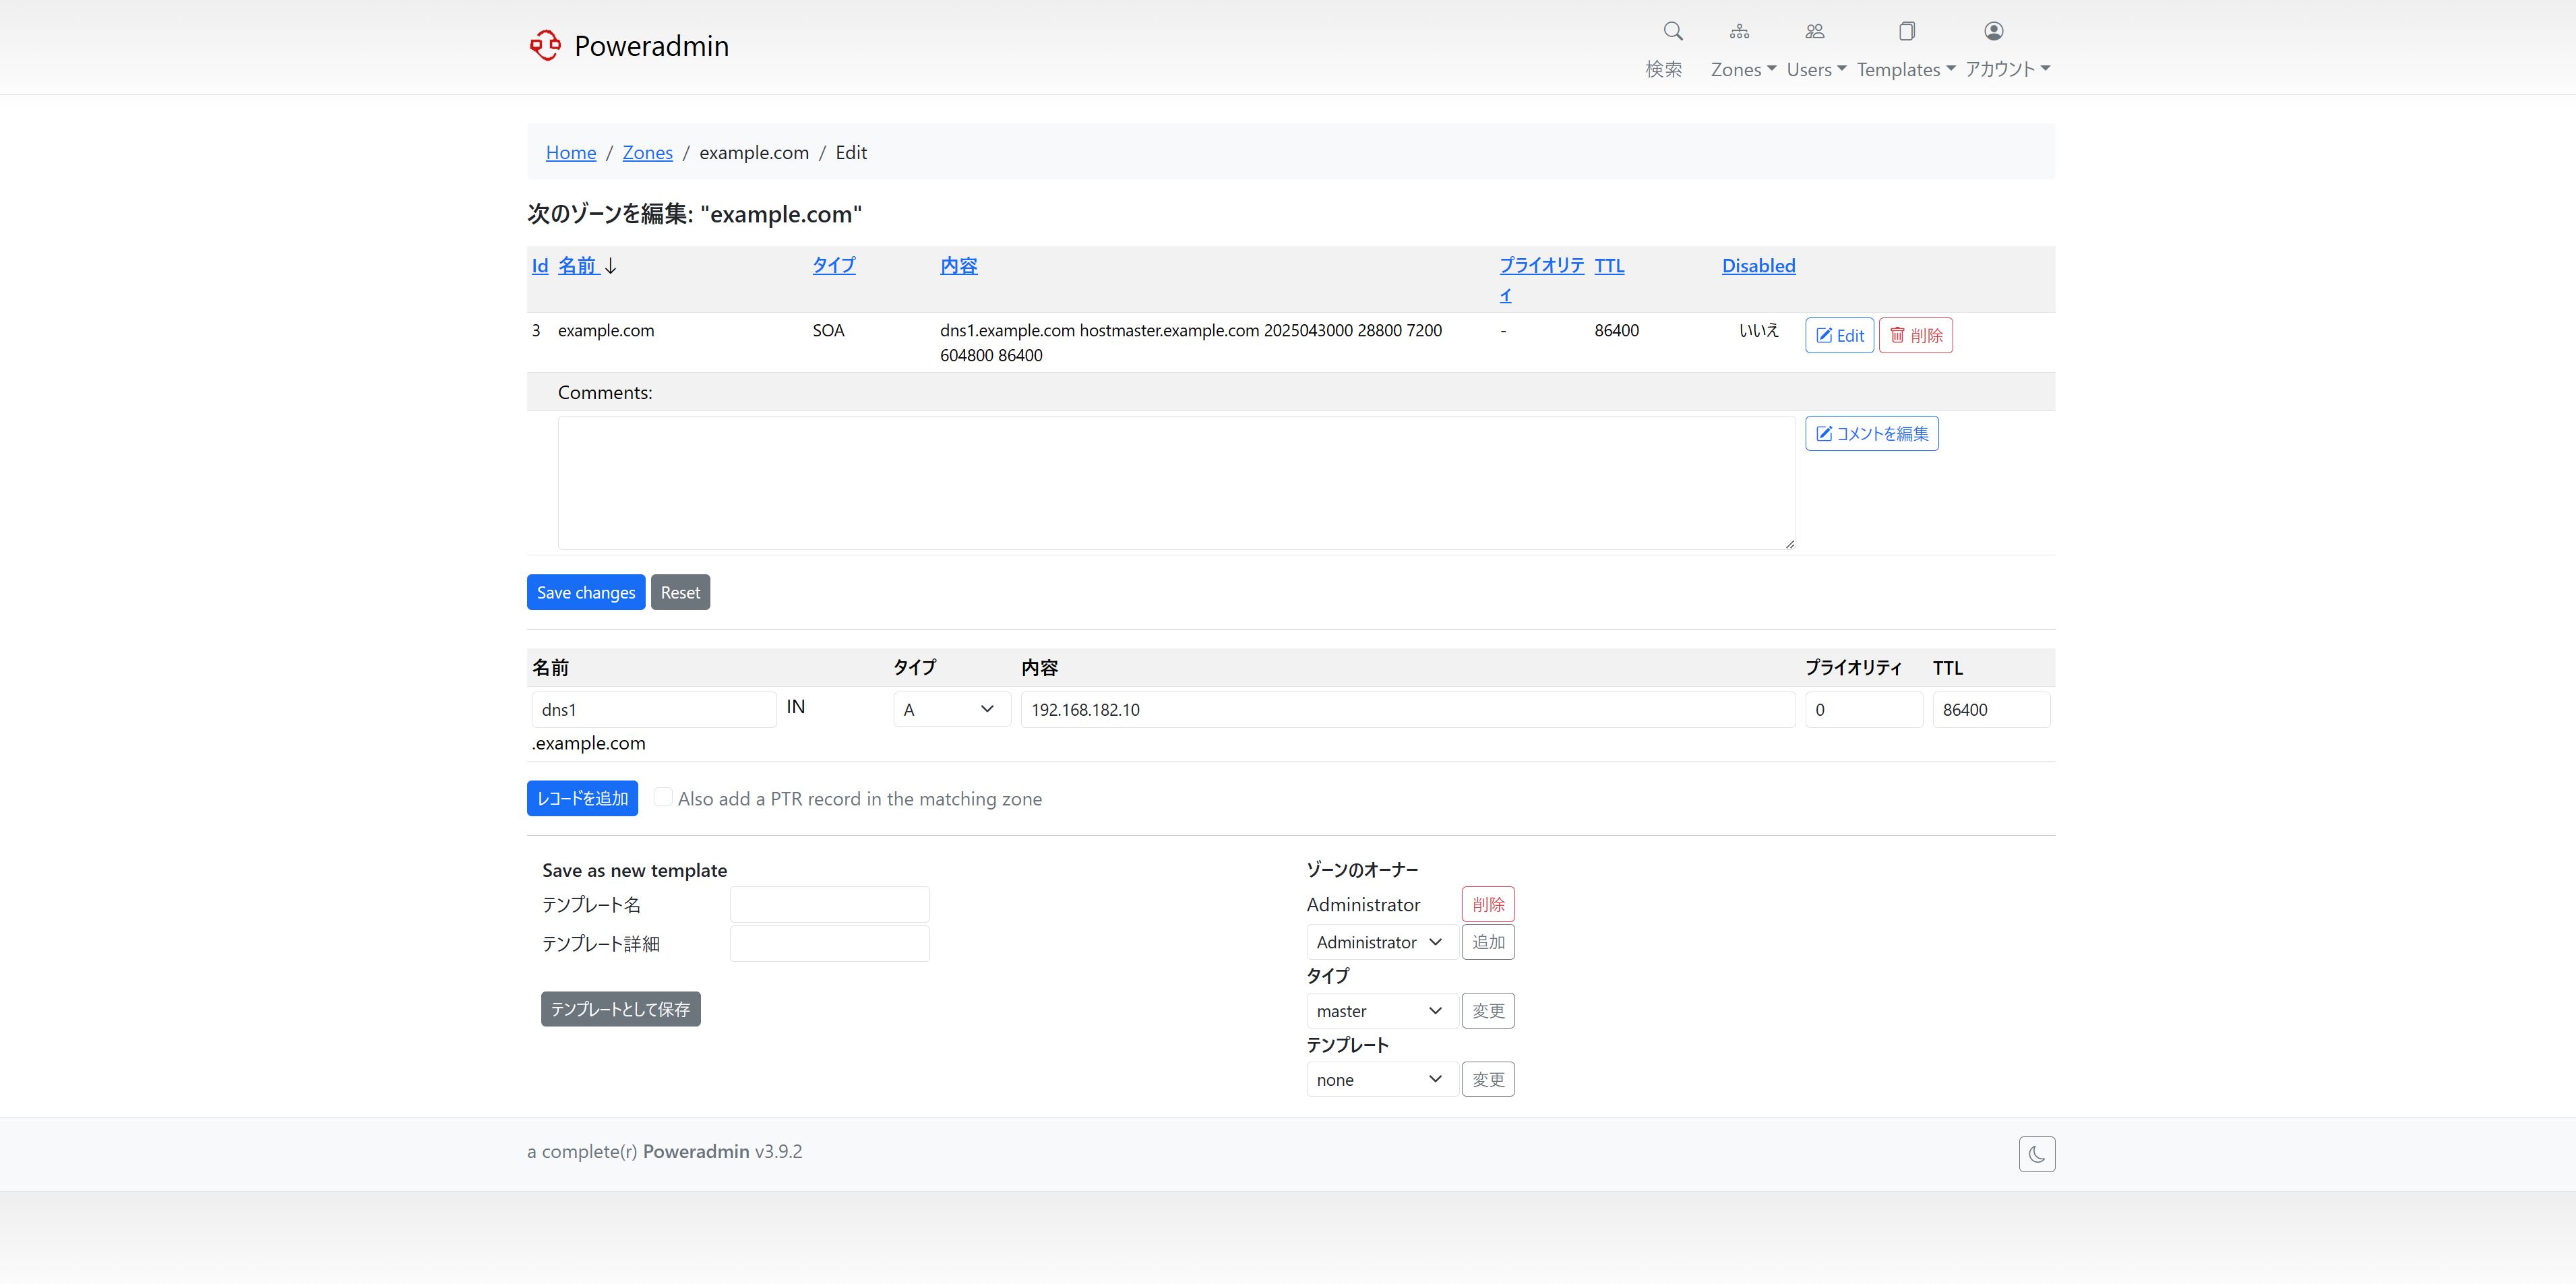
ゾーンファイル形式で表示させると、このようになっています。
# pdnsutil edit-zone example.com.
; Warning - every name in this file is ABSOLUTE!
$ORIGIN .
example.com     86400   IN      SOA     dns1.example.com hostmaster.example.com 2025043000 28800 7200 604800 86400
レコードを追加します。A と NS を追加します。


以下のようなレコードの登録状態での名前解決を確認します。

Resolve-DnsName dns1.example.com. -server 192.168.182.10

Name                                           Type   TTL   Section    IPAddress
----                                           ----   ---   -------    ---------
dns1.example.com                               A      86400 Answer     192.168.182.10

Resolve-DnsName example.com. -server 192.168.182.10

Name                        Type TTL   Section    PrimaryServer               NameAdministrator           SerialNumber
----                        ---- ---   -------    -------------               -----------------           ------------
example.com                 SOA  86400 Authority  dns1.example.com            hostmaster.example.com      2025043011

Resolve-DnsName example.com. -server 192.168.182.10 -type NS

Name                           Type   TTL   Section    NameHost
----                           ----   ---   -------    --------
example.com                    NS     86400 Answer     dns1.example.com

Name       : dns1.example.com
QueryType  : A
TTL        : 86400
Section    : Additional
IP4Address : 192.168.182.10
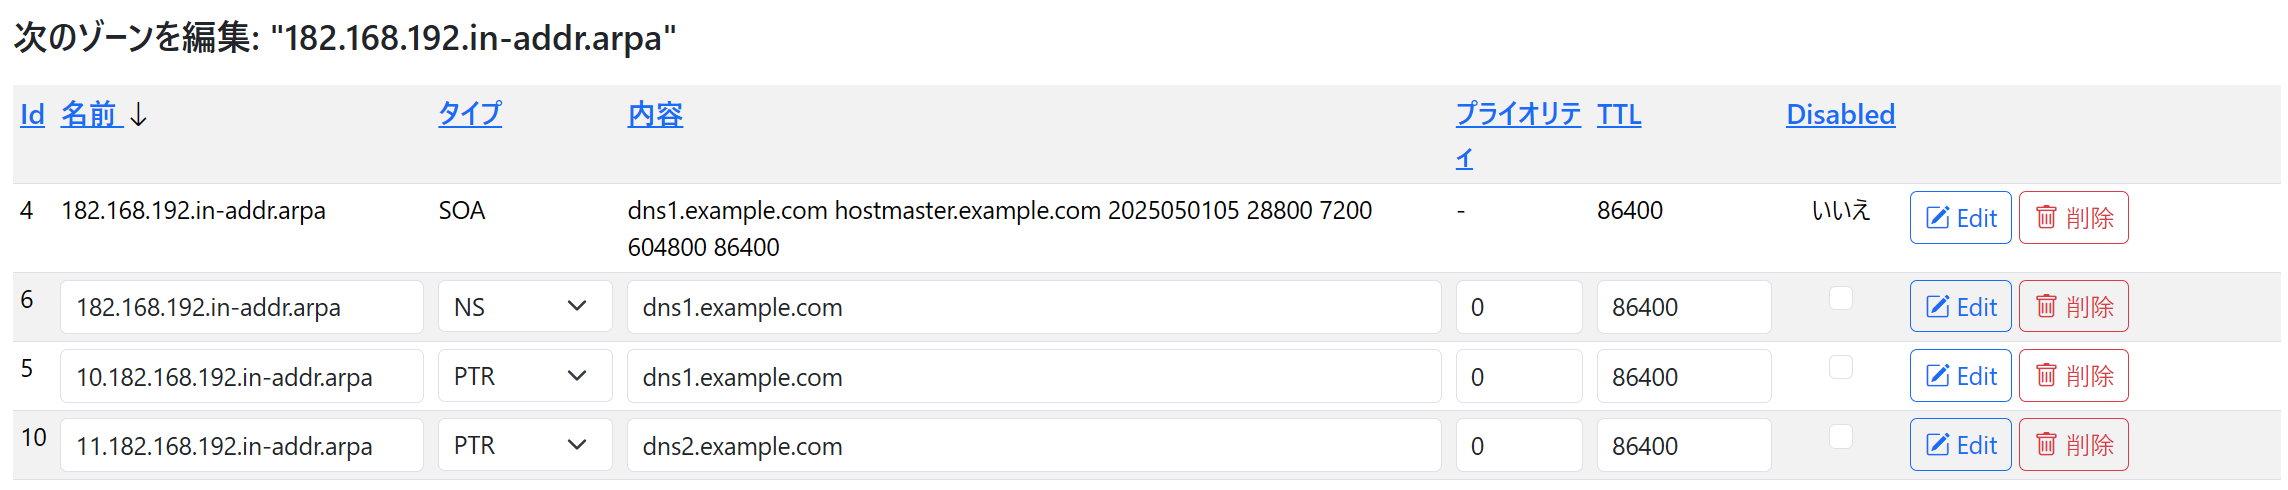
逆引きゾーンを追加してみます。
PTR と NS を登録します。


こちらも正常にクエリが返ります。
Resolve-DnsName 182.168.192.in-addr.arpa -server 192.168.182.10 -type NS

Name                           Type   TTL   Section    NameHost
----                           ----   ---   -------    --------
182.168.192.in-addr.arpa       NS     86400 Answer     dns1.example.com


Resolve-DnsName 192.168.182.10 -server 192.168.182.10

Name                           Type   TTL   Section    NameHost
----                           ----   ---   -------    --------
10.182.168.192.in-addr.arpa    PTR    86400 Answer     dns1.example.com
A/AAAA レコードを登録する際に「Also add a PTR record in the matching zone」にチェックを入れていると、該当する逆引きゾーンが存在する場合に自動的に PTR を登録してくれます。


その逆として、PTR レコードを登録する際に「Also add an A/AAAA record in the matching zone」にチェックを入れていると該当の正引きゾーンが存在する場合に A/AAAA を登録してくれます。