今使っているプロジェクト(Unity 2021.1.12f1)ではUniversal RP(11.0.0)を使っているのだが、ブルームを炊こうとしたら上手く動かなかった&Skyboxが正しく表示されていないことに気がついた。
本記事の要点(と補足)は以下の通り。
- Universal RPで何か上手く動作しない時は――
- Universal Render Pipeline AssetとForward Renderer Data(またはRenderer 2D Data)を作成しなおす、または設定を見直す。
- ポストプロセスが動作しない場合Forward Renderer Data → Post-processing → Enabledを確認する。
- Project Settings → Graphics → Scriptable Render Pipeline Settingsが設定されているか確認する。
- Cameraコンポーネントのパラメータを見直す。Rendering → Renderer・Post Processing、Environmentを確認する。
- Global Volumeを作成しなおす。
- 2DレンダラーではSkyboxはサポートされない。
- Built-in RPとUniversal RPとではポストプロセスの設定方法が異なる。つまり、Built-in RP用のポストプロセスの設定を行ってもUniversal RP環境では反映されないし、逆もまた同様。
- Universal RPでポストプロセスを使用する場合、Post Processingパッケージは(必ずしも?)必要ない。
- Universal Render Pipeline AssetとForward Renderer Data(またはRenderer 2D Data)を作成しなおす、または設定を見直す。
HDRPはわかんにゃい。
以下状況再現。
Unity 2021.13f1 without Universal RPでブルームを炊く
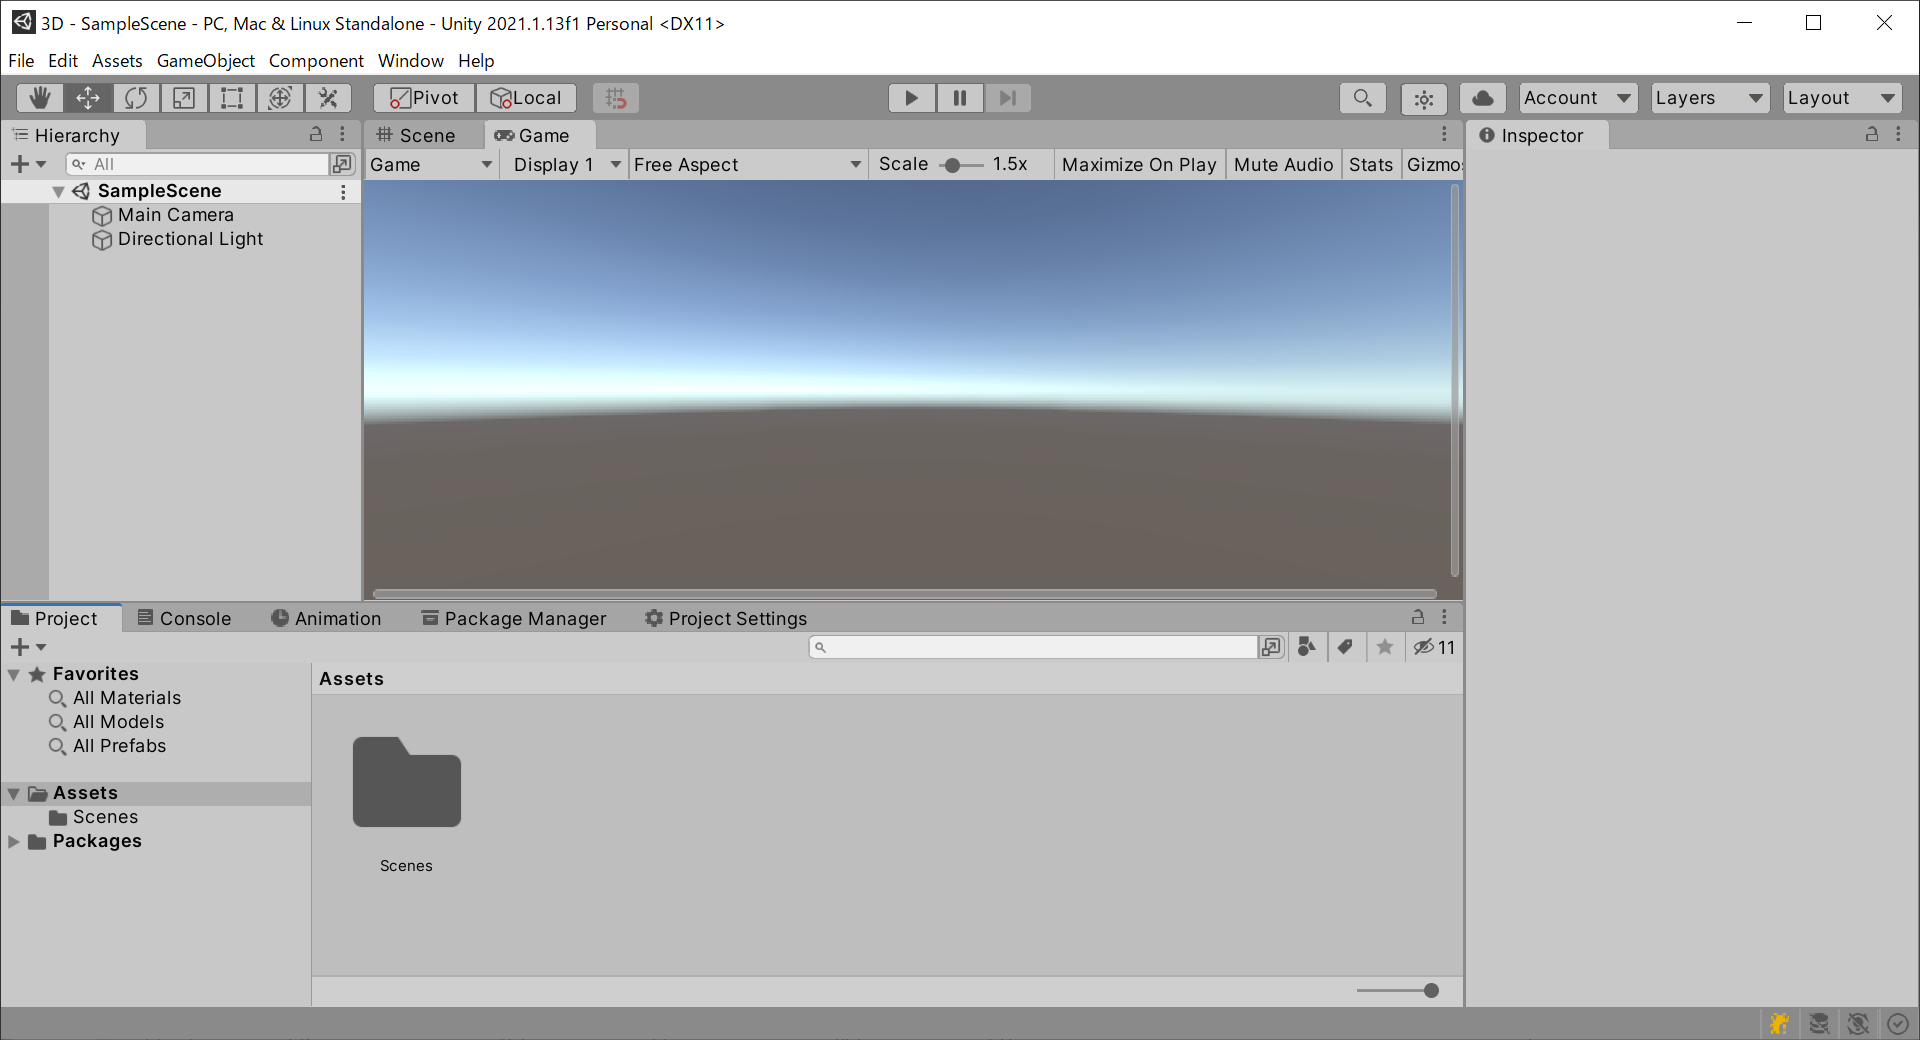
3Dで新規プロジェクトを作成。

以降はBuilt-in Render Pipeline向けの設定である。Universal RPを使用する場合、次項まで進むこと。
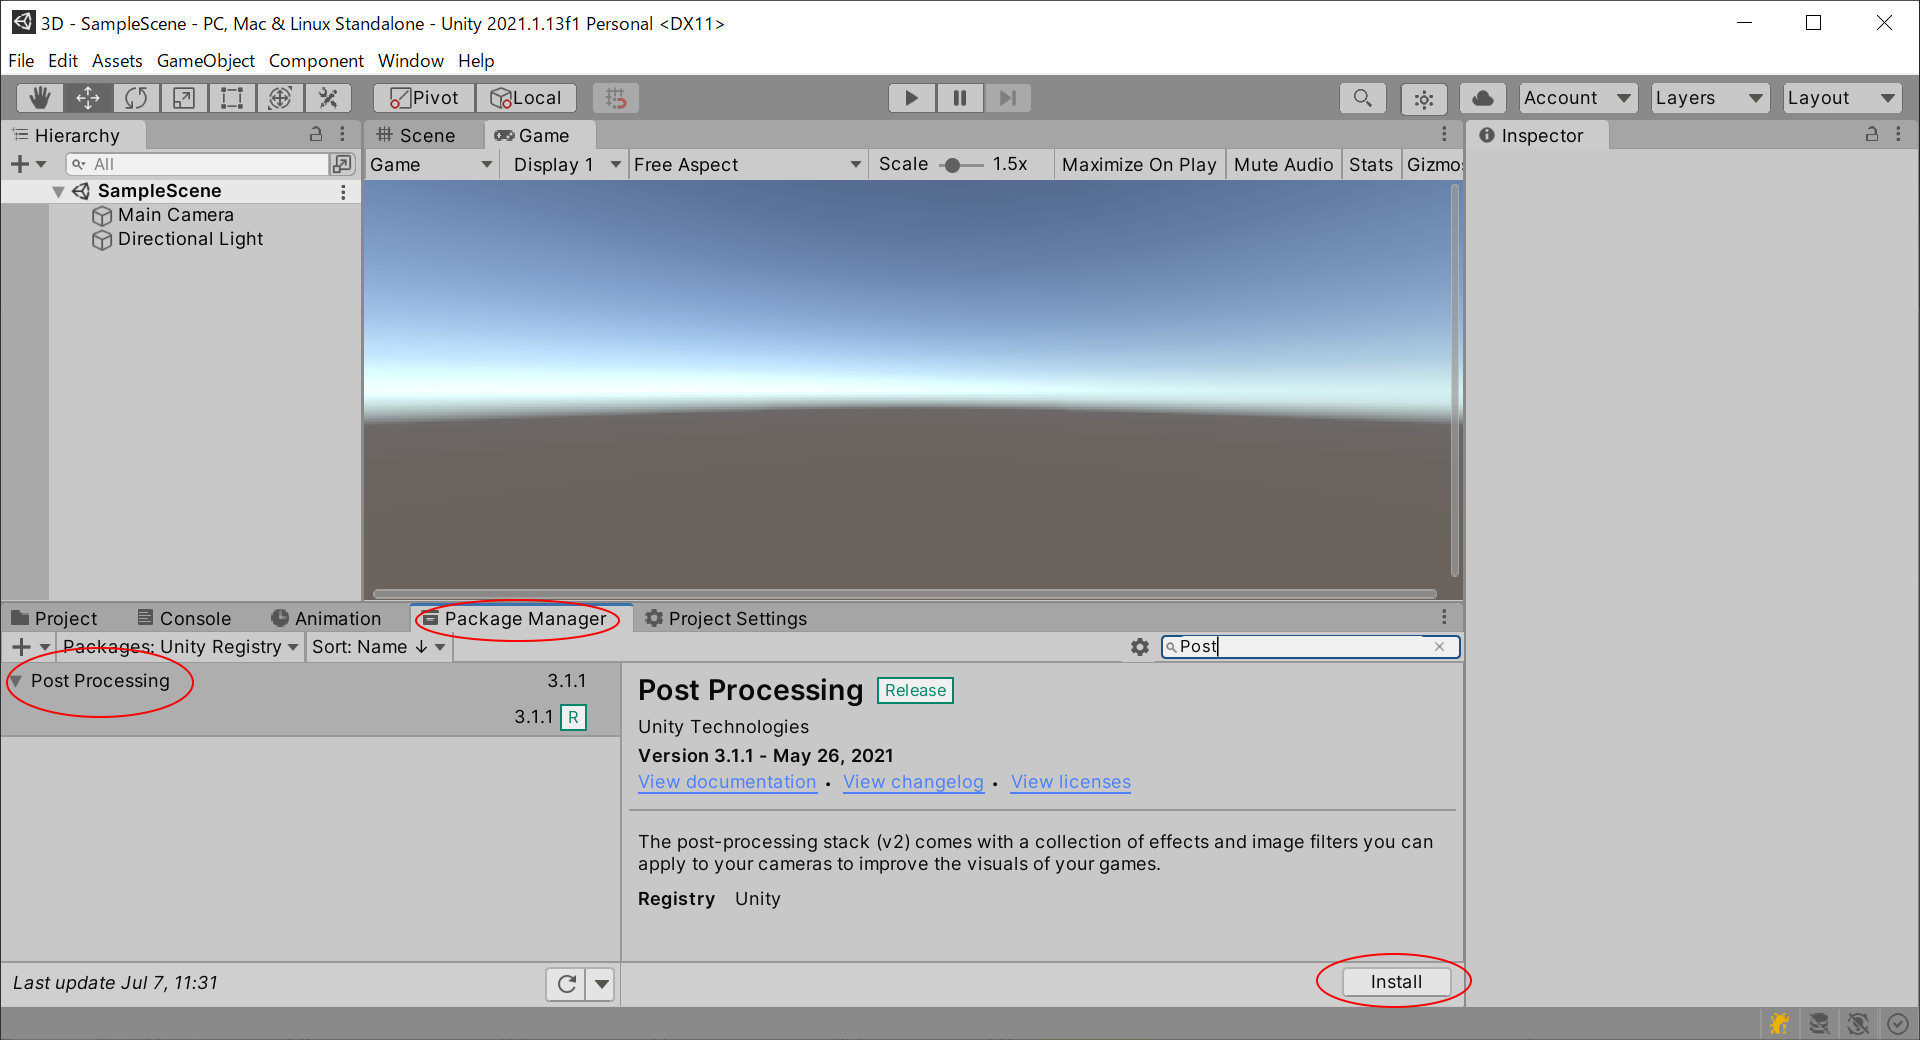
Package ManagerからPost Processingをインストール。
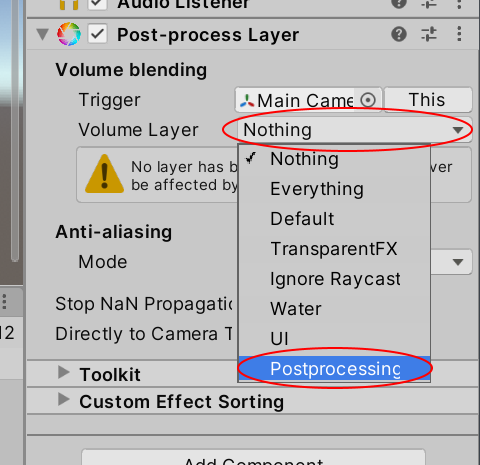
Main CameraにPost-process Layerを追加。

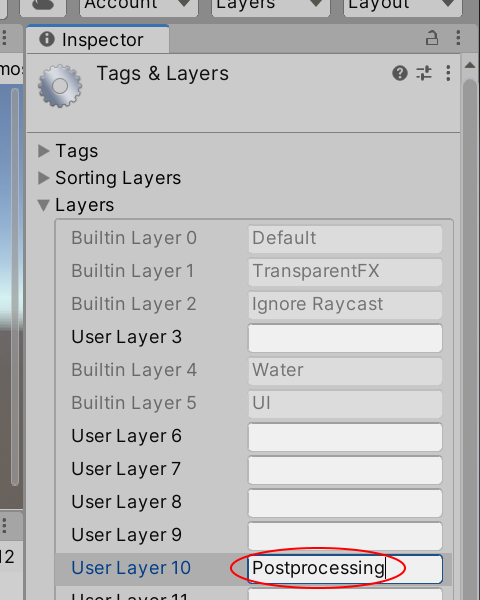
Post-process LayerのVolume LayerをPostprocessingに変更。レイヤーが無ければ追加する。レイヤー名、インデックスは任意。
シーンにPost-process Volumeを追加。

Post-process VolumeのLayerをPostprocessingに変更。

Is Globalを有効化。
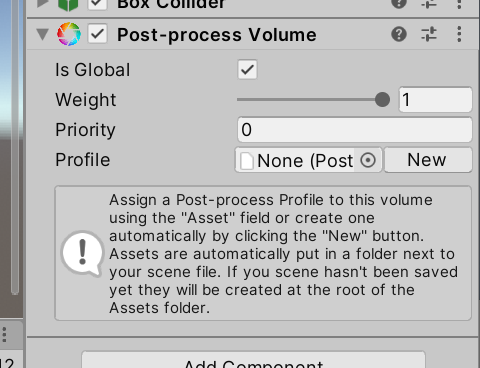
Newボタンを押しProfileを新規作成。

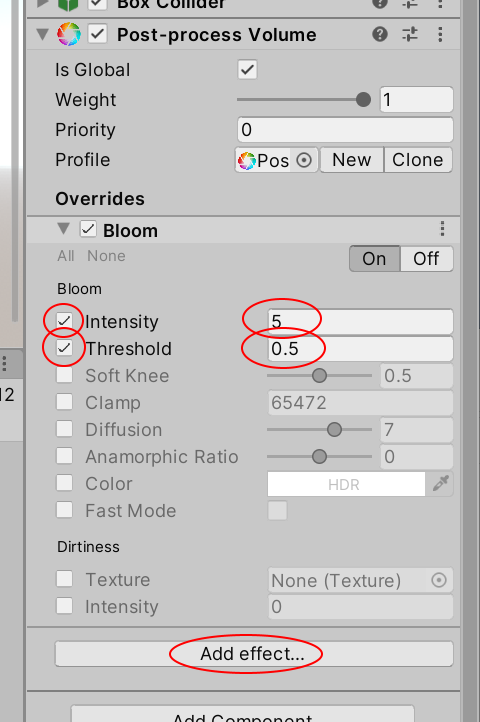
Add effect...からBloomを追加。下図ではBloom追加済み。Intensityを5、Thresholdを0.5に設定。
完成。

Unity 2021.1.13f1でUniversal RP 11.0.0を導入する
先程のプロジェクトにUniversal RPを導入する。
Package ManagerからUniversal RPをインストールする。

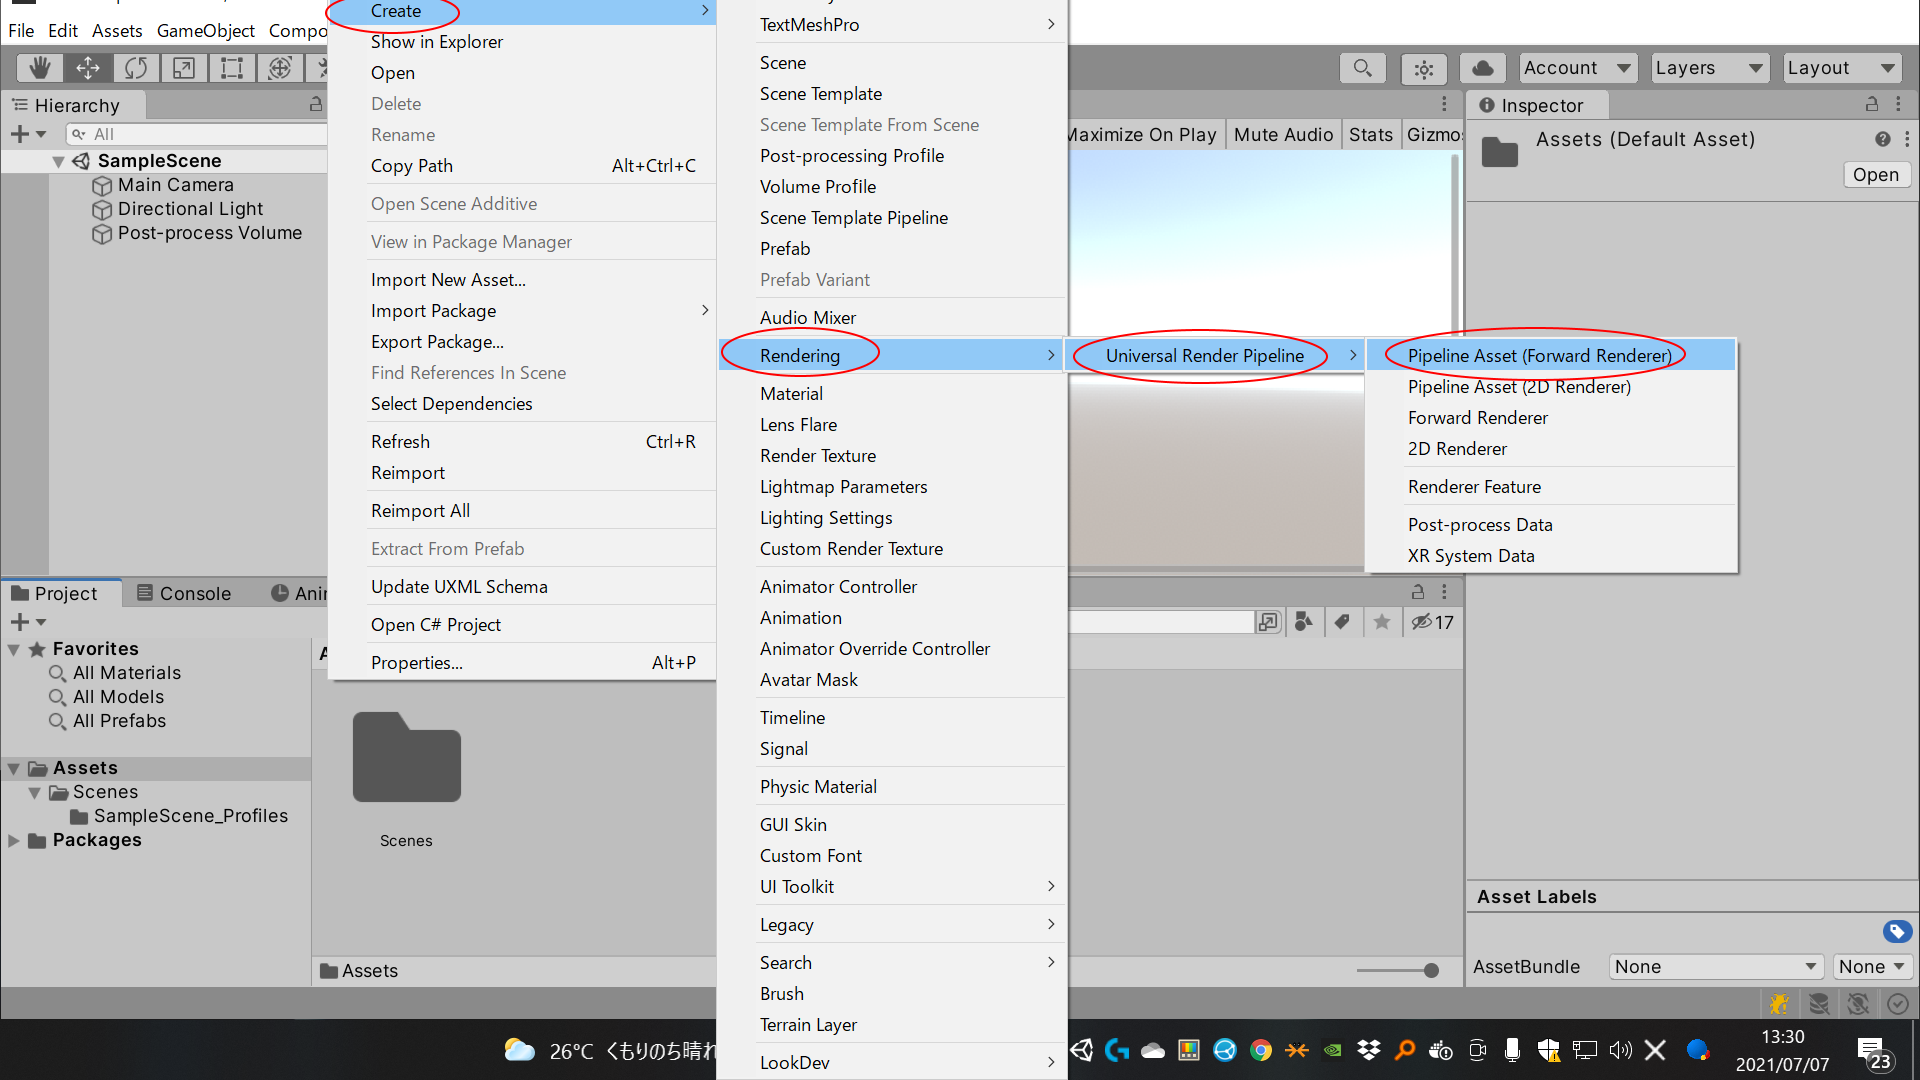
Create → Rendering → Universal Render Pipeline → Pipeline Asset (Forward Renderer) からPipeline Assetを作成。メニューが見当たらない場合エディタを再起動すると直る場合がある。他にもいくつかプリセットが用意されているがとりあえず使わない(私が違いを知らない)。
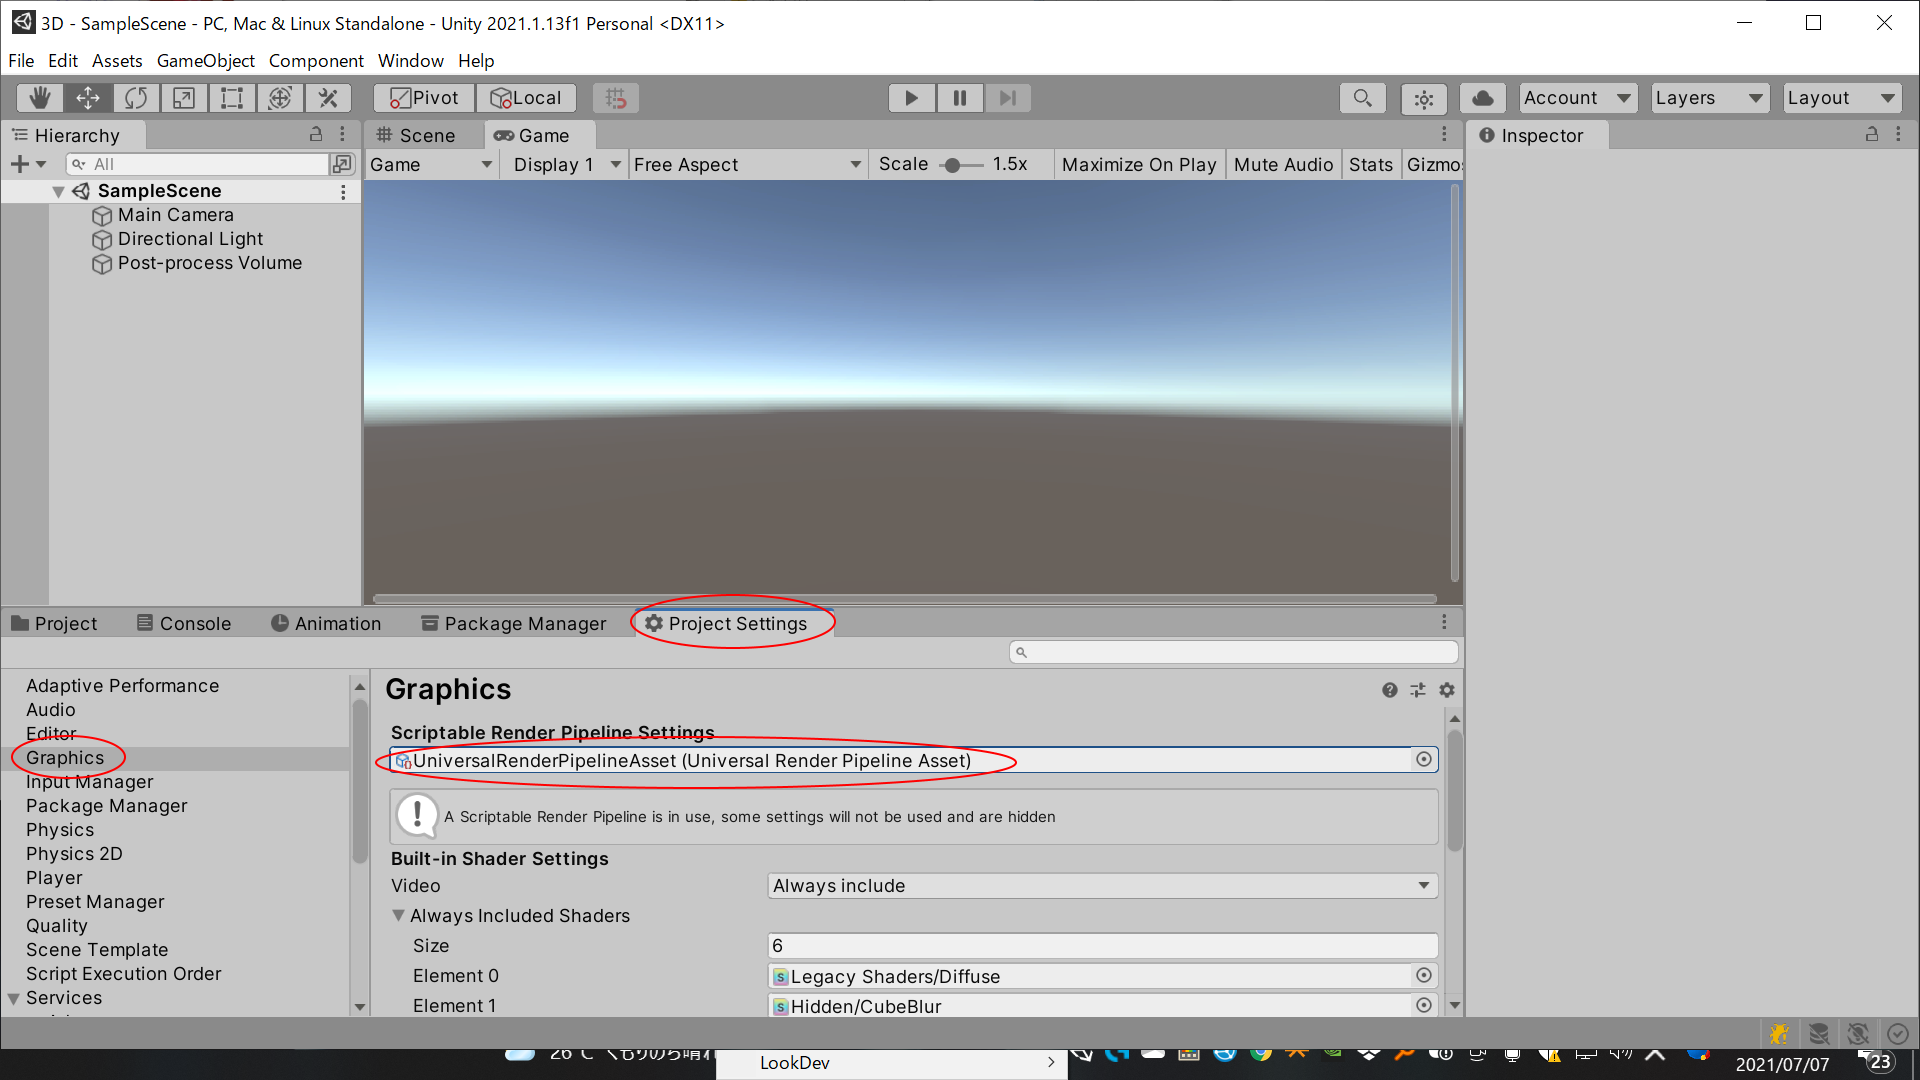
Project Settings → Graphics → Scriptable Render Pipeline Settings から先程作成したPipeline Assetをセットする。ここでポストプロセスが効かなくなる。
Unity 2021.1.13f1 with Universal RP 11.0.0でブルームを炊く
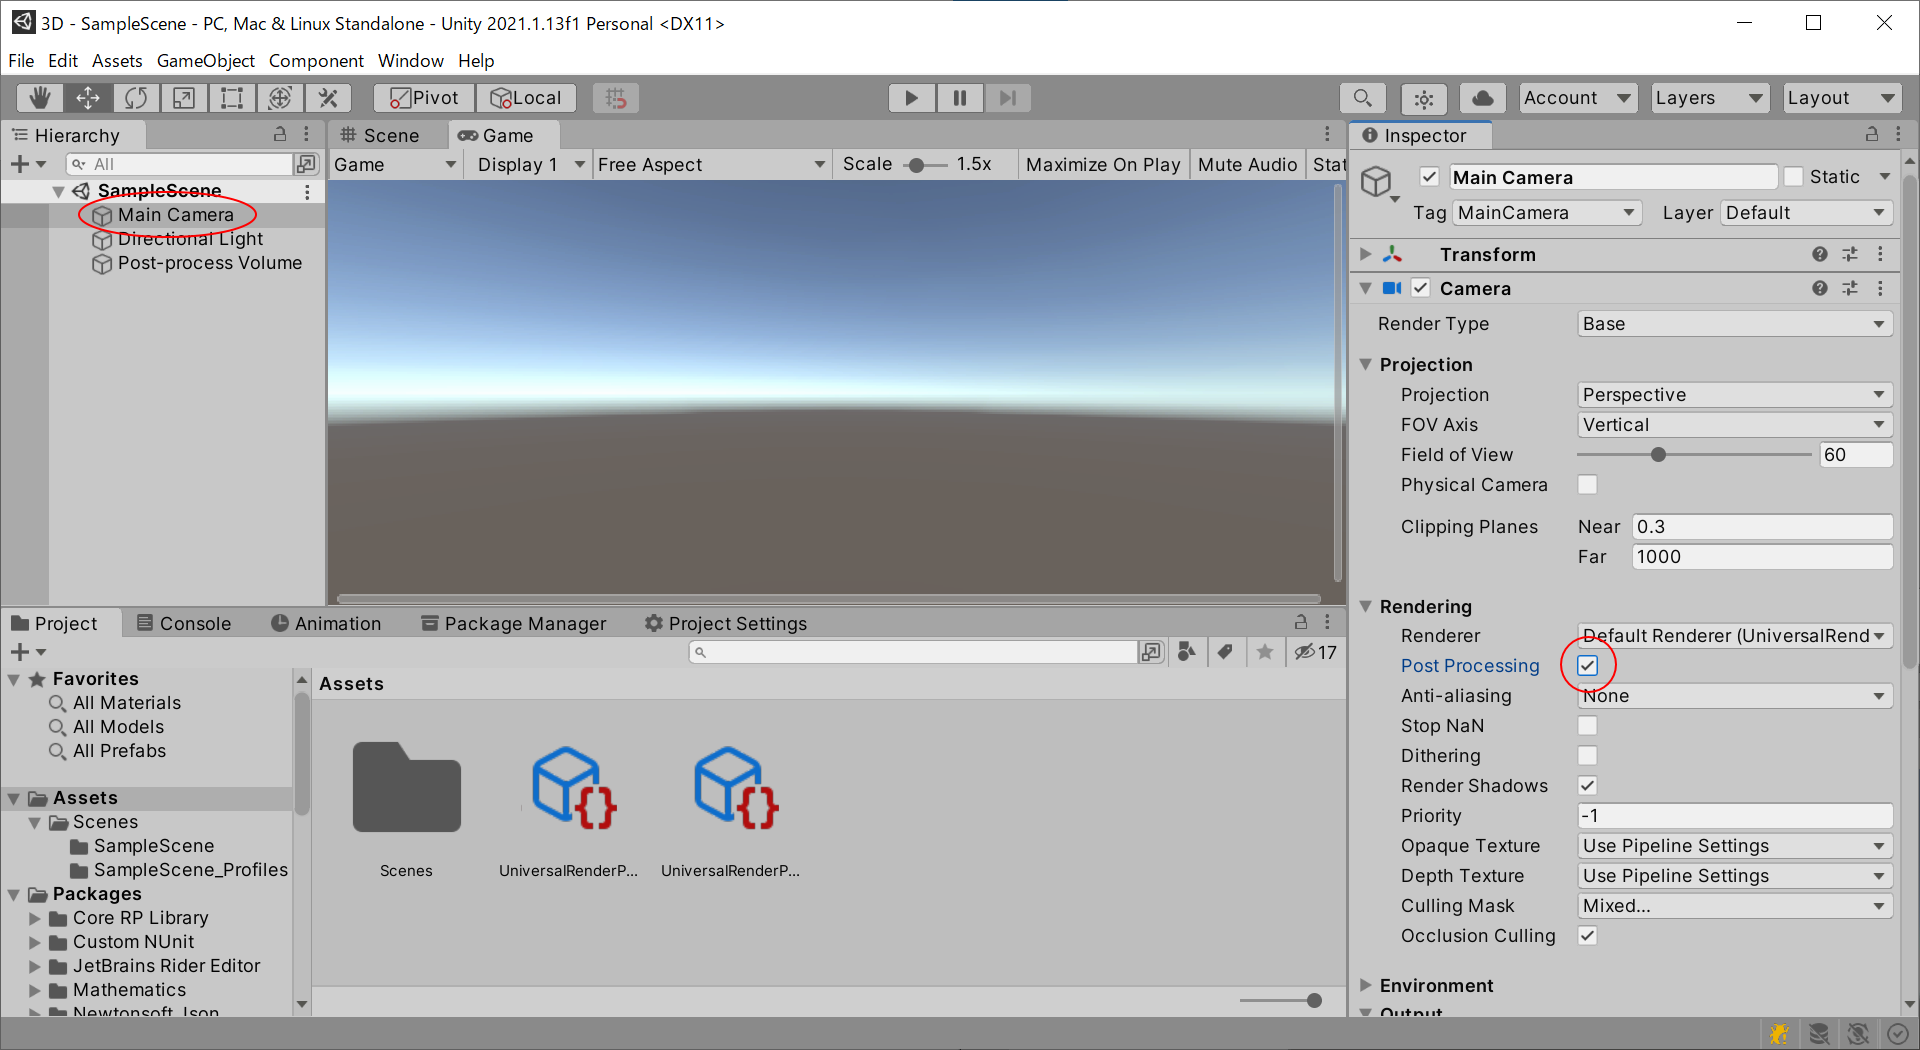
レンダラーを選択し、Post-processingを有効化する。

Main Cameraを選択しCamera → Rendering → Post Processingを有効化。
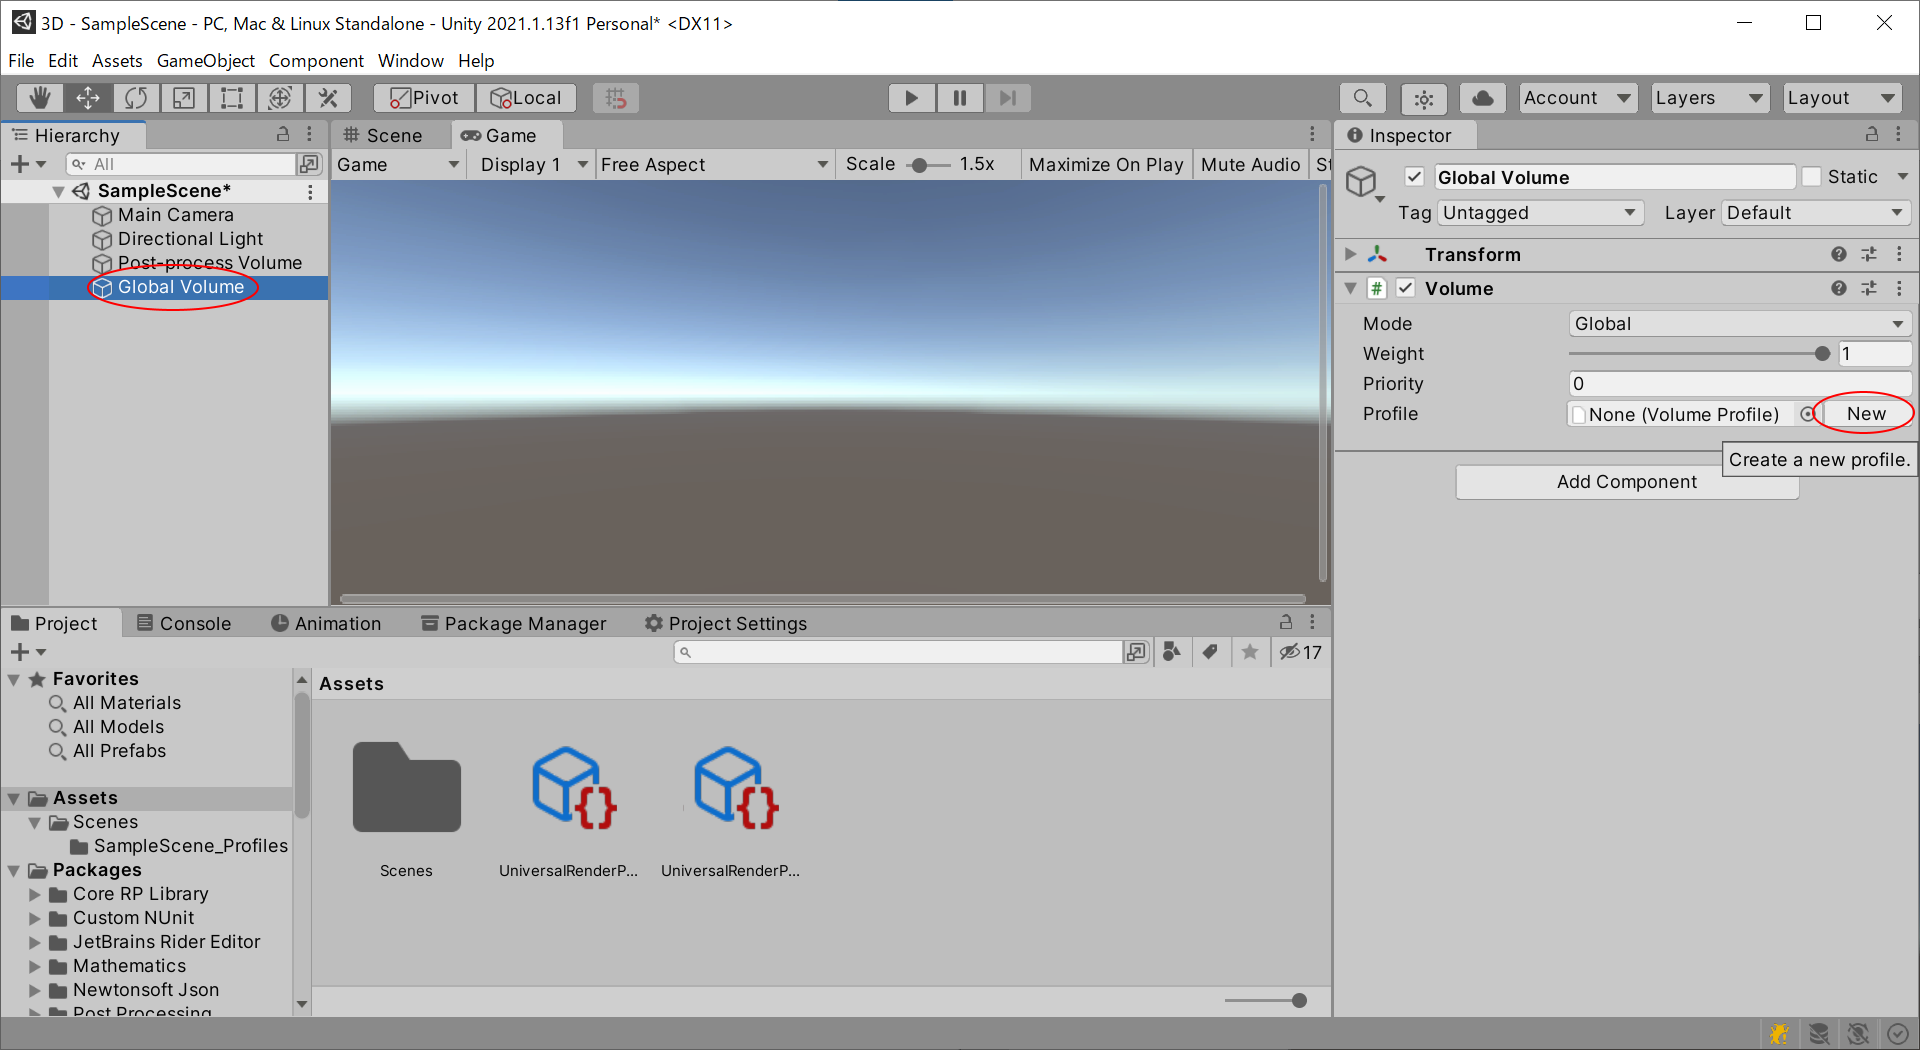
ヒエラルキーにGlobal Volumeを追加する。

VolumeのProfileを新規作成する。
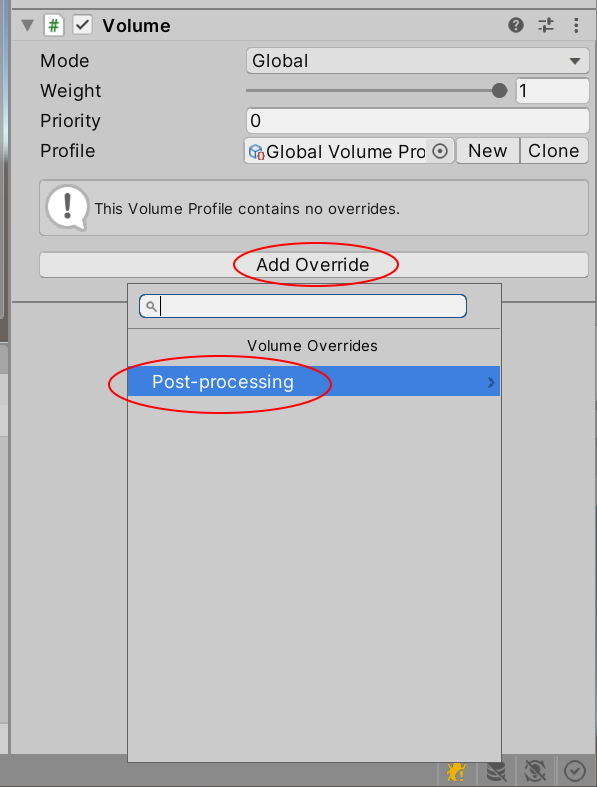
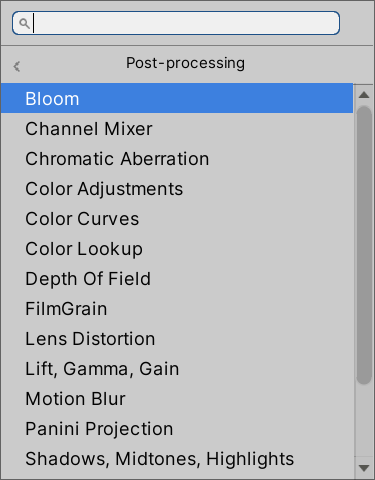
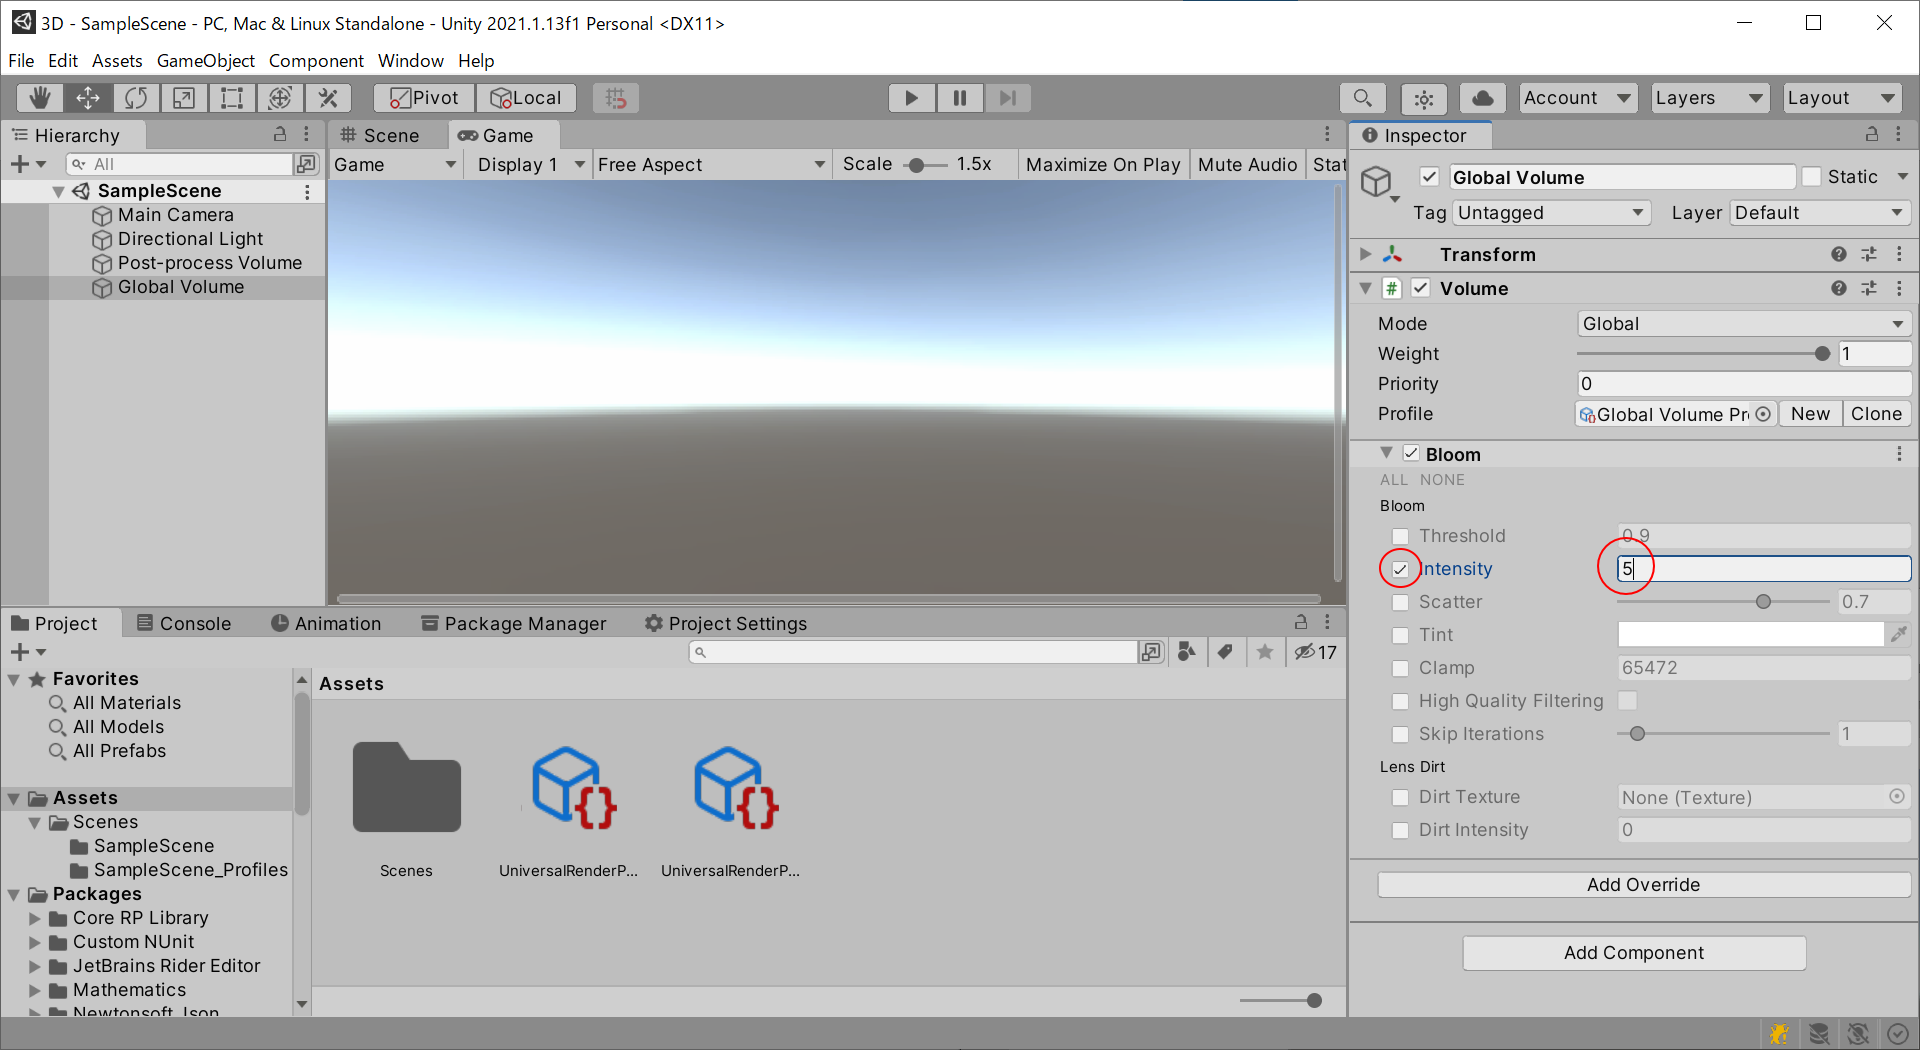
Add Override → Post-processing → Bloom
Intensityを有効化し、値を0から変更して完成。下図では5にしている。驚くべきことにBuilt-in Render Pipelineの場合とはThresholdとIntensityの位置が逆であることに注意。
最後に、Built-in RP用にシーンに配置したPost-process Volumeと、同じくMain CameraにアタッチしたPost-process Layerコンポーネントを削除するとよいだろう。Built-in RP用に作成したPost-process Volume Profileは削除してもいいし、残してもいい。
その他Universal RPの設定
- Window → Rendering → Lighting → Scene → Lighting Settings からアセット化されたライティングの設定を選択することができる。
- Project Settings → Quality → Renderingからアセット化されたレンダリングの品質の設定を選択できる。ここから選択しないといくらアセットの設定を変更しても反映されないので注意。