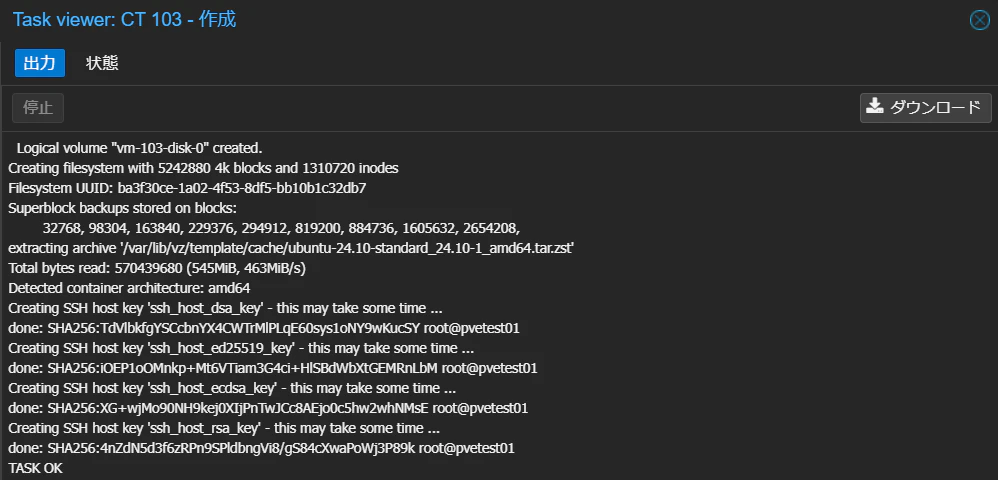
CT作成
全般
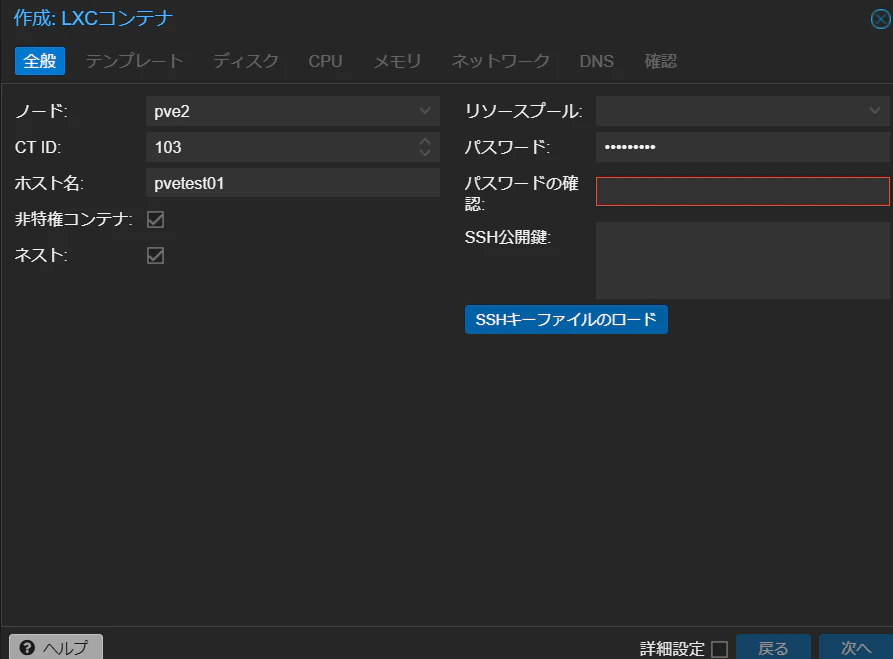
- ホスト名付ける
- パスワード付ける
テンプレート
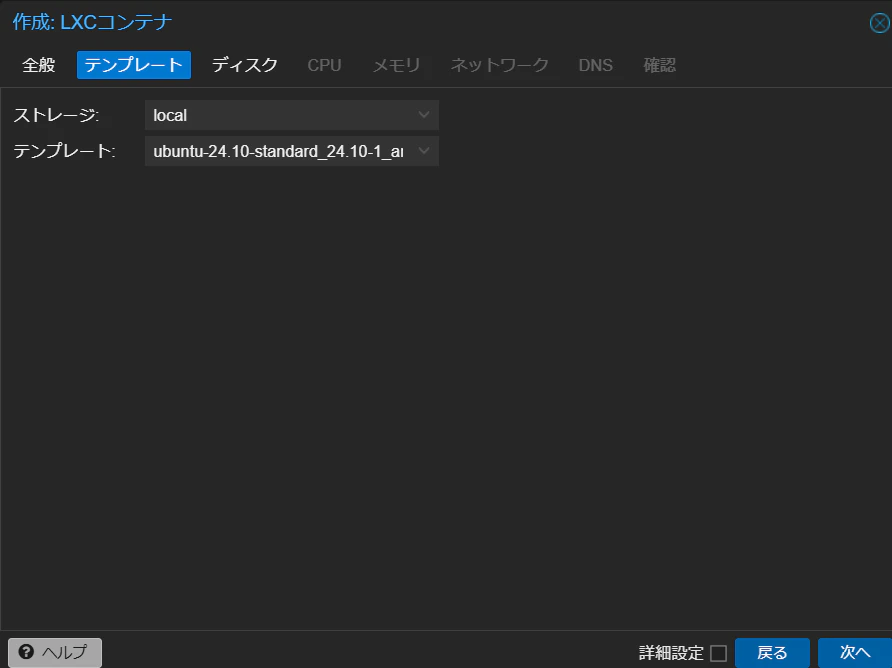
- テンプレート選ぶ(今回はUbuntu-2410)
ディスク
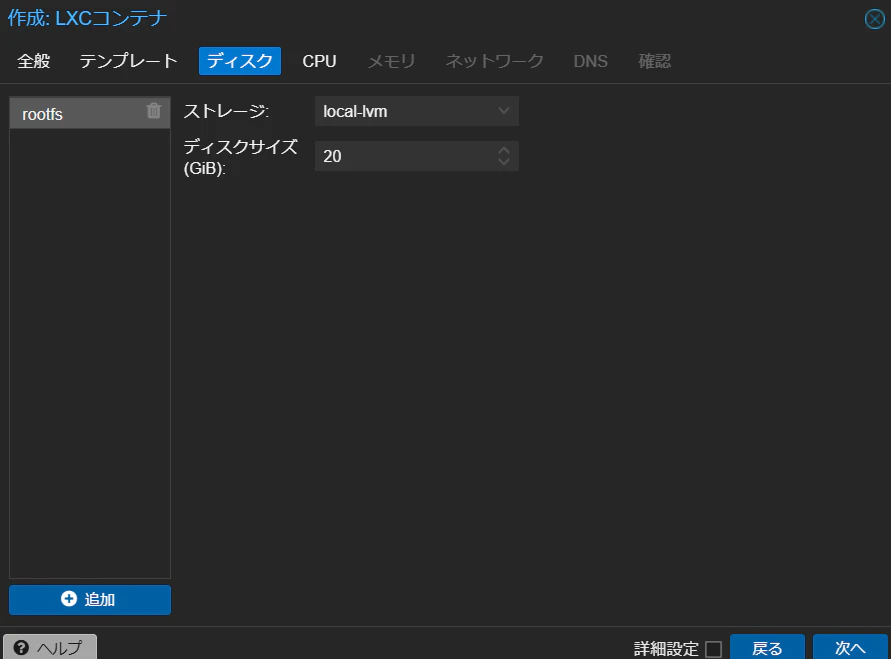
- 適宜サイズを調整する(今回は20G)
CPU
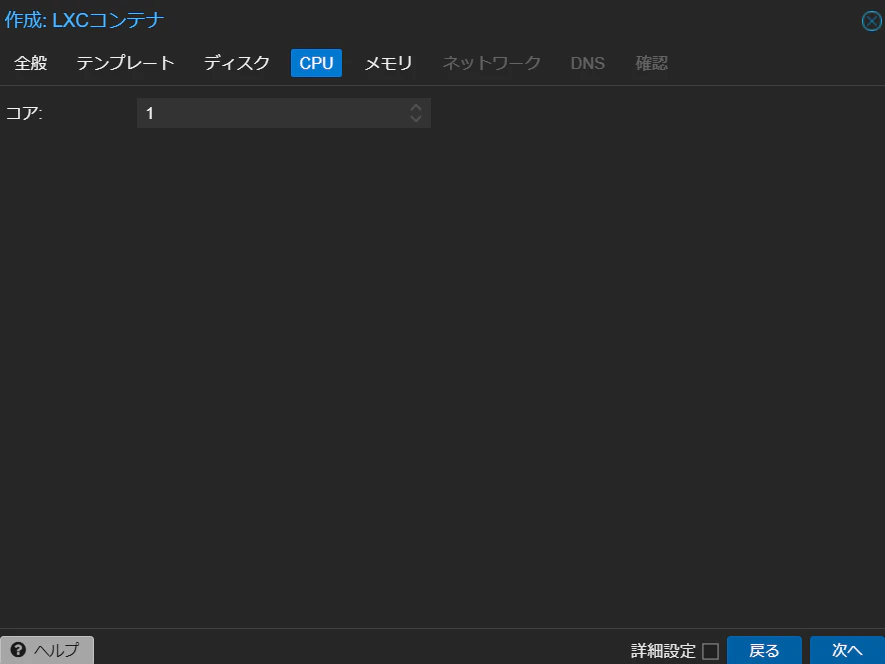
- 適当に(今回はテスト用なので1コア)
メモリ
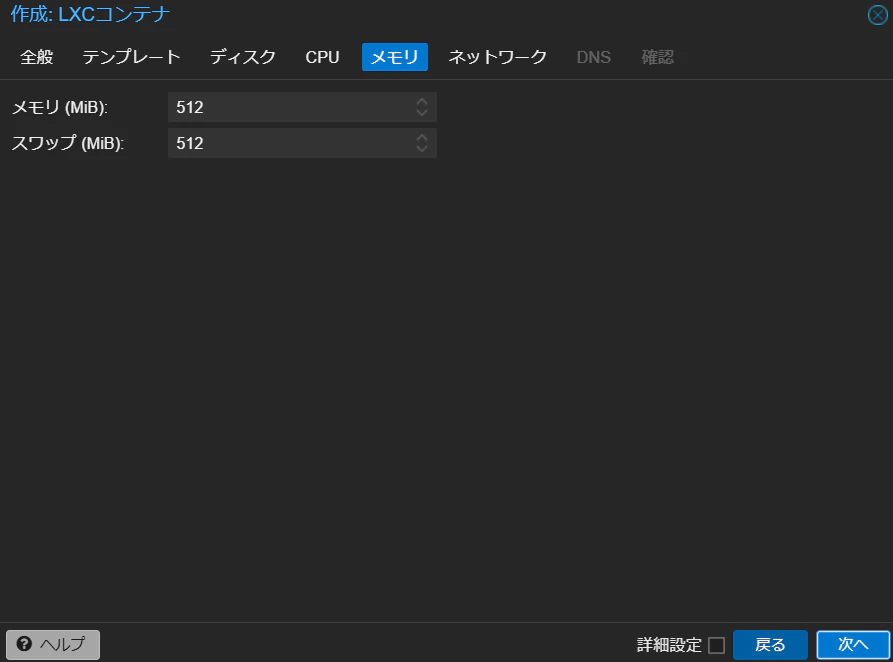
- 適当に(今回はテスト用なので512M)
ネットワーク
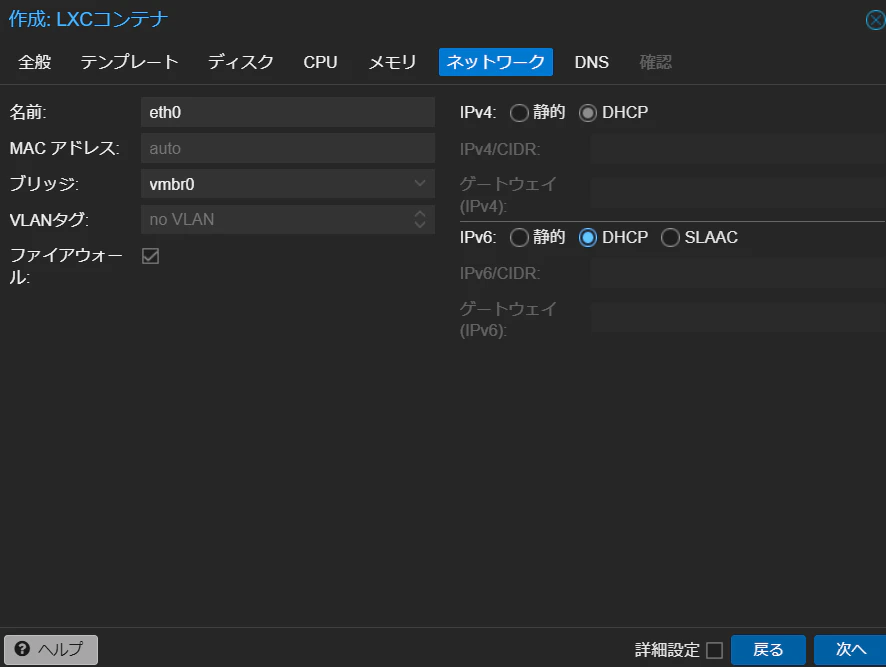
- 適宜選ぶ(今回はテスト用なのでBBルータDHCPで)
DNS
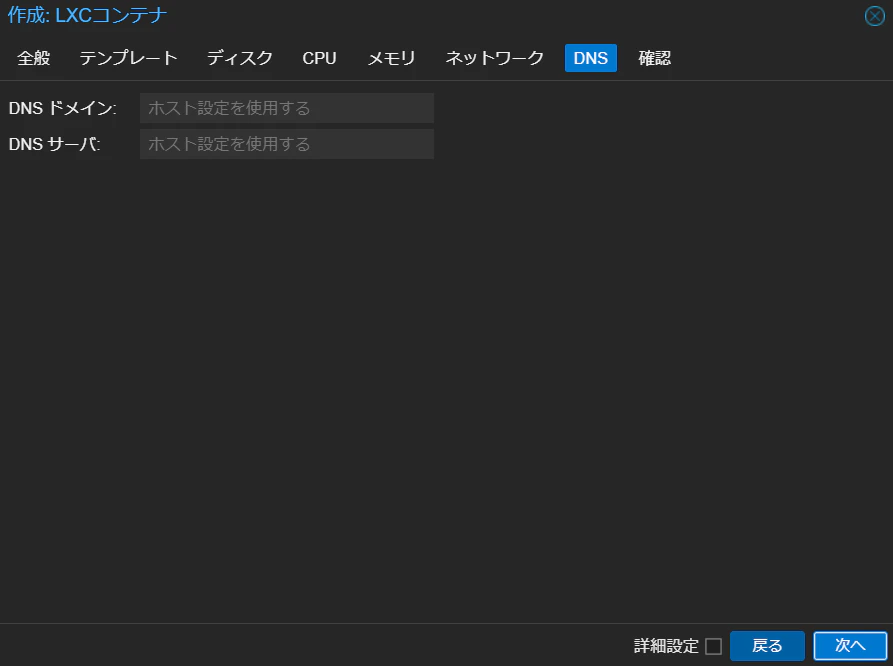
- 適宜選ぶ(今回はテスト用なのでたぶんDHCPからとってくれるはず)
確認
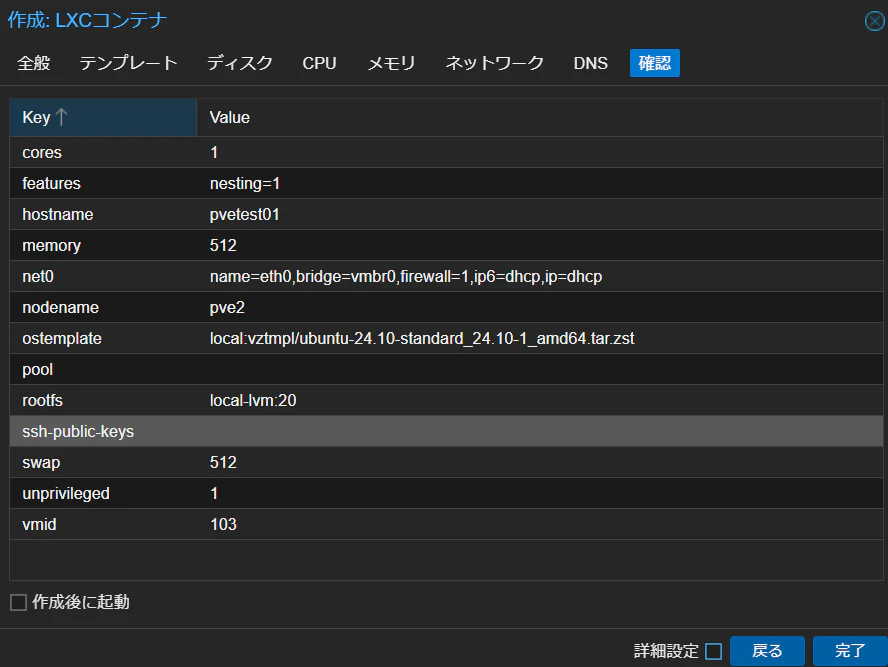
- 問題なければ「完了」し、Linuxコンテナ作る
TASKOK
ログイン
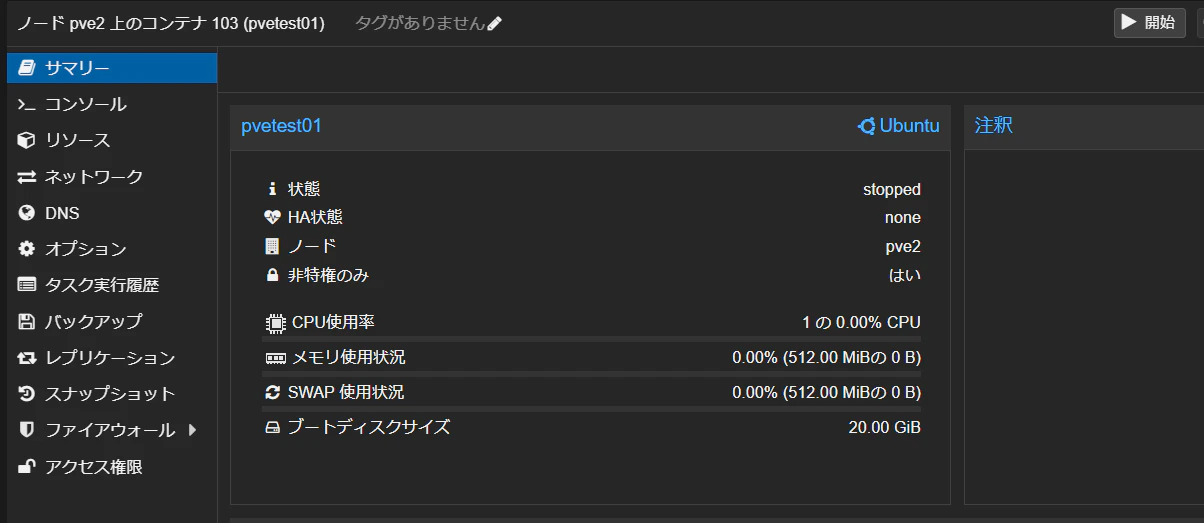
- データセンター→ノード→サマリ画面から「開始」
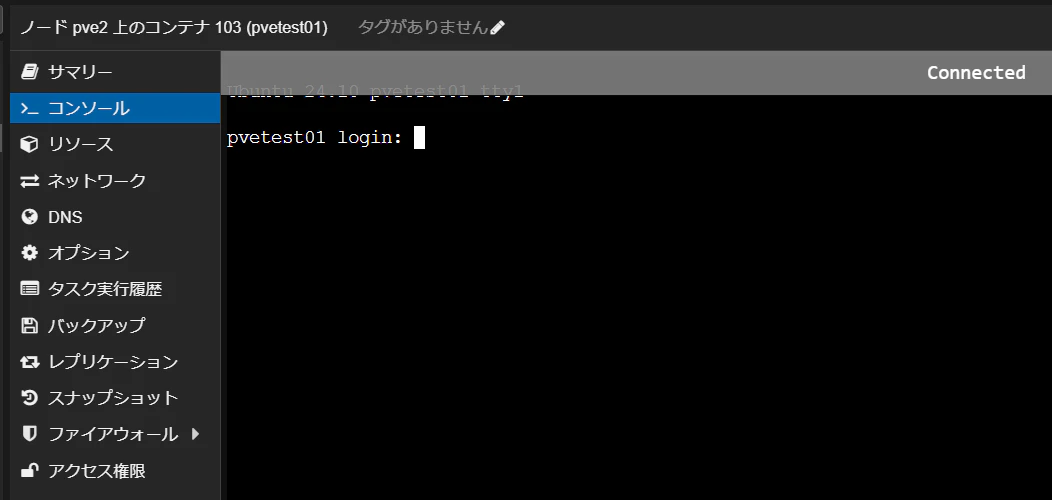
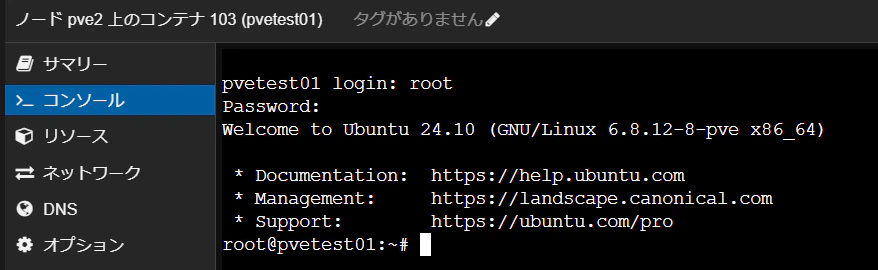
- コンソールでログインプロンプト
- ユーザー名:root、CT作成時のパスワードでログインする
グループ作成
# groupadd -g 10000 user
- 適当に10000ぐらいのgidでuserグループを作成
ユーザー作成
# useradd -u 10000 -g 10000 testuser
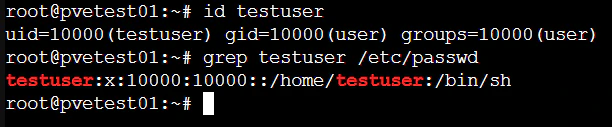
- 確認
パスワード設定
# passwd testuser
各パッケージのアップデート
# apt update
# apt upgrade
エディタ変更
# apt install vim emacs
- とりあえず、vim、emacs入れておく
# update-alternatives --config editor
- デフォルトエディタ変更(これやっておかないとnanoが起動するが、使い方がわからない)
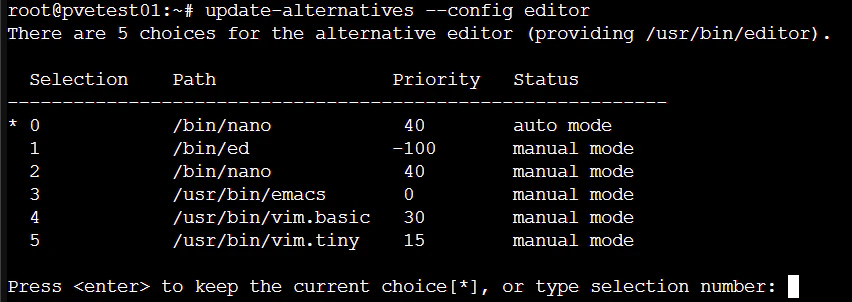
- viでもEmacsでも好きな物を
sudoできるようにする
# usermod -aG sudo testuser
- 正しいやり方はよくわからないが、sudoグループに入れた人に権限付けるがよさそう
# visudo
- visudoでsudoできるユーザー管理ファイル編集

- sudoグループに属している人はパスワードなし設定