背景
同一のサーバ上で複数サービスをホストする際に普段 nginx または apache を使いましたが、設定を調整するたびに何を書いたかなかなか覚えられませんので。。
そこで、 Traefik を使えばいいです!
Traefik とは
公式 HP より:
An open-source reverse proxy and load balancer for HTTP and TCP-based applications that is easy, dynamic, automatic, fast, full-featured, production proven, provides metrics, and integrates with every major cluster technology... No wonder it's so popular!
Traefik は、HTTP・TCP アプリのリバースプロキシかつロードバランサです。いろんな技術と連携があり、どんなスタックでも簡単に導入することができます。
特に Docker との相性が良くて気に入り、この記事は Docker + Traefik を中心にしたいと思います。
Example
今回は、myserver.test という架空なドメインでブログと Wiki サービスを立ち上げたく、各サービスの詳細は以下のようです。
| サービス | アプリ | URL |
|---|---|---|
| Blog | Ghost | blog.myserver.test |
| Wiki | DokuWiki | wiki.myserver.test |
ドメインを用意
実際に持っているドメインであればドメインの A レコードを追加し、なければ host ファイルに以下の項目を追加すればローカルで動いて試すことができます。
# /etc/hosts
127.0.0.1     blog.myserver.test
127.0.0.1     wiki.myserver.test
Docker を用意
複数の Docker コンテナを管理する場合、 Docker Compose が便利なので、早速コンフィグファイルを作りました。
## docker-compose.yml

version: '2'

services:
  ghost:
    image: ghost:3
    ports:
      - 5001:2368
    volumes:
      - ./data/ghost:/var/lib/ghost/content

  dokuwiki:
    image: bitnami/dokuwiki:0
    ports:
      - 5002:80
    volumes:
      - ./data/dokuwiki:/bitnami
これで docker-compose up を実行すると、 ブログは http://localhost:5001 からアクセスでき、Wiki の方は http://localhost:5002 からアクセスできます。
Traefik を導入
せっかく docker を使っているため、 Traefik の Docker イメージを導入しましょう。
## docker-compose.yml

services:
  # ghost,dokuwiki を省略
  traefik:
    image: traefik:2.0
    ports:
      - 5003:8080 # webUI
      - 80:80
    volumes:
      - /var/run/docker.sock:/var/run/docker.sock
      - ./config/traefik/traefik.yml:/etc/traefik/traefik.yml
マウントする volumes ですが、Traefik の設定が定義されるファイル以外は、Docker API にアクセスできるため docker.sock もマウントすることが必要です。Traefik は、サービスのステータスを常に監視し、サービスが動いてない時はリバースプロキシを無効するという機能が付いています。
Traefik を設定
volumes で定義されたコンフィグファイルを作りましょう。
# ./config/traefik/traefik.yml

# Providers config
providers:
  docker: {} # Docker との連携を有効

# API/Dashboard config
api:
  insecure: true # WebUI にアクセスできるように設定
Traefik のホスト名を各サービスに定義
最後に、各コンテナにホスト名、つまり URL を指定すれば完了です。
# docker-compose.yml
  ghost:
    labels:
      - "traefik.http.routers.ghost.rule=Host(`blog.myserver.test`)"

  dokuwiki:
    labels:
      - "traefik.http.routers.dokuwiki.rule=Host(`wiki.myserver.test`)"
Traefik を起動
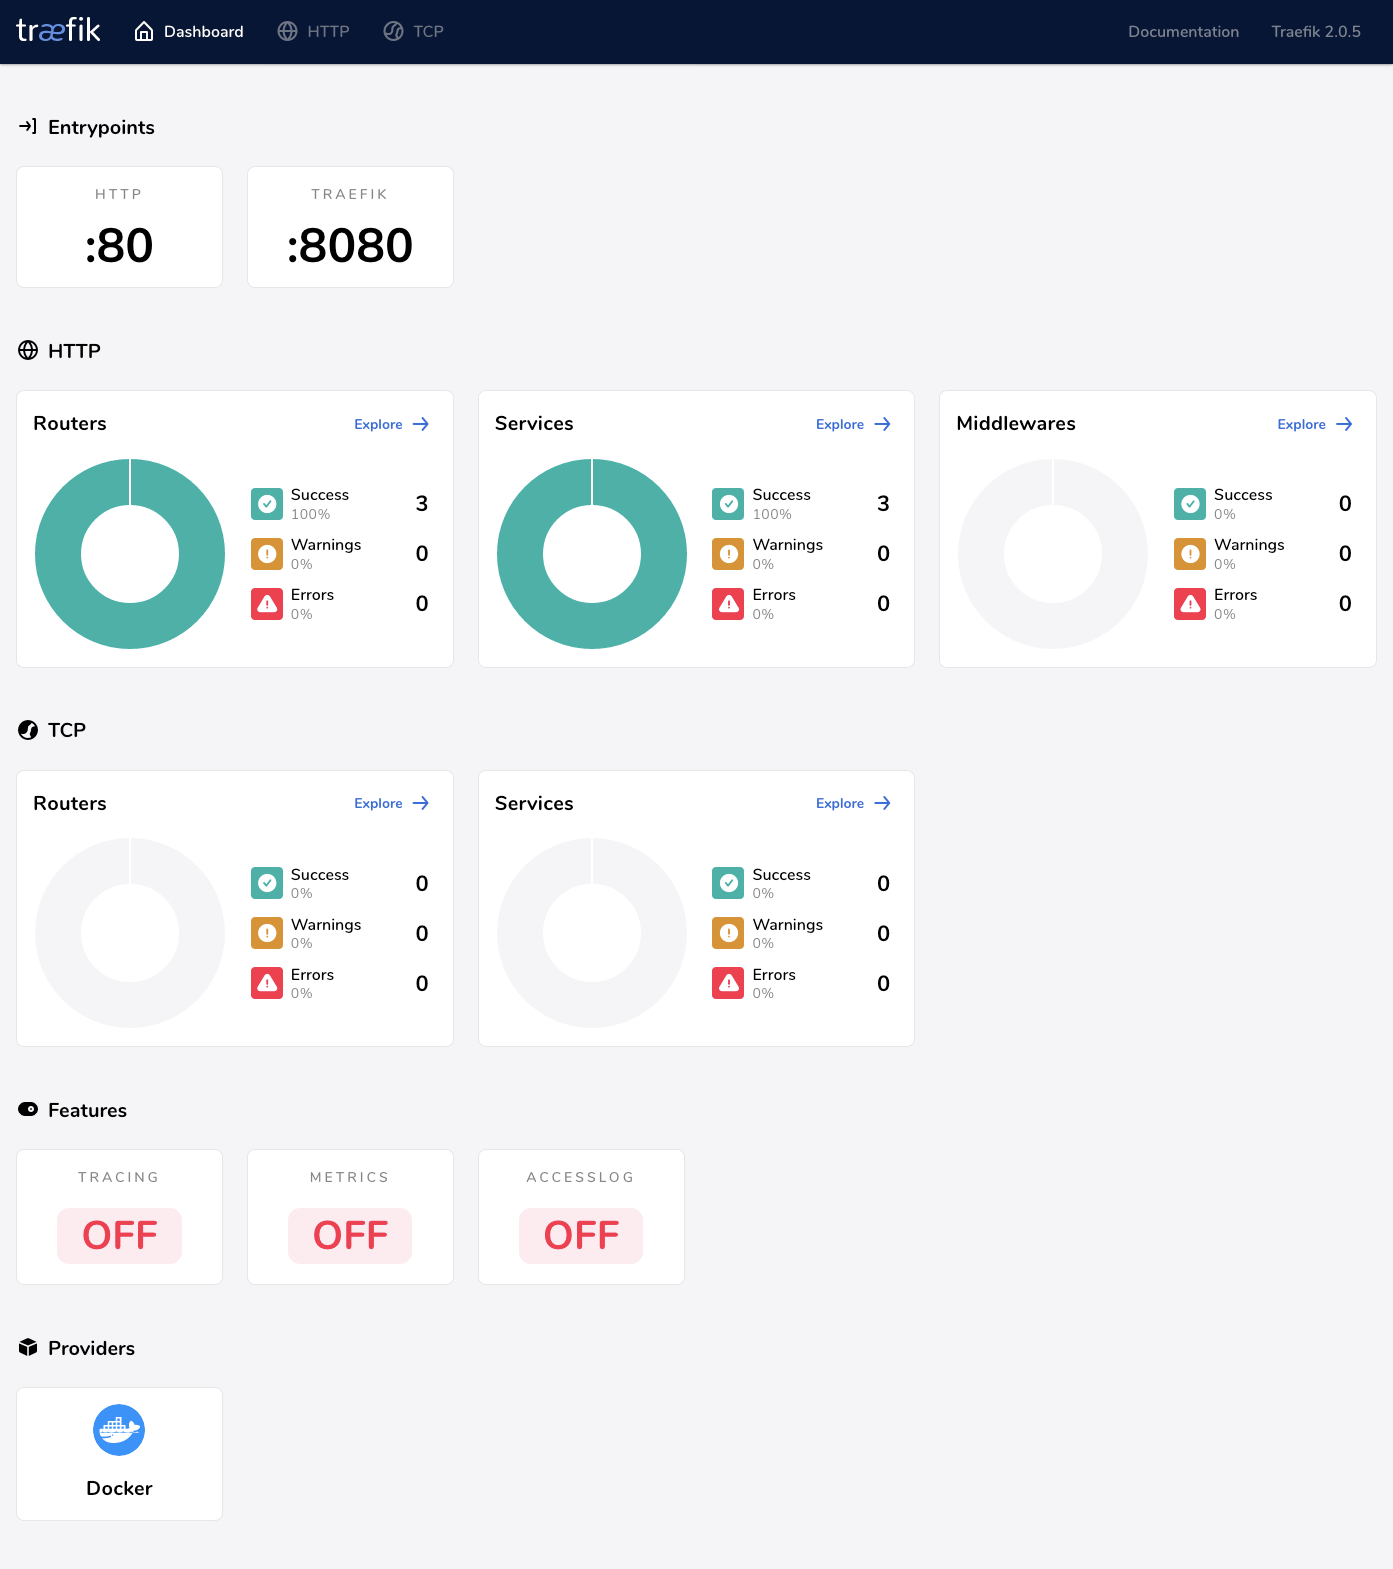
これで準備が整ったので、再度で docker-compose up を実行すると Traefik が起動されます。 http://localhost:5003 から WebUI を見れます。
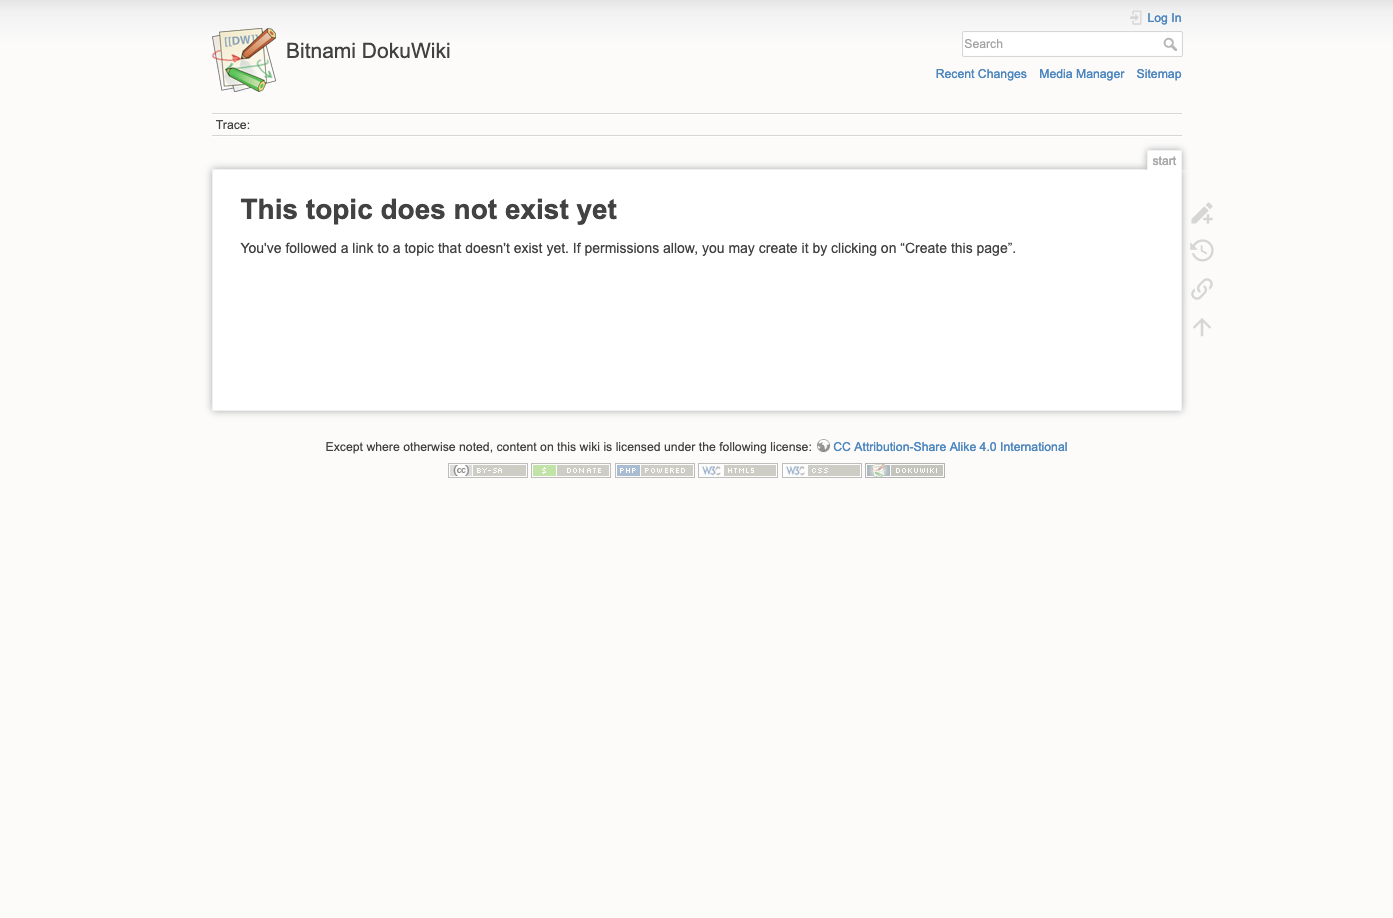
blog.myserver.test にアクセスするとこんな感じ:
で wiki.myserver.test にアクセスするとこんな感じです。
【おまけ】 HTTPS 化も楽勝!
Traefik では Let's Encrypt との連携もあり、traefik.yml に以下を定義すれば簡単に HTTPS を導入することができます。
# ./config/traefik/traefik.yml
entryPoints:
  web:
    address: ":80"

  web-secure:
    address: ":443"

certificatesResolvers:
  sample:
    acme:
      email: webmaster@myserver.test
      storage: acme.json
      httpChallenge:
        entryPoint: web
詳しくはドキュメンテーションをご参照ください。
まとめ
特に複雑なルールの設定が必要なく、シンプルなリバースプロキシが望ましい場合は、 Traefik を試す価値があるじゃないかと思います。


