現在RubyとJavaScriptを用いて記事投稿サイトを作成しています。
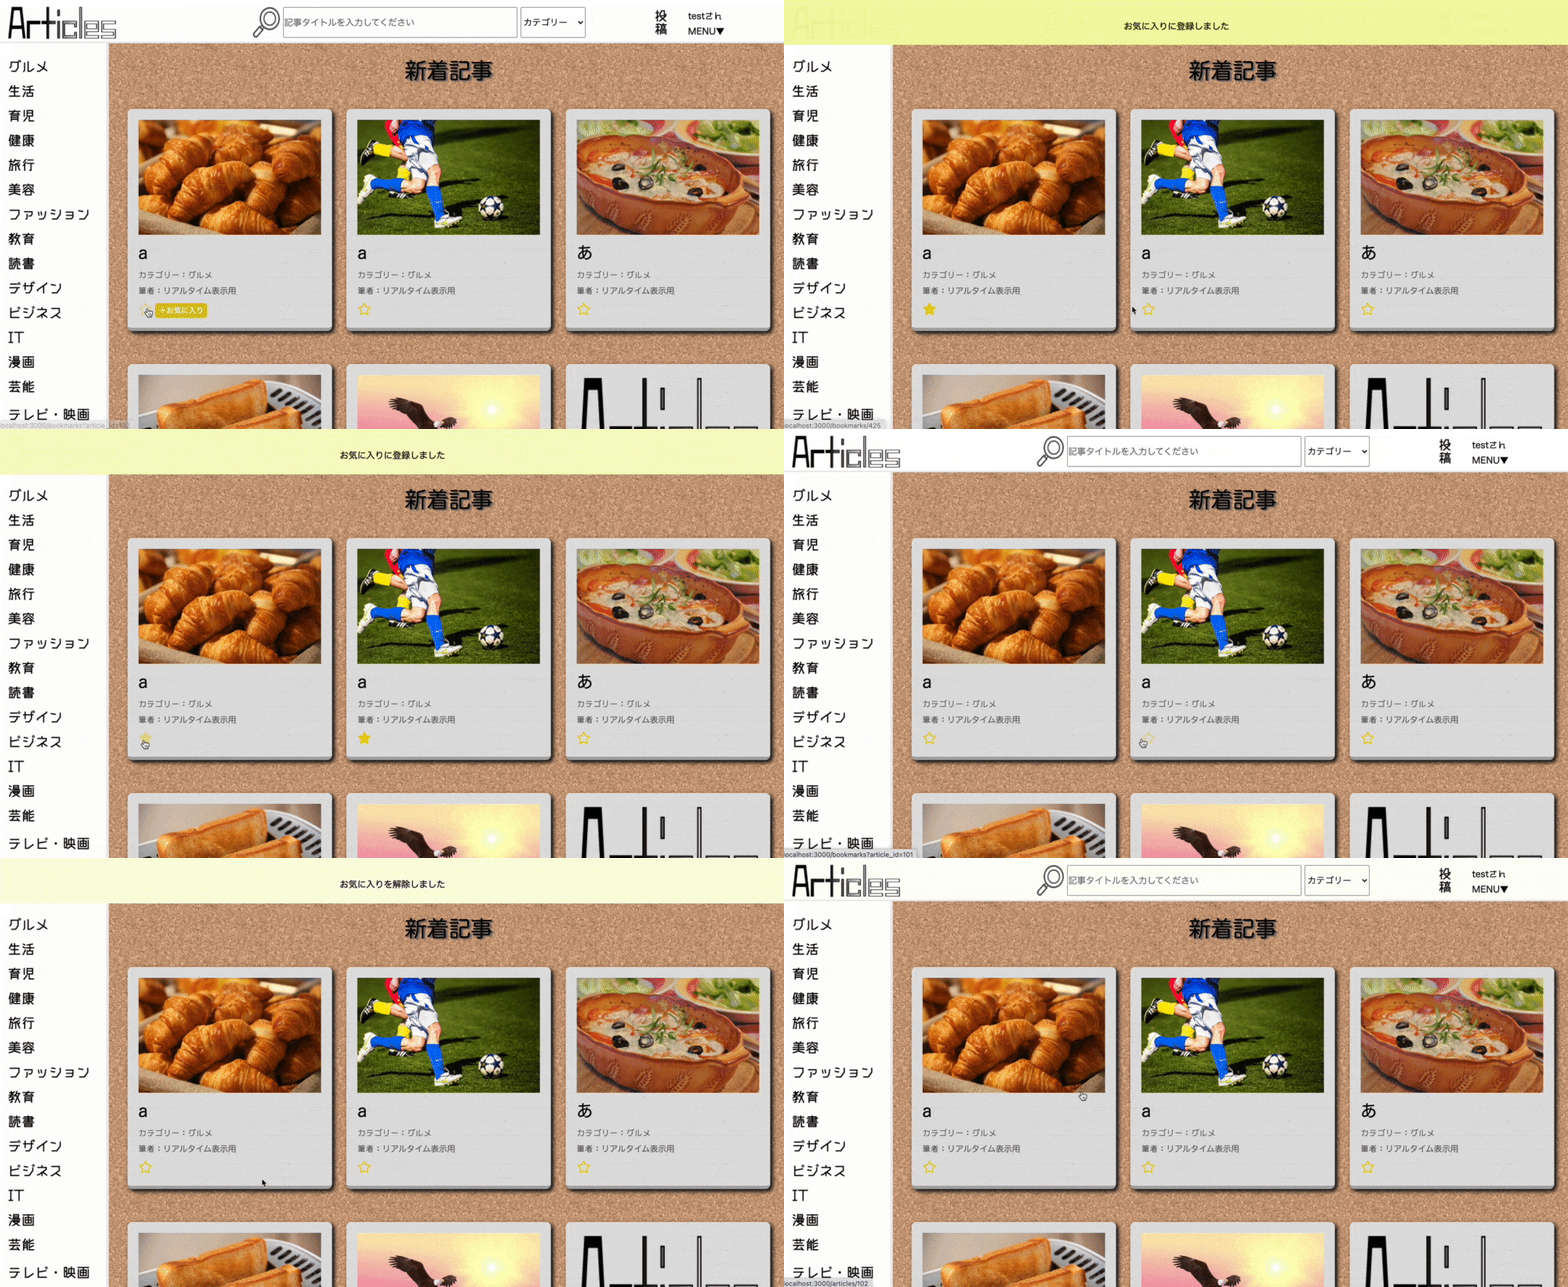
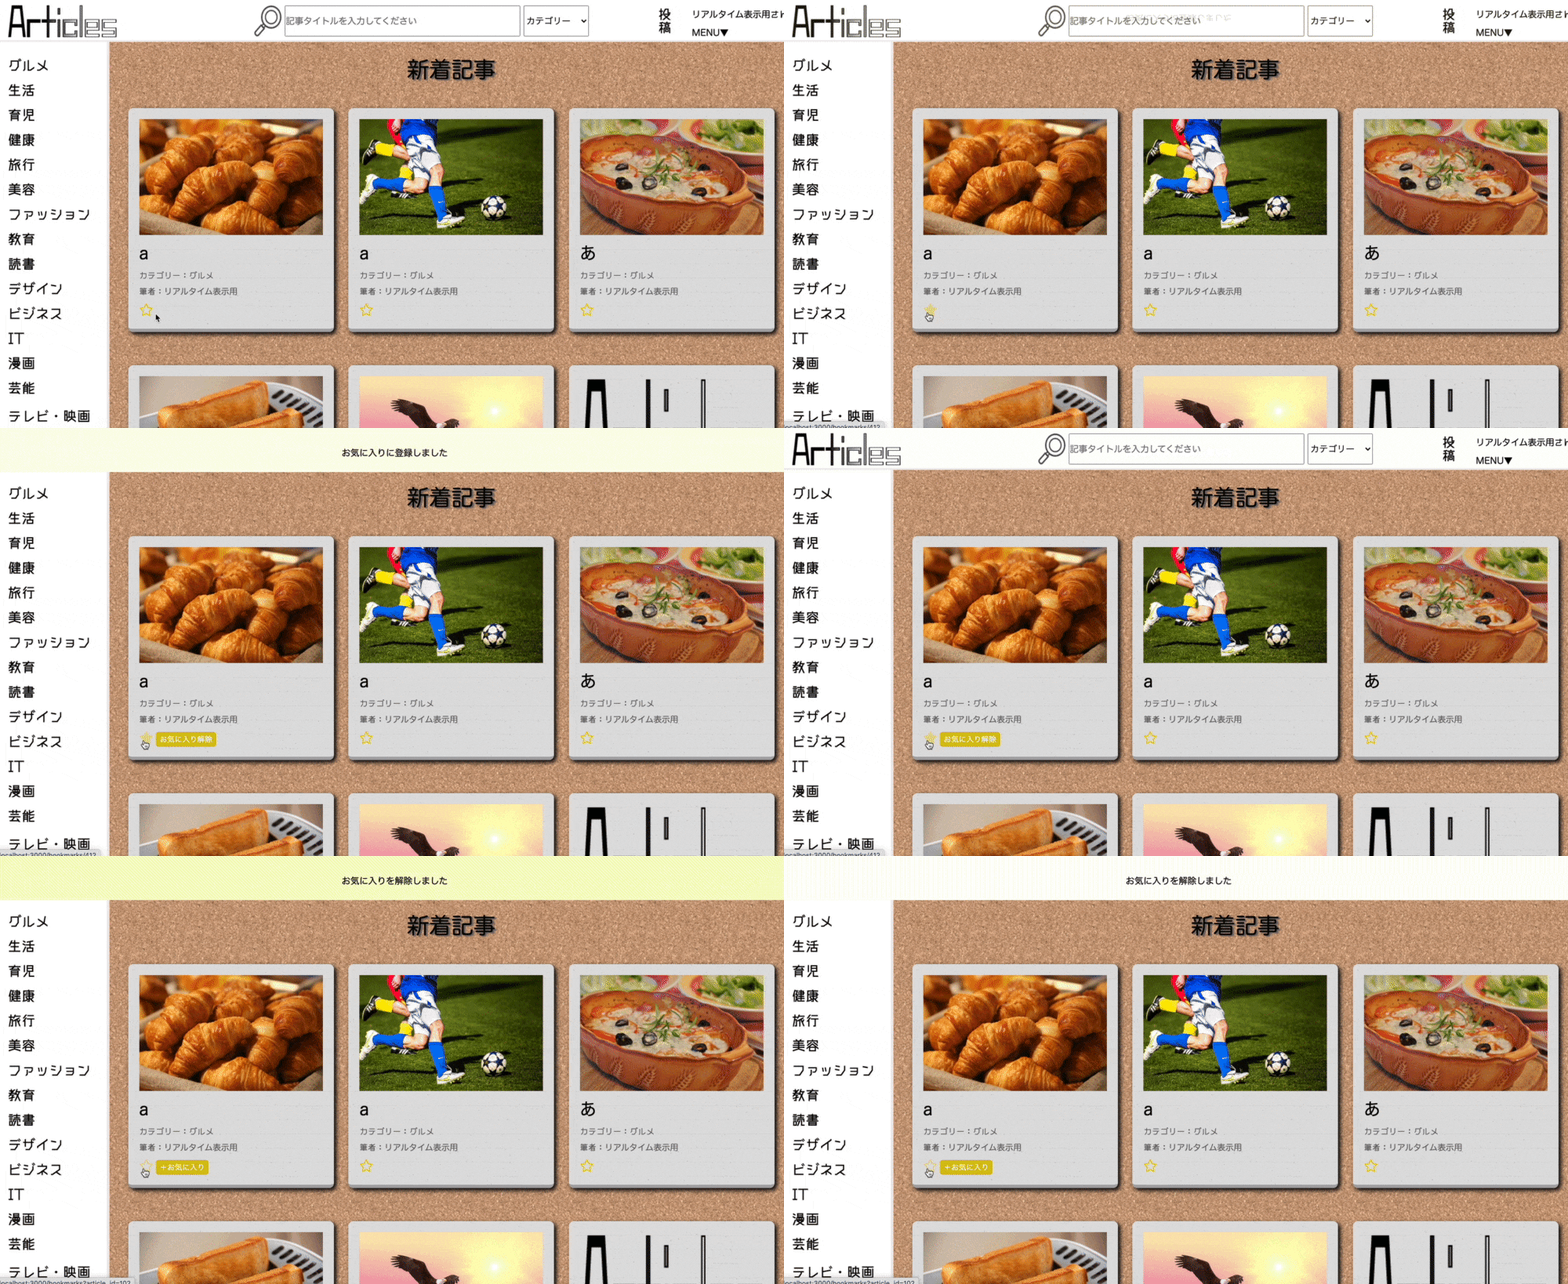
今回はお気に入り登録/解除の際、flashメッセージを表示できるようにしていきたいと思います。
お気に入り機能の実装はこちら
■仕様等
・お気に入りアイコンをクリックするとページ上部にメッセージが表示される
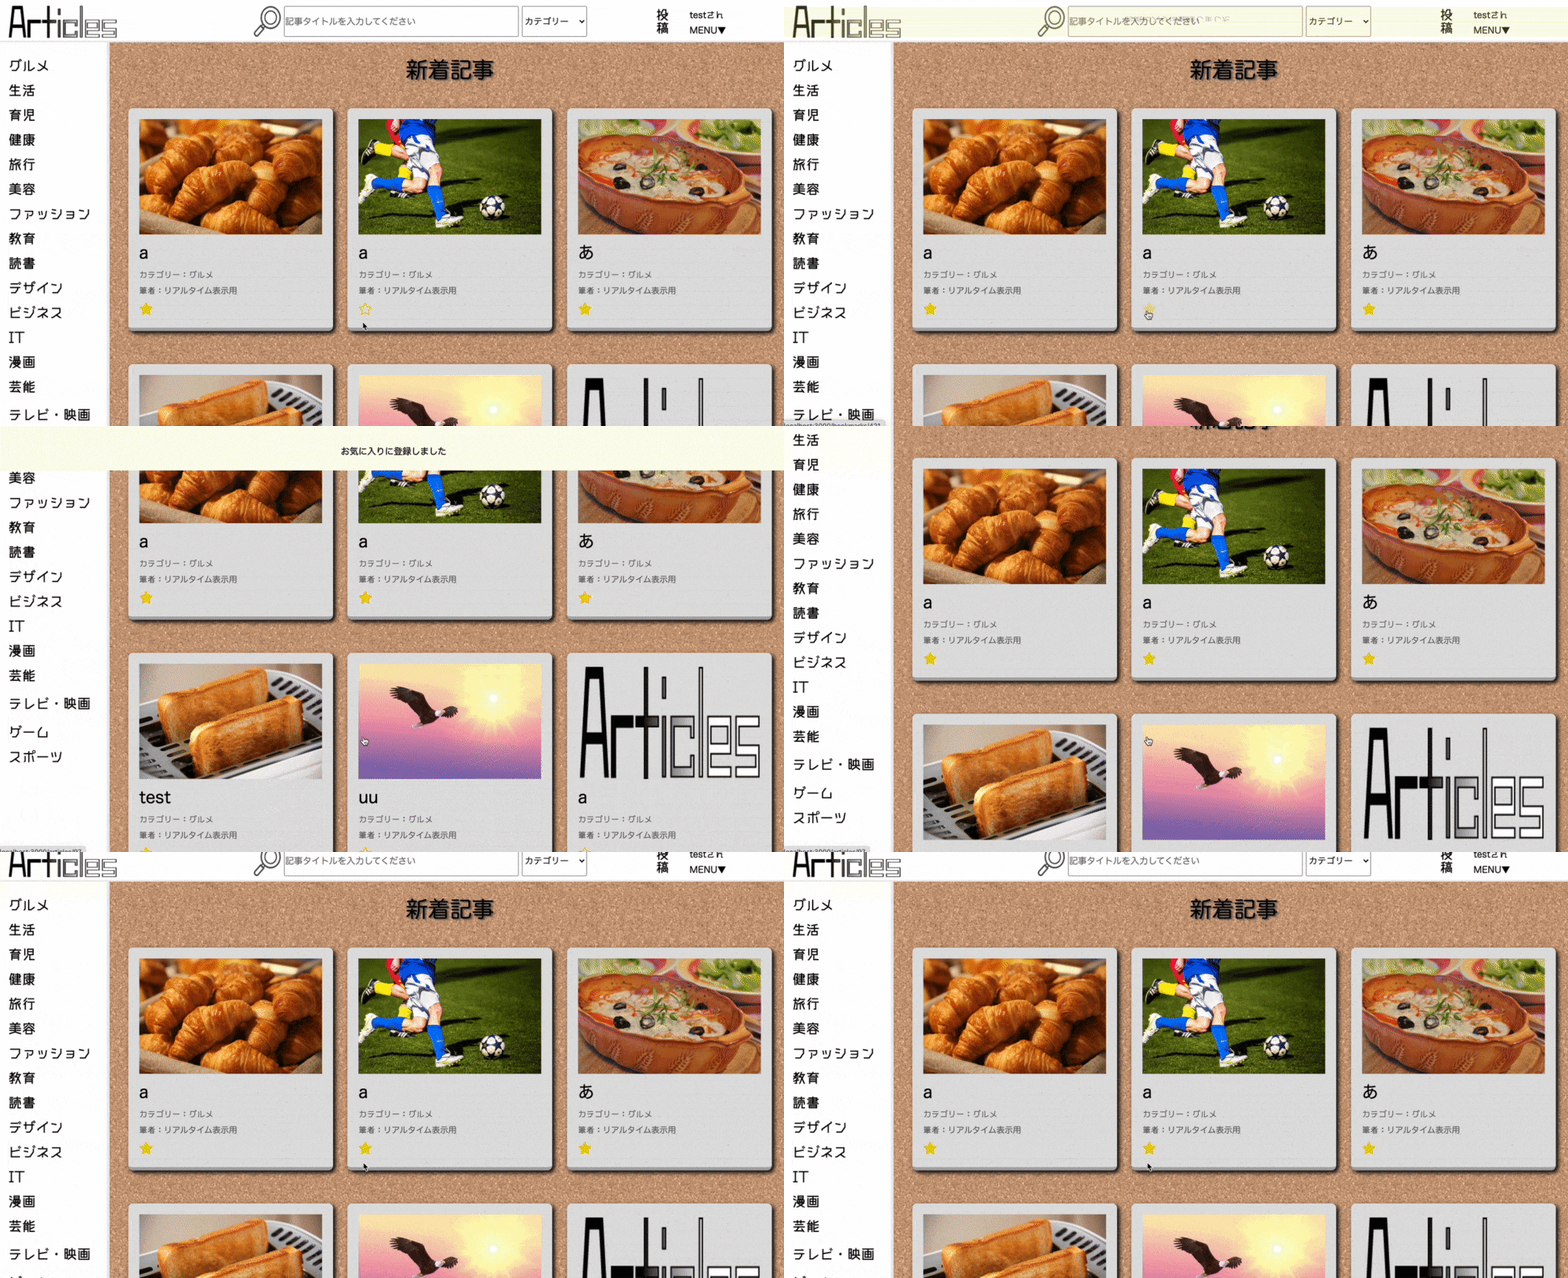
・画面スクロールに追従する
・連続でアイコンを押下した際は最新のメッセージが割り込む
・jQueryを使用しない
■完成後の動作とコード
//①お気に入りに登録した時の処理
if(document.getElementById('article_<%= @article.id %>').innerHTML = '<%= escape_javascript( render 'shared/articles', article: @article ) %>'){

//②flashメッセージが既に存在する場合は、それを削除する
  if(document.getElementById('flash-message')){
    document.getElementById('flash-message').remove();
  }

//③flashメッセージ(div要素)を生成する
  const flashMessage = document.createElement('div');
  flashMessage.setAttribute('class', 'flash-message')
  flashMessage.setAttribute('id', 'flash-message')
  flashMessage.setAttribute("style", `top: ${window.scrollY}px; animation-name: flash-message-fade;` );
  flashMessage.innerHTML = "お気に入りに登録しました"

//④flashメッセージの挿入先を取得(body)
  const body = document.querySelector("body");
  body.prepend(flashMessage)

//⑤flashメッセージの表示位置をページスクロールに合わせる
  document.addEventListener('scroll', function(){
    flashMessage.style.top = `${window.scrollY}px`
  })

//⑥flashメッセージを4秒後に消去する
  window.setTimeout(function(){
    flashMessage.remove();
  }, 4000);
}
■お気に入り機能の実装
以前こちらで実装したものをそのまま使用しています。
■flashメッセージの実装
①お気に入り登録した時の処理
if(document.getElementById('article_<%= @article.id %>').innerHTML = '<%= escape_javascript( render 'shared/articles', article: @article ) %>'){
if分の条件として、お気に入り登録の処理を記述しています。
②flashメッセージが既に存在する場合は、それを消去する
  if(document.getElementById('flash-message')){
    document.getElementById('flash-message').remove();
  }
flashメッセージ表示中に続けてお気に入りアイコン押下した際、
表示中のメッセージを消去して最新のメッセージを表示します。↓

③flashメッセージ(div要素)を生成する
  const flashMessage = document.createElement('div');
  flashMessage.setAttribute('class', 'flash-message')
  flashMessage.setAttribute('id', 'flash-message')
  flashMessage.setAttribute("style", `top: ${window.scrollY}px; animation-name: flash-message-fade;` );
  flashMessage.innerHTML = "お気に入りに登録しました"
style属性の値に指定している${window.scrollY}px;は、現在のスクロール位置を返します。
この要素とanimation-nameで指定しているアニメーションのCSSは以下の通りです。↓
@keyframes flash-message-fade {
  0% {
    display: inline;
    opacity: 0;
    transform: scaleY(-1);
    background-color: rgb(235, 247, 129);
  }
  10% { opacity: 0.5; }
  20% { opacity: 1; transform: scaleY(1) }
  90% { opacity: 1; transform: scaleY(1); }
  100% {
    opacity: 0;
    transform: scaleY(0);
    display: none;
    background-color: white;
  }
}

.flash-message {
  animation-duration: 3s;
  animation-fill-mode: forwards;
  opacity: 0;
  display: none;
  position: absolute;
  z-index: 2;
  width: 100%;
  display: flex;
  justify-content: center;
  align-items: center;
  height: 70px;
  padding-top: 1%;
}
④flashメッセージの挿入先を取得(body)
  const body = document.querySelector("body");
  body.prepend(flashMessage)
bodyを取得し、生成したflashメッセージのdiv要素を挿入します。
⑤flashメッセージの表示位置をページスクロールに合わせる
  document.addEventListener('scroll', function(){
    flashMessage.style.top = `${window.scrollY}px`
  })
イベントにscrollを指定する事で、画面がスクロールされた際にイベント発火します。
flashメッセージのstyle属性のtopに先程のwindow.scrollYを代入します。
これによりメッセージがページスクロールに追従する様になります。↓

⑥flashメッセージを4秒後に消去する
  window.setTimeout(function(){
    flashMessage.remove();
  }, 4000);
}
window.setTimeout内に記述した処理は、指定時間後に実行されます。
flashメッセージを表示から4秒後に消去されるように設定しました。
create.js.erbの記述は以上です。
あとはdestroy.js.erb(お気に入り解除)に①の条件と③のメッセージ内容を変更したものを記述します。
以上で完成です。
■参考文献
https://developer.mozilla.org/ja/docs/Web/API/Window/scrollY
