はじめに
この記事はJointJSのカスタム要素で、SVG外の通常のHTMLタグを使用するための方法を紹介します。
この記事を読むためには昨日の記事のカスタム要素の作り方の知識が前提となります。カスタム要素自体の作り方がわからない方は、まずそちらの記事をご確認ください。
HTMLはそのままでは利用できない
JointJSで描画される図形は、最終的にはSVGのタグで出力されます。
SVGの中にHTMLのタグをそのまま入れてしまうと、構文エラーとなり図形が描画されなくなってしまいます。
利用するにはforeignObjectを使用する
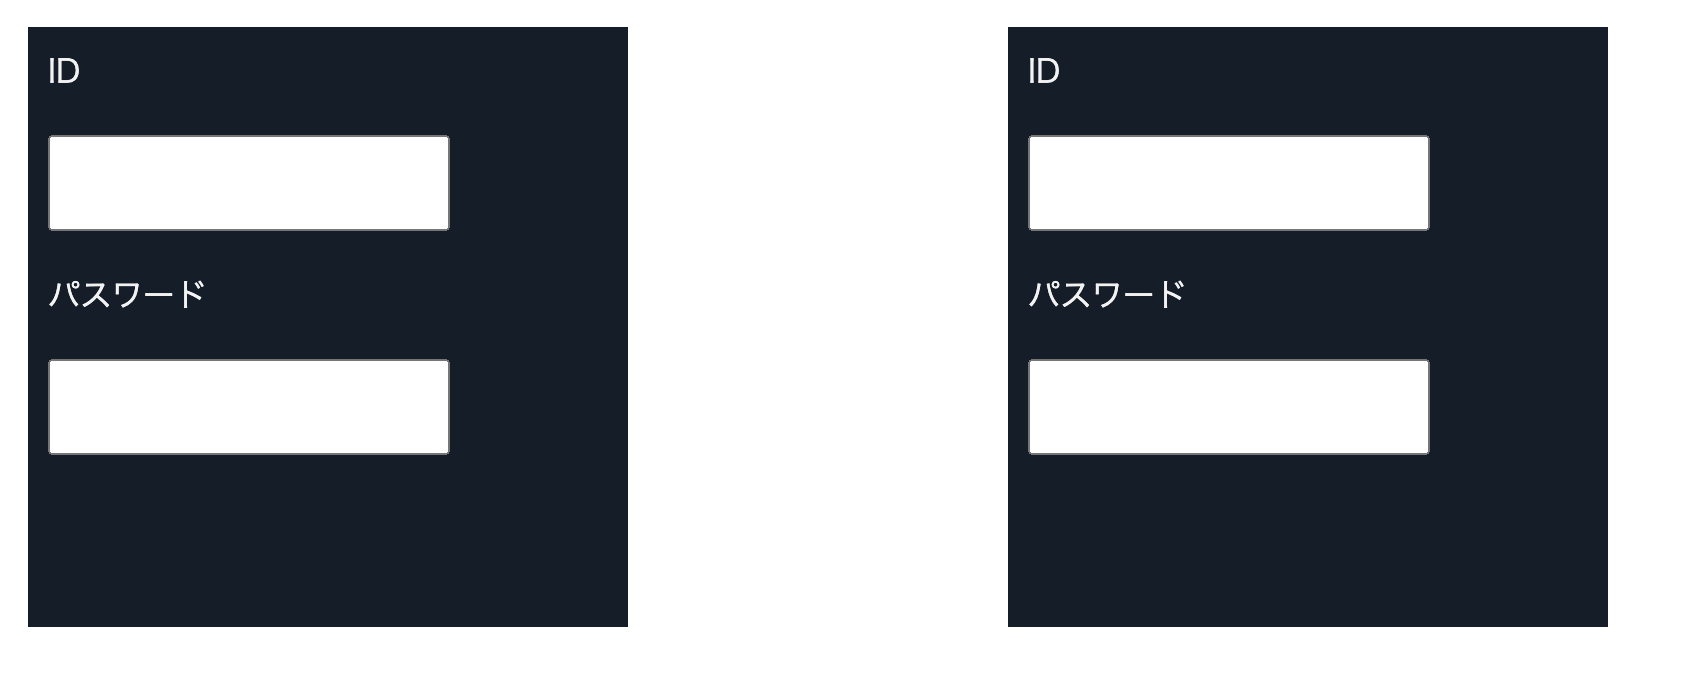
ではHTMLタグは利用できないのか、というとそうではありません。SVGには<foreignObject>という要素が用意されており、この要素の中ではHTMLのタグを使用できます。
コード例
joint.dia.Element.define('example.MyHtml', {
  size : { width: 300, height: 300 },
  attrs: {
    foreignObject: {
      width: 'calc(w)',
      height: 'calc(h)'
    }
  }
},
{
  markup: [{
    tagName: 'foreignObject',
    selector: 'foreignObject',
    children: [
      {
        tagName: 'div',
        namespaceURI: 'http://www.w3.org/1999/xhtml',
        selector: 'background',
        style: {
          backgroundColor: '#131e29',
          height: '100%'
        },
        children: [
          {
            tagName: 'p',
            selector: 'text',
            style: {
              color: '#F2F2F2',
              font: '16px sans-serif',
              padding: '10px',
              margin: 0,
            },
            textContent: 'ID'
          },
          {
            tagName: 'input',
            selector: 'input',
            style: {
              color: '#F2F2F2',
              font: '16px sans-serif',
              padding: '10px',
              margin: '10px',
            },
            textContent: 'ID'
          },
           {
            tagName: 'p',
            selector: 'textu',
            style: {
              color: '#F2F2F2',
              font: '16px sans-serif',
              padding: '10px',
              margin: 0,
            },
            textContent: 'パスワード'
          },
          {
            tagName: 'input',
            selector: 'inputu',
            style: {
              color: '#F2F2F2',
              font: '16px sans-serif',
              padding: '10px',
              margin: '10px',
            },
            textContent: 'ID'
          },        ]
      }
    ]
  }]
},
{
  // コンストラクタ
  create: function(x, y) {
    const html = new joint.shapes.example.MyHtml();
    html.position(x, y);

    return html;
  }
});

graph.addCells(html1, html2);
実行結果1
markupにタグの記述をそのまま書く
今までのコード例では、markupにjson形式のデータを指定してきました。ですが、実際の開発では既存のHTMLをJointJSに移行するなどの状況で、HTMLをそのままテンプレートとして使用したいという場合もあります。その場合はjoint.util.svgを使用することで、markupに元々のHTMLの形式でテンプレートを書くことができます。
コード例
{
  markup: joint.util.svg`
    <foreignObject @selector="foreignObject>">
      <div xmlns="http://www.w3.org/1999/xhtml">
        <p>ID</p>
        <input type="text"/>
        <p>パスワード</p>
        <input type="text" />
      </div>
    </foreignObject>
  `
},
どういうときにforeignObjectを使用するか?
既存のHTMLデザインがあり、それをJointJSへ流用したいときに、既存のHTMLの変更を最小限に抑えて流用できます。当たっていたCSSもそのまま適用できます。
<input>タグなども使用できますので、ユーザーの記入が必要なUIを提供する場合にも利用できます。
※この記事は JointJS Advent Calendar 2023 の記事です。他の記事を読む場合はカレンダーのページを参照してください。
-
実際はIDとパスワードを2つ入力させるようなUIは作らないと思いますが、inputタグを再利用するパターンとしてご理解ください。 ↩
