やりたいこと
Dockerにnode.jsとcreate-react-appをインストールして、最初からReact環境が利用できるようにすること。
環境構築
構成
Dockerfile 作成
Nodeの最新バージョンとReactプロジェクトを生成するコマンドをインストールする。
FROM node:latest
WORKDIR /usr/src/app

# 最初に「create-react-app」をインストールする
RUN npm install -g create-react-app
docker-compose.yml 作成
reactstudy01はプロジェクト名を記載する。
最後の行のstdin_open: trueは、エラーが表示されるので、その対応策。
version: '3'
services:
    node:
        build:
            context: .
        volumes:
            - ./:/usr/src/app
        command: sh -c "cd reactstudy01 && yarn start"
        ports:
            - "3000:3000"
        stdin_open: true
初期化用のシェル作成
初期化用にinit.shを作成する。
# !/bin/bash

# -rmオプションは、停止後にNodeコンテナを削除する
# create-react-appコマンドで「reactstudy01」を作成
docker-compose run --rm node sh -c 'create-react-app reactstudy01'
実行できるように権限を設定する。
$ chmod 755 init.sh
DockerイメージのBuild
Dockerイメージをビルドする。
$ docker-compose build
Building node
Step 1/3 : FROM node:latest
 ---> eaeb579b2c99
Step 2/3 : WORKDIR /usr/src/app
 ---> Running in 82cb8be848fc
Removing intermediate container 82cb8be848fc
 ---> 9214b79f932d
Step 3/3 : RUN npm install -g create-react-app
 ---> Running in f3dfc7efbcda
/usr/local/bin/create-react-app -> /usr/local/lib/node_modules/create-react-app/index.js
+ create-react-app@3.4.1
added 98 packages from 46 contributors in 9.134s
Removing intermediate container f3dfc7efbcda
 ---> f28fe7885867
Successfully built f28fe7885867
Successfully tagged reactstudy01_node:latest
Reactプロジェクトを初期化する。
前もって作成していたシェルを使う。
$ ./init.sh
Creating a new React app in /usr/src/app/reactstudy01.

Installing packages. This might take a couple of minutes.
Installing react, react-dom, and react-scripts with cra-template...

<省略>

Success! Created reactstudy01 at /usr/src/app/reactstudy01
Inside that directory, you can run several commands:

  yarn start
    Starts the development server.

  yarn build
    Bundles the app into static files for production.

  yarn test
    Starts the test runner.

  yarn eject
    Removes this tool and copies build dependencies, configuration files
    and scripts into the app directory. If you do this, you can’t go back!

We suggest that you begin by typing:

  cd reactstudy01
  yarn start

Happy hacking!
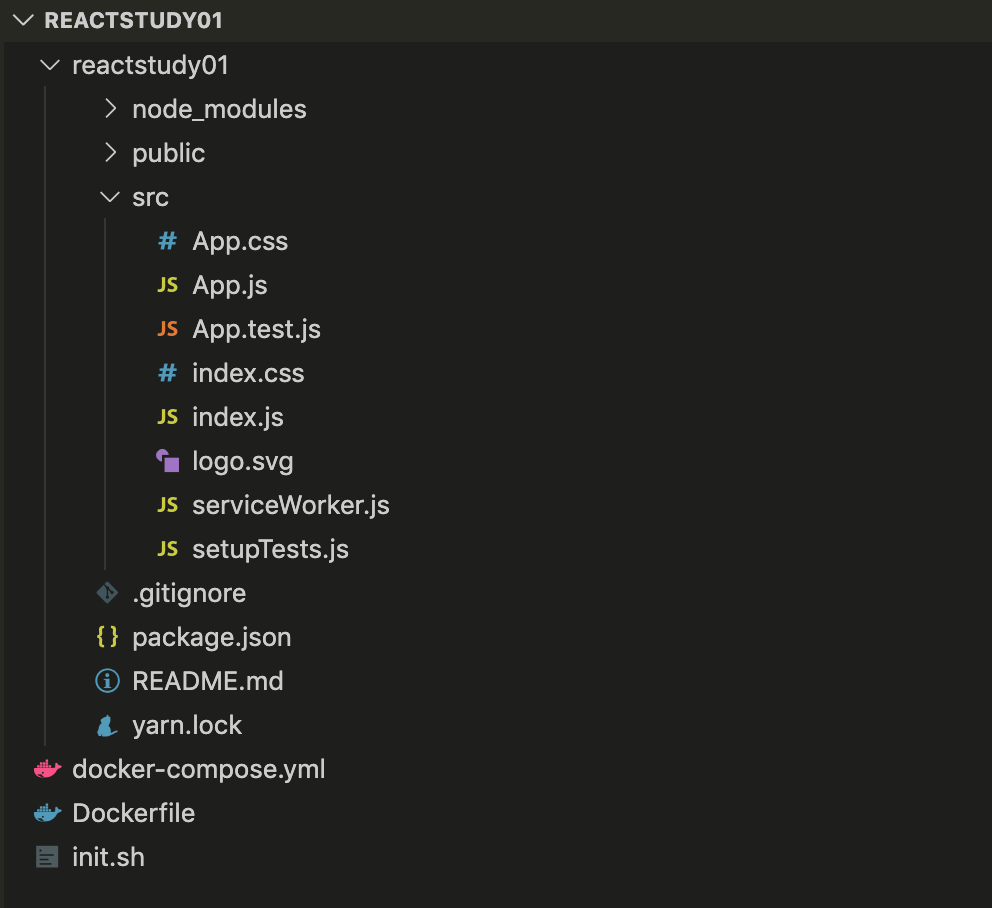
この時点でのディレクトリ構成は、以下のようになっているはずです。
create-react-app reactstudy01によって、Reactプロジェクト「reactstudy01」ができています。

コンテナ起動
$ docker-compose up
Recreating reactstudy01_node_1 ... done
Attaching to reactstudy01_node_1
node_1  | yarn run v1.22.4
node_1  | $ react-scripts start
node_1  | ℹ 「wds」: Project is running at http://172.26.0.2/
node_1  | ℹ 「wds」: webpack output is served from
node_1  | ℹ 「wds」: Content not from webpack is served from /usr/src/app/reactstudy01/public
node_1  | ℹ 「wds」: 404s will fallback to /
node_1  | Starting the development server...
node_1  |
node_1  | Compiled successfully!
node_1  |
node_1  | You can now view reactstudy01 in the browser.
node_1  |
node_1  |   Local:            http://localhost:3000
node_1  |   On Your Network:  http://172.26.0.2:3000
node_1  |
node_1  | Note that the development build is not optimized.
node_1  | To create a production build, use yarn build.
node_1  |
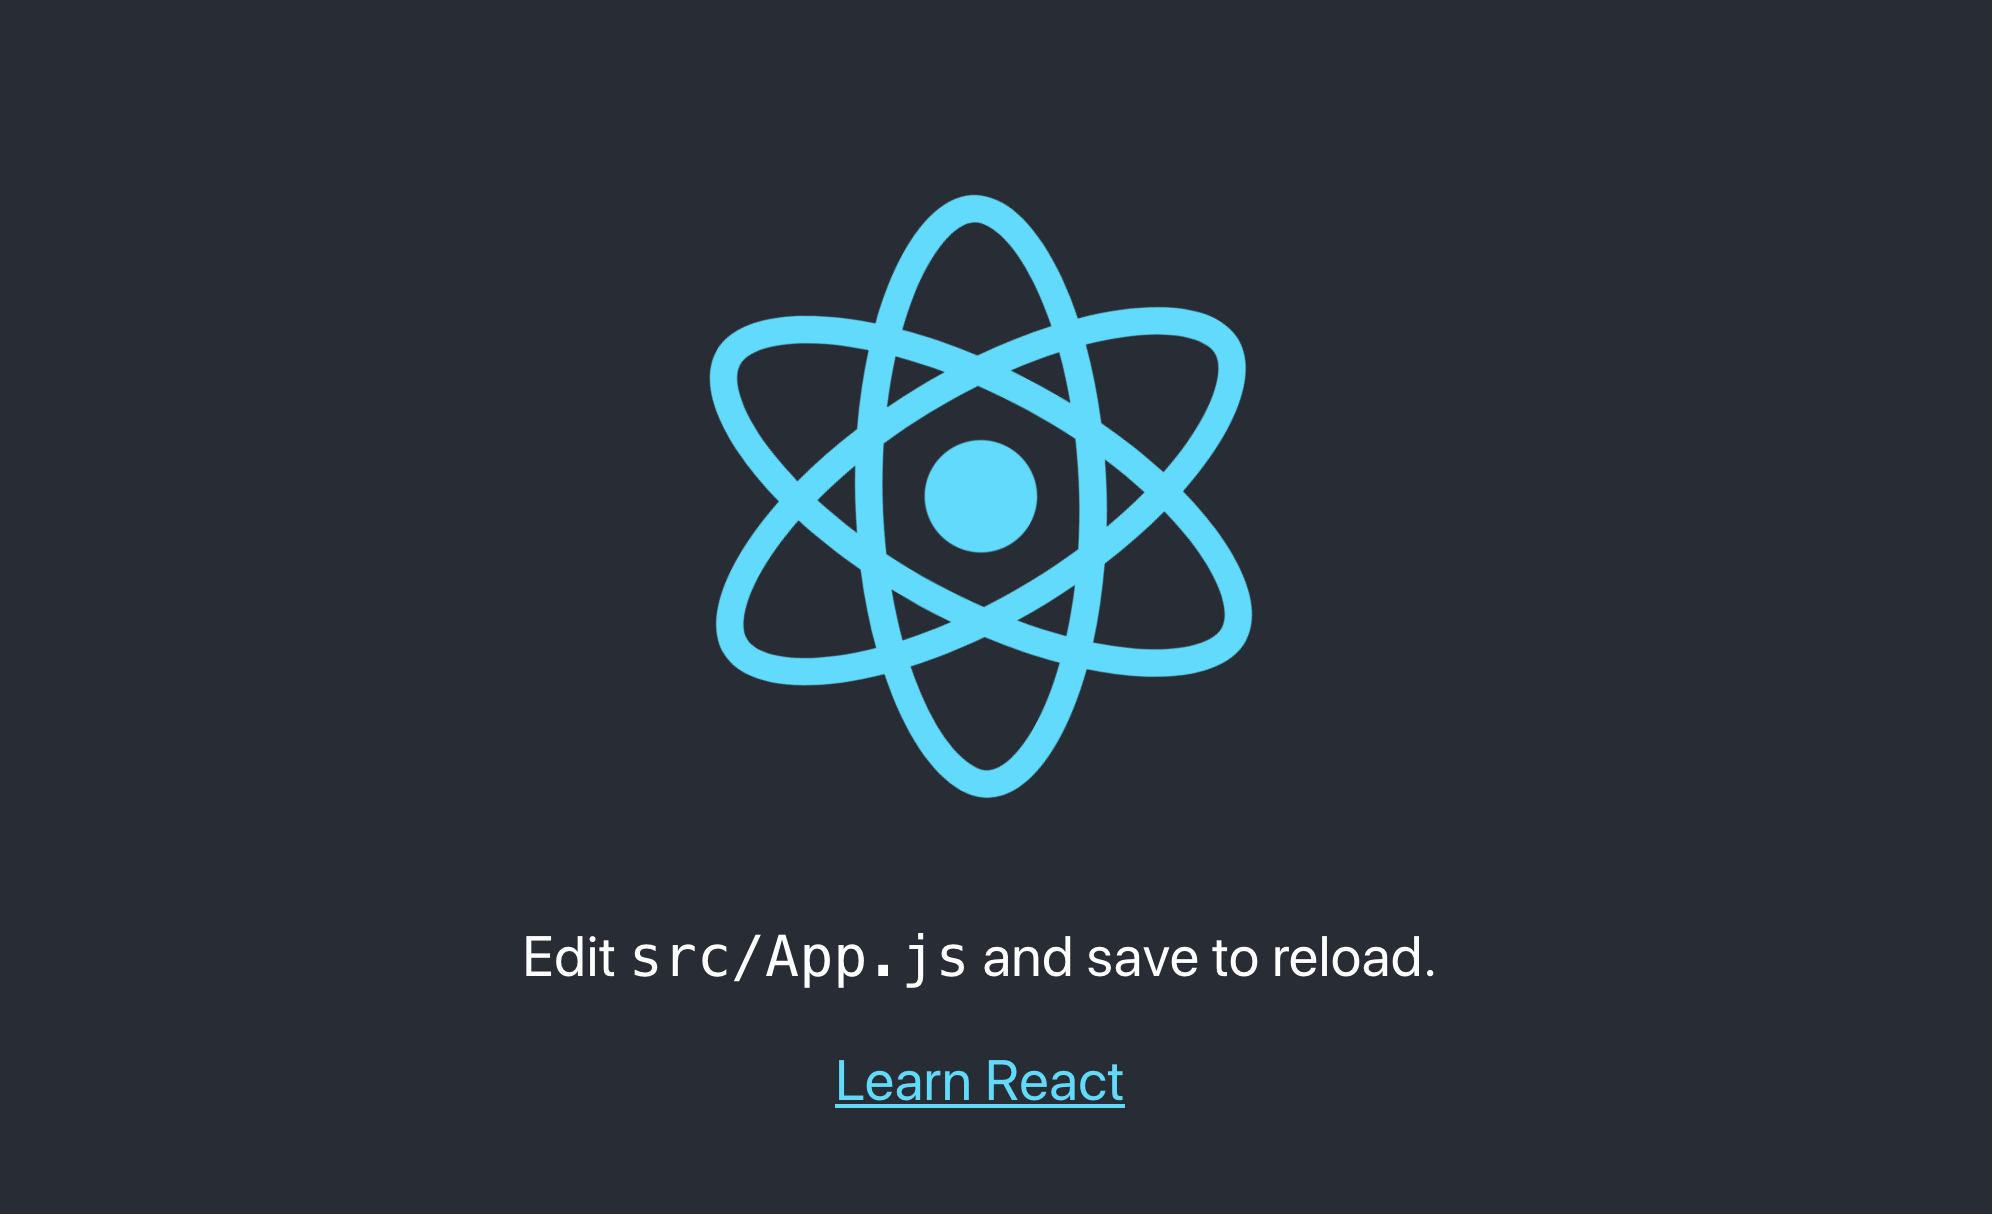
正常に起動した場合、http://localhost:3000/にアクセスして、Reactが起動していることを確認する。

エラーがある場合の対応方法
docker-compose.yml 作成時に、stdin_open: trueを追加していないと、以下のようなエラーが表示されます。
reactstudy01_node_1 exited with code 2
たぶん、これが原因だと思うので、記載通りに対応してコンテナを再起動してください。
[React-Scripts] v3.4.1 fails to start in Docker #8688
docker-compose.yml の最後の行にstdin_open: trueを追加する。
version: '3'
services:
    node:
        build:
            context: .
        volumes:
            - ./:/usr/src/app
        command: sh -c "cd reactstudy01 && yarn start"
        ports:
            - "3000:3000"
        stdin_open: true
最後に
勉強していく中で、環境を再作成することが増えたので、Dockerを利用していこうと思います。
これで、ローカル環境がぐちゃぐちゃにならずにすみますね。
