今回は、タイトルにある通りNuxtとHerokuでLINEbotを作ってみました。
関西大学に通うキンジョウです!
キッカケ
自分はフロントエンドの人間なので、せっかくならNuxtでLINEbot作れたらいいなって思ったからです!
初めに
yarn create nuxt-app 好きなプロジェクト名
ここはお好きなように設定して進めてください。
次に、ディレクトを増やします。ルートディレクトにapiというディレクトリを作成する。
その中に、index.jsを作成して、追加します。
 api
 └── index.js
nuxt.congi.js
serverMiddleware: ['~~/api/']//これを追加してください
これからはこのjsファイルで作業してしていきます。
モジュールの追加
yarn add https express body-parser//この3つを追加します
index.js
'user strict';
const https = require('https')
const express = require('express');
const app = express();
const bodyParser = require('body-parser');
const TOKEN ='ここにLINEbotのアクセストークンを入れておきます';
app.use(
bodyParser.urlencoded({
extended: true,
})
)
app.use(bodyParser.json());
app.post('/webhook', function (req, res) {
if (req.body.events[0]) {
const dataString = JSON.stringify({
replyToken: req.body.events[0].replyToken,
//ここにmessagesを変化させると、応答も変化する
//https://developers.line.biz/ja/docs/messaging-api/overview/
//こちらを参照してください
messages: [
{
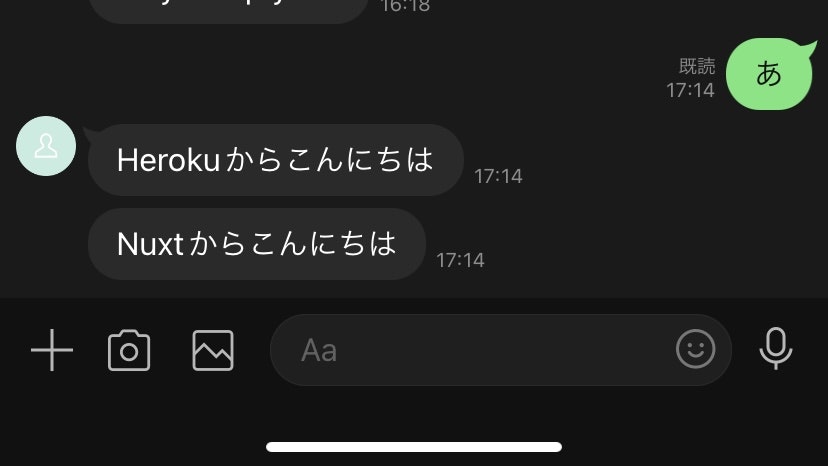
"type": "text",
"text": "Herokuからこんにちは"
},
{
"type": "text",
"text": "Nuxtからこんにちは"
}
]
})
const headers = {
'Content-Type': 'application/json',
Authorization: 'Bearer ' + TOKEN,
}
const webhookOptions = {
hostname: 'api.line.me',
path: '/v2/bot/message/reply',
method: 'POST',
headers: headers,
body: dataString,
}
const request = https.request(webhookOptions, (res) => {
res.on('data', (d) => {
process.stdout.write(d)
})
})
request.write(dataString)
request.end()
}
})
module.exports = {
path: '/',
handler: app,
}
警告
本番環境で使う場合は、しっかりと署名検証を行うことを行なってください
これでNuxt側はこれで設定終わりました!
Herokuの設定
https://dashboard.heroku.com/
こちらにアクセスします
- Newをクリックします
- Create New appをクリックします
- 好きなapp名などを入力してください
- そして、下にあるCreate appを押す

- Deployをクリック
- Deployment methodでGithubを選んで、HerokuとGithubを連携してください
- こうなれば成功です
最後に
Nuxtで書いていたコードをHerokuにあげるだけです。先ほど、GitHubと連携したと思うので、GitHubにあげると自動で、Herokuにデプロイされます。
Nuxtなので,ローカルで開発するときはいつもどおりに開発できている感じがして、とても開発体験が良かったです。