HoudiniのHeight Fieldで地形を生成し、Houdini Engineを使用してUnreal EngineのLandscapeとして読み込んでみます。
各ツールの使用しているバージョンは次のとおりです。
- Houdini: 19.5.349
- Houdini Engine for Unreal: 19.5.349
- Unreal Engine: 5.0.3
この記事ではHoudini Engine for Unrealを使用しますが、セットアップの方法については特に解説しません。
HoudiniでHeight Fieldを作成する
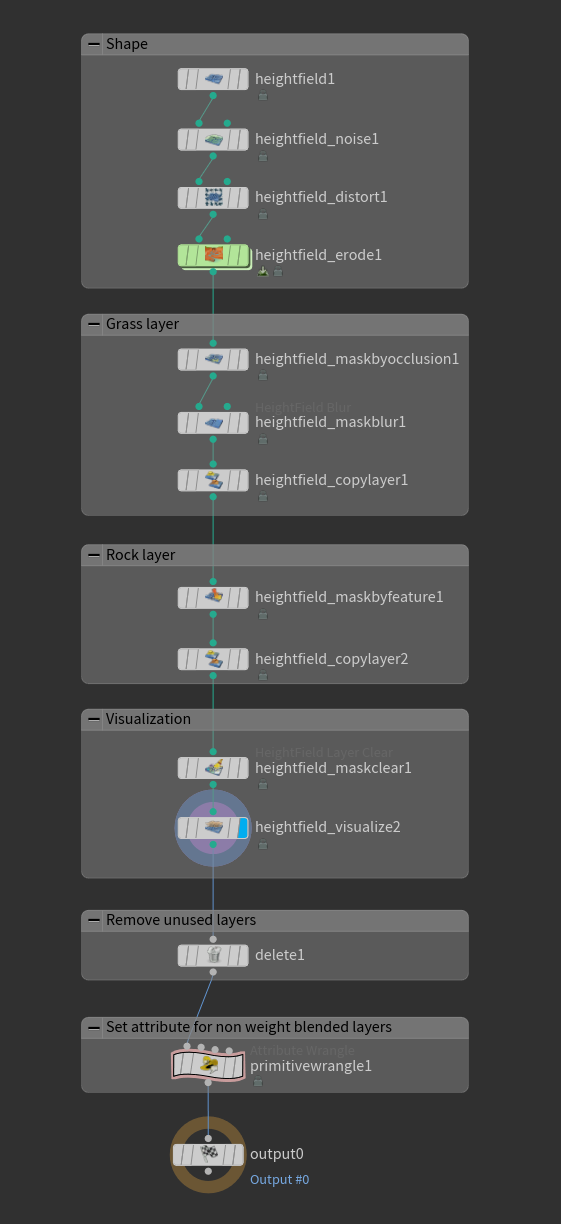
ネットワーク全体は次のようになります。このネットワークをHoudini Digital Asset(HDA)として出力します。
地形の作成

今回は地形の生成自体が本題ではないので、シンプルなHeight Fieldを作成します。HeightField Noiseノードで大まかな地形を作成し、HeightField Distort by Noiseノードで地形にディテールを追加します。HeightField Erodeノードで地形らしさを追加します。
レイヤーの作成
Unreal EngineのLandscape Materialで使用するためのレイヤーを作成します。今回はgrass(草地)レイヤーとrock(岩場)レイヤーを作成します。Houdini側ではレイヤーを作成しませんが、grassでもrockでもない箇所は地面(ground)になります。
草地レイヤー

HeightField Mask by Occlusionノードでオクルージョンが小さい箇所のマスクを生成し、HeightField Blurノードで境界を滑らかにします。生成したmaskをHeightField Copy Layerでgrassという名前のレイヤーにコピーします。作成したgrassレイヤーは次のようになります。

岩場レイヤー

rockレイヤーはHeightField Mask by FeatureノードのSlopeを用いて生成し、grassレイヤーと同じようにHeightField Copy Layerノードを用いてコピーします。作成したrockレイヤーは次のようになります。

ビジュアライゼーション

Unreal Engineへのエクスポートには不要ですが、作成したレイヤーを確認するためにHeightField Visualizeノードで色付けします。

色付けしたした結果、次のようになります。

不要なレイヤーの削除

HeightField Erodeノードで種々のレイヤーが作成されますが、Unreal Engine側では不要なのでDeleteノードで削除します。この操作は必ずしも必要ではありませんが、その場合はUnreal Engineで読み込んださいにLandscapeのレイヤーに不要なレイヤーも表示されます。

Non Weight Blended Layerの設定

通常、LandscapeのHDAをUnreal Engineに読み込むとレイヤーはWeight Blended Layerとして読み込まれますが、今回は他のレイヤーの重み付けに影響を受けたくないのでNon Weight Blended Layerとして読み込まれるようにします。そのためにunreal_landscape_layer_nonweightblendedattributeを設定します。

Unreal EngineでLandscapeを生成する
Houdiniから出力したHDAをUnreal Engineで読み込み、レベルに配置します。Landscapeが生成され、grassとrockのレイヤーがNon Weight Blended Layerとして存在することが確認できます。

Landscape Materialを作成する
HDAから生成したLandscapeに適用するLandscape Materialを以下のように作成します。Groundレイヤーは最下層の地面になるレイヤー、GrassとRockはHoudiniで生成したgrassとrockのレイヤーに対応します。

今回は地面→草地→岩場という順でオーバーレイされるように地形を塗りたいので、Landscape Layer BlendノードのBlend TypeはすべてLB Alpha Blendにします。

作成したLandscape MaterialをLandscapeに適用します。GroundレイヤーのLandscape Layerオブジェクトが存在しないので、Non Weighted Blended Layerとして作成し、右クリックから「レイヤーを塗りつぶす」ですべて塗りつぶします。

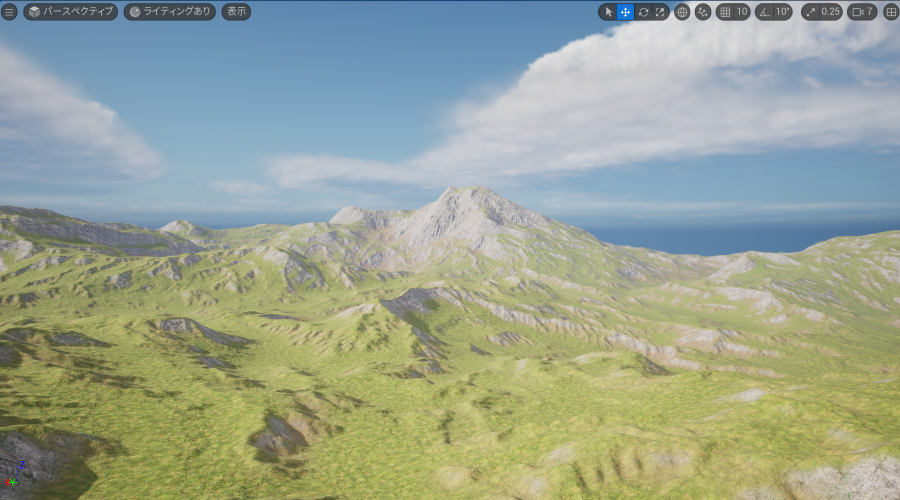
完成
HoudiniのHeight FieldをUnreal EngineのLandscapeとして読み込むことができました。