Blenderの破壊シミュレーションをエクスポートして、three.jsで利用する方法について解説します。
流れとしては次の通りです。
- Blenderで破壊シミュレーションを作成する
- 破壊シミュレーションをキーフレームにベイクしてglTFでエクスポートする
- glTFをthree.jsで読み込みアニメーションを再生する
検証に利用した各ツールのバージョンは次のとおりです。
- Blender: 3.2.0
- three.js: r150
1. Blenderで破壊シミュレーションを作成する
まず、Edit > Preferences > Add-onsからCell Fractureアドオンを有効化します。
破壊するオブジェクトを選択した状態でObject > Quick Effects > Cell Fractureからダイアログを表示します。ここで設定をしてからOKを押すと、選択したオブジェクトが設定に基づき分割されます(元の破壊前のオブジェクトも残ります)。

作成された破片をすべて選択した状態でObject > Rigid Body > Add Activeを選択し、破片が剛体シミュレーションに従うようにします。
地面にぶつけたいので、適当な大きさの平面を作成し、選択した状態でObject > Rigid Body > Add Passiveを選択することで障害物として機能するようにします。
これでタイムラインを再生すると、地面にぶつかって破片がばらばらになる様子が確認できます。

これで簡単ですが、Blender上での破壊シミュレーションの完成です。Cell Fractureを使った破壊シミュレーションはより詳細な記事が検索すれば多々見つかるのでそちらを参考にするのがいいと思います。
2. 破壊シミュレーションをキーフレームにベイクしてglTFでエクスポートする
すべての破片を選択した状態でObject > Rigid body > Bake to Keyframesを選択します。ベイクするキーフレームの間隔を設定するダイアログがでるので適当に設定してOKを押すと剛体シミュレーションのアニメーションをキーフレームにベイクできます。
すべての破片を選択して、File > Export > glTF 2.0 (.gltf/.glb)から破片のメッシュとキーフレームアニメーションをglTFでエクスポートします。エクスポートのダイアログでInclude > Limit to > Selected Objectsを有効にして、選択しているオブジェクトだけをエクスポートするようにします。
3. glTFをthree.jsで読み込みアニメーションを再生する
エクスポートしたglTFをthree.jsで読み込み、アニメーションを再生します。メッシュとアニメーションが別々に読み込まれるので、読み込み後にそれぞれのメッシュとアニメーションを紐づける必要があります。
<!DOCTYPE html>
<html lang="ja">
  <head>
    <meta charset="utf-8">
    <title>Blender Destruction to Three.js</title>
    <style>
      body {
        margin: 0;
      }
    </style>
  </head>
  <body>
    <script type="importmap">
      {
        "imports": {
          "three": "./three.module.js",
          "three/addons/": "./examples/jsm/"
        }
      }
    </script>
    <script type="module">

      import * as THREE from 'three';
      import { GLTFLoader } from 'three/addons/loaders/GLTFLoader.js';
      const scene = new THREE.Scene();
      const camera = new THREE.PerspectiveCamera(60, window.innerWidth / window.innerHeight, 0.1, 100);
      camera.position.set(5, 5, 5);
      camera.lookAt(new THREE.Vector3(0, 0, 0));
      const renderer = new THREE.WebGLRenderer();
      renderer.setPixelRatio(window.devicePixelRatio);
      renderer.setSize(window.innerWidth, window.innerHeight);
      document.body.appendChild(renderer.domElement);

      const dirLight = new THREE.DirectionalLight(0xffffff, 1.0);
      dirLight.position.set(2, 5, 2);
      scene.add(dirLight);
      const light = new THREE.AmbientLight(0x333333);
      scene.add( light );

      const mixers = [];
      const loader = new GLTFLoader();
      loader.load(
        './destruction.glb',
        (gltf) => {
          scene.add(gltf.scene);
          // メッシュとアニメーションを紐づける
          gltf.scene.children.forEach((child, index) => {
              const mixer = new THREE.AnimationMixer(child);
              mixers.push(mixer);
              const action = mixer.clipAction(gltf.animations[index]);
              action.play();
          });
        }
      );

      const clock = new THREE.Clock(true);
      const update = () => {
        requestAnimationFrame(update);

        const delta = clock.getDelta();
        mixers.forEach(mixer => mixer.update(delta));

        renderer.render(scene, camera);
      }
      update();

      const onResize = () => {
        const width = window.innerWidth;
        const height = window.innerHeight;
        renderer.setPixelRatio(window.devicePixelRatio);
        renderer.setSize(width, height);
        camera.aspect = width / height;
        camera.updateProjectionMatrix();
      }
      window.addEventListener('resize', onResize);
    </script>
  </body>
</html>
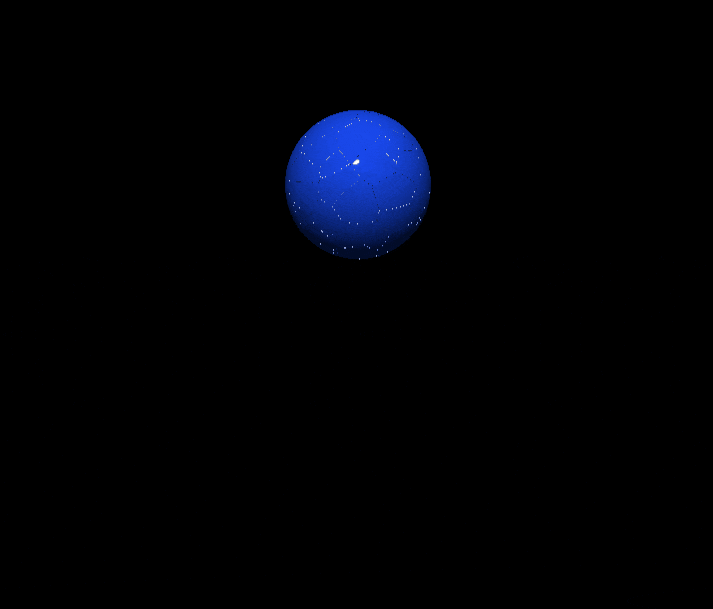
ブラウザで確認すると次のようになり、Blenderの破壊シミュレーションをエクスポートしてthree.jsで利用できることが確認できました。