UnityのSkyboxはシェーダーを書くことで自作できるのですが、あまり情報がなかったのでまとめてみました。
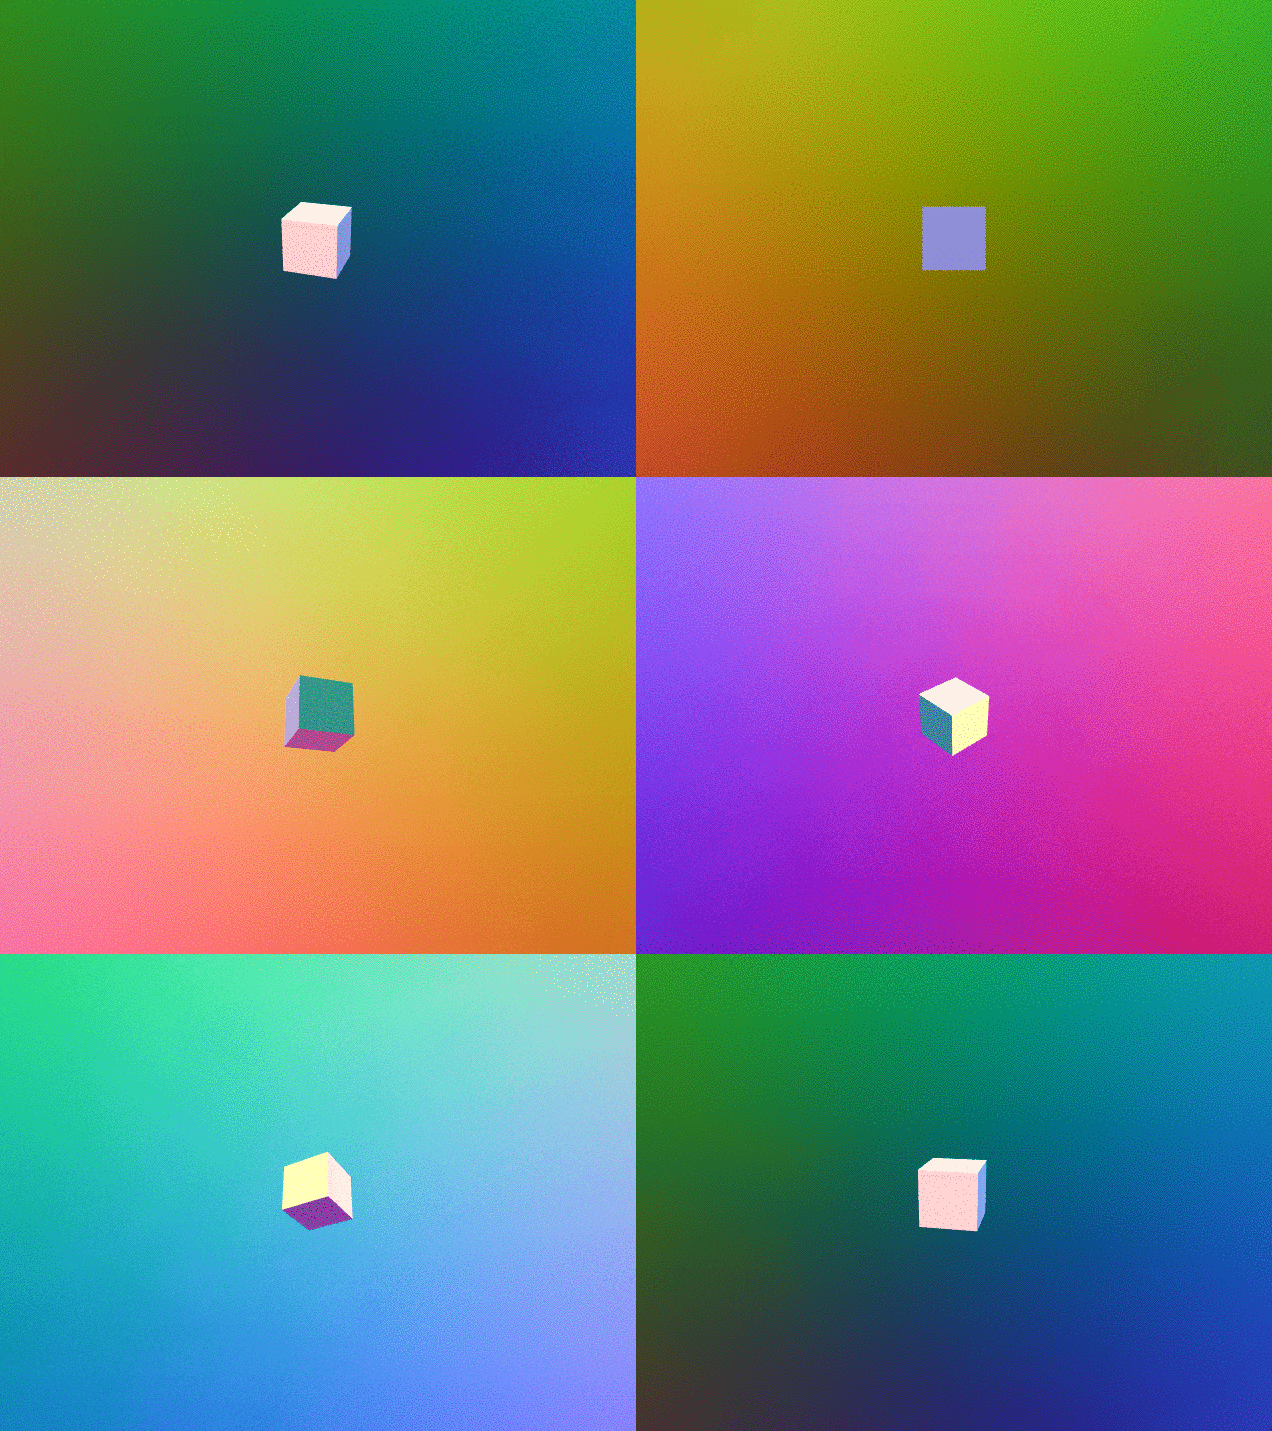
まず、次のようなy軸方向で色がグラデーションするシンプルな例を見てみましょう。
このSkyboxを実現しているシェーダーは以下のようになります。
Skyboxシェーダーの特徴は頂点データとして渡されるTEXCOORD0です。ここには視線方向の三次元の値が[-1, 1]の範囲で入っています。例えば、デフォルトのカメラは+z軸方向を向いているので、画面の真ん中でのtexcoordの値は[0, 0, 1]になります。
また、背景として描画するので、RenderTypeとQueueはBackgroundにして、ZWriteはOffにしておきます。"PreviewType"="SkyBox"は必須ではないですが、設定するとマテリアルのプレビューがSkybox用のものになります。
Shader "CustomSkybox/Vertical"
{
	SubShader
	{
		Tags
		{
			"RenderType"="Background"
			"Queue"="Background"
			"PreviewType"="SkyBox"
		}

		Pass
		{
			ZWrite Off
			Cull Off

			CGPROGRAM
			#pragma vertex vert
			#pragma fragment frag

			struct appdata
			{
				float4 vertex : POSITION;
				float3 texcoord : TEXCOORD0;
			};

			struct v2f
			{
				float4 vertex : SV_POSITION;
				float3 texcoord : TEXCOORD0;
			};

			v2f vert (appdata v)
			{
				v2f o;
				o.vertex = UnityObjectToClipPos(v.vertex);
				o.texcoord = v.texcoord;
				return o;
			}

			fixed4 frag (v2f i) : SV_Target
			{
				return fixed4(lerp(fixed3(1, 0, 0), fixed3(0, 0, 1), i.texcoord.y * 0.5 + 0.5), 1.0);
			}
			ENDCG
		}
	}
}
このシェーダーでマテリアルを作成して、Window > Lighting > Settings > Scene > Environment > Skybox Materialにセットすることで、Skyboxとして適用することができます。
frag関数を以下のようにすると+x軸方向が赤、+y軸方向が緑、+z軸方向が青となるようなSkyboxとなります。
fixed4 frag (v2f i) : SV_Target
{
	return fixed4(i.texcoord * 0.5 + 0.5, 1.0);
}
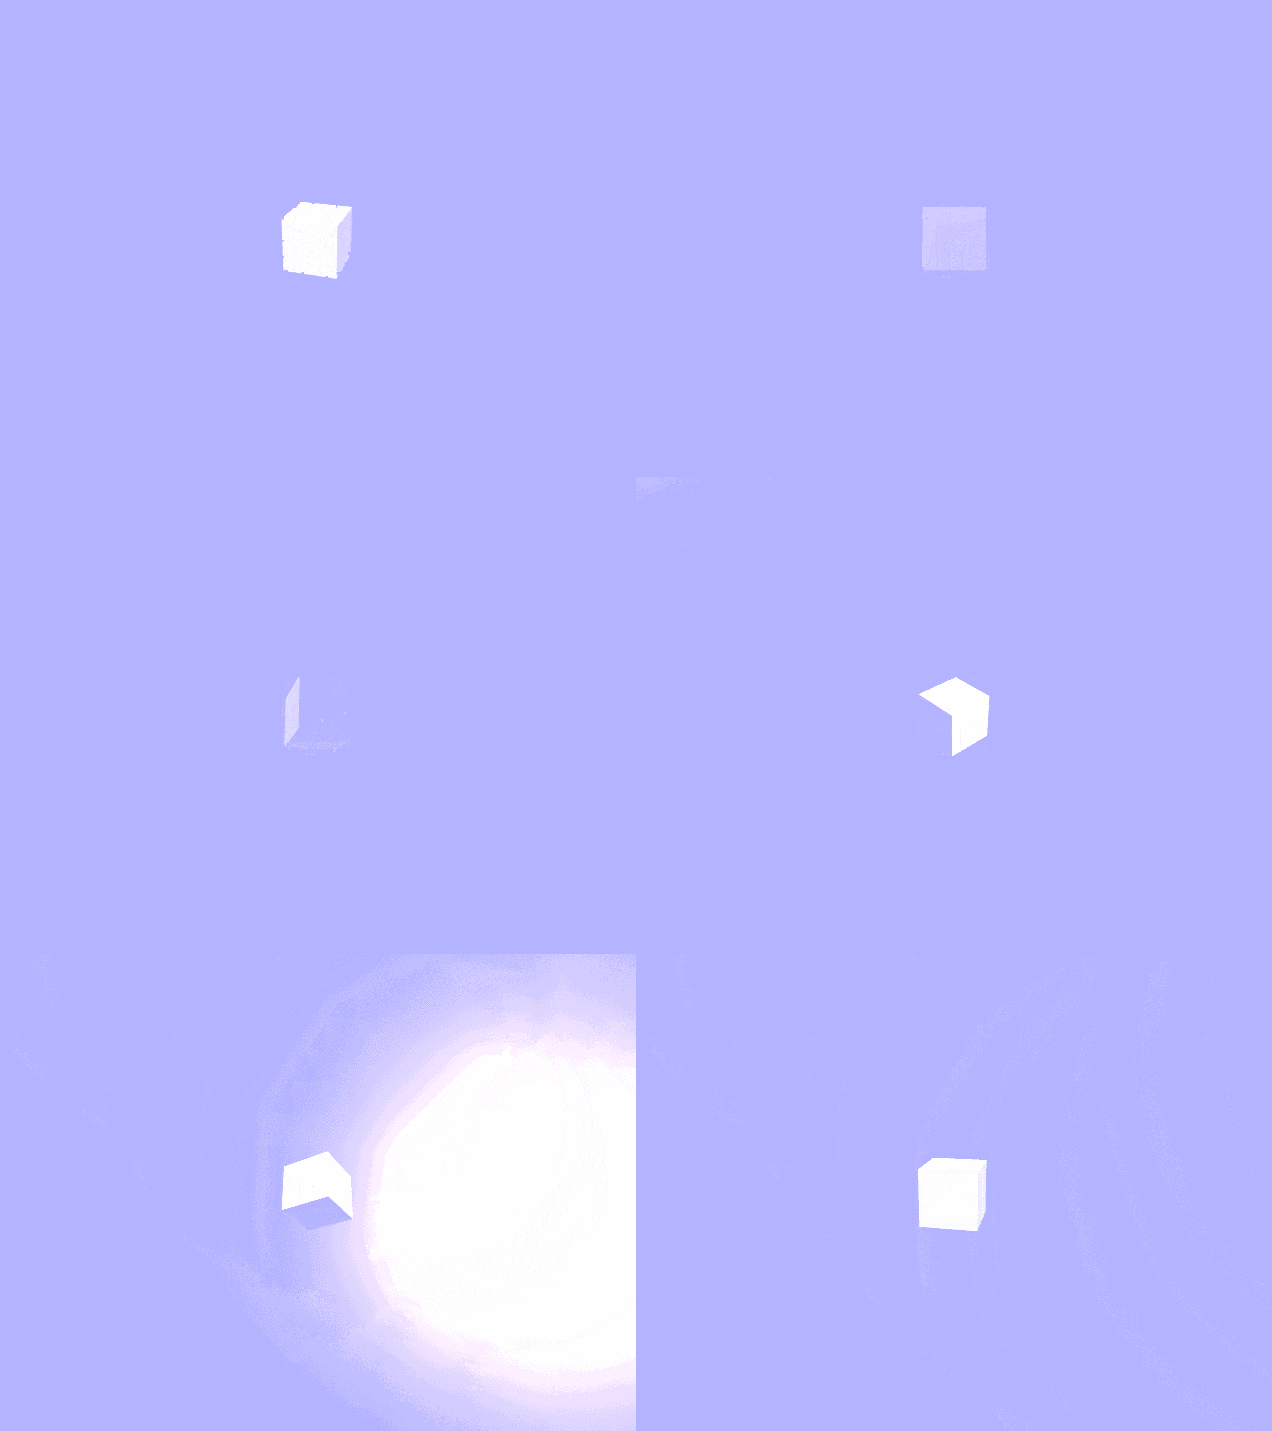
最後にせっかくなので太陽を書いてみました。
このシェーダーでは太陽の方向_SunDirと視線方向texcoordの内積をとることで、どれぐらい太陽の方向を向いているかを計算しています。この値を適当な値で累乗することで太陽の強さを設定しています。
Shader "CustomSkybox/Sun"
{
	Properties {
		_BGColor ("Background Color", Color) = (0.7, 0.7, 1, 1)
		_SunColor ("Color", Color) = (1, 0.8, 0.5, 1)
		_SunDir ("Sun Direction", Vector) = (0, 0.5, 1, 0)
		_SunStrength("Sun Strengh", Range(0, 30)) = 12
	}
	SubShader
	{
		Tags
		{
			"RenderType"="Background"
			"Queue"="Background"
			"PreviewType"="SkyBox"
		}

		Pass
		{
			ZWrite Off
			Cull Off

			CGPROGRAM
			#pragma vertex vert
			#pragma fragment frag

			fixed3 _BGColor;
			fixed3 _SunColor;
			float3 _SunDir;
			float _SunStrength;

			struct appdata
			{
				float4 vertex : POSITION;
				float3 texcoord : TEXCOORD0;
			};

			struct v2f
			{
				float4 vertex : SV_POSITION;
				float3 texcoord : TEXCOORD0;
			};

			v2f vert (appdata v)
			{
				v2f o;
				o.vertex = UnityObjectToClipPos(v.vertex);
				o.texcoord = v.texcoord;
				return o;
			}

			fixed4 frag (v2f i) : SV_Target
			{
				float3 dir = normalize(_SunDir);
				float angle = dot(dir, i.texcoord);
				fixed3 c = _BGColor + _SunColor * pow(max(0.0, angle), _SunStrength);
				return fixed4(c, 1.0);
			}
			ENDCG
		}
	}
}


