はじめに
SendGridのテンプレートを利用するメールの送信を実装したけど、公式のドキュメントが古くて参考にならないかつ思ったより参考記事が少なかったのでまとめました。
インストール
パッケージをComposerでインストール
https://github.com/sendgrid/sendgrid-php
{
    "require": {
          "sendgrid/sendgrid": "~7"
    }
}
$ composer install
テンプレート作成
SendGridのコンソール画面からEmail API>Dynamic Templatesを選択

Create a Dynamic Templateで新しいテンプレートを作成
こんな感じで作成されたテンプレートが表示されます

赤で囲っているTemplate IDを後でコード内で呼び出します。
Add Versionからメールテンプレート本文を作成していきます。
今回はこんな感じに作成しました。

{{}}で囲まれた部分に文字を埋め込むことができます。
テンプレートの詳しい作成方法はこちらを参考にどうぞ
テンプレートを適用して送信する(Dynamic Transactional Template編)
メールを送信する
以上で作成したテンプレートを使ってメールを送信していきます。
$email = new SendGrid\Mail\Mail();
$email->addTo('to_address@mail.com');
$email->setFrom('test@info.test', '送信元表示名');

// SendGridのコンソール上で作成したテンプレートのIDを設定
$email->setTemplateId($template_id);

// メールテンプレートに埋め込む文字列を設定する
$email->addDynamicTemplateData('name', '田中樹');
$email->addDynamicTemplateData('url', 'http://hoge.hoge');

// SendGridのAPIキーを設定
$sendgrid = new SendGrid($api_key);

// 送信
$sendgrid->send($email);
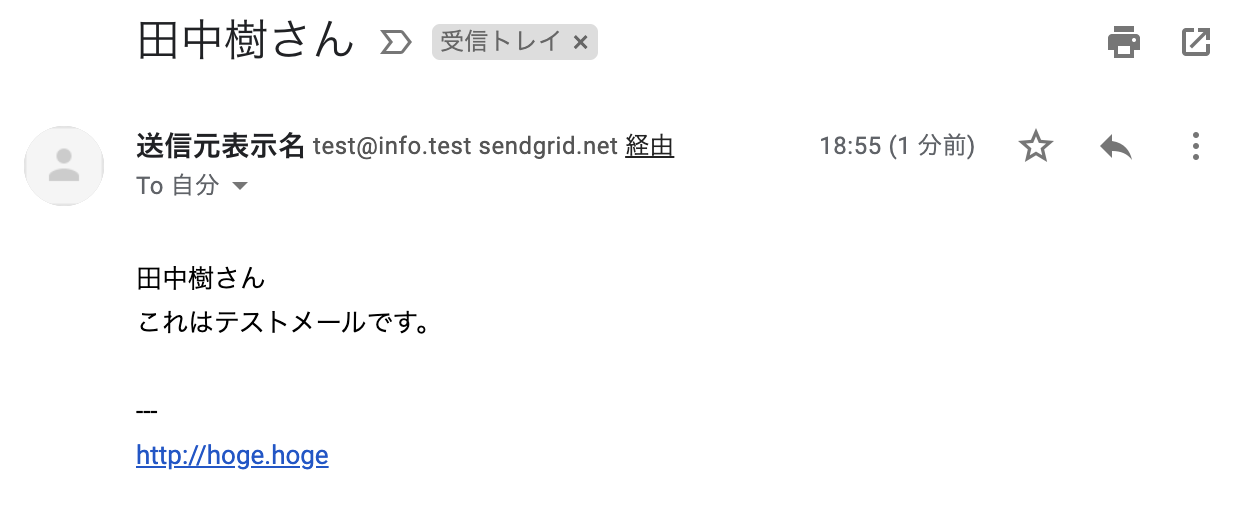
これで送信すると、以下のようにメールが届きます。

今回は作成していませんが、{{}}で囲めばhtmlで作成したテンプレート内でも文字列の置き換えは反映されました。
手探りの実装になりましたが、もし間違いがありましたらご指摘ください。