まえがき
・https://www.zabbix.com/jp/
・統合監視ソリューション(サーバ、ネットワーク)
・LTS は 5.0 だが最新を入れたい
・Webコンソールを HTTPS、サブディレクトリにしたい (https://your.domain/zabbix/)
環境
・CentOS 8
・MySQL 8 (別途インストール)
・nginx 1.14(別途インストール)
・PHP 7
・Hyper-V on Windows10 64bit (メモリ:2G)
インストール
レポジトリ追加
rpm -Uvh https://repo.zabbix.com/zabbix/5.2/rhel/8/x86_64/zabbix-release-5.2-1.el8.noarch.rpm
dnf clean all
パッケージのインストール
dnf install zabbix-server-mysql zabbix-web-mysql zabbix-nginx-conf zabbix-agent
DB生成 (mysql)
パスワードは適宜設定してください。
mysql> create database zabbix character set utf8 collate utf8_bin;
mysql> create user zabbix@localhost identified by 'password';
mysql> grant all privileges on zabbix.* to zabbix@localhost;
mysql> quit;
DBにデータ投入
zcat /usr/share/doc/zabbix-server-mysql*/create.sql.gz | mysql -uzabbix -p password
設定
サーバ設定
/etc/zabbix/zabbix_server.conf
DBPassword=password (設定したパスワード)
nginx 設定 (/zabbix/)
http -> https 転送
/etc/nginx/nginx.conf
    server {
        listen       80 default_server;
        listen       [::]:80 default_server;
        server_name  _;

        return 301 https://$host$request_uri;

#        root         /usr/share/nginx/html;

        # Load configuration files for the default server block.
#        include /etc/nginx/default.d/*.conf;

#        location / {
#        }

#        error_page 404 /404.html;
#            location = /40x.html {
#        }

#        error_page 500 502 503 504 /50x.html;
#            location = /50x.html {
#        }
    }
https 設定
/etc/nginx/conf.d/ssl.conf
server {
    listen       443 ssl http2 default_server;
    listen       [::]:443 ssl http2 default_server;
    server_name  your.domain;
    root         /usr/share/nginx/html;

    ssl_certificate "/etc/ssl/private/your.domain.crt";
    ssl_certificate_key "/etc/ssl/private/your.domain.key";
    ssl_session_cache shared:SSL:1m;
    ssl_session_timeout  10m;
    ssl_ciphers PROFILE=SYSTEM;
    ssl_prefer_server_ciphers on;

    include /etc/nginx/default.d/*.conf;

    location / {
    }

    error_page 404 /404.html;
        location = /40x.html {
    }

    error_page 500 502 503 504 /50x.html;
        location = /50x.html {
    }
}
デフォルトの zabbix.conf をリネーム
mv /etc/nginx/conf.d/zabbix.conf /etc/nginx/conf.d/zabbix.conf.original
zabbix.conf 設定 (サブディレクトリ /zabbix)
/etc/nginx/default.d/zabbix.conf
location /zabbix {

        alias    /usr/share/zabbix;
        index   index.php;

        location = /zabbix/favicon.ico {
                log_not_found   off;
        }
        location /zabbix {
                try_files       $uri $uri/ =404;
        }

        location /zabbix/assets {
                access_log      off;
                expires         10d;
        }

        location ~ /\.ht {
                deny            all;
        }

        location ~ /(api\/|conf[^\.]|include|locale) {
                deny            all;
                return          404;
        }

        location ~ [^/]\.php(/|$) {
                fastcgi_pass    unix:/run/php-fpm/zabbix.sock;
                fastcgi_split_path_info ^(.+\.php)(/.+)$;
                fastcgi_index   index.php;

                fastcgi_param   DOCUMENT_ROOT   /usr/share/zabbix;
# デフォルトだと動作しないので変更 ↓
#                fastcgi_param   SCRIPT_FILENAME /usr/share/zabbix$fastcgi_script_name;
                fastcgi_param   SCRIPT_FILENAME $request_filename;
#                fastcgi_param   PATH_TRANSLATED /usr/share/zabbix$fastcgi_script_name;
                fastcgi_param   PATH_TRANSLATED $request_filename;

                include fastcgi_params;
                fastcgi_param   QUERY_STRING    $query_string;
                fastcgi_param   REQUEST_METHOD  $request_method;
                fastcgi_param   CONTENT_TYPE    $content_type;
                fastcgi_param   CONTENT_LENGTH  $content_length;

                fastcgi_intercept_errors        on;
                fastcgi_ignore_client_abort     off;
                fastcgi_connect_timeout         60;
                fastcgi_send_timeout            180;
                fastcgi_read_timeout            180;
                fastcgi_buffer_size             128k;
                fastcgi_buffers                 4 256k;
                fastcgi_busy_buffers_size       256k;
                fastcgi_temp_file_write_size    256k;
        }
}
php-fpm 設定 (apache -> nginx に)
/etc/php-fpm.d/www.conf
[zabbix]
user = nginx
group = nginx

listen = /run/php-fpm/zabbix.sock
listen.acl_users = apache,nginx
listen.allowed_clients = 127.0.0.1
/etc/php-fpm.d/zabbix.conf
[zabbix]
user = nginx
group = nginx

listen = /run/php-fpm/zabbix.sock
listen.acl_users = apache,nginx
listen.allowed_clients = 127.0.0.1
...

; 最後尾に追加
php_value[date.timezone] = Asia/Tokyo
ディレクトリ権限変更
chown -R nginx.nginx /etc/zabbix/web
サービス設定&起動
systemctl restart zabbix-server zabbix-agent nginx php-fpm
systemctl enable zabbix-server zabbix-agent nginx php-fpm
ブラウザでアクセス
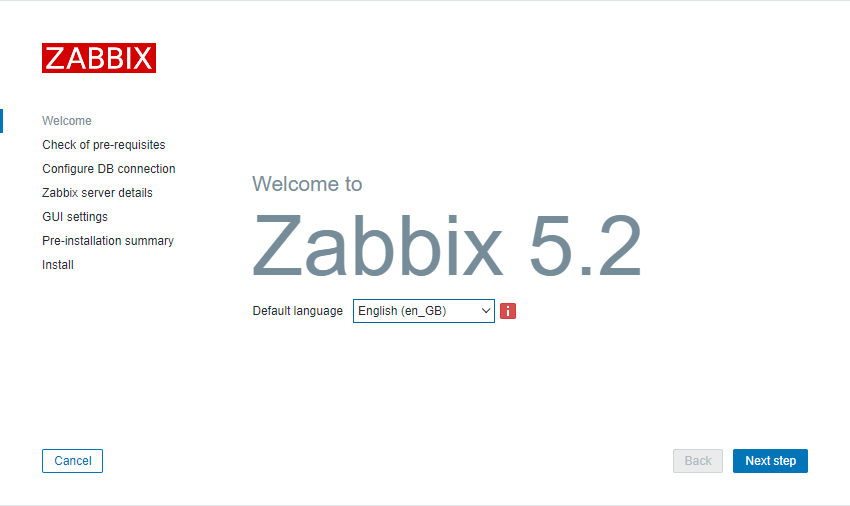
初期設定画面 (setup.php)
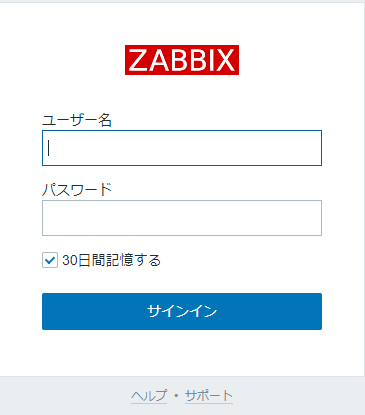
各種設定完了後にアクセスするとログイン画面になります
- https://your.domain/zabbix (初回は Admin/zabbix でログイン可能、変更必須)
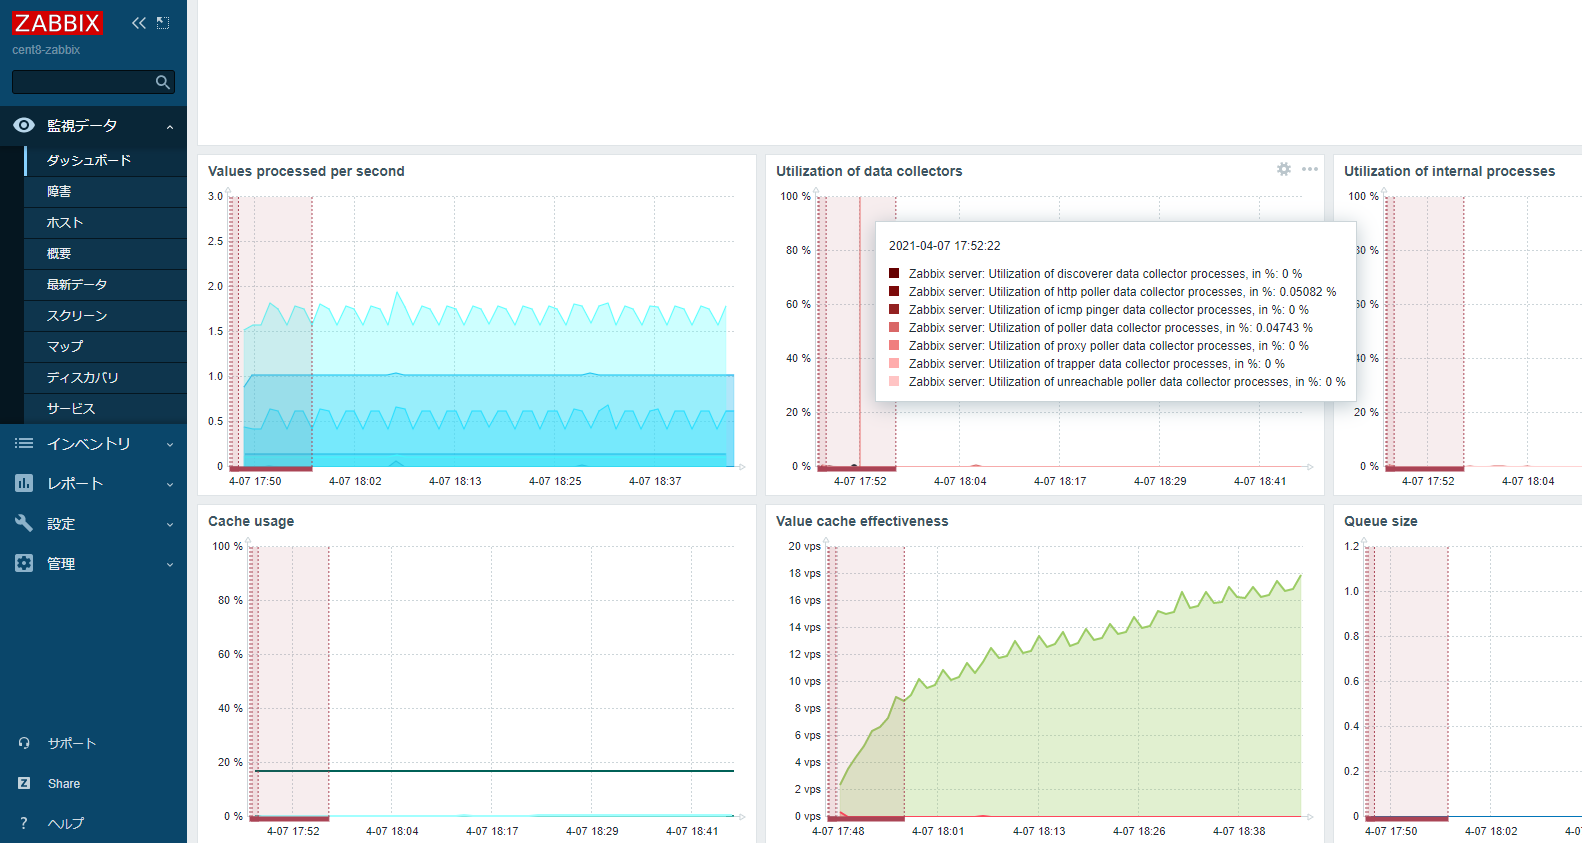
ログイン完了
以上、お疲れさまでした!


