はじめに
Google colaboratoryはGPU環境の無い自宅で機会学習をする際など非常に便利。colab上で学習したモデルは保存してダウンロードすることができるため,別途公開用のサーバーやherokuなどにアップロードすれば学習結果を公開したりも可能。
最終成果として公開する場合はそれ用のサーバーを使うだろうが,共同作業者に学習結果を確認してもらったり,ハッカソンなどで簡単にデモするだけの場合,別途サーバーを立てるのは面倒である。
ngrokを用いると簡単な操作で,ローカルに立てたサーバーに対してurlを発行し,外部からアクセスする事ができる。
colab上でローカルサーバーを立てngrokを動かせれば,モデルのダウンロードなどのやり取り無しですべてcolab上で完結させられる。
colab上でのngrokの使用
colab上でのngrokの使用は下記のリンクの用に,tensorboardの使用に使われているので特に問題なく使用できるようである。
https://www.dlology.com/blog/quick-guide-to-run-tensorboard-in-google-colab/
!wget https://bin.equinox.io/c/4VmDzA7iaHb/ngrok-stable-linux-amd64.zip
!unzip ngrok-stable-linux-amd64.zip

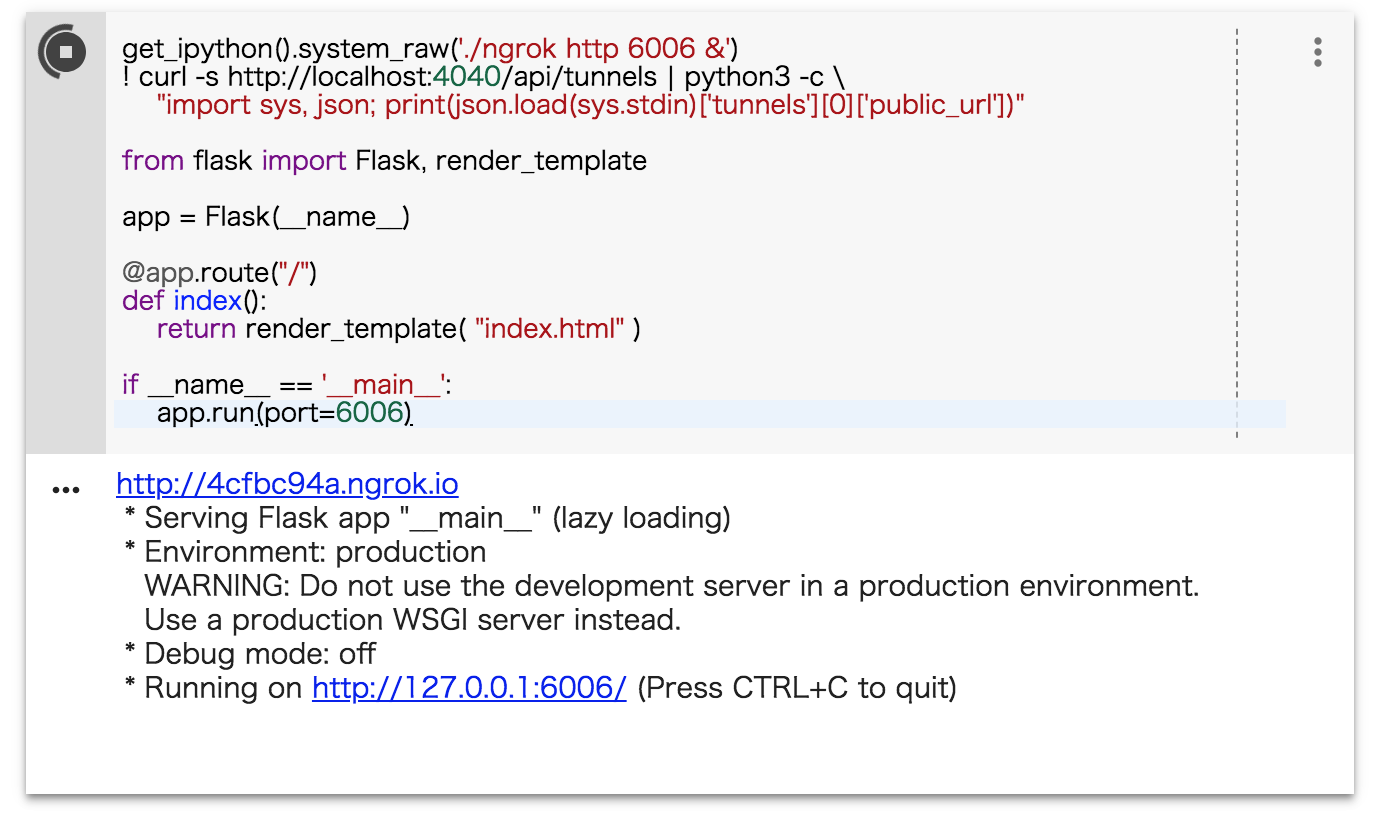
get_ipython().system_raw('./ngrok http 6006 &')
! curl -s http://localhost:4040/api/tunnels | python3 -c \
    "import sys, json; print(json.load(sys.stdin)['tunnels'][0]['public_url'])"
colab上でngrokをインストールし,コマンドを打つことで6006のポートに繋いでいる。
すると
http://efe7437f.ngrok.io
のようなurlが発行される。
ここにアクセスすることでローカル上の6006のサーバーに外部からアクセスできるようになる。
urlは毎回変わってしまうようで,無料では固定できないようだ。
colab上でのflaskの使用
colab上でのローカルサーバーはflaskを用いて作成する。
https://qiita.com/Gen6/items/f1636be0fe479f42b3ee
flaskで表示するページのためにhtmlファイルを用意する必要があるため,これもセルに記述する。
htmlファイルはtemplateフォルダに入れないといけないので,templateフォルダも作成する。
# Writing to html file on colab

html = """
<!DOCTYPE html>
<html>
<head>
<meta charset="utf-8" />
</head>
<body>

Hello

</body>
</html>
"""

# Saving html file
if not os.path.isdir( "templates" ):
    os.makedirs( "templates" )
with open("templates/index.html", mode='w') as f:
    f.write(html)
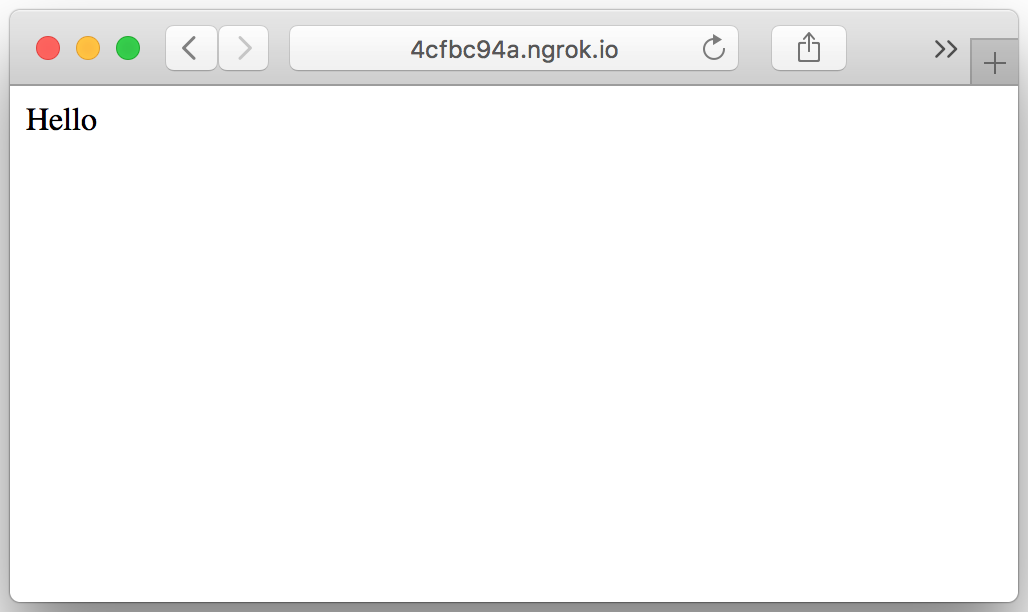
下記のコードをセルで実行し,urlにアクセスすると
helloと表示される。
from flask import Flask, render_template

app = Flask(__name__)

@app.route("/")
def index():
    return render_template( "index.html" )

if __name__ == '__main__':
    app.run(port=6006)
画像認識用のデモ
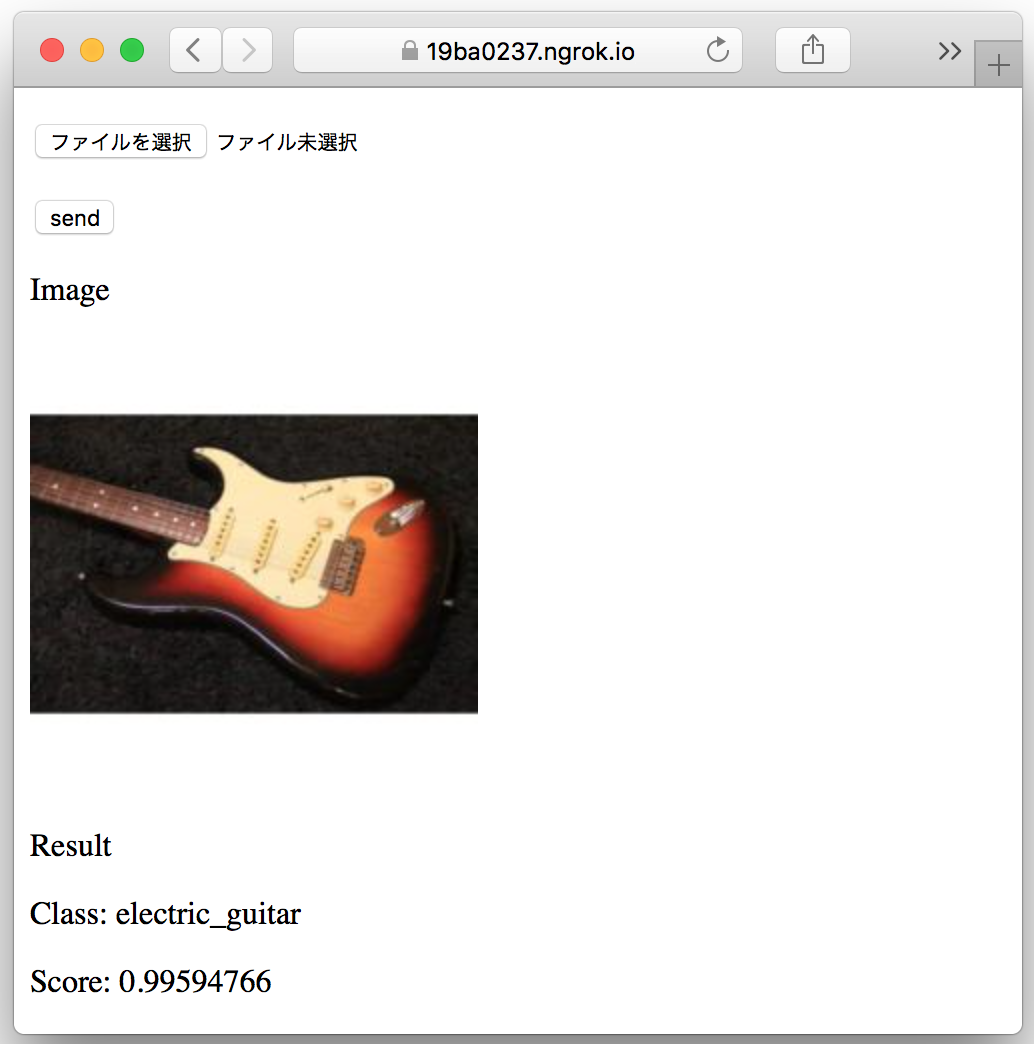
Kerasに用意されている学習済みのvgg16を用いて、アップロードされた画像に対して推定結果を返すデモは以下のようになる。
画像を扱うためにtmpフォルダを作成し表示させるためにランダムなIDを振っている。
# Writing to html file on colab

html = """

<!DOCTYPE html>
<html>
<head>
<meta charset="utf-8" />
</head>
<body>

<form action="/post" method="post" enctype="multipart/form-data">
    <p><input type="file" name="uploadFile"/></p>
    <p><input type="submit" value="send"/></p>
</form>

{% if ulr_Image %}

    <p>Image</p>
    <p><img src="{{ ulr_Image }}"></p>
    <p>Result</p>
    <p>{{ result_class }}</p>
    <p>{{ result_score }}</p>

{% endif %}

</body>
</html>

"""

# Saving html file
if not os.path.isdir( "templates" ):
    os.makedirs( "templates" )
with open("templates/index.html", mode='w') as f:
    f.write(html)

# Making tmp folder to use temporarily stored
if not os.path.isdir( "tmp" ):
    os.makedirs( "tmp" )
get_ipython().system_raw('./ngrok http 6006 &')
! curl -s http://localhost:4040/api/tunnels | python3 -c \
    "import sys, json; print(json.load(sys.stdin)['tunnels'][0]['public_url'])"


from flask import Flask, render_template, send_from_directory, request, redirect, url_for
from keras.models import load_model
import numpy as np
import os
from scipy.misc import imread, imsave, imresize
from keras.applications.vgg16 import VGG16, preprocess_input, decode_predictions
model = VGG16(weights='imagenet')
# Executing once to avoid errors
preds = model.predict(preprocess_input(np.zeros((1,224,224,3))))

def imageResize(img, h, w):
    ih, iw = img.shape[0], img.shape[1]
    if ih >= iw:
        dst = np.ones([ih, ih, 3], np.uint8) * 255
        dst[:, (ih - iw)//2:(ih - iw)//2 + iw] = img
    else:
        dst = np.ones([iw, iw, 3], np.uint8) * 255
        dst[(iw - ih)//2:(iw - ih)//2 + ih, :] = img

    dst = imresize(dst, (h, w))
    return dst


app = Flask(__name__)

@app.route("/")
def index():
    return render_template( "index.html" )

@app.route('/post', methods=['POST'])
def post():
    try:
        uploadFile = request.files['uploadFile']
    except:
        return redirect(url_for('index'))

    uploadFile.save("tmp/" + uploadFile.filename)

    img = imread("tmp/" + uploadFile.filename)
    if img.shape[-1] == 4:
        img = img[:,:,0:3]
    img = imageResize(img, 224, 224)
    fileName = str(np.random.randint(1000)) + ".jpg"
    imsave("tmp/" + fileName, img)
    ulr_Image = "tmp/" + fileName

    img = np.expand_dims(img, axis=0)
    print(img.shape)
    preds = model.predict(preprocess_input(img))
    result = decode_predictions(preds, top=1)[0][0]
    result_class = "Class: " + result[1]
    result_score = "Score: " + str(result[2])

    return render_template( "index.html",
                                        ulr_Image = ulr_Image,
                                        result_class = result_class,
                                        result_score = result_score)

@app.route('/tmp/<filename>')
def uploaded_file(filename):
    return send_from_directory("./tmp", filename)

if __name__ == '__main__':
    app.run(port=6006)
表示内容やアップロードする内容に合わせてhtmlは記述する必要があるが、簡易なデモ用としては十分だと思う。
画像生成のデモ
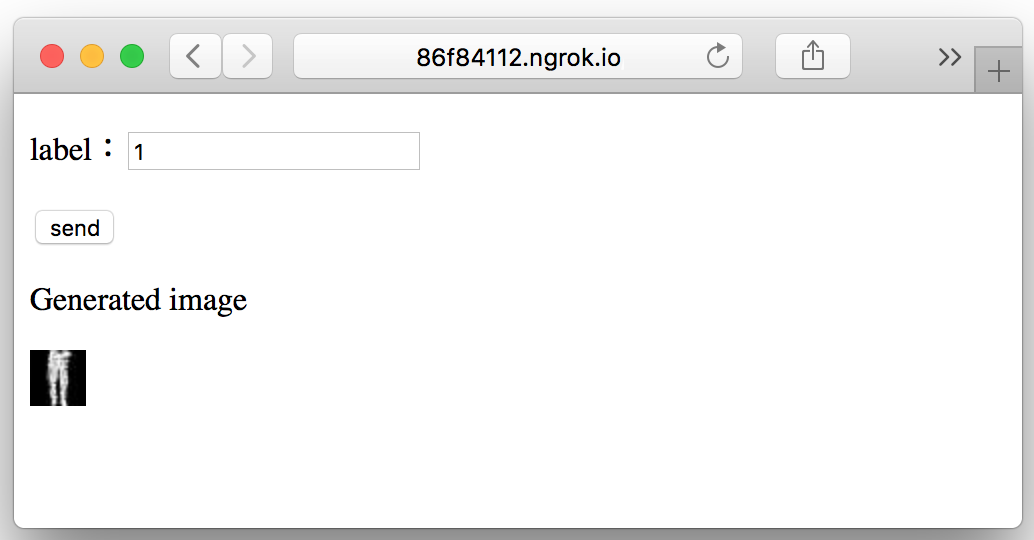
GANなどの画像生成モデルのデモは次のようになる。単純なGANだとランダムに生成された画像を表示するだけになってしまうので、conditionalGANを用いてフォームに入力したラベルに対応する画像を生成するデモを行った。
まず別のノートブックで生成モデルを学習する。
学習したモデルをグーグルドライブに保存し、サーバー用のノートブックでモデルを読み込み利用するようにしている。
行数が多くなるためノートブックはgithubに載せた。
https://github.com/a2kiti/colab_web_demo
Fashion Mnistを学習させた例で,ラベル1をフォームに記述してボタンを押すとラベル1に対応するズボンの絵が生成された結果が表示される。
おわり
デザインを凝ったページを作るには,colab上で作業するのは余計めんどくさくなってしまいそうだが,簡単なデモを行うにはcolab上で完結できるのは便利である。
ngrokの注意点として,無料版では接続数が制限されており,1分間に40接続までのようだ。
またURLが起動のたびに変わってしまうのは少々面倒くさい。
ngrokと同じようなオープンソースもあるようなので,もしかしたらそっちでは制限なくできるかもしれない。
同じURLでアクセスできる期間は限られているためcolab上の仮想環境が公開されて問題となることはあまり無いような気がするが,セキュリティには一応注意すべきかも。


