はじめに
OpenCVではある画像に他の画像を貼り付けるのが少し面倒みたい。単純に画像の配列をコピペすれば貼り付けることができるが,回転させて貼り付けるには工夫が必要そうである。
https://qiita.com/kinojp/items/d2d9a68a962b34b62888
上記の記事ではcv::warpAffineを使うのが便利と紹介されているが,Python版のOpenCVでは引数に背景画像の指定が出来ないようで使えなさそうだった。(もしかしたらできる?)
http://labs.eecs.tottori-u.ac.jp/sd/Member/oyamada/OpenCV/html/py_tutorials/py_core/py_image_arithmetics/py_image_arithmetics.html#image-arithmetics
OpenCV-Pythonチュートリアル画像の算術演算ではビット演算を用いたロゴ画像の貼り付け方法が紹介されている。
マスク処理を用いた画像の貼り付け
貼り付け位置の指定と回転・スケーリングができるように関数にしてみた。
まず背景画像と同じ大きさの配列の真ん中に,貼り付けたい画像をコピーする。その後,cv.warpAffineを用いて回転・拡大縮小を行い,並進により貼付け位置を指定する。この関数では貼り付け位置は背景画像の真ん中からのピクセル数で指定している。x,yが0の場合,背景画像の真ん中と貼り付け画像の真ん中が一致するようになっている。また,回転は度数単位,スケーリングは1で等倍,0.5で半分の大きさになる。
import cv2
import numpy as np
def cvpaste(img, imgback, x, y, angle, scale):
# x and y are the distance from the center of the background image
r = img.shape[0]
c = img.shape[1]
rb = imgback.shape[0]
cb = imgback.shape[1]
hrb=round(rb/2)
hcb=round(cb/2)
hr=round(r/2)
hc=round(c/2)
# Copy the forward image and move to the center of the background image
imgrot = np.zeros((rb,cb,3),np.uint8)
imgrot[hrb-hr:hrb+hr,hcb-hc:hcb+hc,:] = img[:hr*2,:hc*2,:]
# Rotation and scaling
M = cv2.getRotationMatrix2D((hcb,hrb),angle,scale)
imgrot = cv2.warpAffine(imgrot,M,(cb,rb))
# Translation
M = np.float32([[1,0,x],[0,1,y]])
imgrot = cv2.warpAffine(imgrot,M,(cb,rb))
# Makeing mask
imggray = cv2.cvtColor(imgrot,cv2.COLOR_BGR2GRAY)
ret, mask = cv2.threshold(imggray, 10, 255, cv2.THRESH_BINARY)
mask_inv = cv2.bitwise_not(mask)
# Now black-out the area of the forward image in the background image
img1_bg = cv2.bitwise_and(imgback,imgback,mask = mask_inv)
# Take only region of the forward image.
img2_fg = cv2.bitwise_and(imgrot,imgrot,mask = mask)
# Paste the forward image on the background image
imgpaste = cv2.add(img1_bg,img2_fg)
return imgpaste
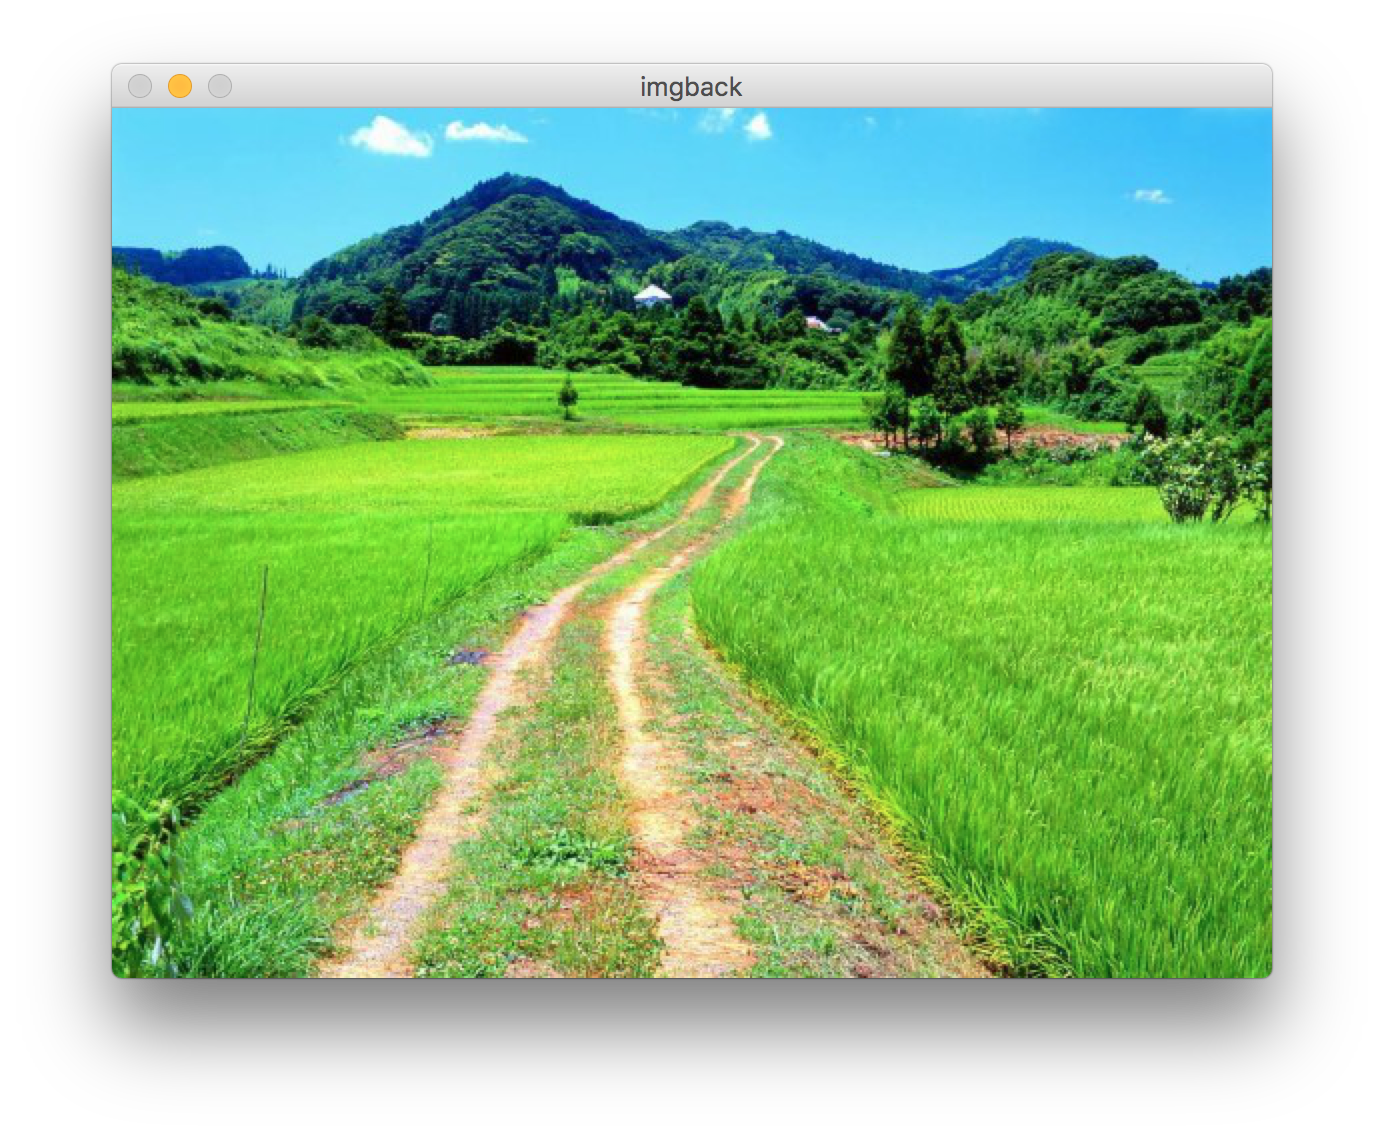
imgback = cv2.imread('back.jpg')
cv2.imshow('imgback',imgback)
img = cv2.imread('inu.jpg')
cv2.imshow('img',img)
x=-60
y=70
angle=20
scale=0.7
imgpaste = cvpaste(img, imgback, x, y, angle, scale)
cv2.imshow('imgpaste',imgpaste)
cv2.waitKey(0)
cv2.destroyAllWindows()
拾い物の画像を用いて,実行してみると

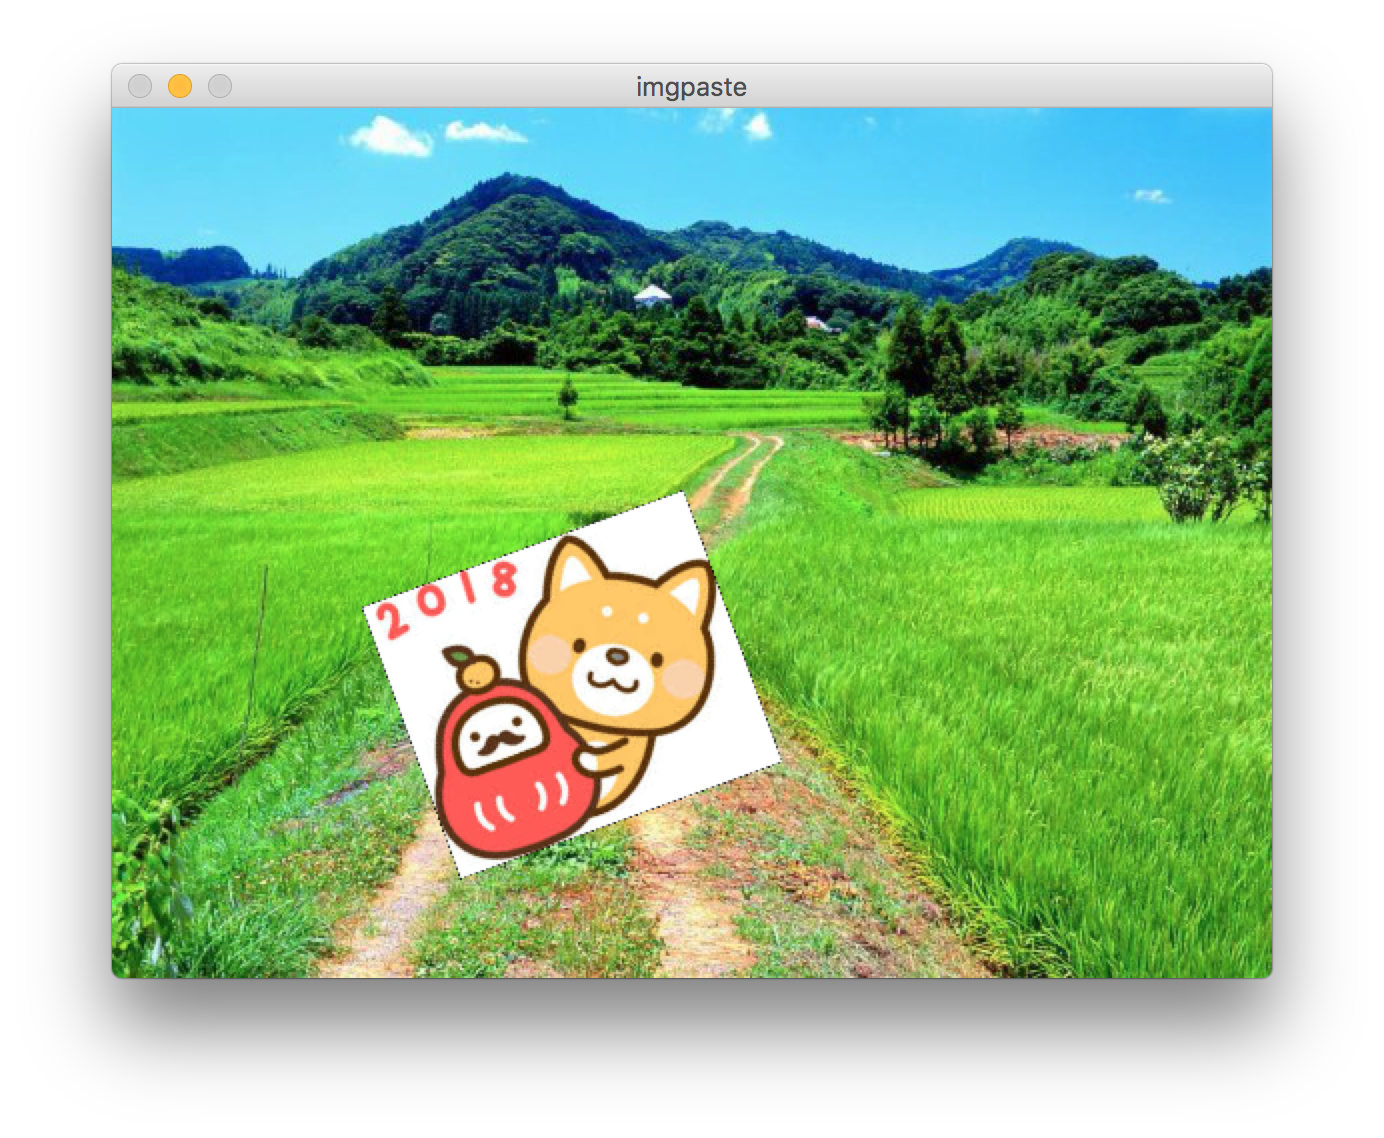
このように自由に回転,スケーリングして好きな位置に貼り付けられる。
もしかするともっと簡単な関数がすでに用意されているのかもしれないけど。