はじめに
CSS(Sass)を書いていて、
『何度も同じスタイルを書く・・・😮💨』
『必要なプロパティが漏れていて、表示してくれない・・・😰😰』
『毎回、都度調べ直さないといけない・・・😫😫😫』
なんてことはありませんでしょうか?
そんなことを防ぐために、サービス内共通で使用できるmixinを作成いたしました。
今回はその一部をご紹介したいと思います😊
mixinを作成するにあたり、さまざまなサイトを参考にさせていただきました。
この場をお借りしてお礼を申し上げます✨
作ってみたmixinたち
疑似要素(::before, ::after)で画像を表示するmixin
疑似要素で画像を表示させるときに必要なプロパティをまとめました。
これで、content: "";がなくて表示してくれない!!ということが防げるかもです😊
画像名 、幅、高さ、position(上、右、下、左)、z-indexを設定できます。
画像名、幅、高さは必須です。position・z-indexは任意です。
「null」のままの場合、プロパティは書き出されません。
引数は省力できますが、省略しない場合は、順番を入れ替えても使用できます。
親要素にposition: relative;を指定してください。
| 引数 | 指定内容 |
|---|---|
| $img-name | PNGファイルの画像名 |
| $width | 画像の横幅 |
| $height | 画像の高さ |
| $top | position(上)位置(※指定は任意) |
| $right | position(右)位置(※指定は任意) |
| $bottom | position(下)位置(※指定は任意) |
| $left | position(左)位置(※指定は任意) |
| $z-index | z-index(※指定は任意) |
▽mixin
@mixin pseudo-img($img-name, $width, $height, $top: null, $right: null, $bottom: null, $left: null, $z-index: null) {
    position: absolute;
    top: $top;
    right: $right;
    bottom: $bottom;
    left: $left;
    z-index: $z-index;
    margin: auto;
    width: $width;
    height: $height;
    background: url("#{$img-path}#{$img-name}.png") center / contain no-repeat;
    content: "";
}
▽使用例
$img-path: "◯◯◯/◯◯◯/"; // 画像のルートパスを指定

.mainvisual {
    position: relative;
    &::before {
        @include pseudo-img(mainvisual, 100px, 150px, $top: null, $right: -50px, $bottom: 10px, $left: null, $z-index: 2);
    }
}
このmixinだと、PNGファイルしか使用できないので、引数に拡張子を含めるほうが汎用的かもしれないなと作成してから気が付きました💦(反省)
カラム計算用(余白あり・多段OK)mixin
カード型デザインなどに使えそうなmixinを作成いたしました。
これで、細かい計算をしなくて済むかもです😊
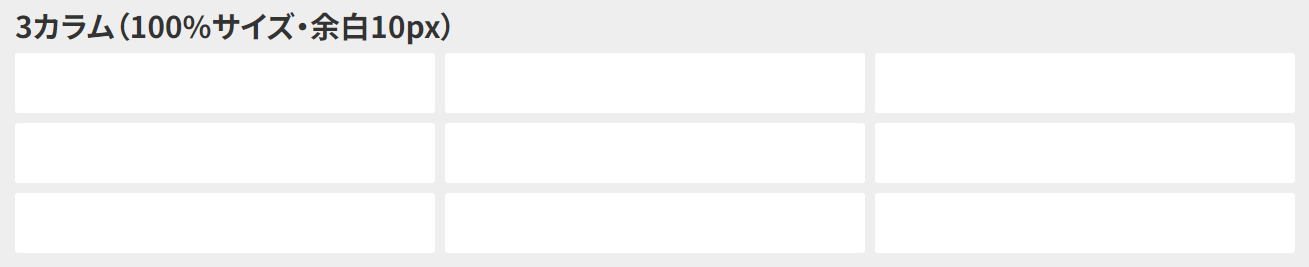
カラム数、全体サイズ、余白サイズを設定できます。
計算させたい親に指定してください。子要素が分割いたします。
| 引数 | 指定内容 |
|---|---|
| $num | カラム数 |
| $size | 全体サイズ |
| $gap | 余白サイズ |
▽mixin
@mixin column-gap-item($num, $size, $gap) {
    $gap-all: #{$gap} * ($num - 1);
    display: flex;
    flex-wrap: wrap;
    gap: $gap;
    & > * {
        width: calc((#{$size} - #{$gap-all}) / #{$num});
    }
}
▽使用例
.list {
    @include column-gap-item(2, 100%, 10px);
}
マーカー線用mixin
マーカーのような線を引きたいときに使用します。
これで、毎回調べなくても済むかもです😊

色と高さを設定できます。
デフォルトのままだと、黄色マーカー線になります。
| 引数 | 指定内容 |
|---|---|
| $color | 色(初期値は黄色です) |
| $height | マーカーの太さ(数値が大きいほど細くなります) |
▽mixin
@mixin marker-line($color: #fe0, $height: 65%) {
    display: inline;
    background: linear-gradient(transparent $height, $color 0%);
}
▽使用例
.text__line {
    @include marker-line(#ff7676, 70%);
}
さいごに
いかがでしたでしょうか?
ご紹介したmixinは一部ですが、少しでもコードを書く時間が短縮できたらと思い作成してみました。
本記事を読んでみて、普段の業務に活かせそうでしたら幸いです😊