はじめに
スクール卒業後黙々とアプリを作っているのですが、開発環境にDockerを導入したということでそのままCircleCIも導入しちゃいました。
ちなみに circleCIを導入するには少なからずDockerの知識が必要となってきます。
もしDockerってなんだよ?って人は先にDockerを開発環境に構築してみたほうがスムーズかと思います。
RailsにDockerを導入する方法は下記に書いてるので、よかったらみてね!
circleCIとは?
継続的インテグレーション(デリバリー)サービスです。コミットからデプロイまでのパイプラインを作成し、継続的な統合/配信を使用してソフトウェア開発プロセスを自動化できます。
ちょっと難しい用語ですね。
簡単にいうと、githubのpushに合わせて、テストコードを走らせたりしてくれます。
このさらに自動デプロイまでやってくれる環境のことをCI/CD環境と言います。
今回は自動デプロイは割愛するので、CIまでになります。
前提条件
- githubのアカウントをもっていること
- 既にrailsのプロジェクトがあること
- データベースにはMysqlを使用していること。
- rspec及びrubocopはインストール、設定済み
circleCIとgithubを連携させる
この辺に関しては下記記事を参考にしてください。
簡単だと思います。ただし言語はRubyを選んでね!
この言語を選んだときに、後の設定ファイルのたたき台となる記述があるので、コピーしてメモっとくといいかもしれません。
ファイルの作成場所
ここからcircleCIの設定ファイルを書いていくことになります。
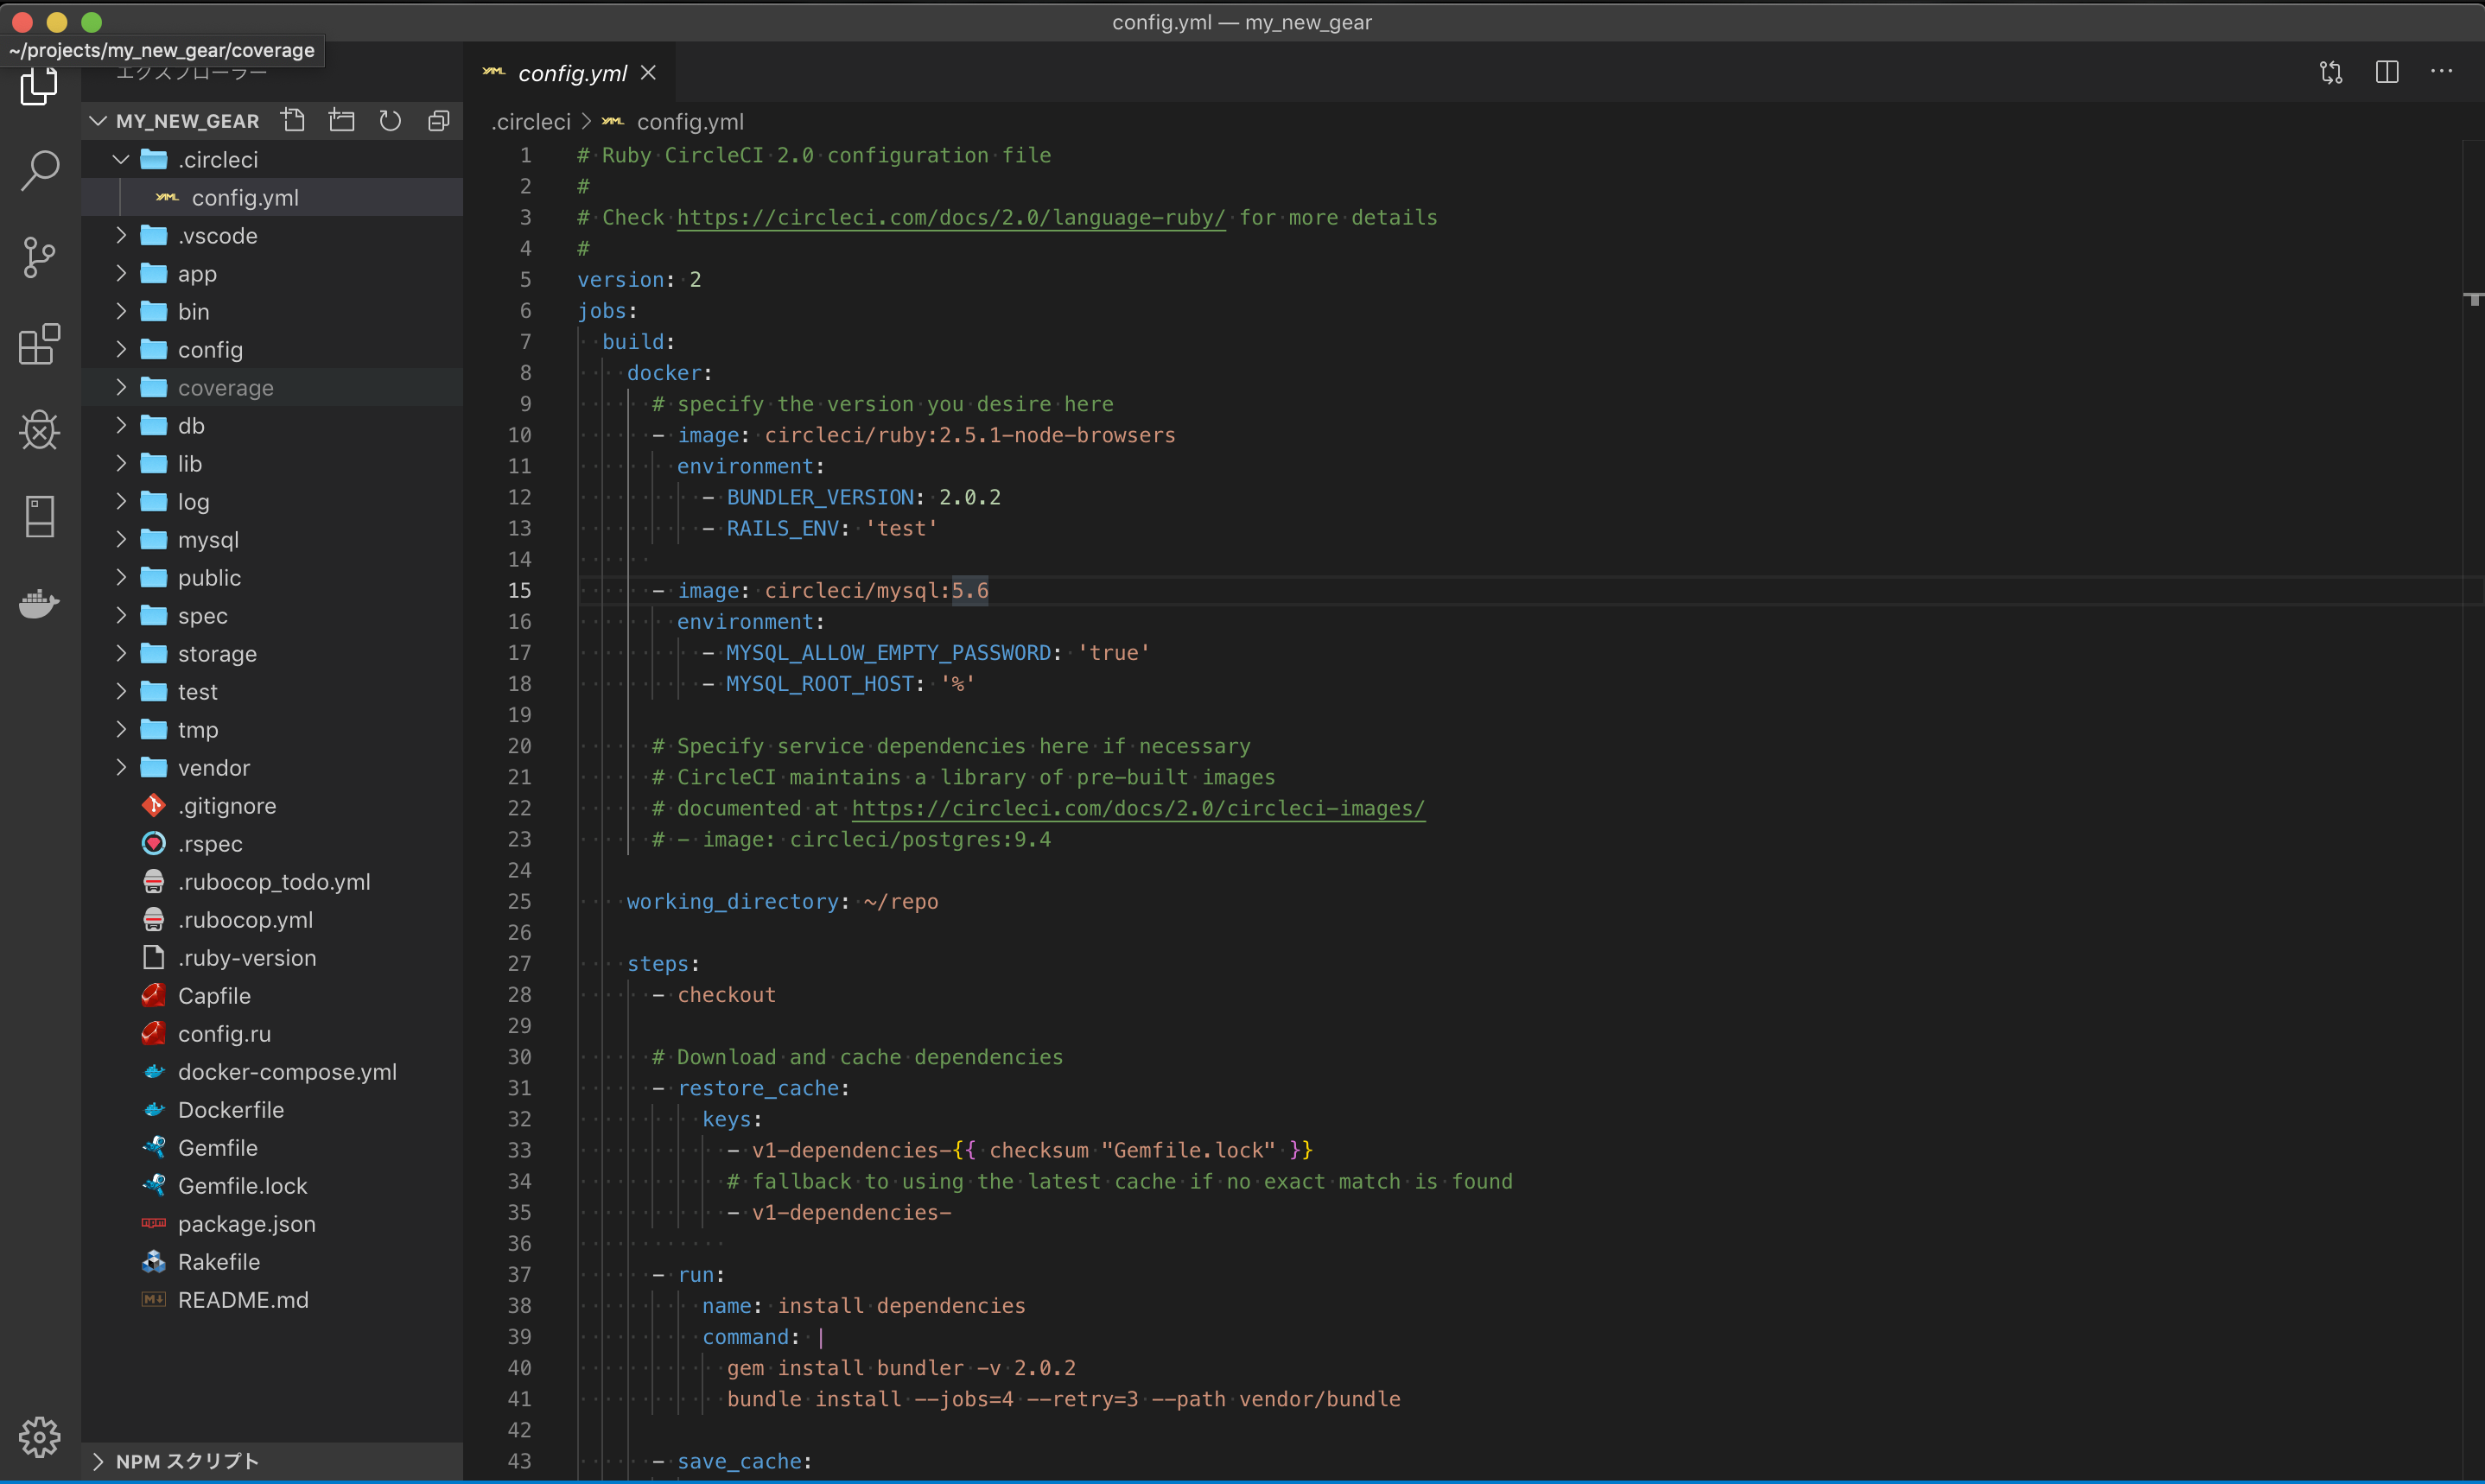
まず、アプリケーションのルートディレクトリに、.circleci/config.ymlというディレクトリとファイルを作成します。
こんな感じ。

.circleci/config.ymlを記述
いきなり結論になりますが、僕はこんな感じになりました。
この記述により、githubでpushするたびにcircleCIが起動し、rubocopとrspecを動かしてくれます。
簡単な説明はコメントアウトに書いておきます。
# Ruby CircleCI 2.0 configuration file
#
# Check https://circleci.com/docs/2.0/language-ruby/ for more details
#
version: 2
jobs:
  build:
    docker:
      # specify the version you desire here
      # ruby2.5.1を使ったアプリのため
      - image: circleci/ruby:2.5.1-node-browsers
        environment:
#  ①注意!! bundlerのバージョンが2.0.1以上だと、bundle installに失敗します。ここに環境として指定します。
          - BUNDLER_VERSION: 2.0.2
#  ②注意!! circleCIは仮想環境を構築するので、そのときに使うデータベースを指定する必要があります。
          - RAILS_ENV: 'test'
      # Mysqlのバージョン5.6で動かしていたため、5.6を指定
      - image: circleci/mysql:5.6
        environment:
          - MYSQL_ALLOW_EMPTY_PASSWORD: 'true'
          - MYSQL_ROOT_HOST: '%'

      # Specify service dependencies here if necessary
      # CircleCI maintains a library of pre-built images
      # documented at https://circleci.com/docs/2.0/circleci-images/
      # - image: circleci/postgres:9.4

    working_directory: ~/repo

    steps:
      - checkout

      # Download and cache dependencies
      - restore_cache:
          keys:
            - v1-dependencies-{{ checksum "Gemfile.lock" }}
            # fallback to using the latest cache if no exact match is found
            - v1-dependencies-

      - run:
          name: install dependencies
          command: |
# ①bundler2.0.1以降のものを使っているのであれば、環境変数と合わせて指定する必要があります。
            gem install bundler -v 2.0.2
            bundle install --jobs=4 --retry=3 --path vendor/bundle

      - save_cache:
          paths:
            - ./vendor/bundle
          key: v1-dependencies-{{ checksum "Gemfile.lock" }}

# ②ちょっと無理やりですが、database.ymlとdatabase.yml.ciを入れ替える記述です。
      - run: mv config/database.yml.ci config/database.yml

      # Database setup
      - run: bundle exec rake db:create
      - run: bundle exec rake db:schema:load

# rubocopを走らせる記述です。
      - run:
          name: Rubocop
          command: bundle exec rubocop

# rspecを走らせる記述です。
      # run tests!
      - run:
          name: run tests
          command: |
            mkdir /tmp/test-results
            TEST_FILES="$(circleci tests glob "spec/**/*_spec.rb" | \
              circleci tests split --split-by=timings)"


# ③ここでRspecJunitFormatterというgemをインストールしていないとエラーになります。gemfileに記述しましょう。
            bundle exec rspec \
              --format progress \
              --format RspecJunitFormatter \
              --out /tmp/test-results/rspec.xml \
              --format progress \
              $TEST_FILES

      # collect reports
      - store_test_results:
          path: /tmp/test-results
      - store_artifacts:
          path: /tmp/test-results
          destination: test-results
注意点がかなり多いですが一個ずつ解説します。
① bundler2.0.1以降のものを使っているとbundle install に失敗します。(Dockerと同じですね。)
環境として指定してあげて、かつ、bundle installをする前にbundlerのバージョンを指定した上でbundlerをインストールしないといけます。
②circleCIは仮想環境を構築するのですが、そのときに使うデータベースを指定する必要があり、エラーが出ました。僕の場合はここでtestを指定して、database.yml.ciというものを用意しました。
データベースをセットアップする前に、既存のdatabase.ymlを使用するのではなく、database.yml.ciと差し替えるようにしています。
database.yml.ciの中身は後述します。
③circleCIのバージョンが変わったときに、RspecJunitFormatterというgemが必要になったそうです。
ここでもエラーが出たので、gemfileに記述してあげましょう。ソースはこちら
config/database.yml.ciの記述
僕はこんな感じに記述しました。
test:
  adapter: mysql2
  encoding: utf8
  pool: 5
  username: 'root'
  port: 3306
  host: '127.0.0.1'
  database: ci_test
こんなところでしょうか。
だいたいぼくが詰まったエラーについては書いてると思います。
ちなみにgithubにcircleCIの結果を表示することもできます。
参考記事はこちら
超簡単なのでやってみてね
続編
circleCIを使ったCD環境構築までやっちゃいました