時期的にアドベントカレンダー名乗るのはおかしい気もするのですが, 一応某部活のアドベントカレンダー19日目です
まだまだ暑いですが暖房(自宅サーバー)を立てたのでその備忘録
OSインストール
ヤフオクで適当に落としてきやつがCentOS6だったのでCentOS7をインストール.
BOOTABLE USBを作成
Macで作成
今回はCentOS-7-x86_64-DVD-1804.isoを使用
isoをimgに変換します. isoがあるディレクトリで以下を実行.
# hdiutil convert -format UDRW -o CentOS.img CentOS.iso
USBに書き込んでいきます.
USBを抜いた状態で以下を実行
# diskutil list
USBを挿してもう一回実行します.
# diskutil list
最初のと比較してdisk◯が増えてるはずなので控えます.
アンマウントします.
# diskutil unmountDisk /dev/disk◯
書き込みます.
sudo dd if=CentOS.img.dmg of=/dev/disk◯ bs=1m
インストール作業
BIOSから最初にUSBをbootするようにします.
あとは普通に指示に従ってインストールしていくだけなんですが, 謎エラーがでたのでその解決策?書いときます. 解決策と言ってもなんか適当にやってたらいけたので参考程度に
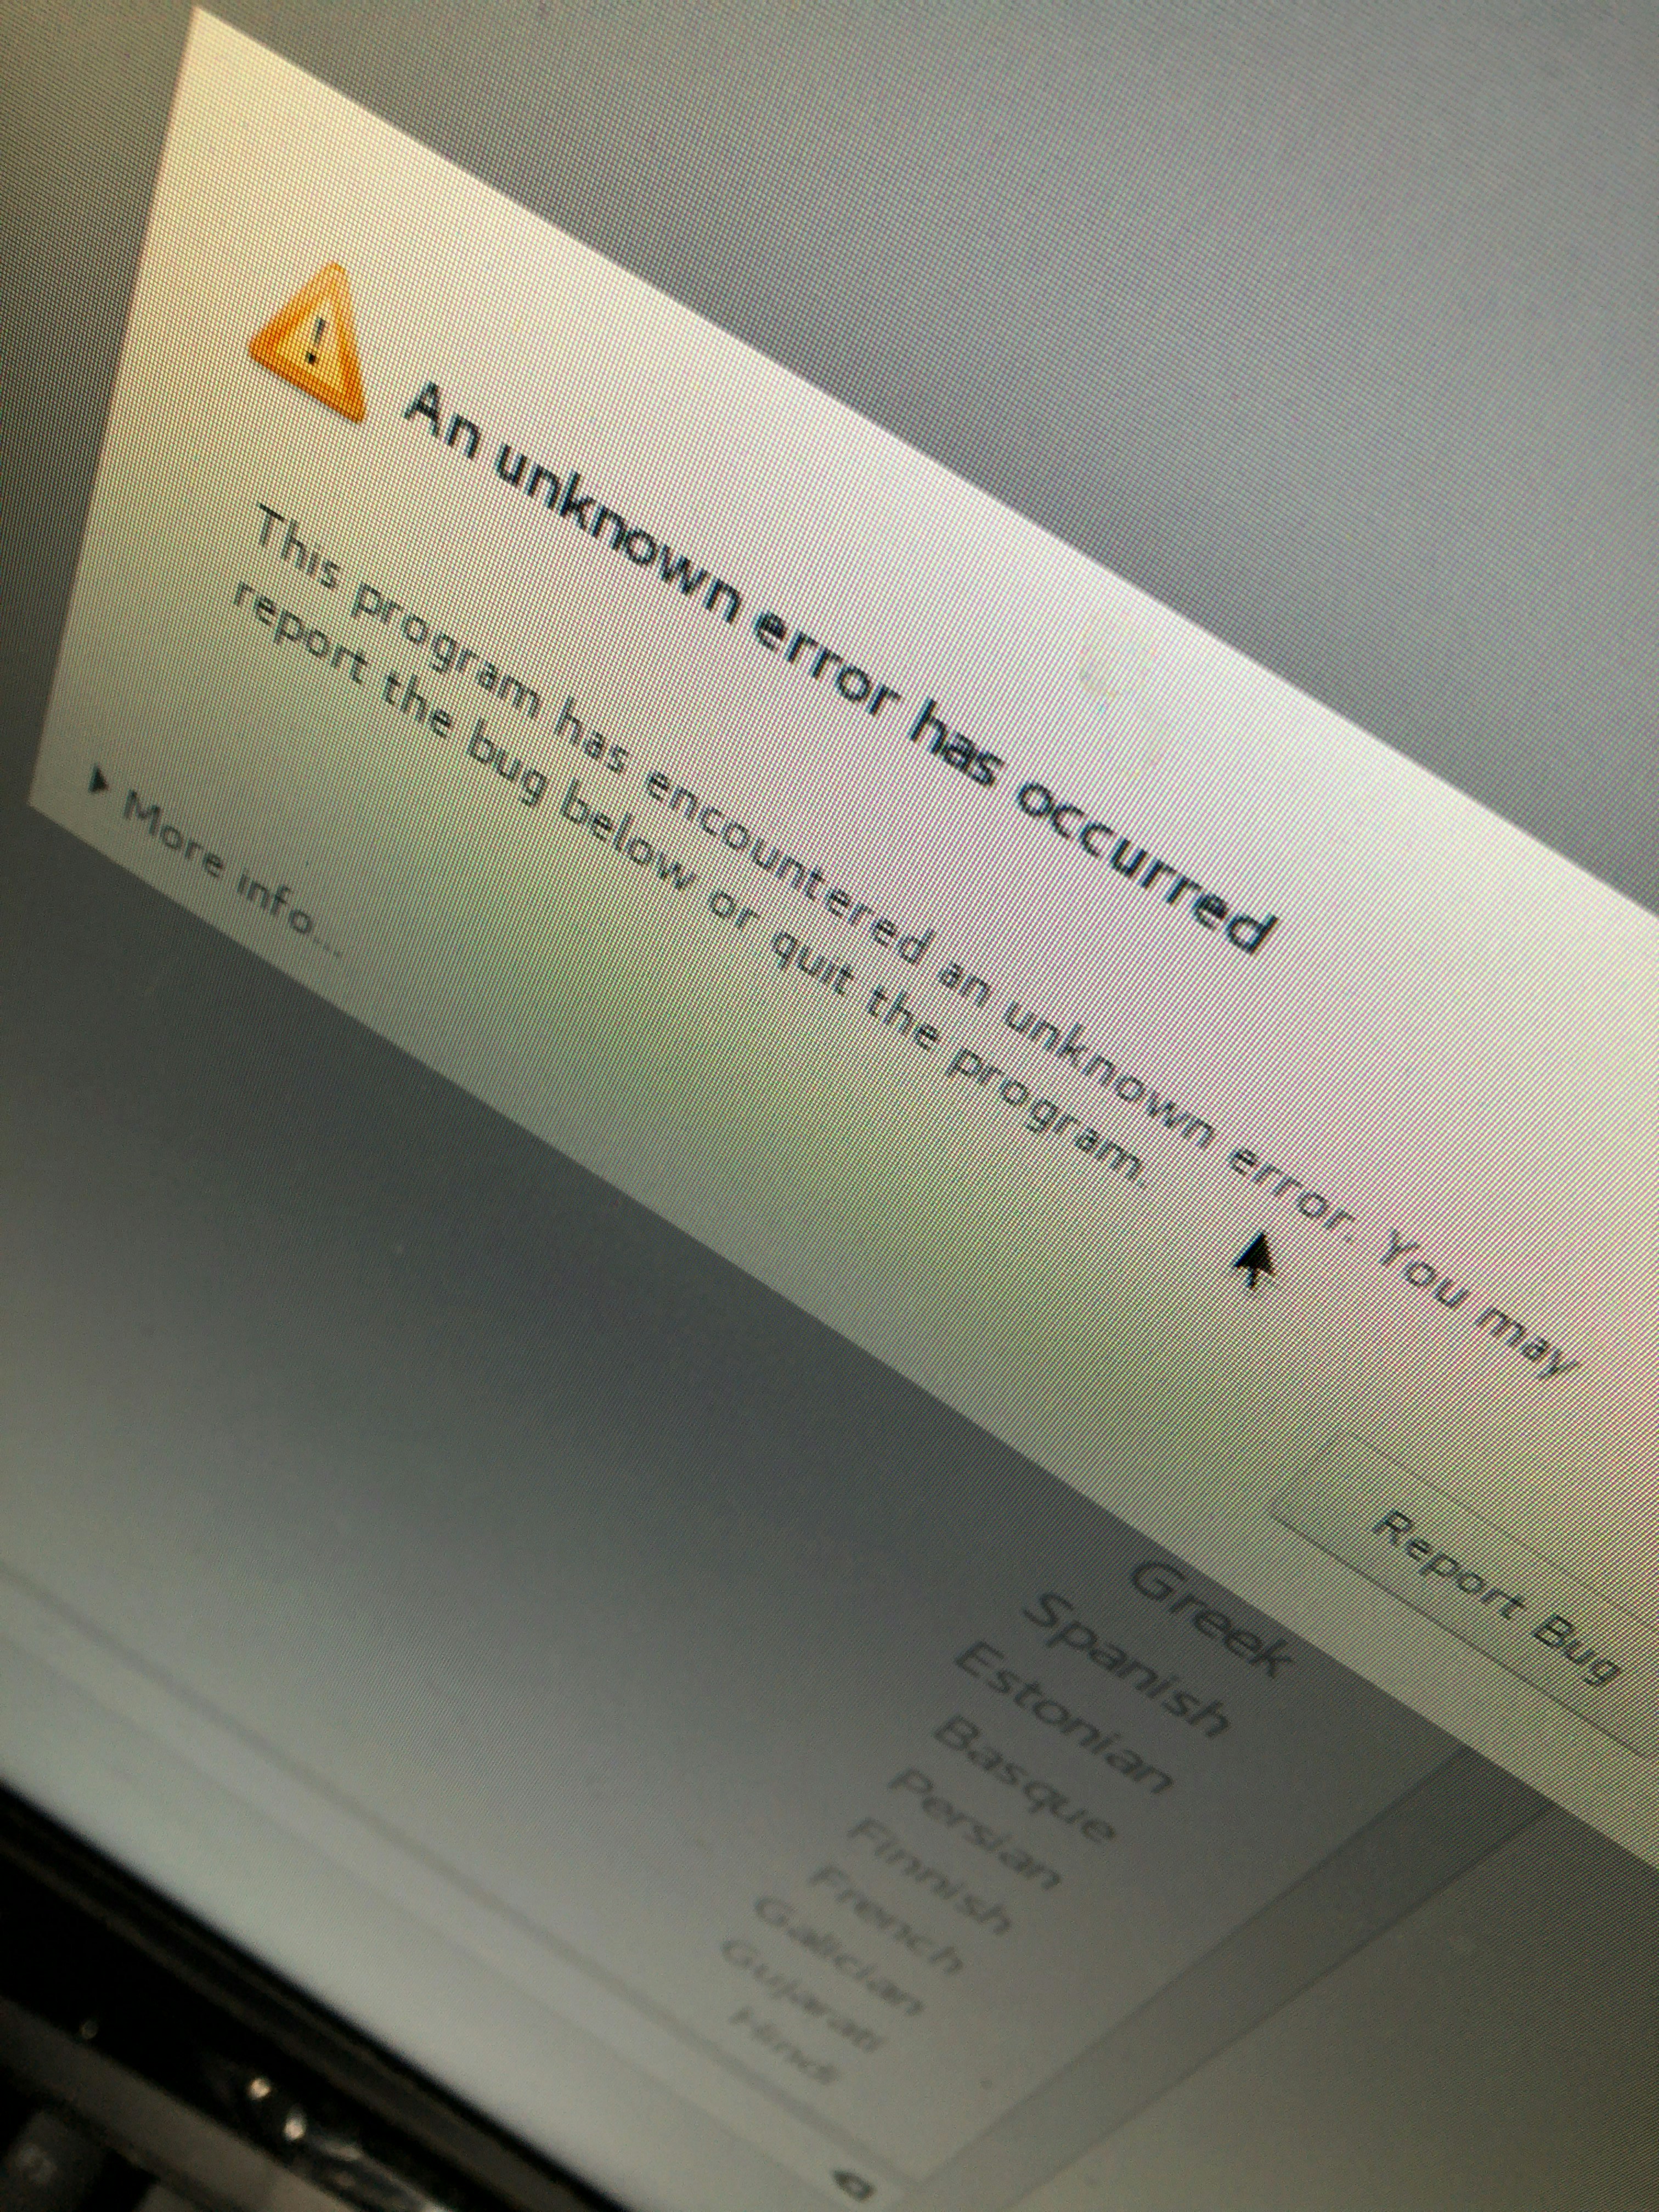
エラー内容
An unknown error has occurred
めっちゃ斜めなのは許してください.
遡るとfailed device or resource busyと書かれていたので, Troubleshootingからshellに入りHDDをフォーマットしたらいけました. 最初から入ってた6がよろしくなかったみたいです.
ネットワーク設定
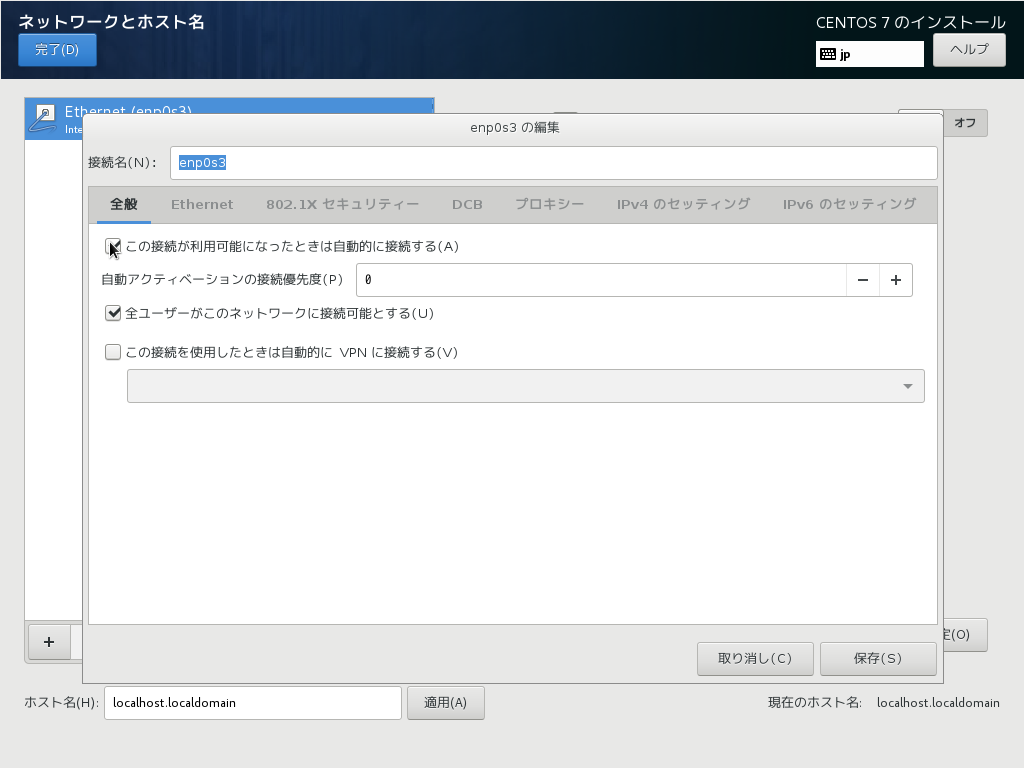
イーサーネットをオンにし, 設定を押します.

自動接続にチェック

IPv4のセッティングから, 方式を手動にしてアドレスを追加します. IPは予め固定しときます. ゲートウェイはルーターのアドレスです.

できたら保存し完了を押します.
パーティションの設定
パーティションを自分で構成するにチェックします.

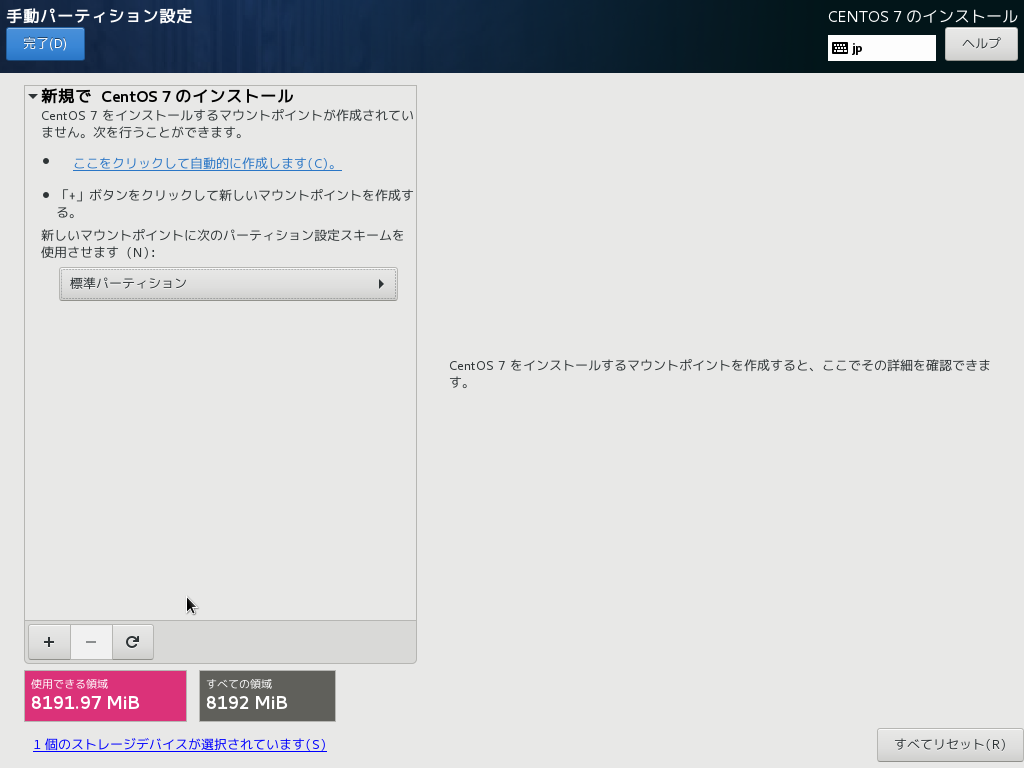
そして完了を押せばパーティション設定画面に切り替わるので, 標準パーティションにし
適当に割り振ります.
下のプラスで追加マイナスで消せます

今回は適当に/bootに500MB, swapに4GB割り振りました. その他お好みで分割していきます.
swapに割り振る容量は,
メモリが2GB以下ならメモリの2倍,
メモリが2GBから8GBなら同じだけ,
メモリが8GB以上な最低4GB
割り振るといいそうです.
割り振りができたら完了を押します.
そしてインストール開始を実行します.
rootパスワードを設定する画面がでるので, 設定します.
OSの設定
無事完了できていればログイン画面がでます. モニター引っこ抜いてrootでsshします.
アカウント作成
# useradd <User Name>
# passwd <User Name>
# usermod -G wheel <User Name>
# visudo

## Allows people in group wheel to run all commands
%wheel  ALL=(ALL)       ALL   <-- コメントアウト外す
sshの設定
# vi /etc/ssh/sshd_config

Port お好きなPort
PermitRootLogin no
PasswordAuthentication no
公開鍵は~/.ssh/authorized_keysに貼り付けます.
.sshはパーミッション700, authorized_keysは600にします.
再起動します
# systemctl restart sshd.service
ここでエラーが出て再起動に失敗したら, 以下を実行
# yum install -y policycoreutils-python
# semanage port -a -t ssh_port_t -p tcp お好きなPort
firewallの設定
# cp /usr/lib/firewalld/services/ssh.xml /etc/firewalld/services/.
# vi /etc/firewalld/services/ssh.xml

<?xml version="1.0" encoding="utf-8"?>
<service>
  <short>SSH</short>
  <description>Secure Shell (SSH) is a protocol for logging into and executing commands on remote machines. It provides secure encrypted communications. If you plan on accessing your machine remotely via SSH over a firewalled interface, enable this option. You need the openssh-server package installed for this option to be useful.</description>
  <port protocol="tcp" port="お好きなPort"/>
</service>

# firewall-cmd --permanent --zone=public --add-service=http
# firewall-cmd --permanent --zone=public --add-service=https
# firewall-cmd --reload
以上で基本的な設定は終わりです.
あとは好きに遊べます.
