はじめに
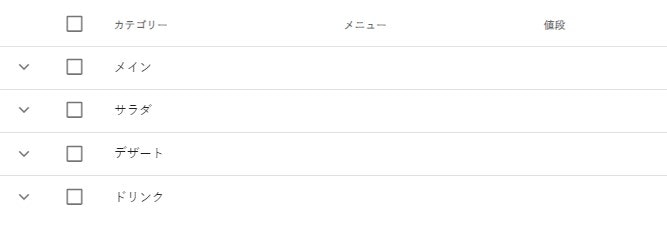
業務の中で、テーブルにデータを表示する際に、初期表示では親データのみで親レコードを展開すると子データも表示されるようにしたいということになり、Vuetifyのv-data-tableコンポーネントを使っての実装を試みました。
概要
以下の3つの実装方法を記載します。
1. ヘッダ、および各レコードにチェックボックスの表示する
2. 各レコードを展開可能にする
3. 展開したレコードにデータを表示する
環境
Vue.js:2.6.11、Vuetify:2.4.0 を使用
Vuetifyインストール手順はリンク先参照
実装
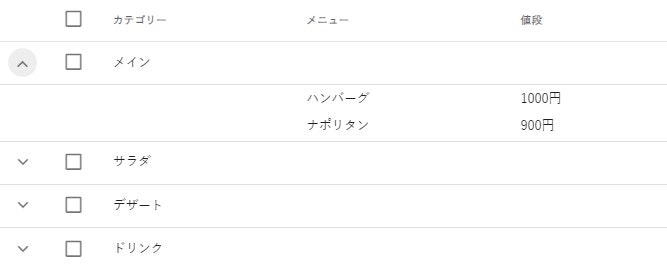
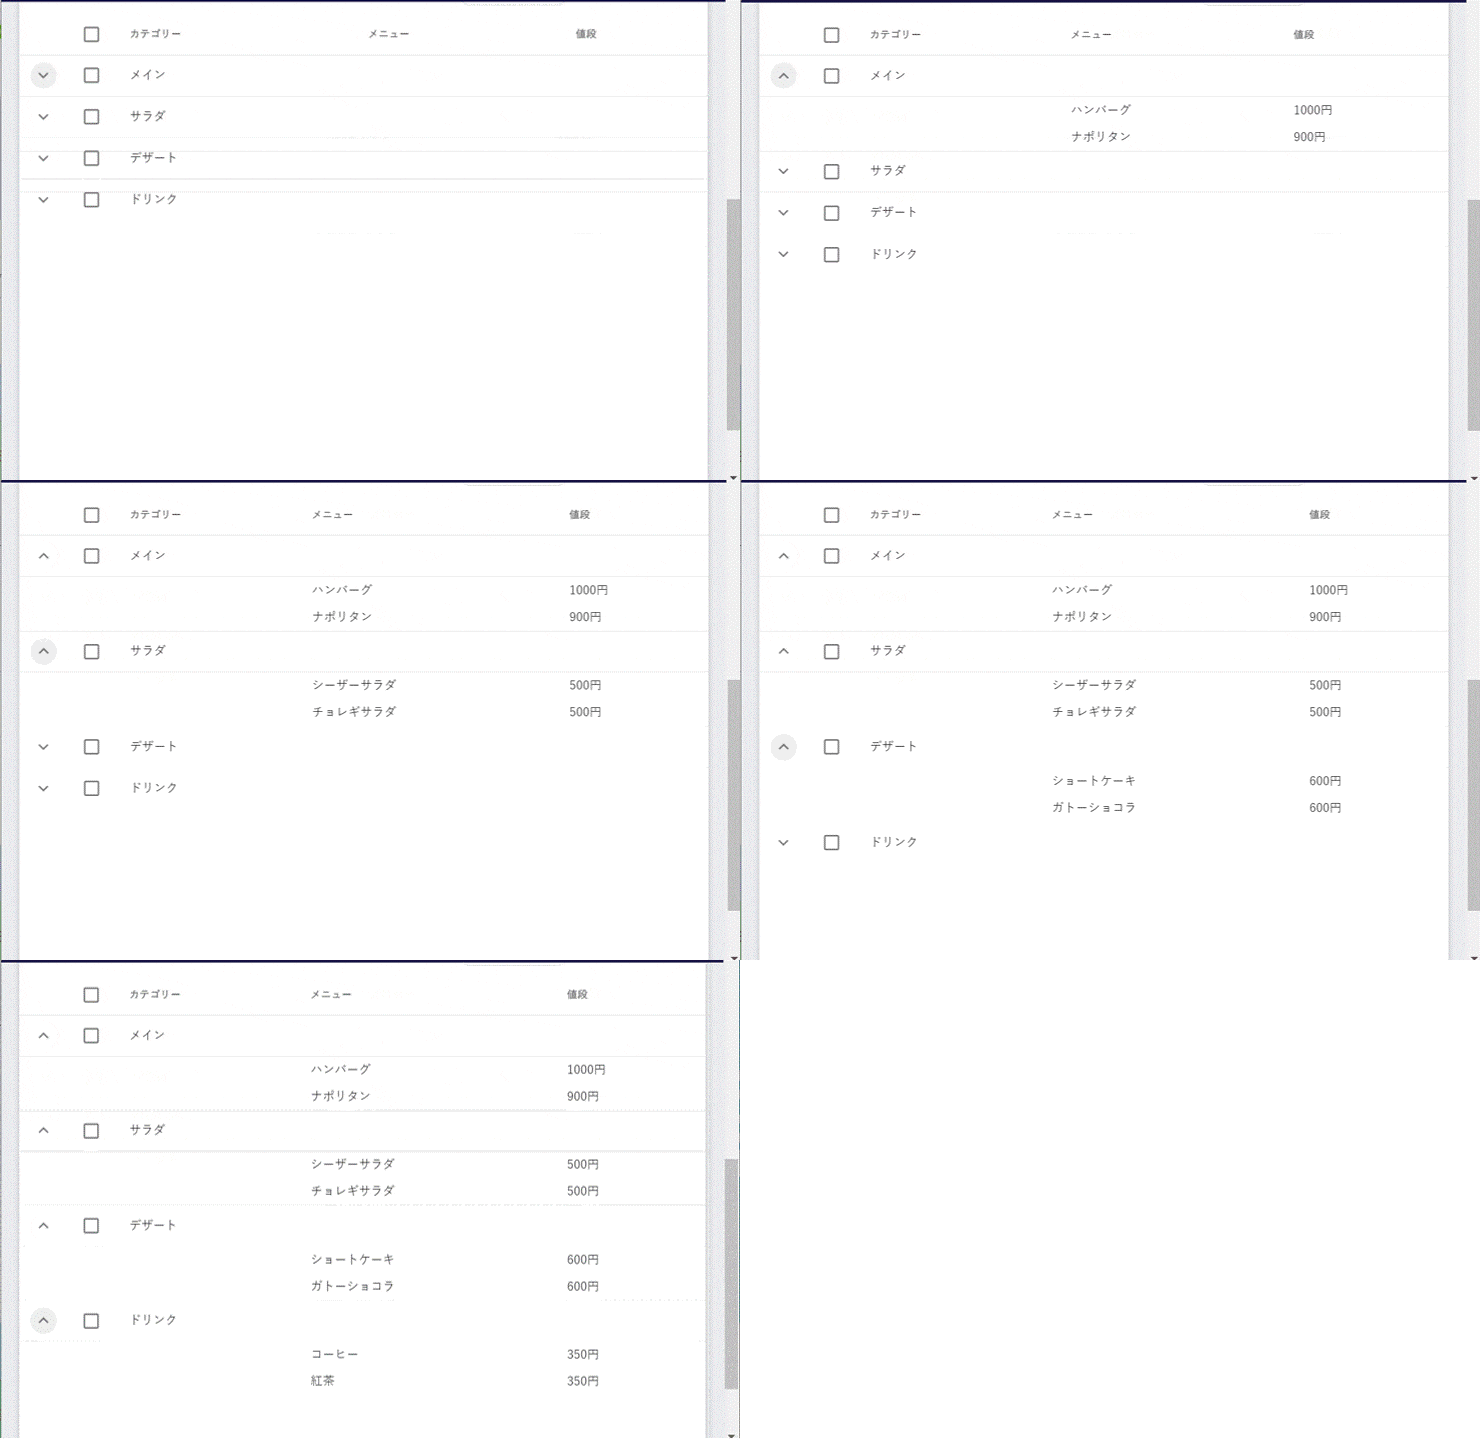
完成画面
テーブルの作成
コードは以下の通りです。
<template>
  <div>
    <v-data-table
      v-model="selected"
      :headers="tableColumns"
      :items="tableDataList"
      :single-expand="singleExpand"
      :expanded.sync="expanded"
      :height="528"
      :items-per-page="-1"
      :fixed-header="true"
      show-select
      show-expand
      hide-default-footer
      class="expandTable"
      @click:row="clickTableRow"
    >

      <!-- 展開 -->
      <template #expanded-item="{ item }">
        <td></td>
        <td></td>
        <td>
          <template v-for ="(child,key) in item.childData">
            <div v-text="child.category" :key="key"></div>
          </template>
        </td>
        <td>
          <template v-for ="(child,key) in item.childData">
            <div v-text="child.menu" :key="key"  class="padding"></div>
          </template>
        </td>
        <td>
          <template v-for ="(child,key) in item.childData">
            <div v-text="child.price" :key="key" class="padding"></div>
          </template>
        </td>
      </template>

    </v-data-table>
  </div>
</template>
<v-data-table>内
<template>
  <div>
    <v-data-table
      v-model="selected"
      :headers="tableColumns"
      :items="tableDataList"
      :single-expand="singleExpand"
      :expanded.sync="expanded"
      :height="528"
      :items-per-page="-1"
      :fixed-header="true"
      show-select
      show-expand
      hide-default-footer
      class="expandTable"
      @click:row="clickTableRow"
    >
heeaders・items:テーブルのヘッダ、およびテーブルの中身
show-select:チェックボックスの表示
show-expand:各行に展開アイコンの表示
single-expand:true/falseで複数行展開可能か1行ずつか設定
expanded.sync:展開した行を利用するために使用
item-key:項目プロパティ指定(デフォルトはid,今回は書かなくても動く)
v-model:selected内に選択した行のデータを格納
fixed-header:true/falseでヘッダ行の固定を設定
hide-default-footer:テーブルのフッタを非表示にする(非表示にするだけ、デフォルトで件数が指定されている場合はそれ以上表示されないため表示件数をAllに変更してから書く)
item-per-page=-1:ページングせずに全行表示
height:テーブルの高さ(スクロールで全件表示できるように)
子要素の表示
      <!-- 展開 -->
      <template #expanded-item="{ item }">
        <td></td>
        <td></td>
        <td>
          <template v-for ="(child,key) in item.childData">
            <div v-text="child.category" :key="key"></div>
          </template>
        </td>
        <td>
          <template v-for ="(child,key) in item.childData">
            <div v-text="child.menu" :key="key"  class="padding"></div>
          </template>
        </td>
        <td>
          <template v-for ="(child,key) in item.childData">
            <div v-text="child.price" :key="key" class="padding"></div>
          </template>
        </td>
      </template>
公式サイトでは展開したレコードにはカラム関係なく説明文などを表示するイメージですが、今回は展開したレコードでもカラムに沿ったデータを表示したかったため画像のように、<td>タグをヘッダカラムと同数記述することで実装しました。
※1レコードの中に複数の子データを表示している状態です。表示だけなら問題はないですが、各子データのレコードを押下できるようにしたいなどの場合はまた別の記述になると思われます。
データ
使用するデータは以下の通りです。デフォルトではソート機能が付いていますが、今回の実装では必要なかったため、sortable:falseで無効にしています。
            tableColumns: [
              { id:1, text: 'カテゴリー',value: 'category', sortable: false},
              { id:2, text: 'メニュー', value: 'menu', sortable: false},
              { id:3, text: '値段', value: 'price', sortable: false},
            ],
            tableDataList: [
              {id:'1', category:'メイン', menu:'', price:'', childData:[
                {id:'2', category:'', menu:'ハンバーグ', price:'1000円' },
                {id:'3', category:'', menu:'ナポリタン', price:'900円' },]},
              {id:'4', category:'サラダ', menu:'', price:'', childData:[
                {id:'5', category:'', menu:'シーザーサラダ', price:'500円' },
                {id:'6', category:'', menu:'チョレギサラダ', price:'500円' },]},
              {id:'7', category:'デザート', menu:'', price:'', childData:[
                {id:'8', category:'', menu:'ショートケーキ', price:'600円' },
                {id:'9', category:'', menu:'ガトーショコラ', price:'600円' },]},
              {id:'10', category:'ドリンク', menu:'', price:'', childData:[
                {id:'11', category:'', menu:'コーヒー', price:'350円' },
                {id:'12', category:'', menu:'紅茶', price:'350円' },]},
            ],
まとめ
展開可能なテーブルの作成方法、各カラムに合わせたデータの挿入方法をまとめました。Vuetifyを使い慣れていないので展開部分など他にも書き方があるかもしれないですが、このようなテーブルを作成する際にはご参考になれば幸いです。


