概要
3月某日会社にて
- 仕事でプロトタイプを作成しているときに、大量のデータを一度に表示しそうな事案がある
- よろしいならば噂のWebFluxを利用してみよう
- Thymeleafで表示してみよう
ということで、調べたときのまとめです。
WebFluxのあれこれは後でまとめたい(ここの説明では省きます)
余談
Spring Boot 2.0 goes GA
とうとうSpring Bootが正規版で公開されましたね
利用が加速してドキュメントが増えてくれると嬉しいですね(`・ω・´)
Spring Initializr もデフォが2.0.0になっています
開発
必要な設定やコードを書きます。
WebFlux + Thymeleafで動作確認をするための最小構成です。
dependencies
(当たり前ですが)Spring Boot2系が必要
- spring-boot-starter-webflux
- spring-boot-starter-thymeleaf
	<parent>
		<groupId>org.springframework.boot</groupId>
		<artifactId>spring-boot-starter-parent</artifactId>
		<version>2.0.0.RELEASE</version>
		<relativePath/> <!-- lookup parent from repository -->
	</parent>

	<dependencies>
		<dependency>
			<groupId>org.springframework.boot</groupId>
			<artifactId>spring-boot-starter-thymeleaf</artifactId>
		</dependency>
		<dependency>
			<groupId>org.springframework.boot</groupId>
			<artifactId>spring-boot-starter-webflux</artifactId>
		</dependency>
	<dependencies>
Controller
いつものthymeleafで利用するテンプレートの名前を返す処理に、Fluxをテンプレートに渡す処理を追加しましょう。
Fluxについてはこちら -> [23. WebFlux framework] (https://docs.spring.io/spring/docs/5.0.0.BUILD-SNAPSHOT/spring-framework-reference/html/web-reactive.html#web-reactive)
@Controller
@RequestMapping("/test")
public class WebController {

    @GetMapping
    public String index(Model model) {
        Flux<String> flux = Flux
                .range(0, 5)
                .map(i -> "count :" + i)
                .repeat(10)
                .delayElements(Duration.ofSeconds(1L));

        model.addAttribute("items", new ReactiveDataDriverContextVariable(flux, 1));

        return "index";
    }
}
上記のFluxインスタンスの処理説明
| メソッド | 概要 |
|---|---|
| range | 0から4までインクリメントして出力するFluxの生成 |
| map |
count : 0のような文字列を出力するFluxを返す |
| repeat | 上記Fluxを10回繰り返す |
| delayElements | Fluxの出力毎のdelayを設定 |
上記コードでやっていることは以下の通り
- Fluxのインスタンスを生成
- 生成したインスタンスを
ReactiveDataDriverContextVariableでwrapしてModelに渡す
ReactiveDataDriverContextVariable
新しいThymeleafのクラス
org.thymeleaf.spring5.context.webflux.ReactiveDataDriverContextVariable;
このクラスでFluxインスタンスをwrapしてorg.springframework.ui.ModelにaddするだけでData-Drivenモードとして動作する。
これにより、サーバ側で非同期的に出力したデータをSSE(Server Sent Event)で逐次的に表示側に送信される。
(ココらへん雰囲気的な理解度なので、理解が進んだら追記していきます。)
template
ここは、ModelにListインスタンスが渡された時と同様に書いておけばOKです。
特別な記述は必要ありません。
<html xmlns:th="http://www.w3.org/1999/xhtml">
<head>
</head>
<body>
<h1>FluxTest</h1>
<table>
    <thead>
    <tr>
        <th>title</th>
    </tr>
    </thead>

    <tbody>
    <tr th:each="item : ${items}">
        <td>[[${item}]]</td>
    </tr>
    </tbody>
</table>
</body>
</html>
デモ
 ※最初に幾つか表示されてしまっているのは、ただの録画ミスです(´;ω;`)ブワッ
これではじめてのWebFlux + Thymeleafができました!
※最初に幾つか表示されてしまっているのは、ただの録画ミスです(´;ω;`)ブワッ
これではじめてのWebFlux + Thymeleafができました!
調査中にハマったところ
もともとプロトタイプ作成初期はSpring Boot 1系を利用していたときに
WebFluxを利用してみようと思い適当に依存を追加してコードを直したら以下のような表示になっていた。
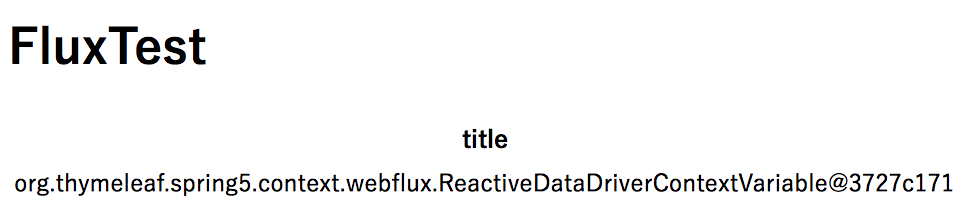
curlコマンドなどで、content-type: text/event-stream等を指定して単純なテキストを返したりする限りでは、しっかりとFluxの挙動をしていたため、最初はThymeleafの設定追加等を疑っていたが全く見つからず悩むこと数時間…
		<dependency>
			<groupId>org.springframework.boot</groupId>
			<artifactId>spring-boot-starter-webflux</artifactId>
		</dependency>

		<dependency>
			<groupId>org.springframework.boot</groupId>
			<artifactId>spring-boot-starter-web</artifactId>
		</dependency>
spring-boot-starter-webと一緒に依存関係に追加してしまっていたため
Thymeleafが以前までの解釈でテンプレを生成していたのではないかと。
通常のAPIとかは両方依存関係に存在しても問題なく動作しました/(^o^)\
まとめ
- Spring-Boot2が正式にリリースされました
- 使う機会があったりなかったりするかもしれませんが、入門するときの参考になれば
-
spring-boot-starter-webfluxとspring-boot-starter-webは一緒に定義するとThymeleafが正常に動作しない
SpringFramework5系 + SpringBoot2系をキャッチアップしておかねば(^o^