福岡から世界中の"むずかしい"を簡単にする株式会社diffeasyCTOの西@_takeshi_24です。
この記事はアドベントカレンダー「diffeasyCTO西の24(にし)日連続投稿チャレンジ Advent Calendar 2019」の9日目の記事です。
この記事は「Nuxt.jsとFirebaseとCloudFunctionsでWebアプリ開発」シリーズとして、連載していきます。
Nuxt.jsとFirebaseなどを使ってWebアプリケーション開発にチャレンジしたい方、是非Qiitaアカウントかtwitterをフォローしていただき、ツッコミやいいね!お願いします!
今回はアプリケーションにプッシュ通知を送るための、Firebase Cloud Messagingについて説明します。
Webアプリケーションにもプッシュ通知可能ですが、iOSのWebアプリケーションは対象外になります。
はじめに
こちらの記事は、「Nuxt.jsとFirebaseとCloudFunctionsでWebアプリ開発」シリーズとして連載していますので、「diffeasyCTO西の24(にし)日連続投稿チャレンジ Advent Calendar 2019」の過去の記事もご覧ください。
CloudMessagingの設定
1.Firebaseコンソール画面から「Project Overview」横の「設定」を開き、「クラウド メッセージング」のタブを開く。
2.画面下の「ウェブ設定」の「ウェブプッシュ証明書」にある「鍵ペアを生成」をクリック。
3.鍵ペアが生成されます。
Nuxt.jsでの設定
1.nuxt.config.jsに以下の設定を追加します。
  manifest: {
    gcm_sender_id: '103953800507'
  }
※gcm_sender_idの値は固定です。
2.staticフォルダにfirebase-messaging-sw.jsファイルを以下の内容で作成します。
// Give the service worker access to Firebase Messaging.
// Note that you can only use Firebase Messaging here, other Firebase libraries
// are not available in the service worker.
importScripts("https://www.gstatic.com/firebasejs/6.3.4/firebase-app.js");
importScripts("https://www.gstatic.com/firebasejs/6.3.4/firebase-messaging.js");

// Initialize the Firebase app in the service worker by passing in the
// messagingSenderId.
firebase.initializeApp({
  messagingSenderId: "xxxxxxxxxxx"
});

// Retrieve an instance of Firebase Messaging so that it can handle background
// messages.
const messaging = firebase.messaging();
messagingSenderIdは、環境変数に設定したFB_MESSAGING_SENDER_IDと同じもので、Firebaseコンソールの「設定」→「全般」→「マイアプリ」→「Firebase SDK snippet」→「構成」の「messagingSenderId」で確認できます。
3.env.development.js、env.production.jsに上の「CloudMessagingの設定」で生成した鍵ペアの情報を追加します。
FB_PUBLIC_VAPID_KEY: "xxxxxxxxxxxxxxxxxxxxxxxx"
4./plugins/firebase.jsに以下の内容を追加します。
const firebaseMessaging = firebase.messaging();
firebaseMessaging.usePublicVapidKey(process.env.FB_PUBLIC_VAPID_KEY);

export const messaging = firebaseMessaging;
5./pages/index.vueに、通知用のトークンを取得する処理を追加します。このトークンは、特定のユーザーにのみ通知を送りたい場合に利用します。
createdで、CloudMessagingのトークンを取得し、updateUserFcmToken()で、Firestoreのusersコレクションに取得したトークンをセットします。
import firebase from "firebase";
import { messaging } from "~/plugins/firebase";
const db = firebase.firestore();

  created() {
    firebase.auth().onAuthStateChanged(async user => {
      try {
        await messaging.requestPermission();
        const currentToken = await messaging.getToken();
        if (currentToken) {
          this.updateUserFcmToken(user.uid, currentToken);
        }
      } catch (err) {
        console.log("not", err);
      }
      messaging.onTokenRefresh(async () => {
        // トークンがリフレッシュされた場合
        try {
          await messaging.requestPermission();
          const currentToken = await messaging.getToken();
          if (currentToken) {
            this.updateUserFcmToken(user.uid, currentToken);
          }
        } catch (err) {
          console.log("not", err);
        }
      });
    });
  },
  methods: {
    async updateUserFcmToken(uid, token) {
      await db
        .collection("users")
        .doc(uid)
        .set(
          {
            fcmToken: token
          },
          { merge: true }
        );
    }
  }
CloudMessagingから全体にプッシュ通知
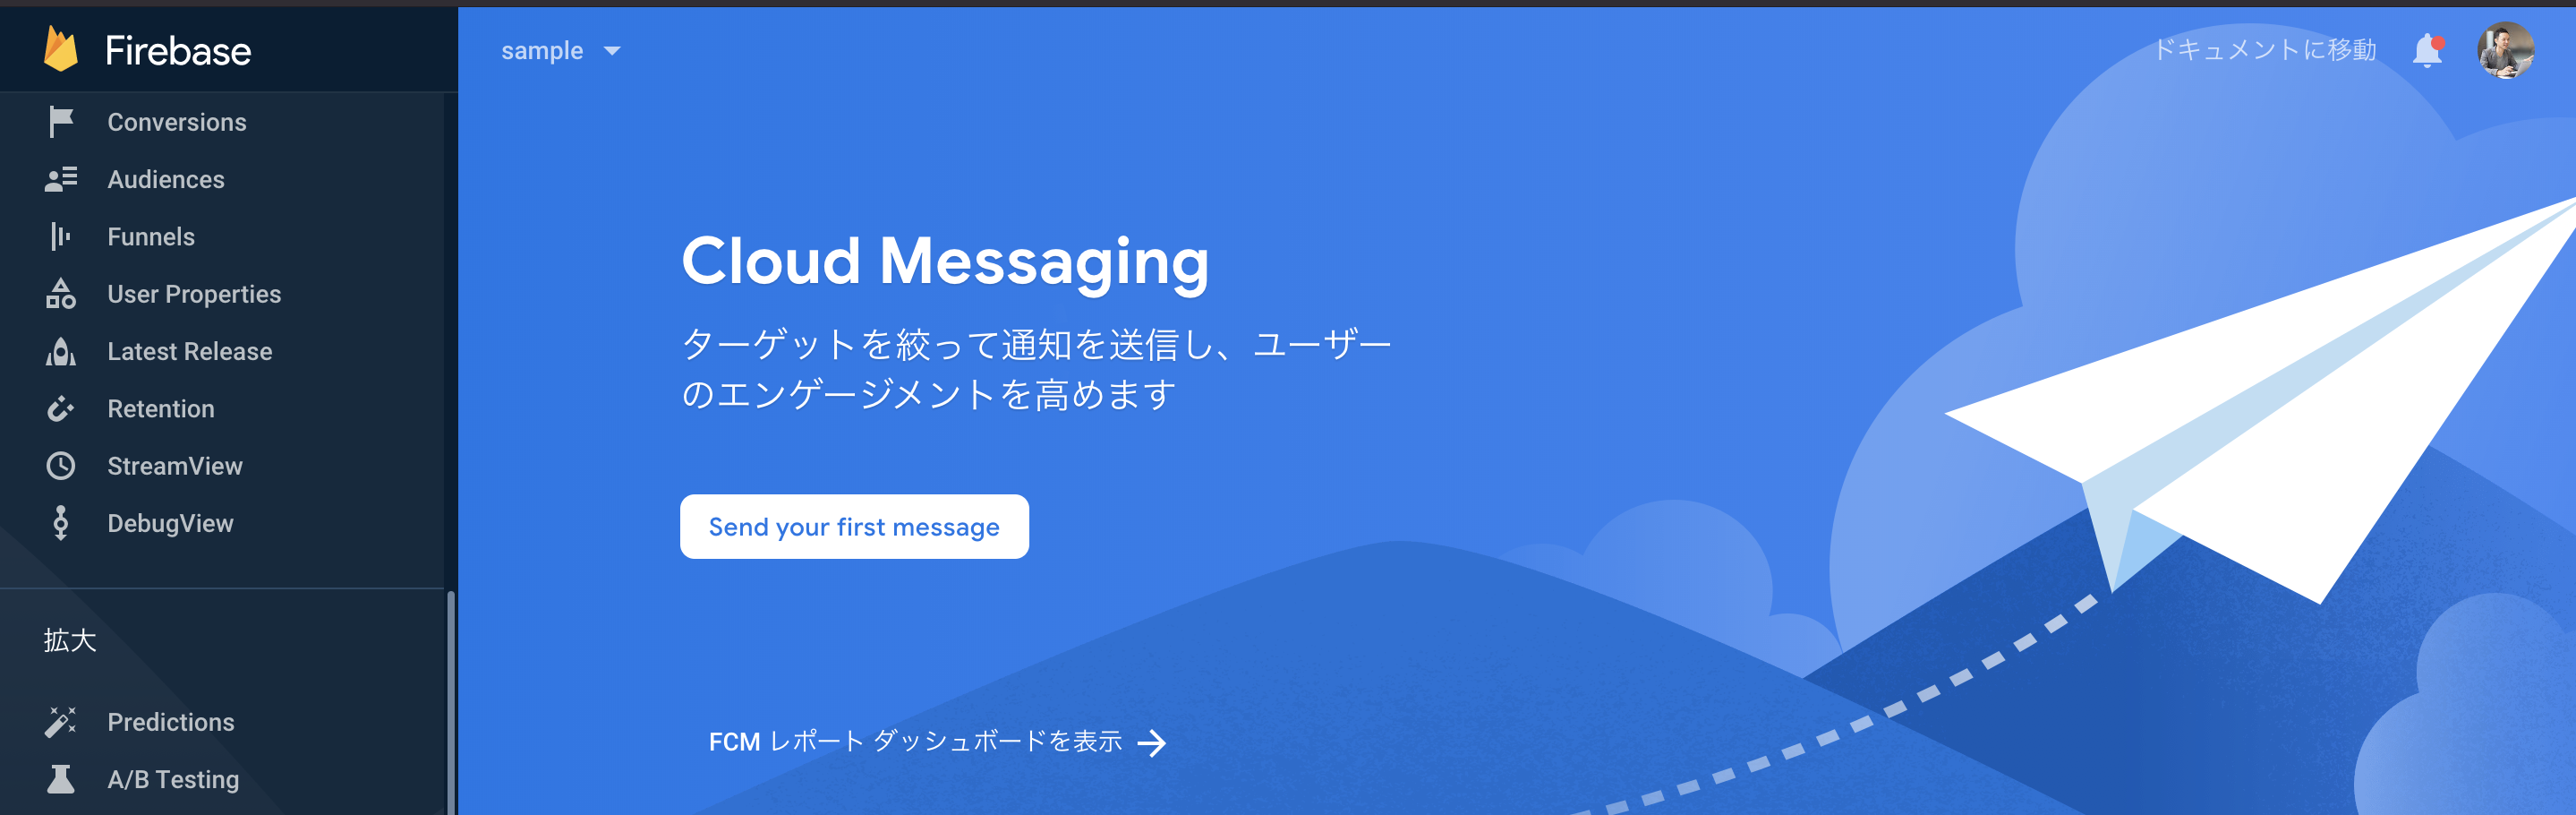
1.Firebaseのコンソール画面から「Cloud Messaging」の管理画面を開く。
2.「Send your first message」をクリックする。
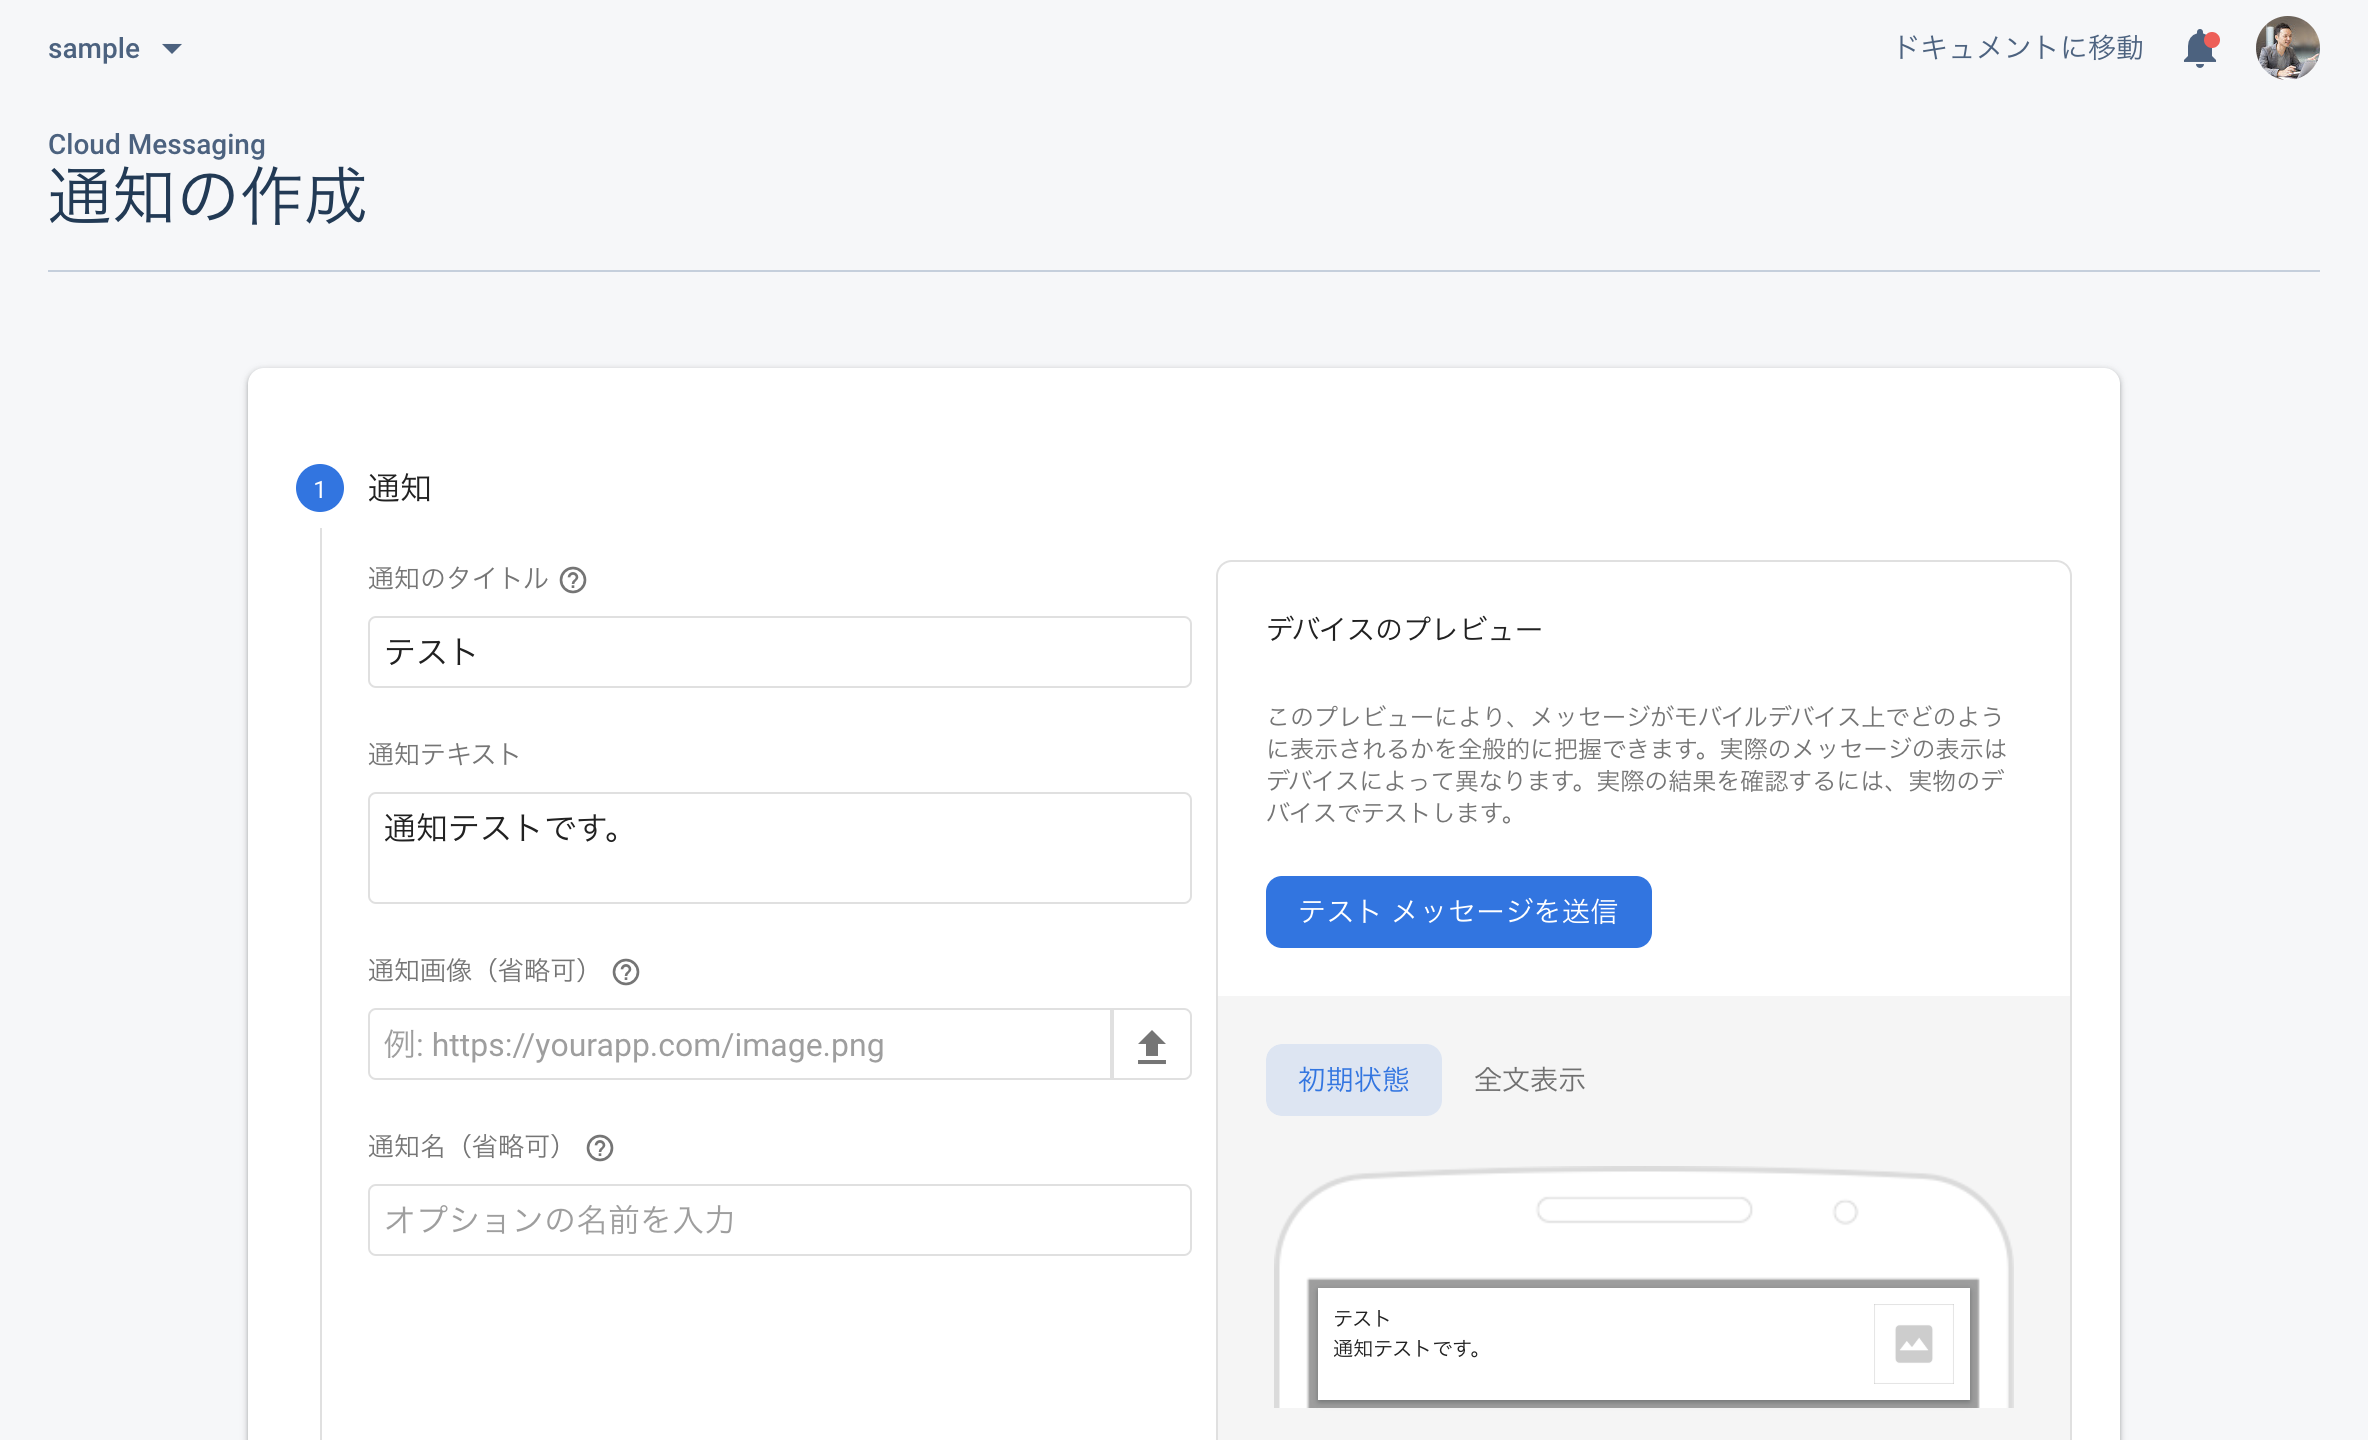
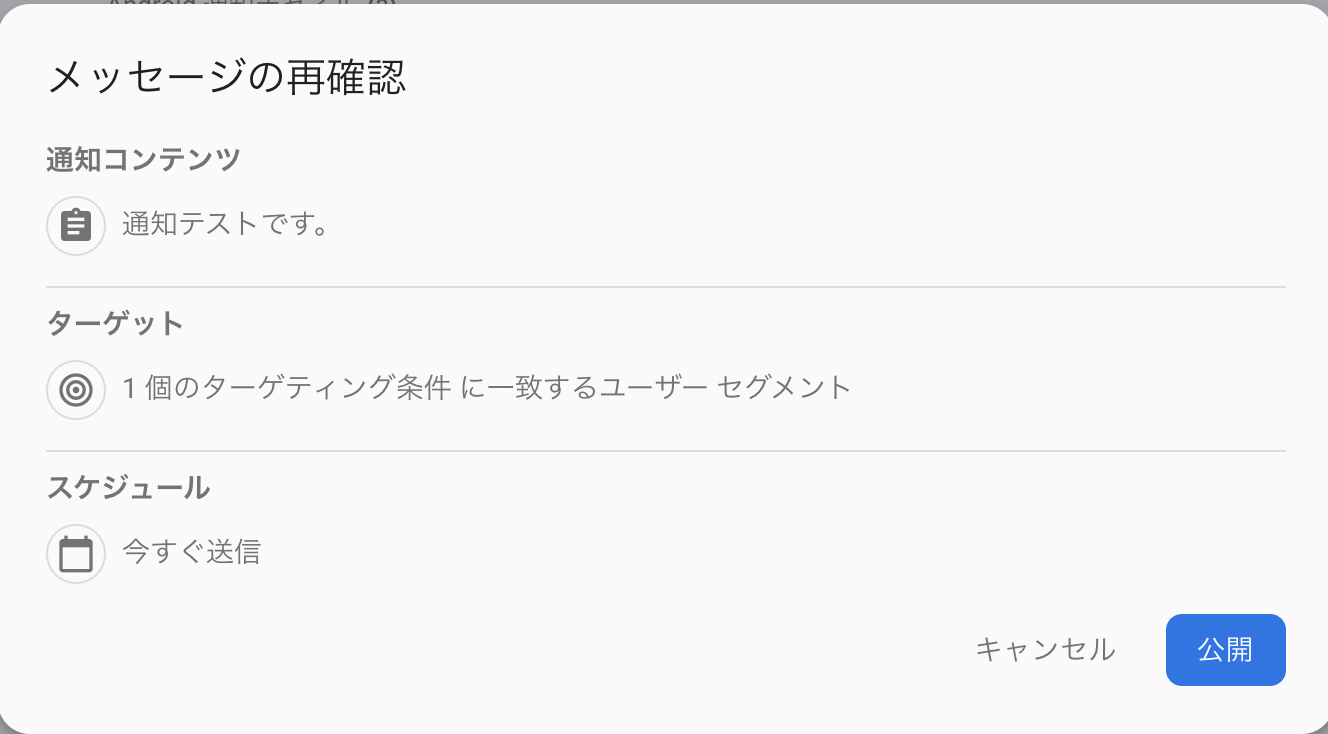
3.プッシュ通知内容を入力する。
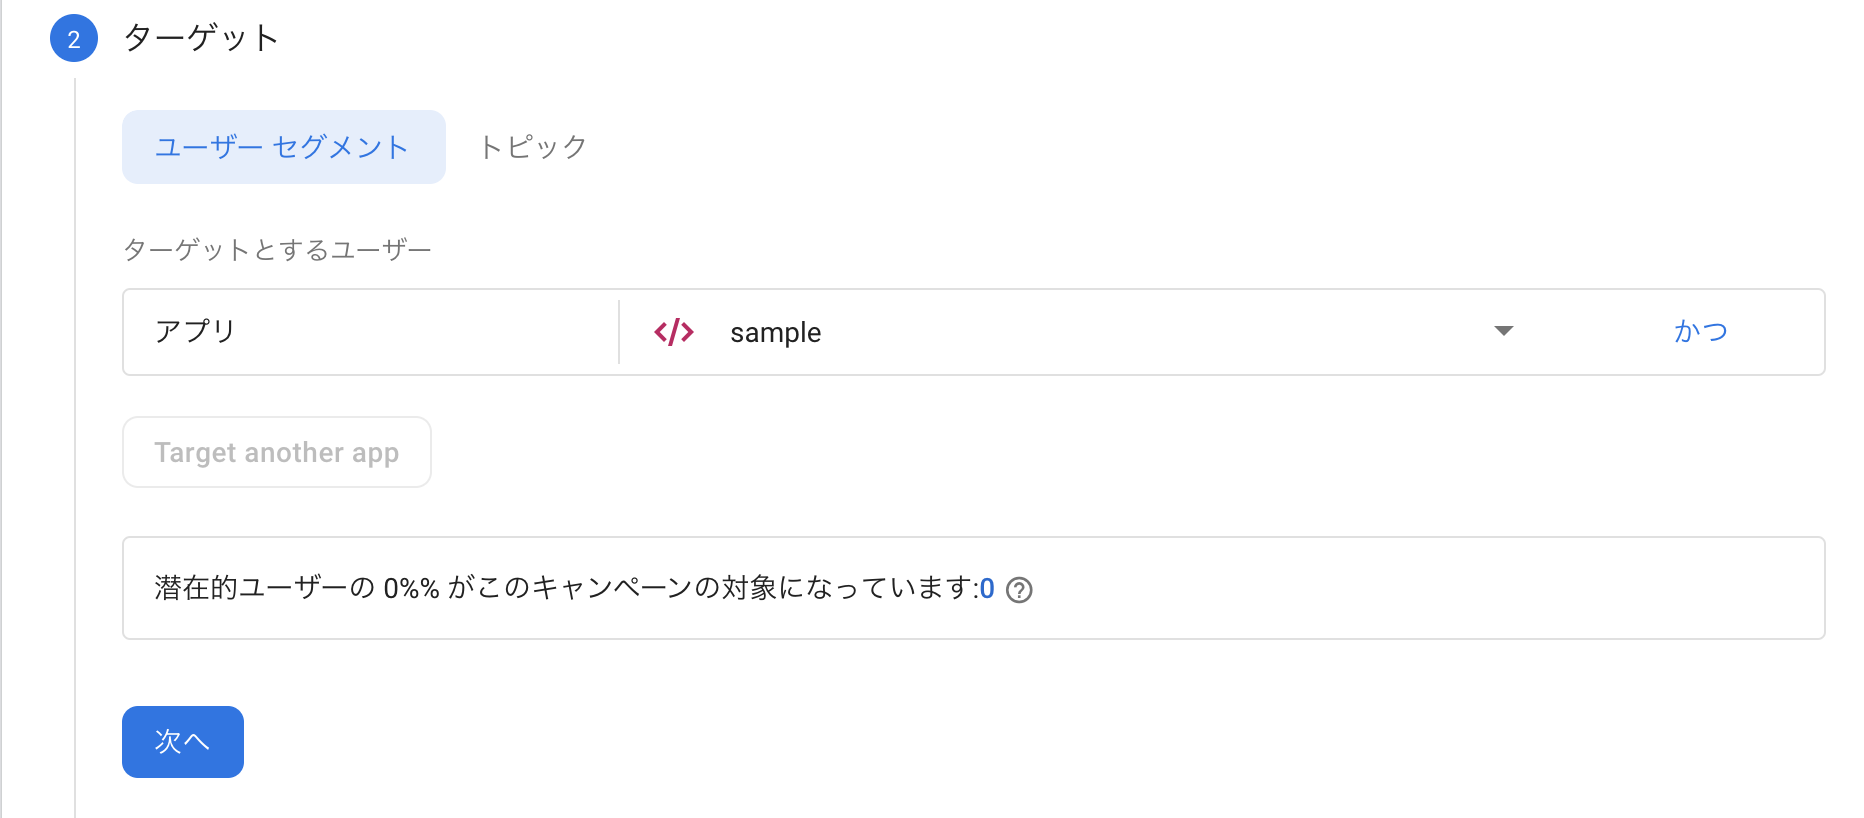
4.プッシュ通知対象を入力する。
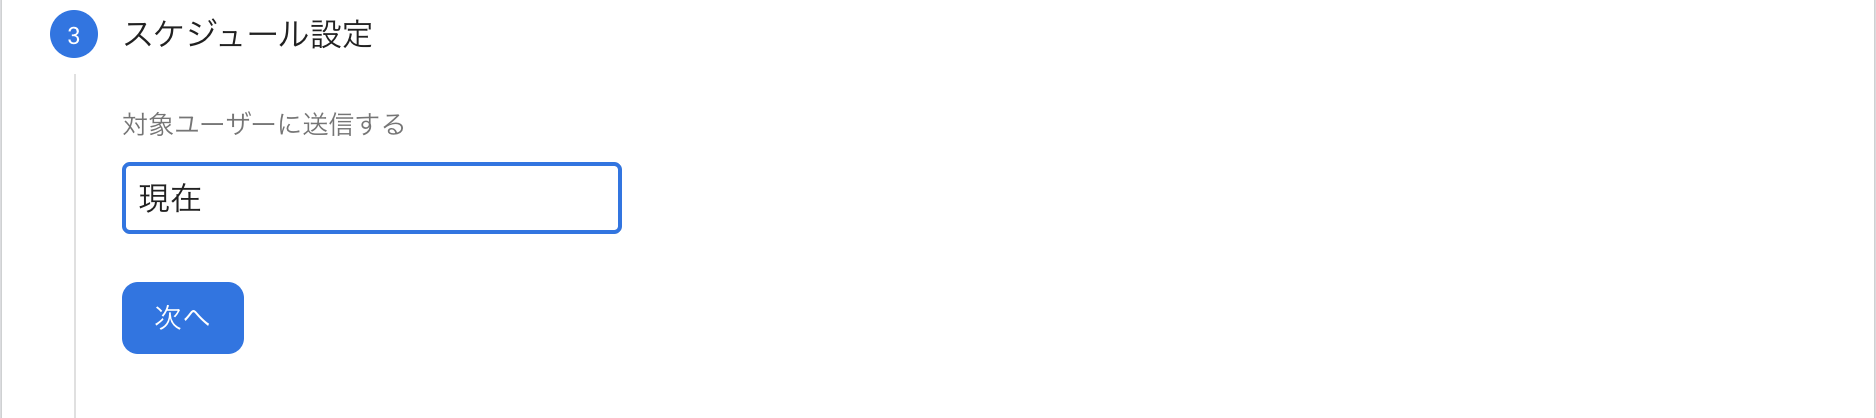
5.プッシュ通知のスケジュールを選択する。
6.「コンバージョン イベント」、「その他のオプション」も必要に応じて入力する。
7.「確認」をクリックし、内容を確認して「公開」する。
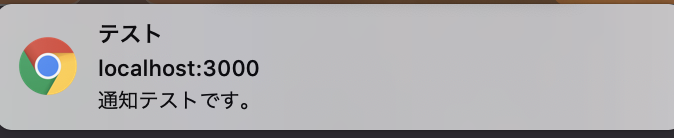
8.プッシュ通知が送られます。
CloudMessagingで特定のユーザーにプッシュ通知
チャットアプリなど、メッセージを受け取った時などに、特定のユーザーのみに通知を送りたい場合があります。
先ほどusersにセットしたトークンを利用して、特定のユーザーにプッシュ通知を送ります。
次回の記事「FirebaseのFirestore更新をトリガーにFunctionsでプッシュ通知」では、Firestoreのデータが更新された時に、それをトリガーとして、特定のユーザーにプッシュ通知を送る処理について説明します。
最後に
この記事は「Nuxt.jsとFirebaseとCloudFunctionsでWebアプリ開発」シリーズとして、連載していきます。
続きはアドベントカレンダー「diffeasyCTO西の24(にし)日連続投稿チャレンジ Advent Calendar 2019」に掲載していきます。
Nuxt.jsとFirebaseなどを使ってWebアプリケーション開発にチャレンジしたい方、是非Qiitaアカウントかtwitterをフォローしていただき、ツッコミやいいね!お願いします!
#advent_24のハッシュタグでフィードバックいただけると嬉しいです!