きっかけ
・ラズパイにセンサー類付けて遊んでるけど、コンソール以外で出力させて測定値が周りの人にも分かるようにしたい
僕 「電子ペーパーって面白そうだなぁ。書き換えるときだけしか電力いらないから消費電力抑えられる?」
↓いざ買うときになって
僕 「画面の大きさに比べて割高やん」
使ったもの
・Raspberry Pi 3 model B+
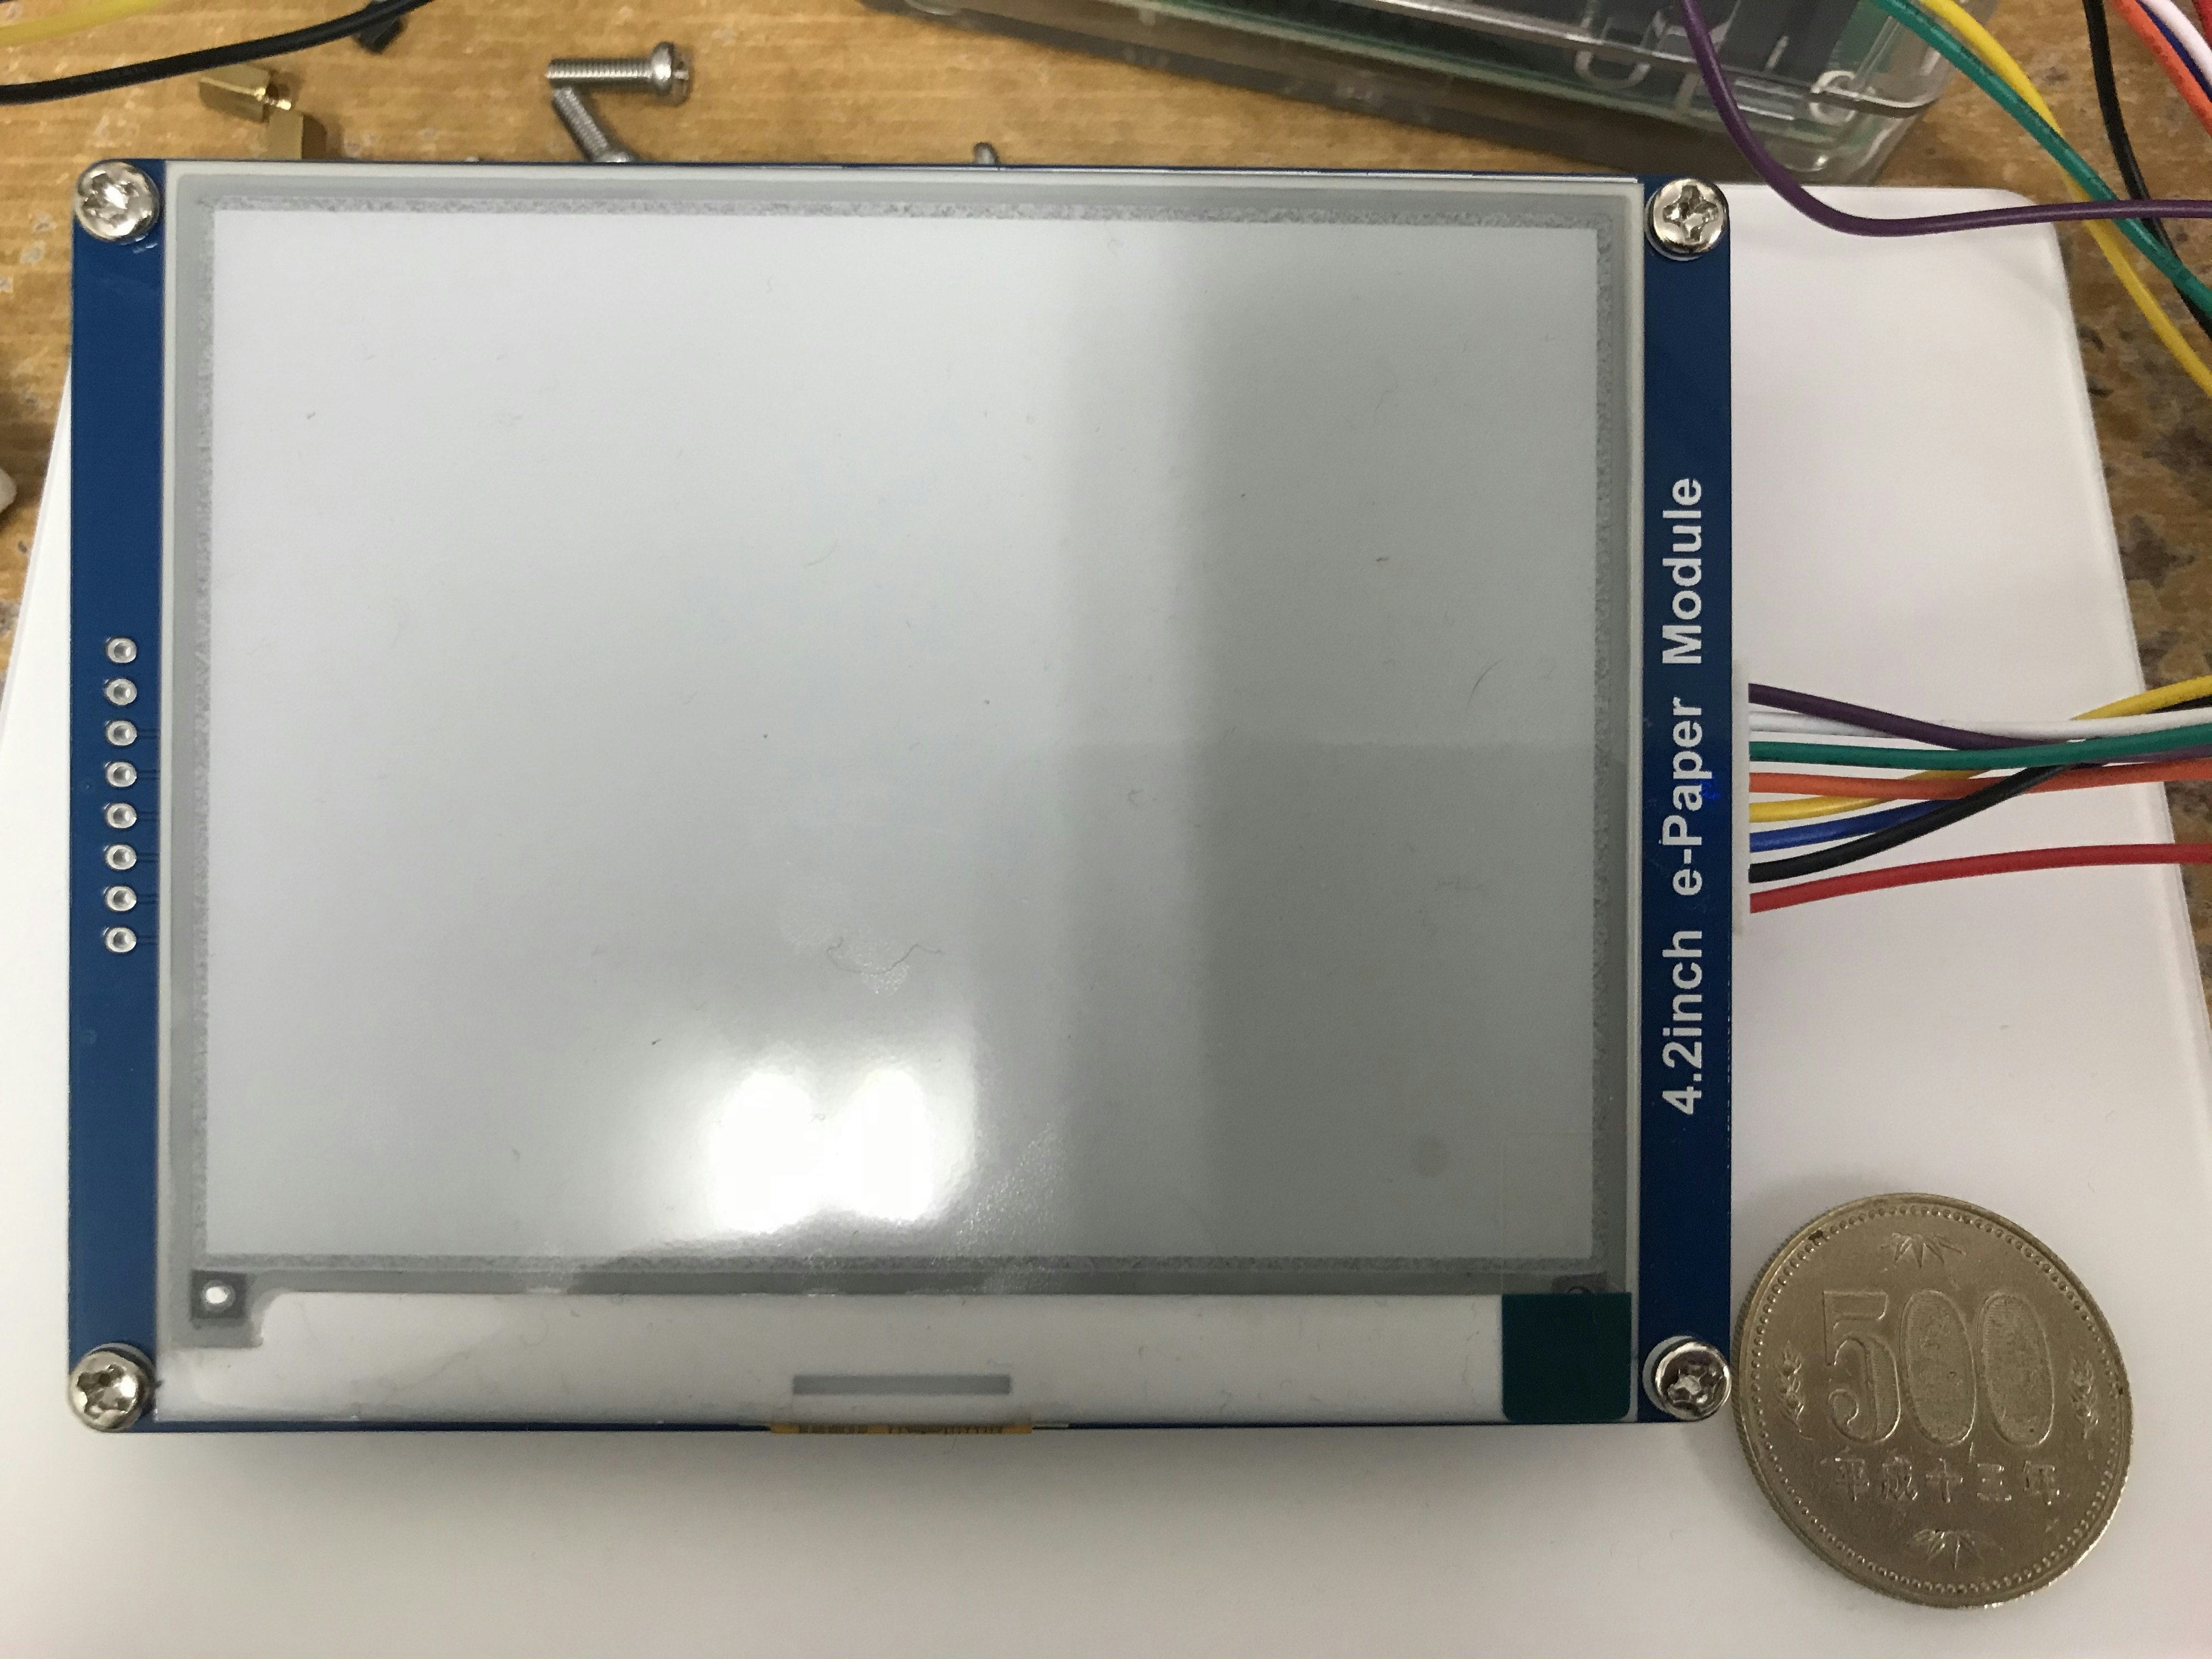
・電子ペーパーモジュール (4.2inch e-Paper Module)
・スペーサー (お好みで)
電子ペーパーモジュールはこんな感じ(秋葉原の千石電商で購入)

まあ大きさはこんなもんか
実際に動作させると描画にまあまあ時間がかかるみたい
動画は無理っすね
でもなんかおもしろい
手順
接続
付属のケーブルをe-Paper側のコネクタに接続
ラズパイのGPIOに接続する側はちゃんとメスになっているのでそのままラズパイと接続する
繋ぎ方は以下の通り
| ラズパイ側GPIOピン | 割当て | ジャンパワイヤの色 |
|---|---|---|
| 1 or 17 | VCC(3.3 V) | 赤 |
| GND | GND | 黒 |
| 19 | DIN | 青 |
| 23 | CLK | 黄 |
| 24 | CS | オレンジ |
| 22 | DC | 緑 |
| 11 | RST | 白 |
| 18 | BUSY | 紫 |

ラズパイ側の設定
↓メーカー側がかなり親切にやり方を載せている
https://www.waveshare.com/wiki/4.2inch_e-Paper_Module_(B)
raspi-configでSPIを有効化する
root@raspberrypi:/home/pi# raspi-config
↓
5 Interfacing Options  Configure connections to peripherals   ←これを選択
↓
P4 SPI         Enable/Disable automatic loading of SPI kernel module  ←これを選択
       ・
       ・
       ・
Would you like the SPI interface to be enabled? と表示が出るので<yes>を選択
再起動する
root@raspberrypi:/home/pi# reboot
BCM2835ライブラリをインストールする
root@raspberrypi:/home/pi# wget http://www.airspayce.com/mikem/bcm2835/bcm2835-1.60.tar.gz

root@raspberrypi:/home/pi# tar zxvf bcm2835-1.60.tar.gz

root@raspberrypi:/home/pi# cd bcm2835-1.60/

root@raspberrypi:/home/pi# ./configure

root@raspberrypi:/home/pi# make

root@raspberrypi:/home/pi# make check

root@raspberrypi:/home/pi# make install
wiringPiライブラリをインストールする
root@raspberrypi:/home/pi# apt update
root@raspberrypi:/home/pi# apt install wiringpi
その他Pythonのライブラリをインストールする
Python 2の場合
root@raspberrypi:/home/pi# apt install python-pip
root@raspberrypi:/home/pi# apt install python-pil
root@raspberrypi:/home/pi# apt install python-numpy
root@raspberrypi:/home/pi# pip install RPi.GPIO
root@raspberrypi:/home/pi# pip install spidev

Python 3の場合
root@raspberrypi:/home/pi# apt install python3-pip
root@raspberrypi:/home/pi# apt install python3-pil
root@raspberrypi:/home/pi# apt install python3-numpy
root@raspberrypi:/home/pi# pip3 install RPi.GPIO
root@raspberrypi:/home/pi# pip3 install spidev
プログラム
↓メーカーのサンプルプログラムがここに転がっている
https://www.waveshare.com/wiki/File:4.2inch-e-paper-module-b-code.7z
GitHubからも落とせる(今回はこっちの方法で)
root@raspberrypi:/home/pi# git clone https://github.com/waveshare/e-Paper

root@raspberrypi:/home/pi# cd cd e-Paper/RaspberryPi\&JetsonNano/python/examples/

root@raspberrypi:/home/pi# ls
epd_1in02_test.py     epd_2in13d_test.py    epd_5in83_test.py
epd_1in54_V2_test.py  epd_2in7_test.py      epd_5in83bc_test.py
epd_1in54_test.py     epd_2in7b_test.py     epd_7in5_V2_test.py
epd_1in54b_test.py    epd_2in9_test.py      epd_7in5_test.py
epd_1in54c_test.py    epd_2in9bc_test.py    epd_7in5b_V2_test.py
epd_2in13_V2_test.py  epd_2in9d_test.py     epd_7in5bc_test.py
epd_2in13_test.py     epd_4in2_test.py
epd_2in13bc_test.py   epd_4in2bc_test.py
`e-Paper/RaspberryPi\&JetsonNano/python/examples/`にある`epd_4in2bc_test.py`を修正して使う
# !/usr/bin/python
# -*- coding:utf-8 -*-
import sys
import os
picdir = os.path.join(os.path.dirname(os.path.dirname(os.path.realpath(__file__))), 'pic')
libdir = os.path.join(os.path.dirname(os.path.dirname(os.path.realpath(__file__))), 'lib')
if os.path.exists(libdir):
    sys.path.append(libdir)

import logging
from waveshare_epd import epd4in2bc
import time
from PIL import Image,ImageDraw,ImageFont
import traceback

logging.basicConfig(level=logging.DEBUG)

try:
    logging.info("epd4in2bc Demo")

    epd = epd4in2bc.EPD()
    logging.info("init and Clear")
    epd.init()
    epd.Clear()
    time.sleep(1)

    # Drawing on the image

    logging.info("3.read bmp file")
    HBlackimage = Image.open(os.path.join(picdir, 'hoge.bmp')
    HRYimage = Image.open(os.path.join(picdir, 'hoge.bmp'))
    epd.display(epd.getbuffer(HBlackimage), epd.getbuffer(HRYimage))
    time.sleep(2)

    logging.info("Goto Sleep...")
    epd.sleep()

except IOError as e:
    logging.info(e)

except KeyboardInterrupt:
    logging.info("ctrl + c:")
    epd4in2bc.epdconfig.module_exit()
    exit()
`e-Paper/RaspberryPi\&JetsonNano/python/examples/pic/`に`hoge.bmp`を置いておき、プログラムを動かすと画像が表示される ※4.2inchモデルではピクセル数が400×300なので、それに合わせたbmp画像を用意してやらないと上手く表示されないようである
 よく近づいて見るとドットが目立つけど、遠くからならそんなに気にならないですね
各種センサーから取得したデータを表示させるとこんな感じに(ここらへんの話は気が向いたら投稿します) ちなみにCO2の濃度センサーはこちらの記事でまとめました https://qiita.com/_shin_/items/dfdab160a49feaf4ba66
追記:
気温・湿度・気圧のデータはBME280から取得しました
https://qiita.com/_shin_/items/03972c7ec75519e900ce

他にも赤とか黄色とか出力できるモデルもあるようで
お金あったら買いたかった...
参考にしたサイト
・めちゃ親切だったメーカーのサイト
https://www.waveshare.com/wiki/4.2inch_e-Paper_Module_(B)
ありがとうございました