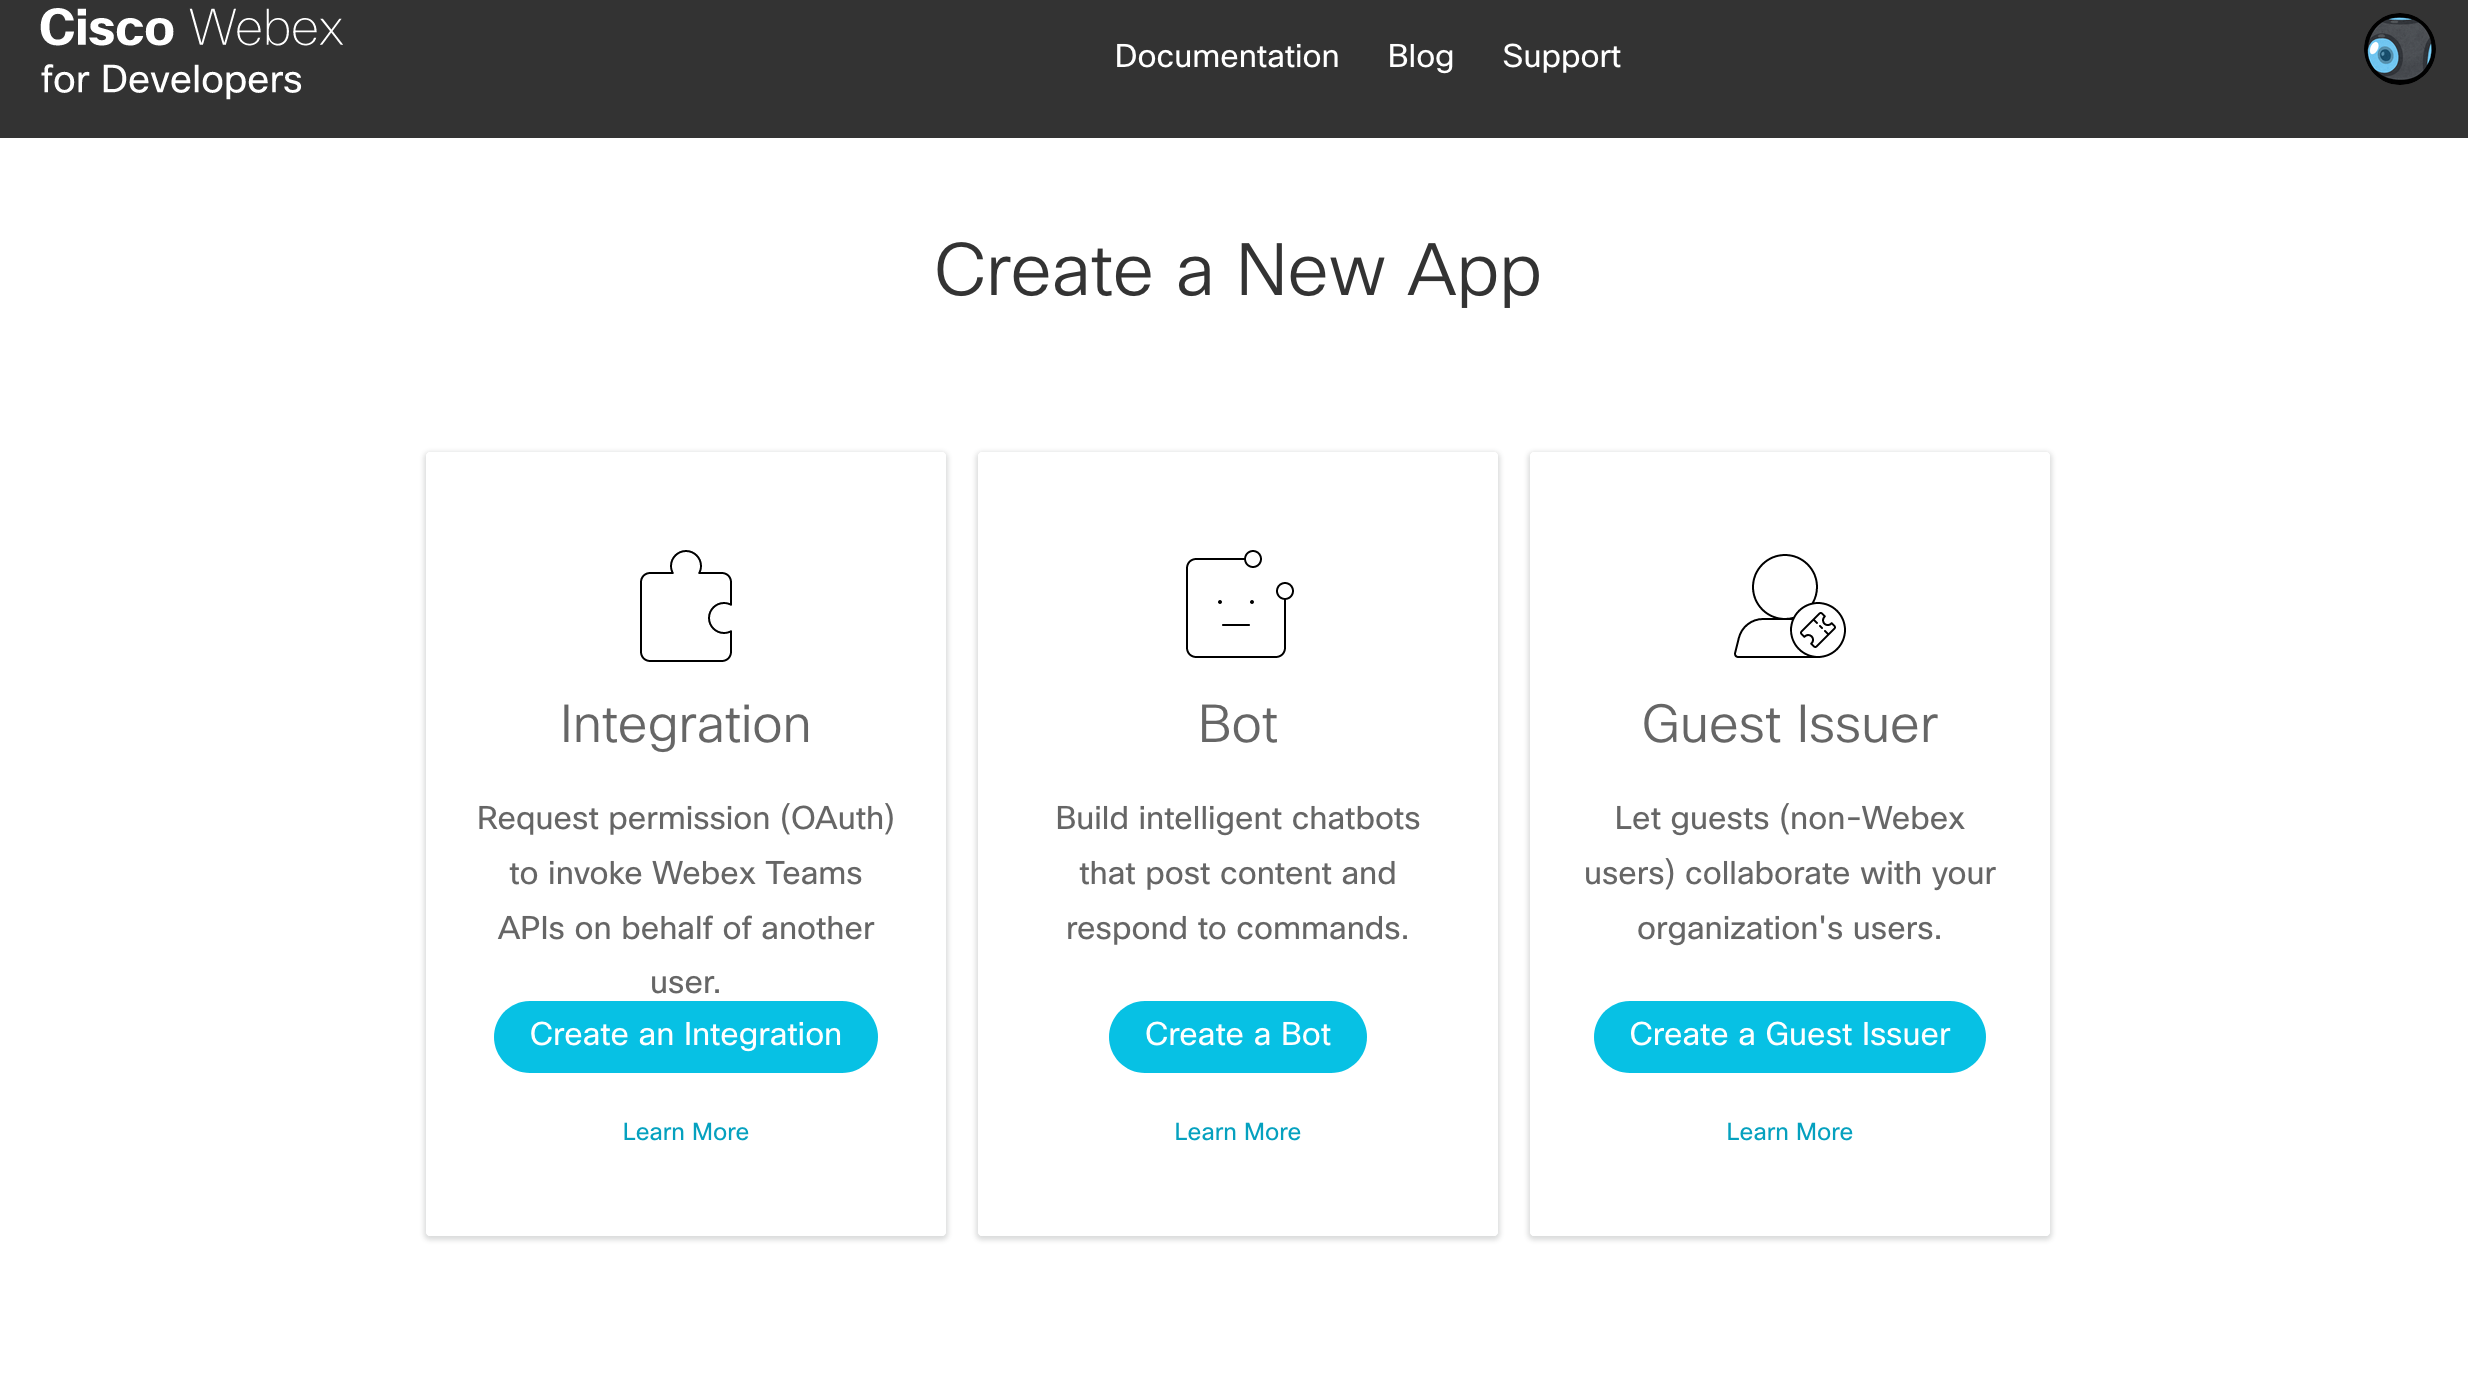
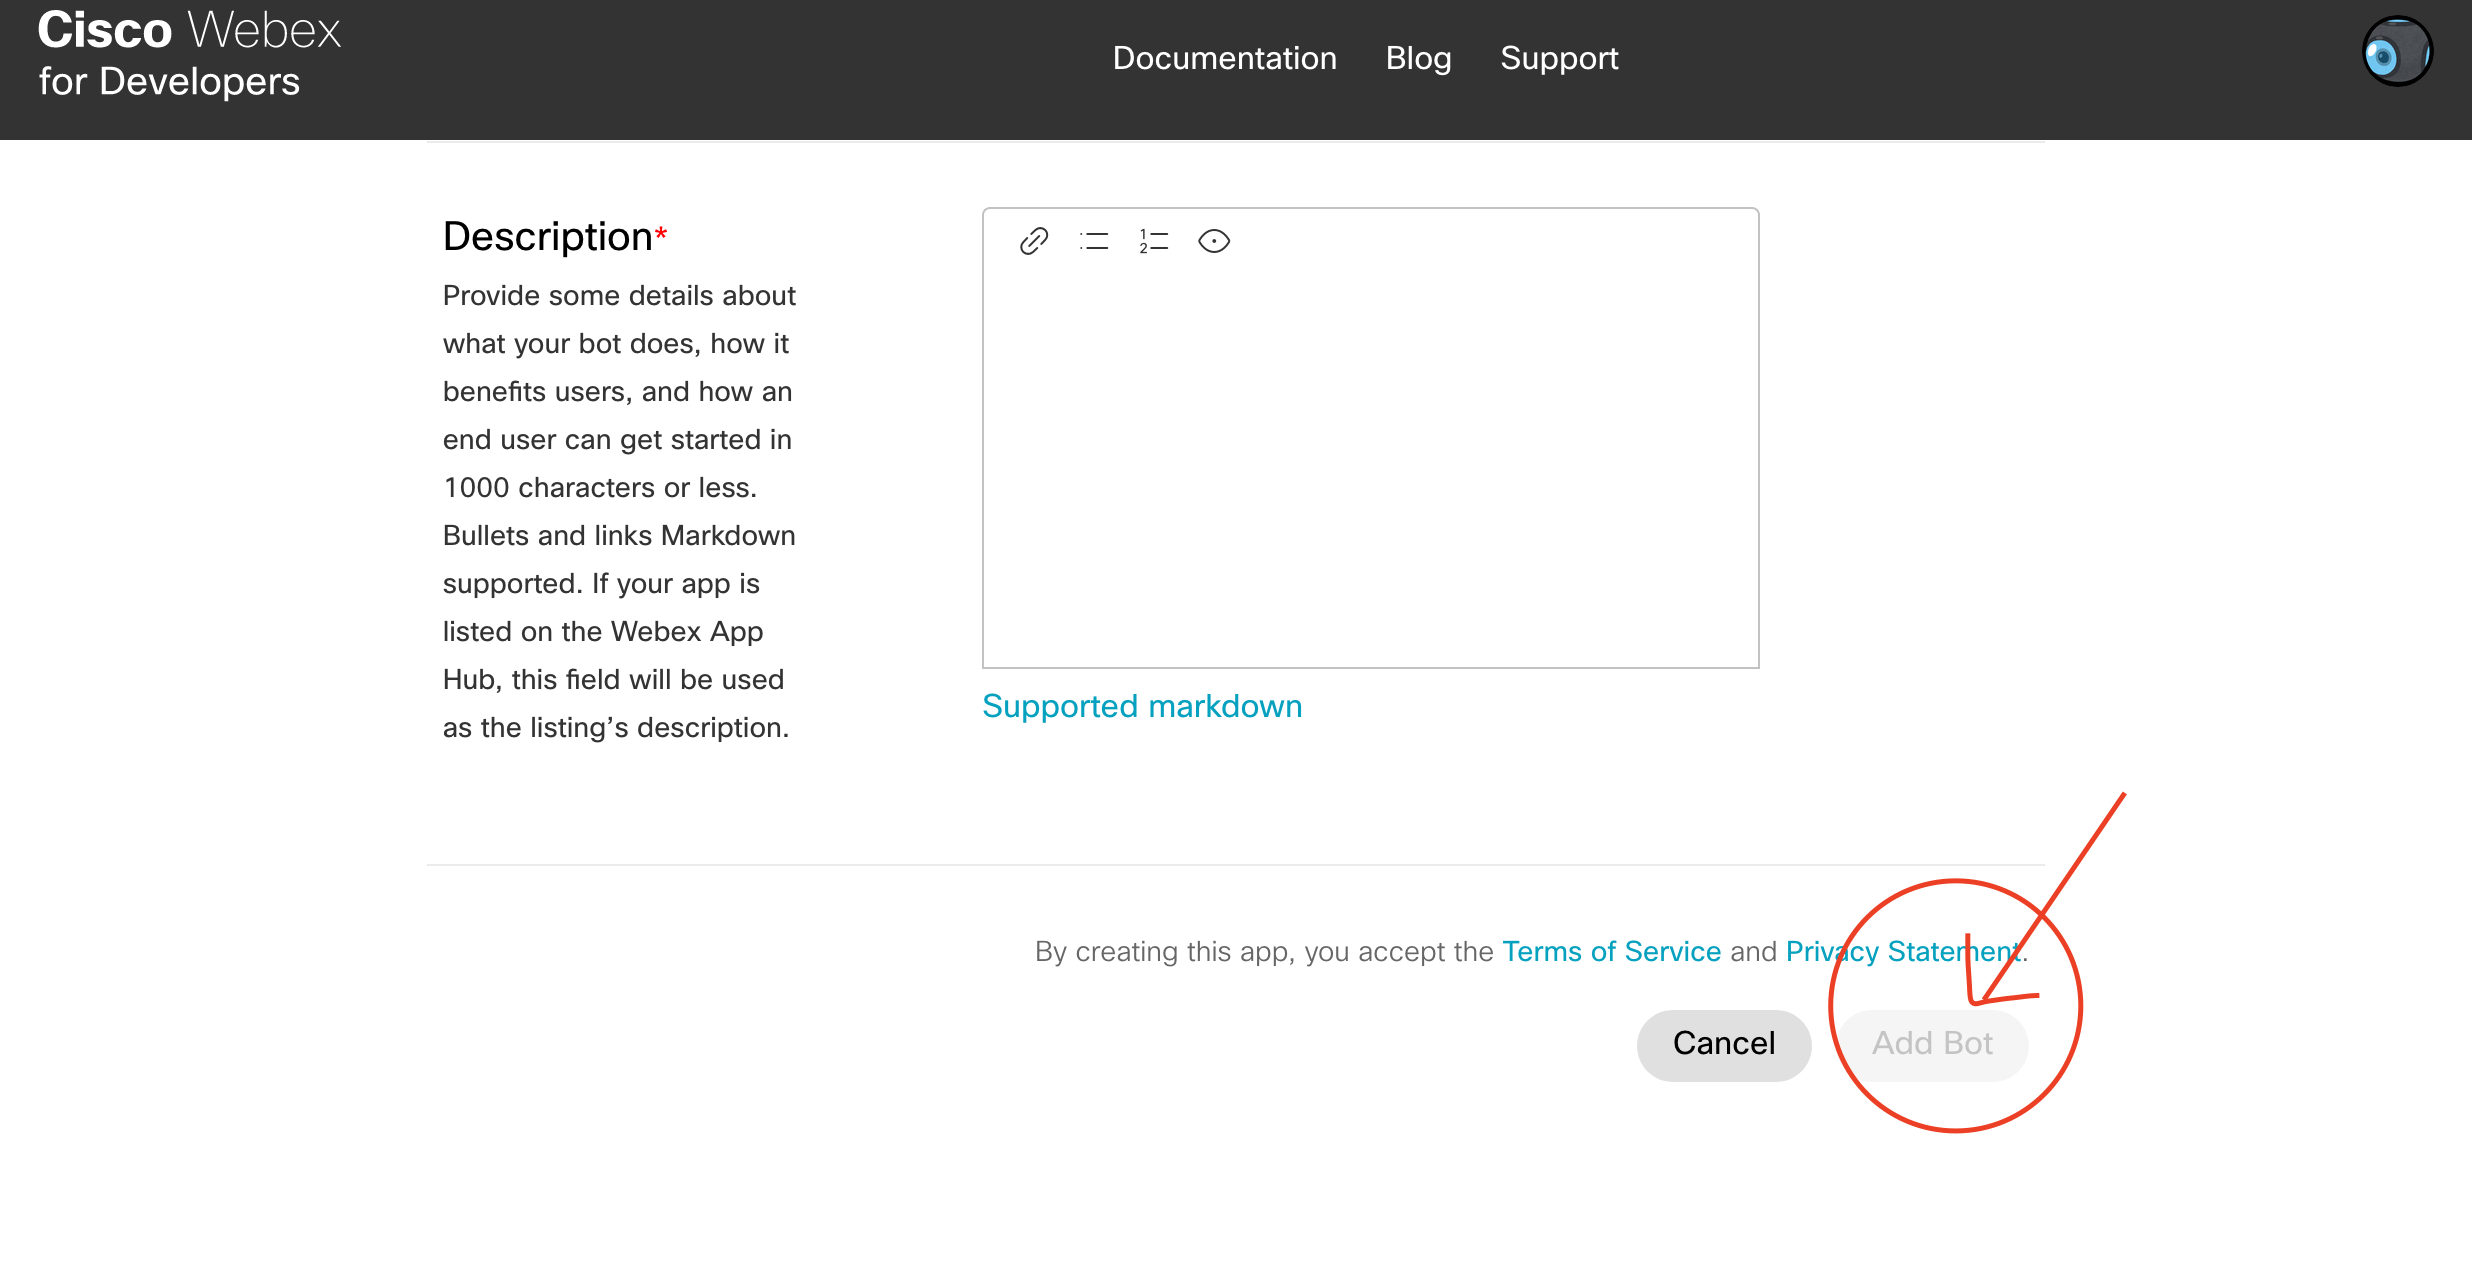
最近Cisco Webex Teamsを活用したシステム開発を行っている際、Webex Teamsのチャットボットを作る機会があり、自分用メモを残しておく。
また、今回はデモのため、サーバー公開にはngrokを用いる。
今回の流れは、以下の通りである。
・Cisco Webex Developersのアカウント取得
・アクセストークンの取得
・各種Pythonライブラリのインストール
・ngrokの準備
・実装
・動作確認
なお今回用いた開発環境は、以下の通りである。
・Raspberry Pi3 B +
・Python3
・ngrok
・Flask
Cisco Webex Developersのアカウント取得
まずはこのサイトにアクセス。
https://developer.webex.com/

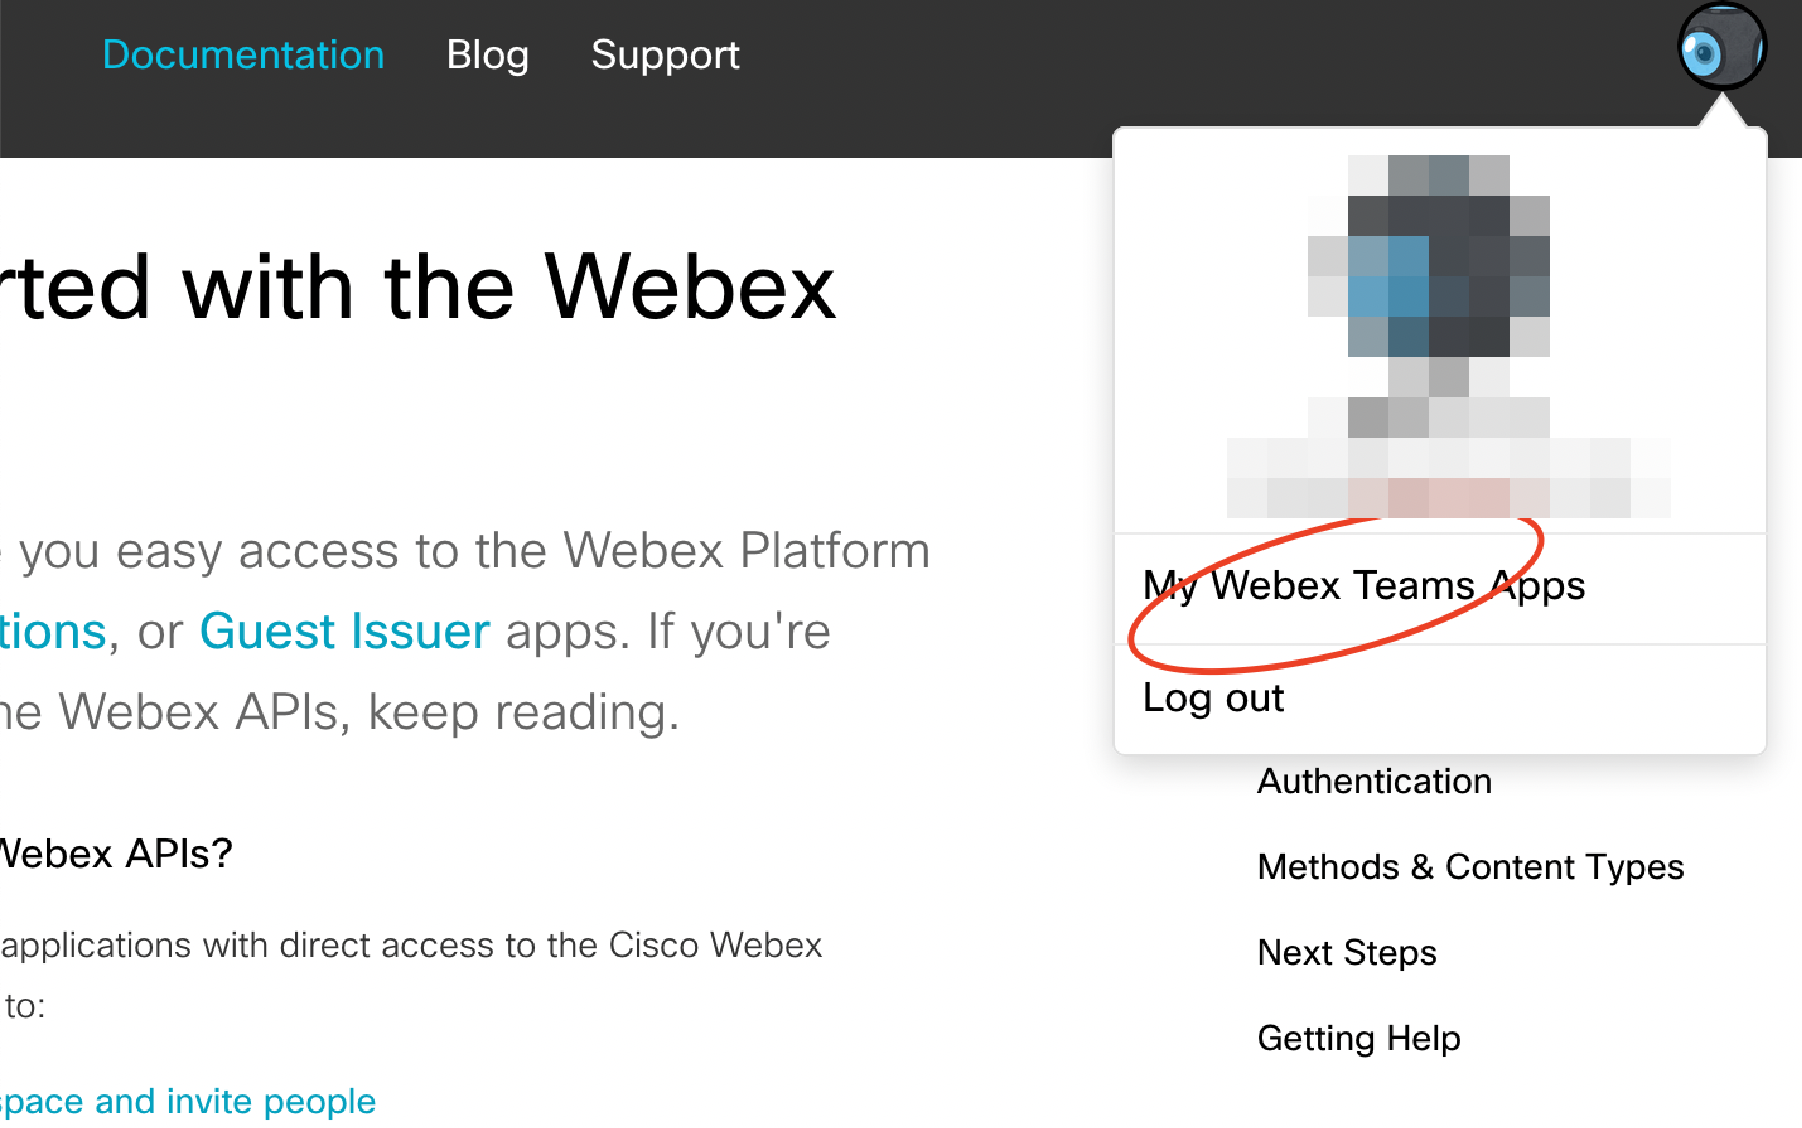
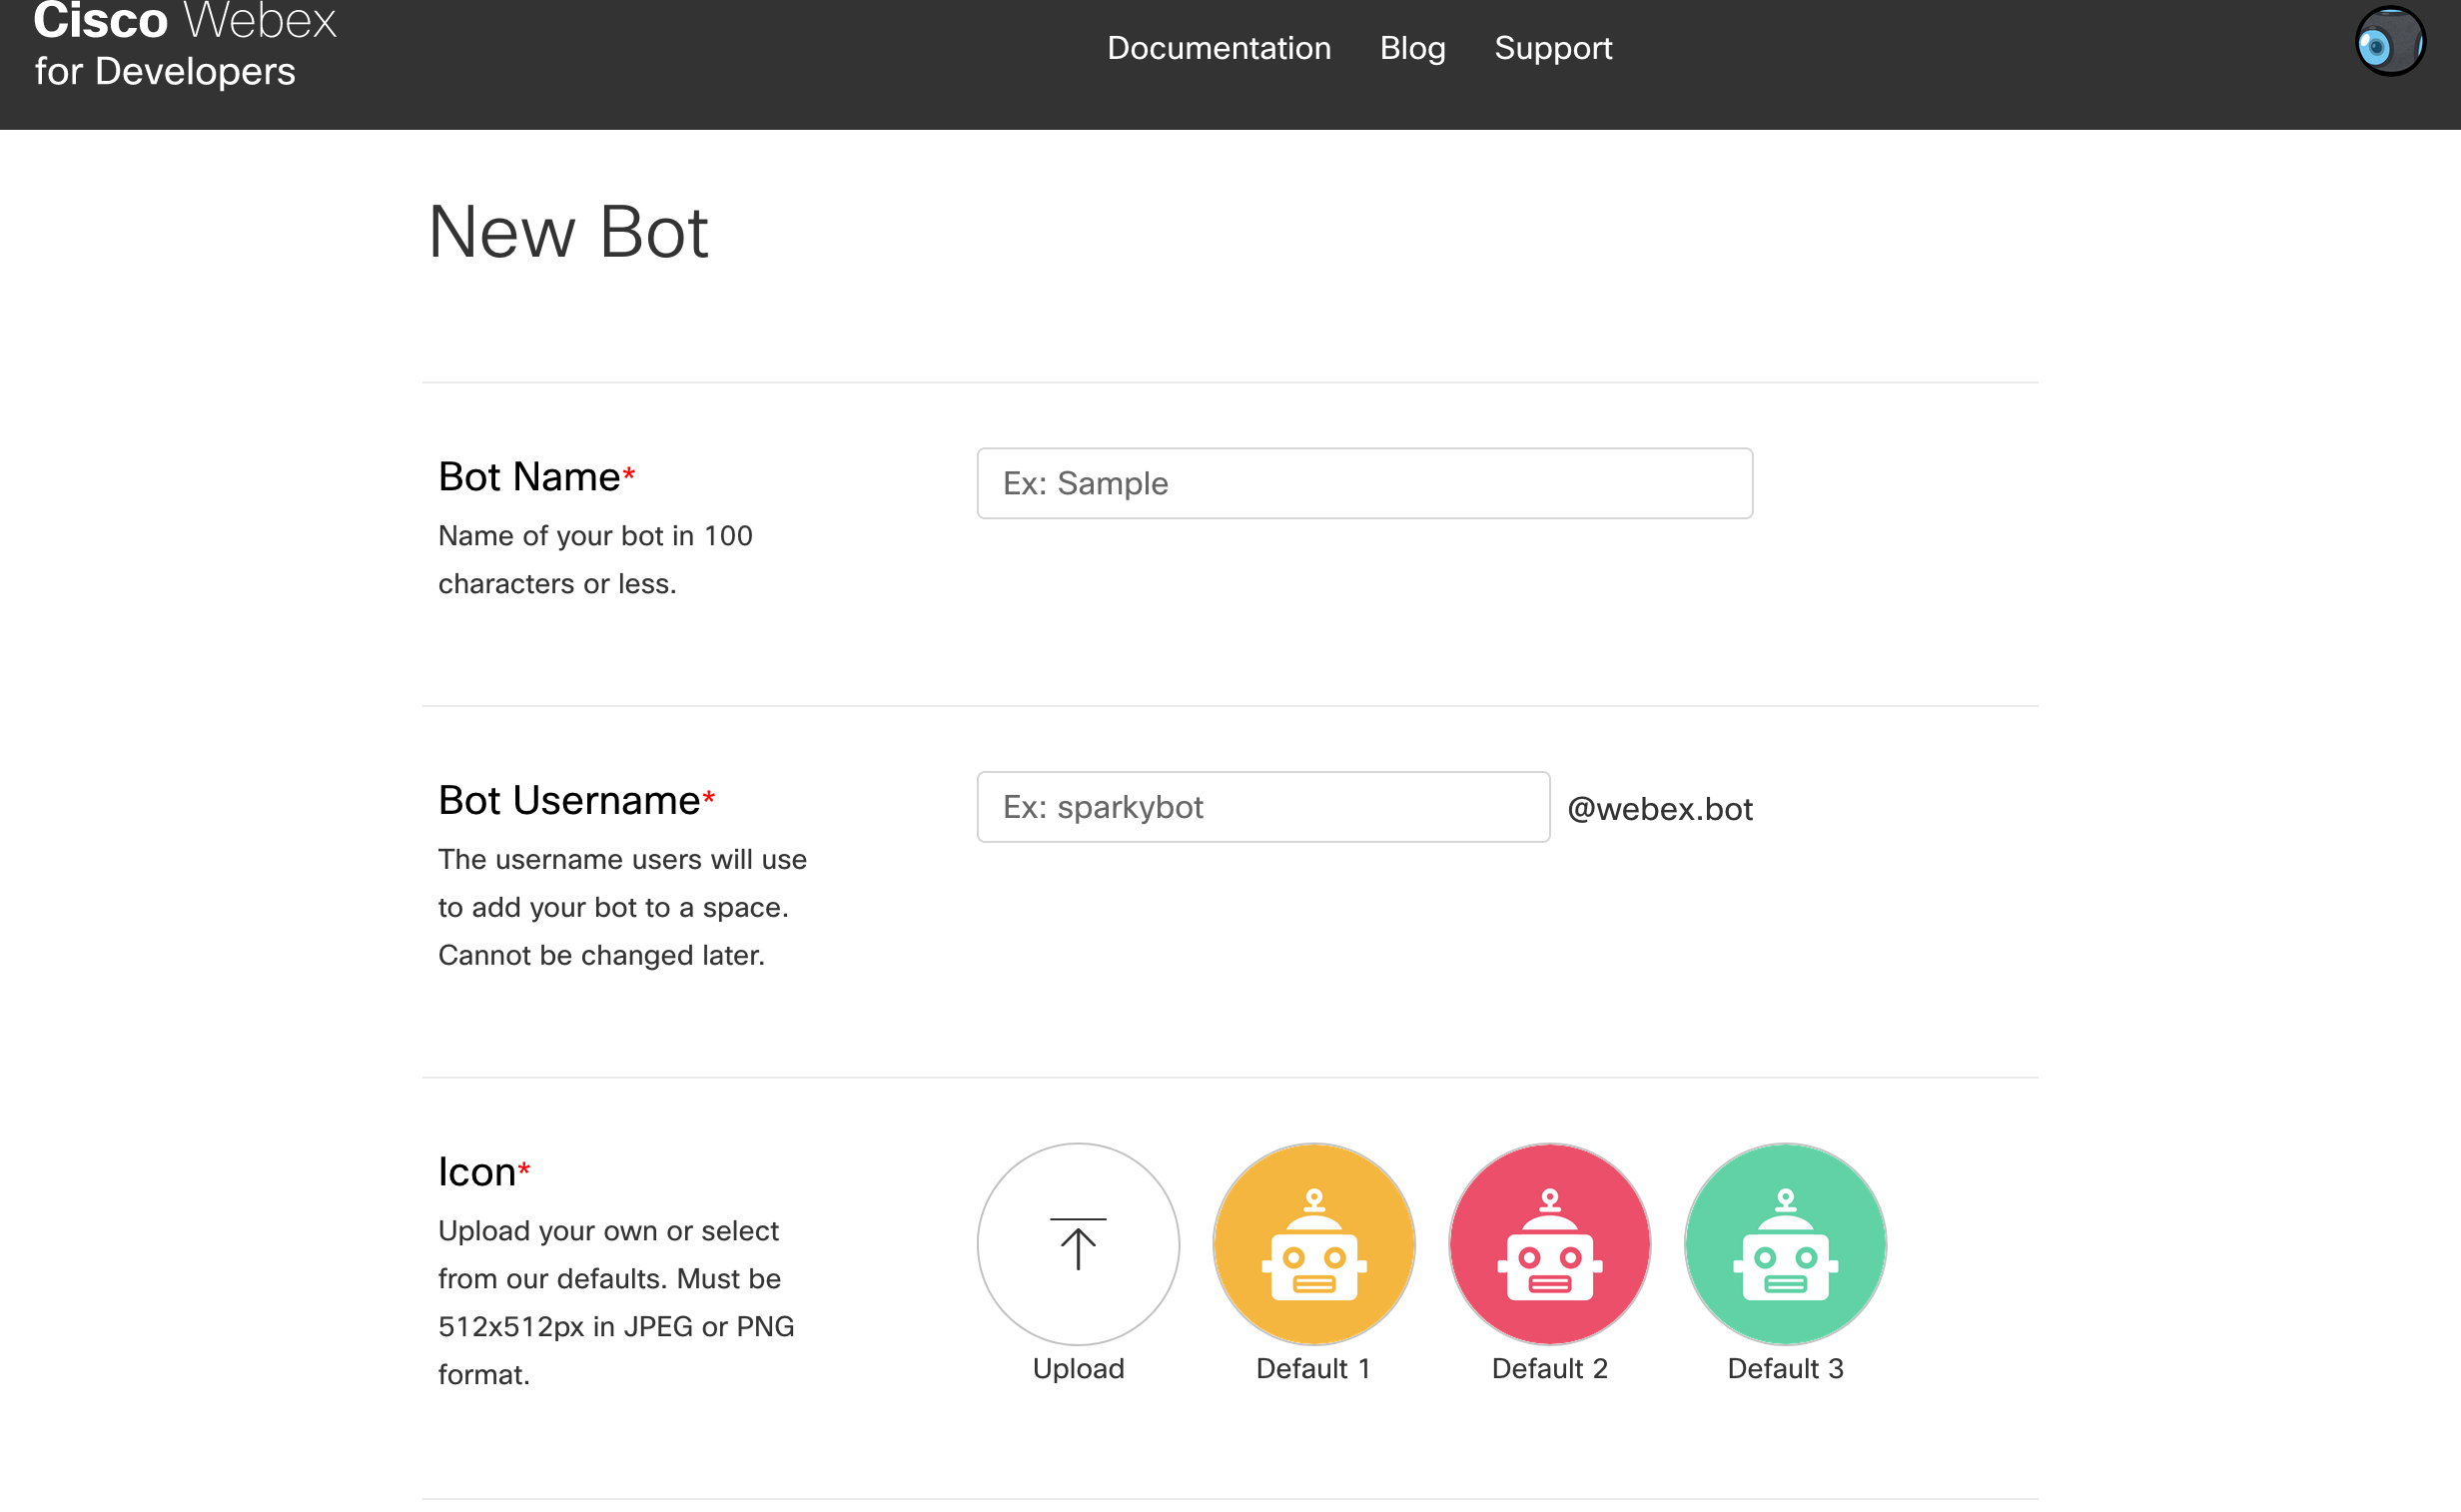
右上に表示されているSign upをクリックして登録を進めていく。
アクセストークンの取得
https://developer.webex.com/docs/api/getting-started
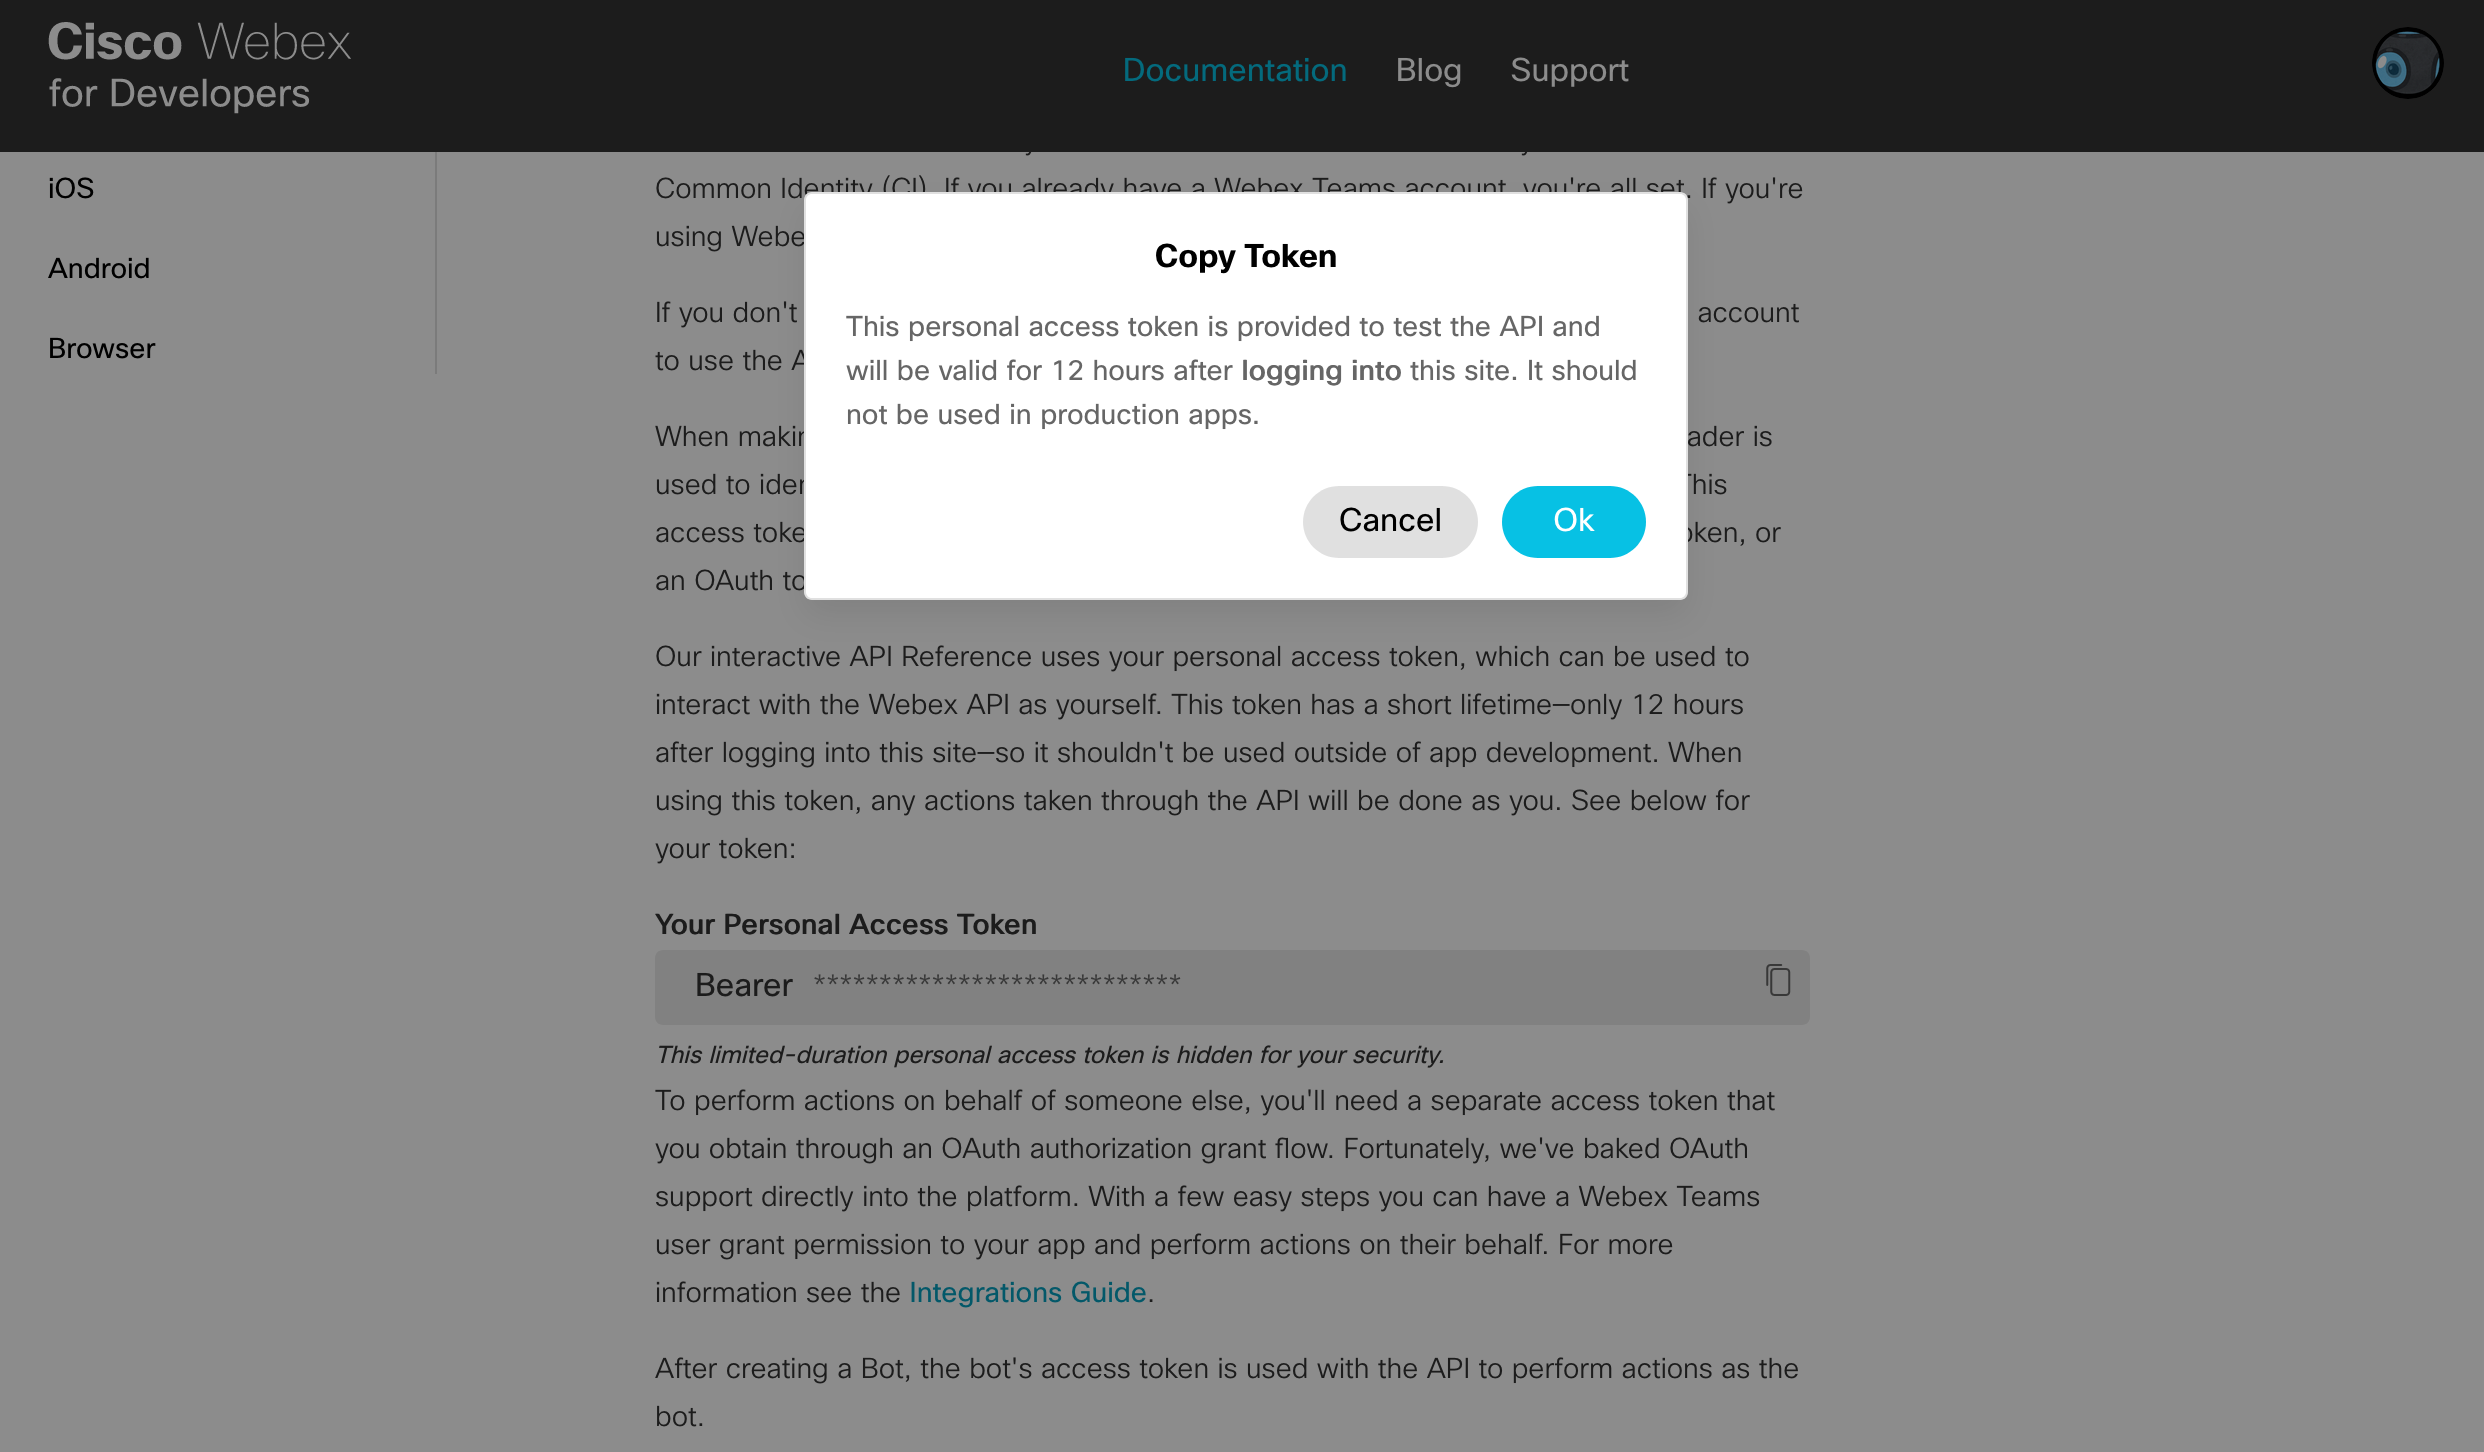
getting-startedのページにアクセスし、トークンを取得する
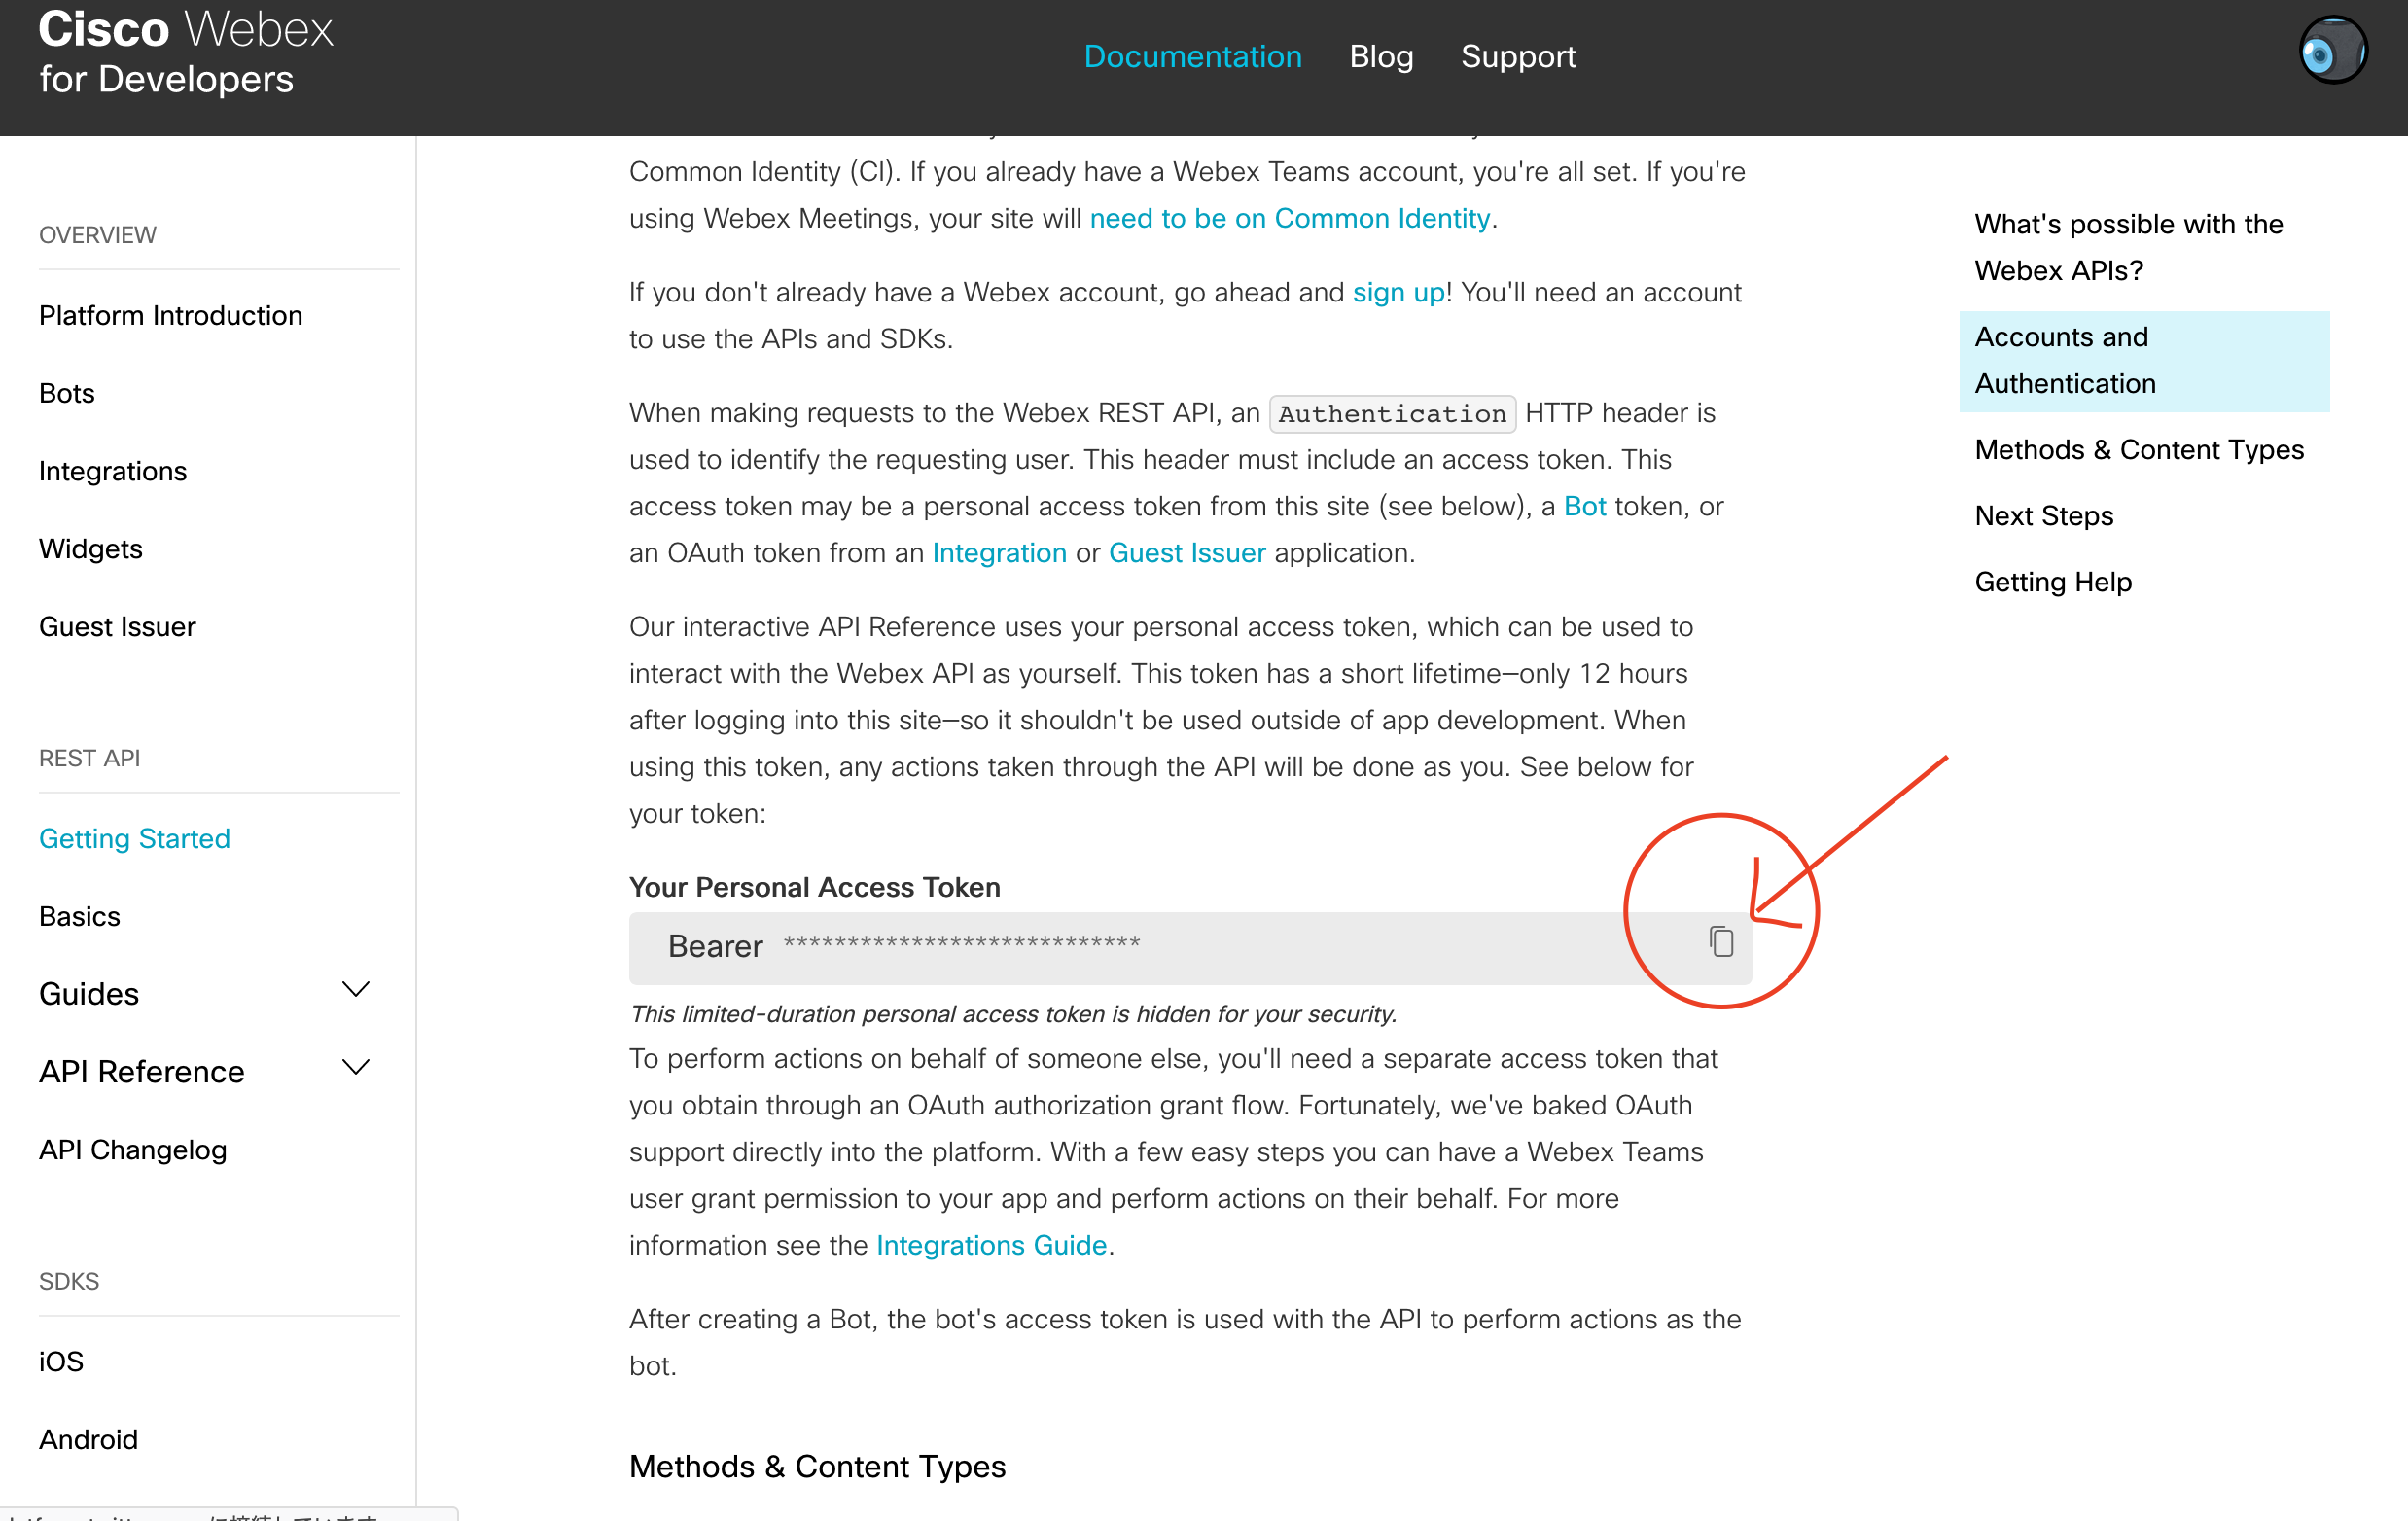
デモの段階では12時間ごとにこのトークンを取り直さなければならない。
各種Pythonライブラリのインストール
$ pip3 install requests
$ pip3 install flask
ngrokの準備
https://qiita.com/kaba/items/82de7e53d99ad9c74cc0
このサイトを参考にした。
実装
今回は例として、Hiとボットに話しかけるとhello world!を返すだけのボットを作ってみることにする。
実装したコードを貼っておく。
まずは先ほど取得したトークンをYourTokenに代入する。
token = 'YourToken'
メッセージをポストするために関数を定義する。
def post_message(room_id,txt,token):
    global ms_flag
    if ms_flag == True:
        ms_flag = False
        m = MultipartEncoder({'roomId': room_id,'text': txt})
        r = requests.post('https://api.ciscospark.com/v1/messages', data=m,headers={'Authorization': 'Bearer %s' % token,'Content-Type': m.content_type})
    else:
        time.sleep(5)
        ms_flag = True
この際、メッセージを検知する際の挙動によって複数回ハンドルされてしまうので、一度この関数が呼び出されたら、一定時間パスするようにしている。
この挙動に関してご存知の方がいればご教授願います。
ここでは、/panelにアクセスするとmainpage.htmlを表示する部分である。
使い方の説明などを書いておくと良いだろう。
@app.route("/panel",methods=['GET'])
def main_page():
    return render_template("mainpage.html")
message ID, person ID, email and room IDを受け付けたメッセージ情報から回収
@app.route("/",methods=['POST'])
def handle_message():
    json = request.json

    message_id = json["data"]["id"]
    user_id = json["data"]["personId"]
    email = json["data"]["personEmail"]
    room_id = json["data"]["roomId"]
    bot_id = "yourbotid"

    print(message_id, file = sys.stdout)
    print(user_id, file=sys.stdout)
    print(email, file=sys.stdout)
    print(room_id, file=sys.stdout)
ここでは、もし、メッセージを受信したユーザーIDがボット自身かどうかをみている。
また、Hiを受信したらhello world!を返すよう、先ほど定義したpost_messageを呼び出している。
    if user_id != bot_id:
        global token
        header = {"Authorization": "Bearer %s" % token}
        get_rooms_url = "https://api.ciscospark.com/v1/messages/" + message_id
        api_response = requests.get(get_rooms_url, headers=header, verify=False)
        response_json = api_response.json()
        message = response_json["text"]
        print(message, file= sys.stdout)
        if message == "Hi" or message == "bot Hi":
            post_message(room_id,"hello world!",token)

        return "Success"
    else:
        return "Pass"
また、ngrokは起動するごとにIPアドレスが変わってしまうので、そのIPアドレスを読み取っている。
term_output_json = os.popen('curl http://127.0.0.1:4040/api/tunnels').read()
tunnel_info = json.loads(term_output_json)
public_url = tunnel_info['tunnels'][0]['public_url']
エラー処置。
if api_response.status_code != 200:
    print('Webhook registration Error !')
    exit(0)
最終的に以下のようなる。
from __future__ import print_function
import requests
import sys
import json
import os
import time
from flask import *
from requests_toolbelt.multipart.encoder import MultipartEncoder
import functools

token = 'YourToken'
ms_flag = True

app = Flask(__name__)

def post_message(room_id,txt,token):
    global ms_flag
    if ms_flag == True:
        ms_flag = False
        m = MultipartEncoder({'roomId': room_id,'text': txt})
        r = requests.post('https://api.ciscospark.com/v1/messages', data=m,headers={'Authorization': 'Bearer %s' % token,'Content-Type': m.content_type})
    else:
        time.sleep(5)
        ms_flag = True

@app.route("/panel",methods=['GET'])
def main_page():
    return render_template("mainpage.html")


@app.route("/",methods=['POST'])
def handle_message():
    json = request.json

    message_id = json["data"]["id"]
    user_id    = json["data"]["personId"]
    email      = json["data"]["personEmail"]
    room_id    = json["data"]["roomId"]
    bot_id     = "yourbotid"

    print(message_id, file = sys.stdout)
    print(user_id, file=sys.stdout)
    print(email, file=sys.stdout)
    print(room_id, file=sys.stdout)


    if user_id != bot_id:
        global token
        header = {"Authorization": "Bearer %s" % token}
        get_rooms_url = "https://api.ciscospark.com/v1/messages/" + message_id
        api_response = requests.get(get_rooms_url, headers=header, verify=False)
        response_json = api_response.json()
        message = response_json["text"]
        print(message, file= sys.stdout)
        if message == "Hi" or message == "bot Hi":
            post_message(room_id,"hello world!",token)

        return "Success"
    else:
        return "Pass"


term_output_json = os.popen('curl http://127.0.0.1:4040/api/tunnels').read()
tunnel_info = json.loads(term_output_json)
public_url = tunnel_info['tunnels'][0]['public_url']

# Webhook記録
header = {"Authorization": "Bearer %s" % token, "content-type": "application/json"}
requests.packages.urllib3.disable_warnings() #SSL警告の削除
post_message_url = "https://api.ciscospark.com/v1/webhooks"

payload = {
    "resource": "messages",
    "event": "all",
    "targetUrl": public_url,
    "name": "BotDemoWebHook"
}

api_response = requests.post(post_message_url, json=payload, headers=header, verify=False) #webhook記録

if api_response.status_code != 200:
    print('Webhook registration Error !')
    exit(0)

if __name__ == '__main__':
    app.run(host='localhost', use_reloader=True, debug=True)
動作確認
$ ngrok http 5000
$ python3 main.py
