plotlyでpngやjpgなどに出力するとき、日本語が豆腐になることがあります。

matplotlibだと japanize-matplotlib をimportして解決する方法が簡便です。plotlyはhtmlに出力するだけなら特に指定せずに日本語を出してくれますが、画像に write_image する場合は、豆腐になるのを直す必要があります。
ということで、本記事では画像出力を好きなフォントにする方法について紹介します。
※なお、Google colabで実行してます。ほかの環境でも同じことはできるはずなので、ChatGPT先生にでも聞いてください。
手順1.install
plotlyの出力に kaleido を使うので、installしておく。
pip install -U kaleido
手順2.フォントのダウンロード
ttfファイルをダウンロードする。
Google Font にいろいろある。
游ゴシックの場合これが参考になりそう。
手順3.フォントの配置
Google colabの場合、uploadしてここに配置すればいけた。
cp /content/ZenKakuGothicNew-Black.ttf /usr/share/fonts/truetype/ZenKakuGothicNew-Black.ttf
cp /content/NotoSansJP-ExtraBold.ttf /usr/share/fonts/truetype/NotoSansJP-ExtraBold.ttf
cp /content/yugothib.ttf /usr/share/fonts/truetype/yugothib.ttf
手順4.フォントの反映
これで反映される。
fc-cache -f -v
反映できたかは、以下で確認できる。
fc-list :lang=ja
手順5.グラフ作成・保存
update_layout などでfontを指定できる。
import plotly.graph_objects as go

# グラフデータとレイアウトの設定
fig = go.Figure()

fig.add_trace(go.Scatter(x=[1, 2, 3], y=[4, 5, 6], mode='lines+markers'))

fig.update_layout(
    title='カスタムフォントを使用したグラフ',
    font=dict(size=18, color='black', family='Yu Gothic Heavy'),
    # font=dict(size=18, color='black', family='Zen Kaku Gothic New Black'),
    # font=dict(size=18, color='black', family='Noto Sans JP ExtraBold'),
)

fig.update_layout(
    xaxis_title='X軸',
    yaxis_title='Y軸'
)

# グラフをPNGとして保存
fig.write_image('/content/plot_with_custom_font.png', engine='kaleido')
fig.show()
結果
なんか微妙に違うのですが、まあ出力したいものに関しては出せてそうなので一旦これで許してください。
| フォント | notebook | png |
|---|---|---|
| Yu Gothic Heavy | 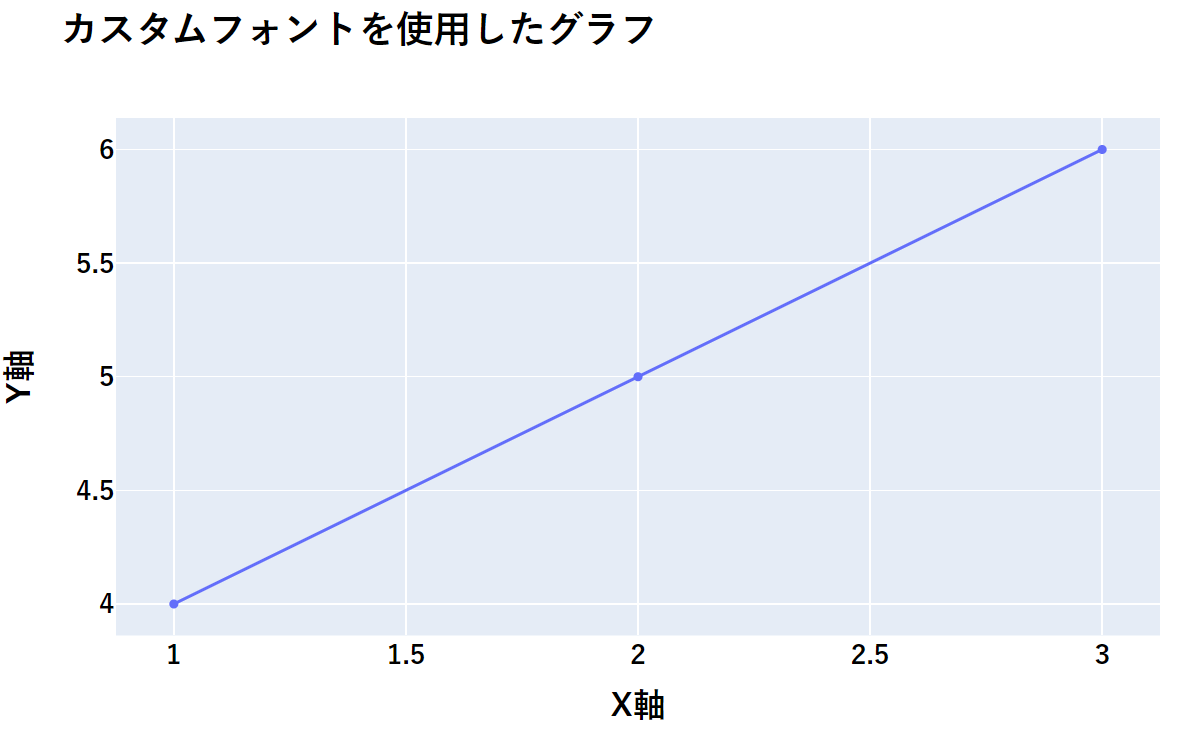 |
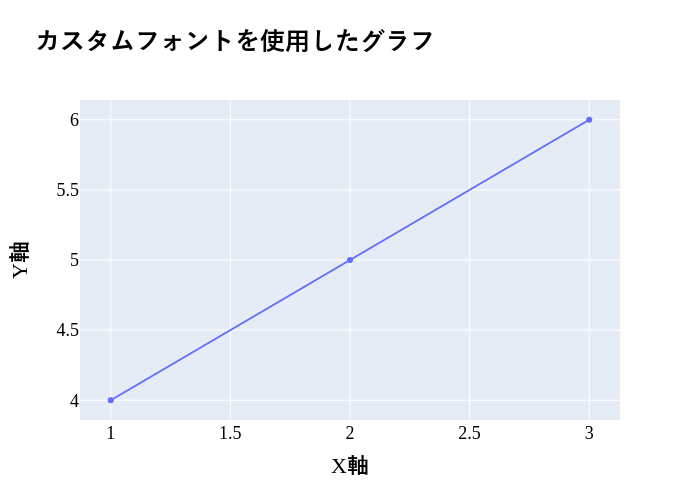 ) ) |
| Zen Kaku Gothic New Black | 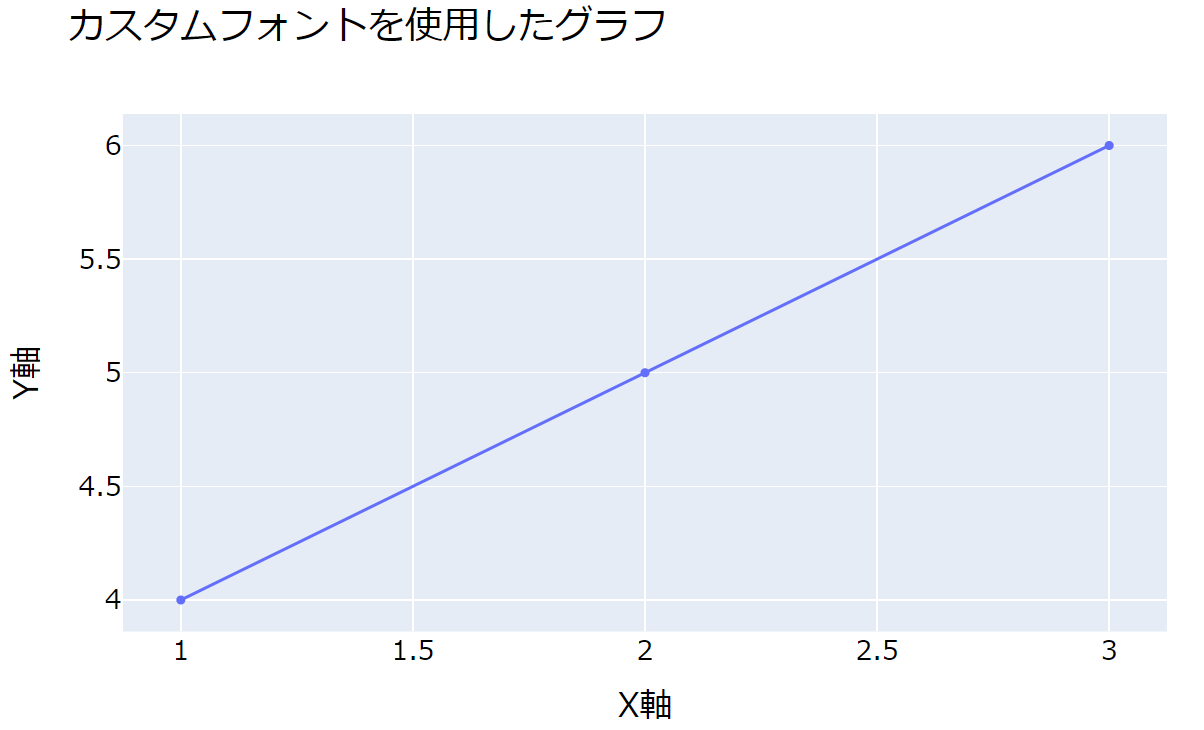 |
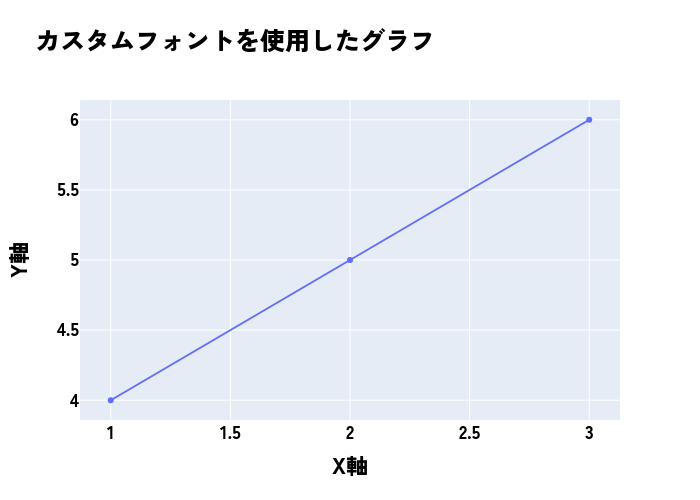 |
| Noto Sans JP ExtraBold | 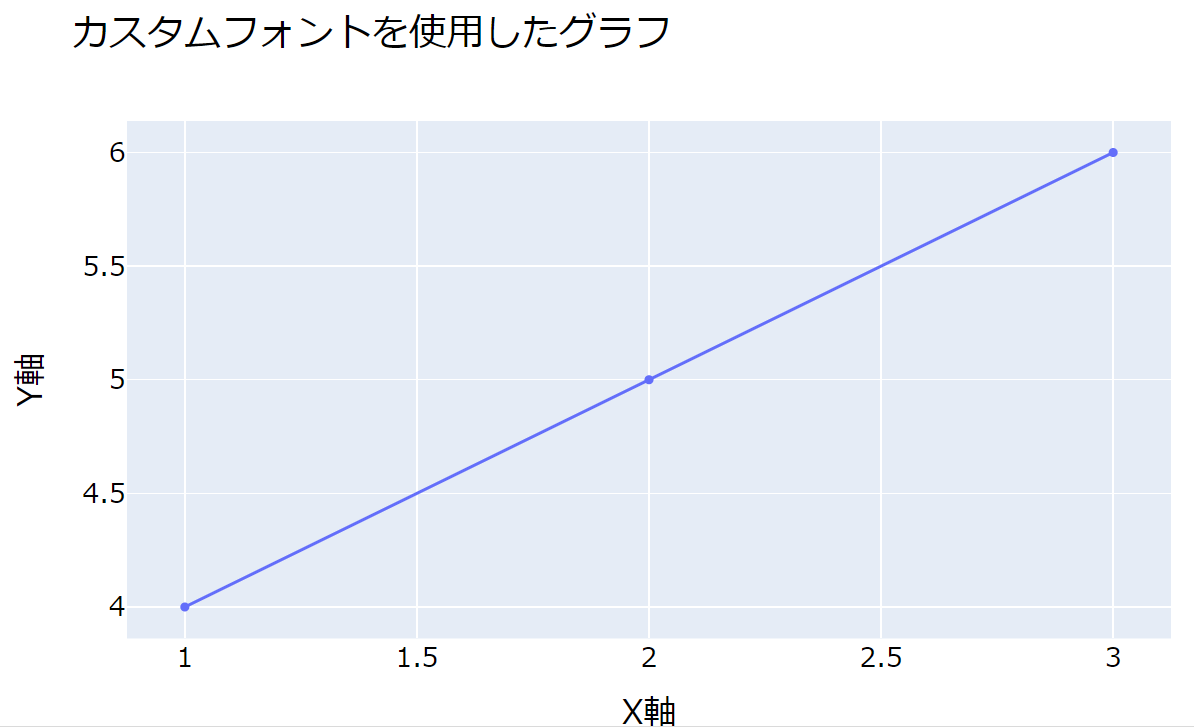 |
 |
※notebookのほうはスクショなので範囲は適当