// この記事は、 note に投稿した記事の再掲です。
やりたいこと
IFTTT を使って note の更新を検知
↓
Nuxt.js で note RSS を取得して、静的 JSON としてダウンロード
↓
コンポーネント内で読み込みたい
使うもの
Nuxt.js をインストールする
今回は {rss-nuxt-app} という名前でインストール。色々聞かれるので、 axios を追加する。そのほかは任意。
$ yarn create nuxt-app rss-nuxt-app
パッケージをインストールする
axios 以外のパッケージをインストール。
必要なのは fs-extra, xml2js, @nuxtjs/moment
そのほかは任意。
$ yarn add -D fs-extra xml2js @nuxtjs/moment
@nuxtjs/moment
タイムスタンプを整形するやつ。あると楽なので必須。
fs-extra
JSON をローカルに書き出して静的ファイルにするためのやつ。必須。
xml2js
RSS は XML 形式なので、 XML を JSON に変換するためのやつ。必須。
pug, SCSS の loader とか
プリプロセッサ。 pug, SCSS を使いたい場合は必須。
$ yarn add -D pug@2.0.3 pug-plain-loader node-sass sass-loader
RSS を静的 JSON にするためのファイルを作る
node_modules がある階層に modules ディレクトリを作成。
api-build-json.js という空のファイルを作成して保存する。
nuxt.config.js に設定を記述
@nuxtjs/moment と、さっき作った api-build-json.js を modules に追加
module.exports = {
  ...
  modules: [
    ...
    ['@nuxtjs/moment', ['ja']],
    '~/modules/api-build-json'
    ...
  ],
  ...
}
api-build-json.js を編集する
RSS を 取得して 静的 JSON にするソースコード
以下が全文
import axios from 'axios'
import fse from 'fs-extra'
import ps from 'xml2js'

export default function apiBuildJson() {
  const api = axios.create()
  const distJosonFile = './static/_nuxt/api/index.json'
  const arr = []

  // サムネイルを取得する関数
  const getThumbnails = (data) => {
    let thumbnails = data.match(/https(.|\s)*?(jpg|png|gif|jpeg)/gi)
    return (thumbnails !== null && thumbnails !== undefined)
      ? Object.values(thumbnails)
      : false
  }

  // Axios で記事の RSS を取得
  return axios.all([
    api.get('https://note.nokura.me/rss'),
  ]).then(axios.spread((nokura) => {
    // XML を格納する
    const xml = nokura.data

    // 変換した JSON を格納するためのオブジェクト
    let json = {
      items: []
    }

    // XML オブジェクト を JSON に変換して JSON オブジェクトに格納する
    ps.parseString(xml, (message, xmlres) => {
      json.items = xmlres.rss.channel[0].item
    })

    // サムネイルを取得した配列を作成して結合
    json.items.forEach((data) => {
      let thumb = getThumbnails(data.description[0])
      Object.assign(data, { thumb: thumb })
    })

    // 空の配列に JSON オブジェクトを push
    arr.push(json)

    // 静的ファイルとして出力
    fse.outputFile(distJosonFile, JSON.stringify(arr))
  }))
}
use with Gist Search
7行目
JSON ファイルを吐き出す先を指定
const distJosonFile = './static/_nuxt/api/index.json'
33 - 35 行目
ここで XML を JSON に変換している
// XML オブジェクト を JSON に変換して JSON オブジェクトに格納する
ps.parseString(xml, (message, xmlres) => {
    json.items = xmlres.rss.channel[0].item
})
37 - 41 行目
RSS だと本文とサムネイルが同じ要素内にあるので
正規表現を使って画像だけを取得して配列にする
// サムネイルを取得した配列を作成して結合
json.items.forEach((data) => {
    let thumb = getThumbnails(data.description[0])
    Object.assign(data, { thumb: thumb })
})
画像を取得して配列にする関数は 11 - 16 行目 にあるやつ
// サムネイルを取得する関数
const getThumbnails = (data) => {
  let thumbnails = data.match(/https(.|\s)*?(jpg|png|gif|jpeg)/gi)
  return (thumbnails !== null && thumbnails !== undefined)
    ? Object.values(thumbnails)
    : false
}
ビルドしてみる
~/dist/_nuxt/api/index.json てファイルが生成されるはず
$ yarn build
生成された JSON を読み込む
ウェブサイト全体で読み込みたいので、 ~/store/index.js で import する
import jsonData from '~/static/_nuxt/api/index.json'

export const state = () => ({
  jsonData: jsonData
})
use with Gist Search
~/pages/index.vue で表示してみる
 <template>
  <div v-if="$store.state.jsonData[0]" class="p_note_mu">
    <div class="p_note_mu-body">
      <a
        v-for="(post, index) in $store.state.jsonData[0].items"
        :key="index"
        :href="post.link[0]"
        target="_blank"
      >
        <article>
          <!-- サムネイル -->
          <div class="p_nt-mv">
            <img v-if="post.thumb" :src="post.thumb[0]" :alt="post.title[0]" />
            <div v-else class="no-image">
              <div class="no-image-text">NO IMAGE</div>
            </div>
          </div>
          <div class="p_nt-body">
            <div class="p_nt-body-header">
              <p>
                <!-- 日付 -->
                {{ getTheDate(post.pubDate[0]) }}
              </p>
              <h3 class="p_nt-body-heading-text">
                <!-- タイトル -->
                {{ post.title[0] }}
              </h3>
            </div>
          </div>
        </article>
      </a>
    </div>
  </div>
</template>

<script>
export default {
  methods: {
    getTheDate(date) {
      return this.$moment(date).format('YYYY.MM.DD (ddd)')
    }
  }
}
</script>

<style>
.p_note_mu {
  padding: 80px 0;
}

.p_note_mu-body {
  width: 960px;
  margin: 0 auto;
  display: flex;
  flex-wrap: wrap;
}

a {
  width: 300px;
  margin: 0 10px 20px;
  border: 1px solid #ccc;
}

.p_nt-mv {
  width: 100%;
  height: 200px;
  overflow: hidden;
  display: flex;
  justify-content: center;
  align-items: center;
  background: #f1f1f1;
}

.p_nt-body {
  padding: 20px;
  border-top: 1px solid #ccc;
}
</style>
use with Gist Search
上記のコードでこんなかんじになる

IFTTT を使って Netlify に note の更新通知を送る
Netlify 側での作業
Netlify で webhook の URL を発行する
Settings > Build & deploy > Build hooks > Add build hook で URL が発行できる。
ここで発行した URL をメモしておく。
IFTTT を利用した作業
更新通知は IFTTT を利用して Netlify に送る。
IFTTT
https://ifttt.com/
(1) 登録をして、右上のアカウント名をクリック → New Applet

(2) +this をクリック

(3) RSS を選択

(4) New feed item を選択

(5) RSS の URL を入力し、 Create trigger をクリック

(6) +that をクリック

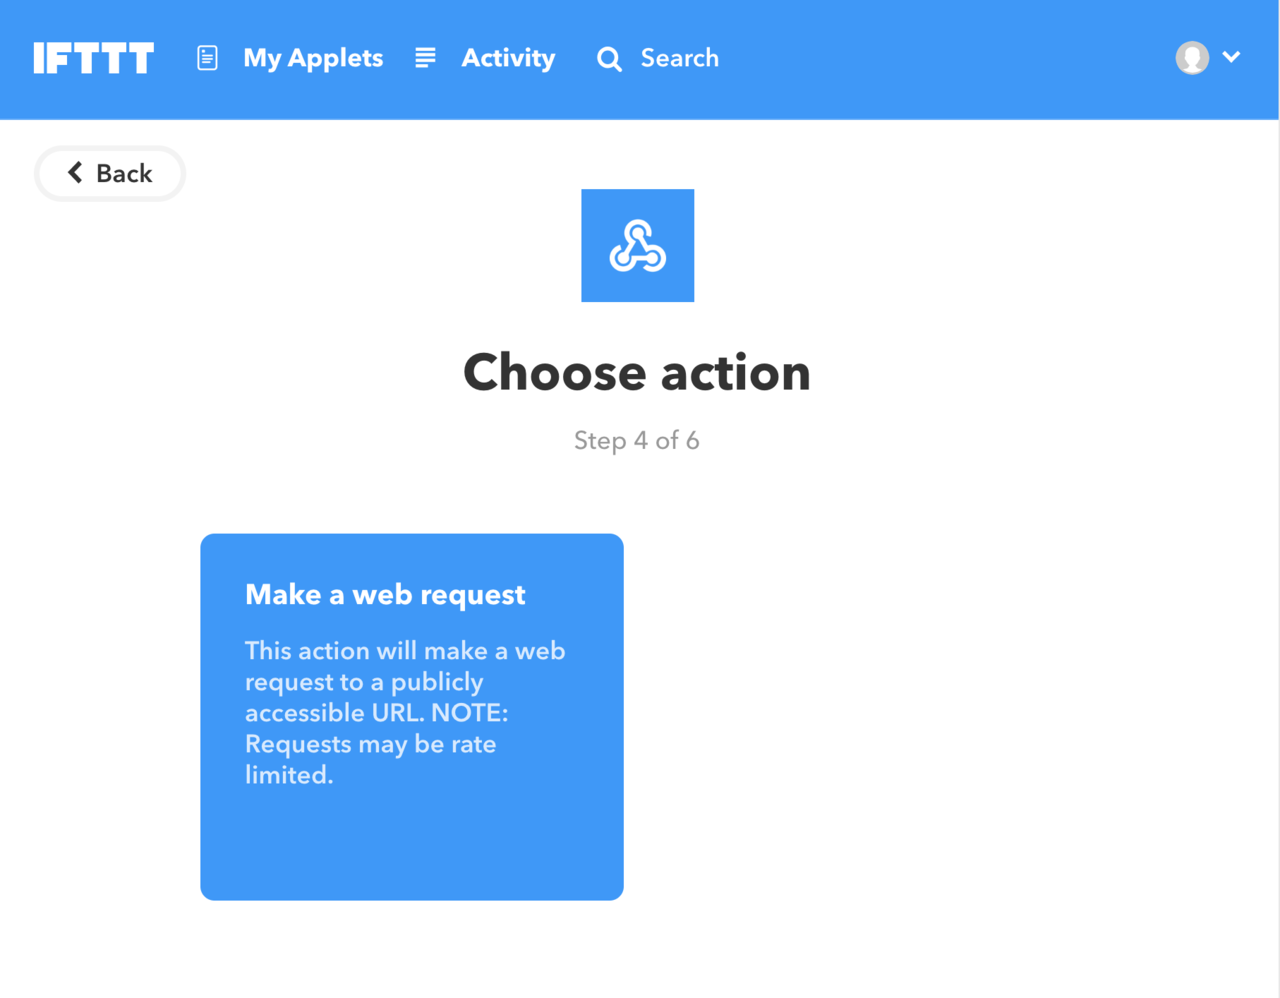
(7) Webhooks を選択

(8) Make a web request をクリック
(9) 下記の設定項目を入力し、 Create action をクリックして終了
| 項目 | 内容 |
|---|---|
| URL | Netlify で発行した webhook の URL |
| Method | POST を選択 |
| Content Type | application/json を選択 |

タイムラグはあるものの、 note の更新を Netlify が検知できるようになりました。
あとは普通に note を更新するだけ。
おわり。
参考リンク
のくらさんの note
https://note.nokura.me/
のくらさんの Twitter
https://twitter.com/riman114
けっこう改造した動作サンプル
https://rss-nuxt-app.netlify.com/
けっこう改造した動作サンプルのソースコード
https://github.com/incolorsnet/rss-nuxt-app.netlify.com