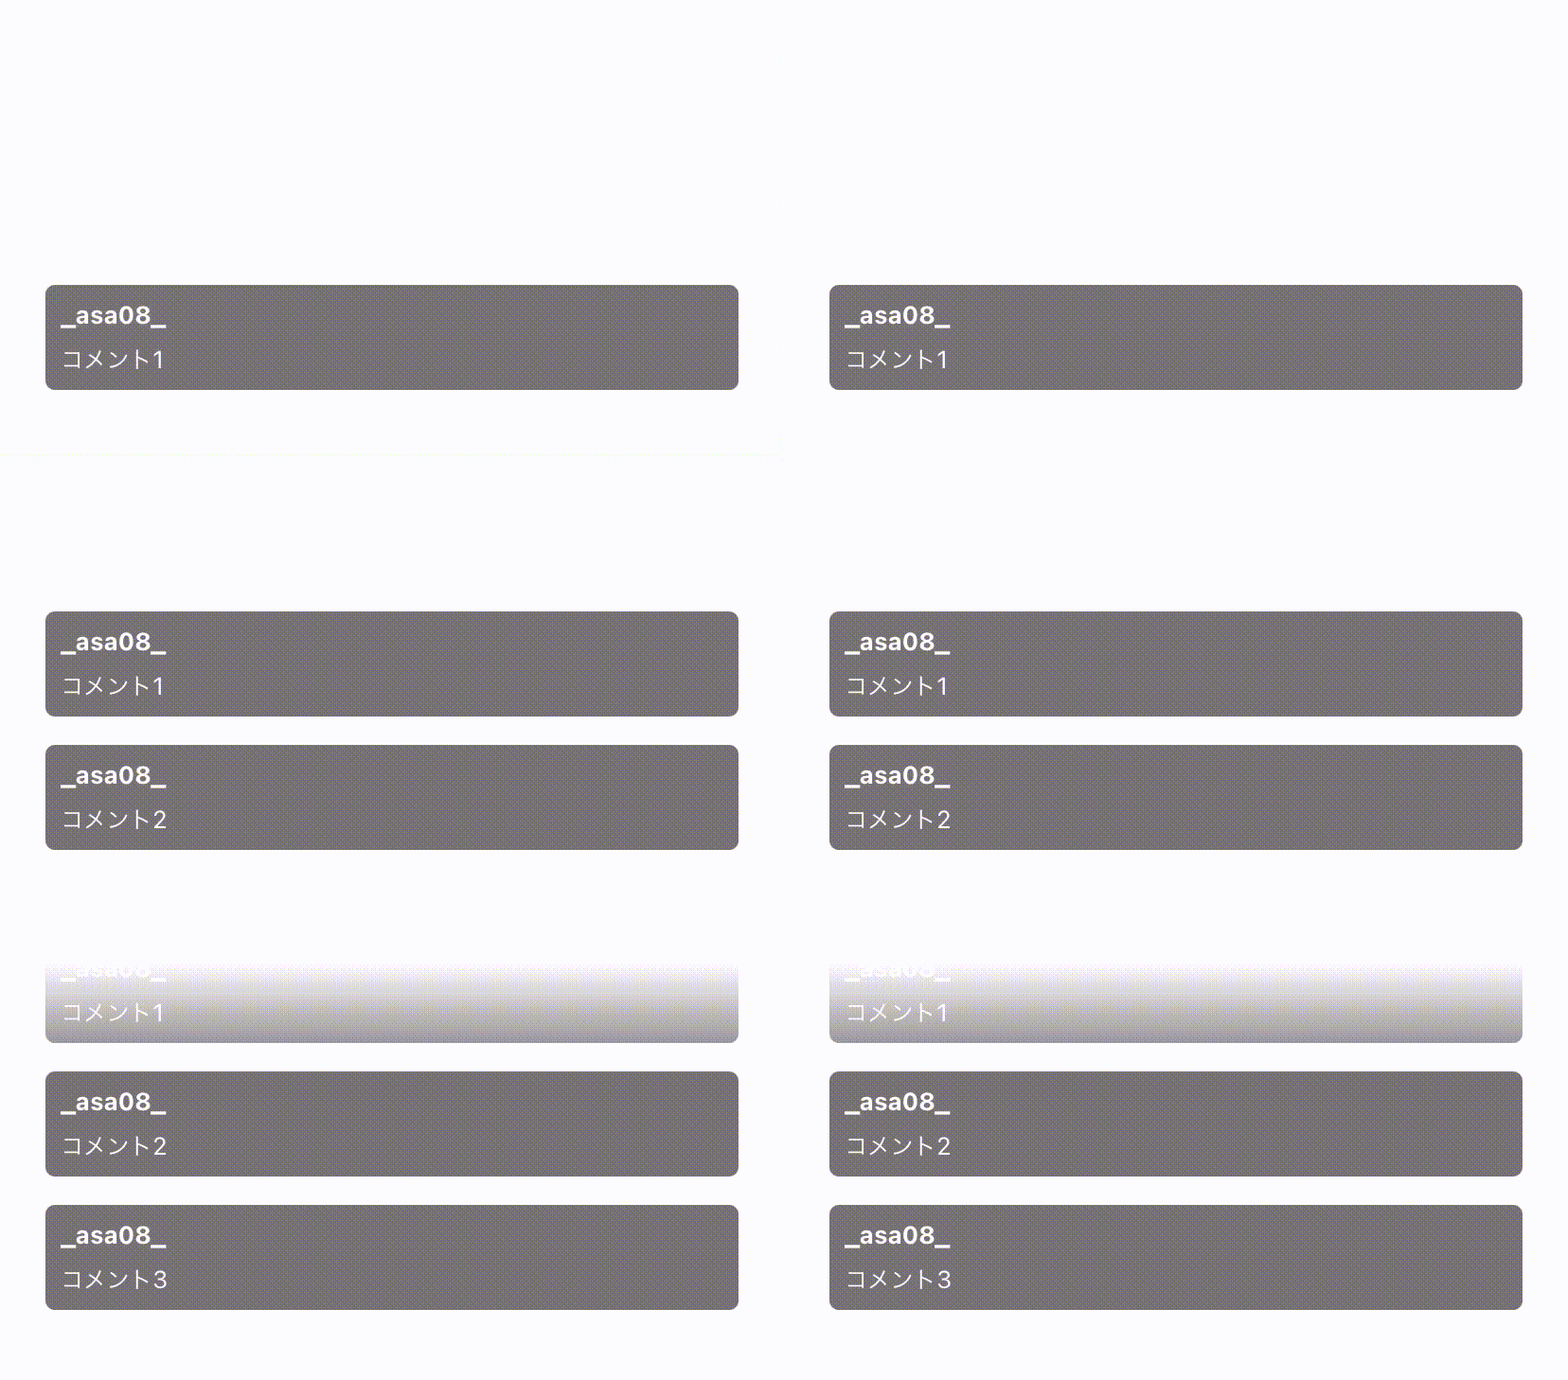
UITableViewを使ってトークアプリのように下からアニメーションを使ってCellを追加する方法をご紹介します。
実装
やり方はとても簡単です!
- UITableViewをアフィン変換を使って回転させる
- UITableViewCellをアフィン変換を使って回転させる
- 必要に応じてCellの追加をアニメーションぽくする
1. UITableViewをアフィン変換を使って回転させる
CustomTableView.swift
class CustomTableView: UITableView {
    // レイアウトのイニシャライザで呼ぶ
    // これでTableViewの上下が逆転する
    func setTransform() {
        transform = CGAffineTransform(a: 1, b: 0, c: 0, d: -1, tx: 0, ty: 0)
    }
}
2. UITableViewCellをアフィン変換を使って回転させる
1のままCellを描画すると上下が反対のままになってしまっている。
⬇️ 実際に描画したらこんな感じ

これを直すために、Cellの描画時にアフィン変換を行ってCellを回転させます!
CustomTableView.swift
// cellForRowAtで行う
func tableView(_ tableView: UITableView, cellForRowAt indexPath: IndexPath) -> UITableViewCell {
    let cell = tableView.dequeueReusableCell(withIdentifier: R.nib.customCell.identifier, for: indexPath) as! CustomCell
    cell.transform = CGAffineTransform(a: 1, b: 0, c: 0, d: -1, tx: 0, ty: 0)
    return cell
}
3. 必要に応じてCellの追加をアニメーションぽくする
新しいCellが追加された時に、reloadData()をするとTableView全体が再描画されるため、追加されたCellだけいい感じにアニメーションっぽく追加させます。
func addItem(_ item: Item) {
    // TableViewはitemsを元に描画されています。
    // 今回は下から追加したいのでIndexPath(row: 0, section: 0)ですが、任意の場所に設定してください
    items.insert(item, at: 0)
    beginUpdates()
    insertRows(at: [IndexPath(row: 0, section: 0)], with: .automatic)
    endUpdates()
}
これで最初に紹介したようなTableViewの完成です✨
(そのうちサンプル作ろうとは思いますが、いつになるか未定…
