はじめに
皆さん、CI/CDってやったことありますか?
私は遅ればせながら、初めて試してみたところ、自動化楽しいー!とハマってしまいました。(と同時にDevOps普段からやっている人羨ましいと叫びました)
普段はGCP触っていますが、DevOpsやっていないので新鮮でした。
というわけで、この記事では、GitHub Actionsを使ってTerraformのコードをプッシュするだけで、Google Cloudのインフラを自動で構築・更新できる環境を作っていこうと思います💪
👇の悩みがある人は特にオススメです!
「Terraformは導入したけど、結局手動で適用している...」
「プルリクエストのレビューはするけど、実際の適用は誰かに任せっきり...」
「複数環境の整合性が取れなくて困っている...」
この記事のゴール
- GitHub ActionsでTerraformのCI/CDパイプラインを構築できる
- インフラの変更をプルリクエストベースで管理できる
- コードをプッシュするだけでインフラが自動で更新される
想定する読者
👇あまり分かってなくても手順通りにやればできるとは思います。
- Terraformの基本的な使い方を理解している
- Google Cloudを使ったことがある
- GitHubでのプルリクエストの流れを理解している
環境構成
- GitHub: コード管理・CI/CD実行基盤
- GitHub Actions: CI/CDパイプライン
- Terraform: インフラのコード化
- Google Cloud
- Cloud Storage: tfstateファイルの保管
- Compute Engine: サンプルリソースとして作成

事前準備
1. Google Cloudプロジェクトの設定
まずはGoogle Cloudのプロジェクトを作成し、必要なAPIを有効にします。
# プロジェクトIDを設定
PROJECT_ID="your-gcp-project-id"

# Compute Engine APIを有効化
gcloud services enable compute.googleapis.com --project=$PROJECT_ID
2. tfstateファイル用のバケット作成
Terraformの状態管理用のバケットを作成します。チーム開発では、このバケットを共有することで状態を一元管理できます。
# バケット名を設定(グローバルでユニークな名前に変更してください)
BUCKET_NAME="your-terraform-state-bucket"

# リージョンを設定
BUCKET_LOCATION="asia-northeast1"

# バケットの作成
gsutil mb -l $BUCKET_LOCATION -p $PROJECT_ID gs://$BUCKET_NAME
3. GitHub Actions用サービスアカウントの設定
GitHub ActionsがGoogle Cloudを操作するために必要なサービスアカウントを作成します。
# サービスアカウント名を設定
SA_DEPLOY_NAME="github-actions-terraform"

# サービスアカウントを作成
gcloud iam service-accounts create $SA_DEPLOY_NAME \
    --project="$PROJECT_ID"

# サービスアカウントのメールアドレスを取得
SA_DEPLOY_EMAIL=$(gcloud iam service-accounts list \
    --project="$PROJECT_ID" \
    --filter="name:$SA_DEPLOY_NAME" \
    --format="value(email)")

# 必要な権限を付与(本番環境ではより制限的な権限設定を推奨)
gcloud projects add-iam-policy-binding "$PROJECT_ID" \
    --member="serviceAccount:$SA_DEPLOY_EMAIL" \
    --role="roles/owner"

# キーファイルの作成
gcloud iam service-accounts keys create terraform-deploy.json \
    --iam-account="$SA_DEPLOY_EMAIL" \
    --project="$PROJECT_ID"
4. GitHubリポジトリの設定
-
GitHubにログインします。
-
「New」をクリックします。

-
Repository nameを入力し、「Create Repository」をクリックして新しいリポジトリを作成します。

-
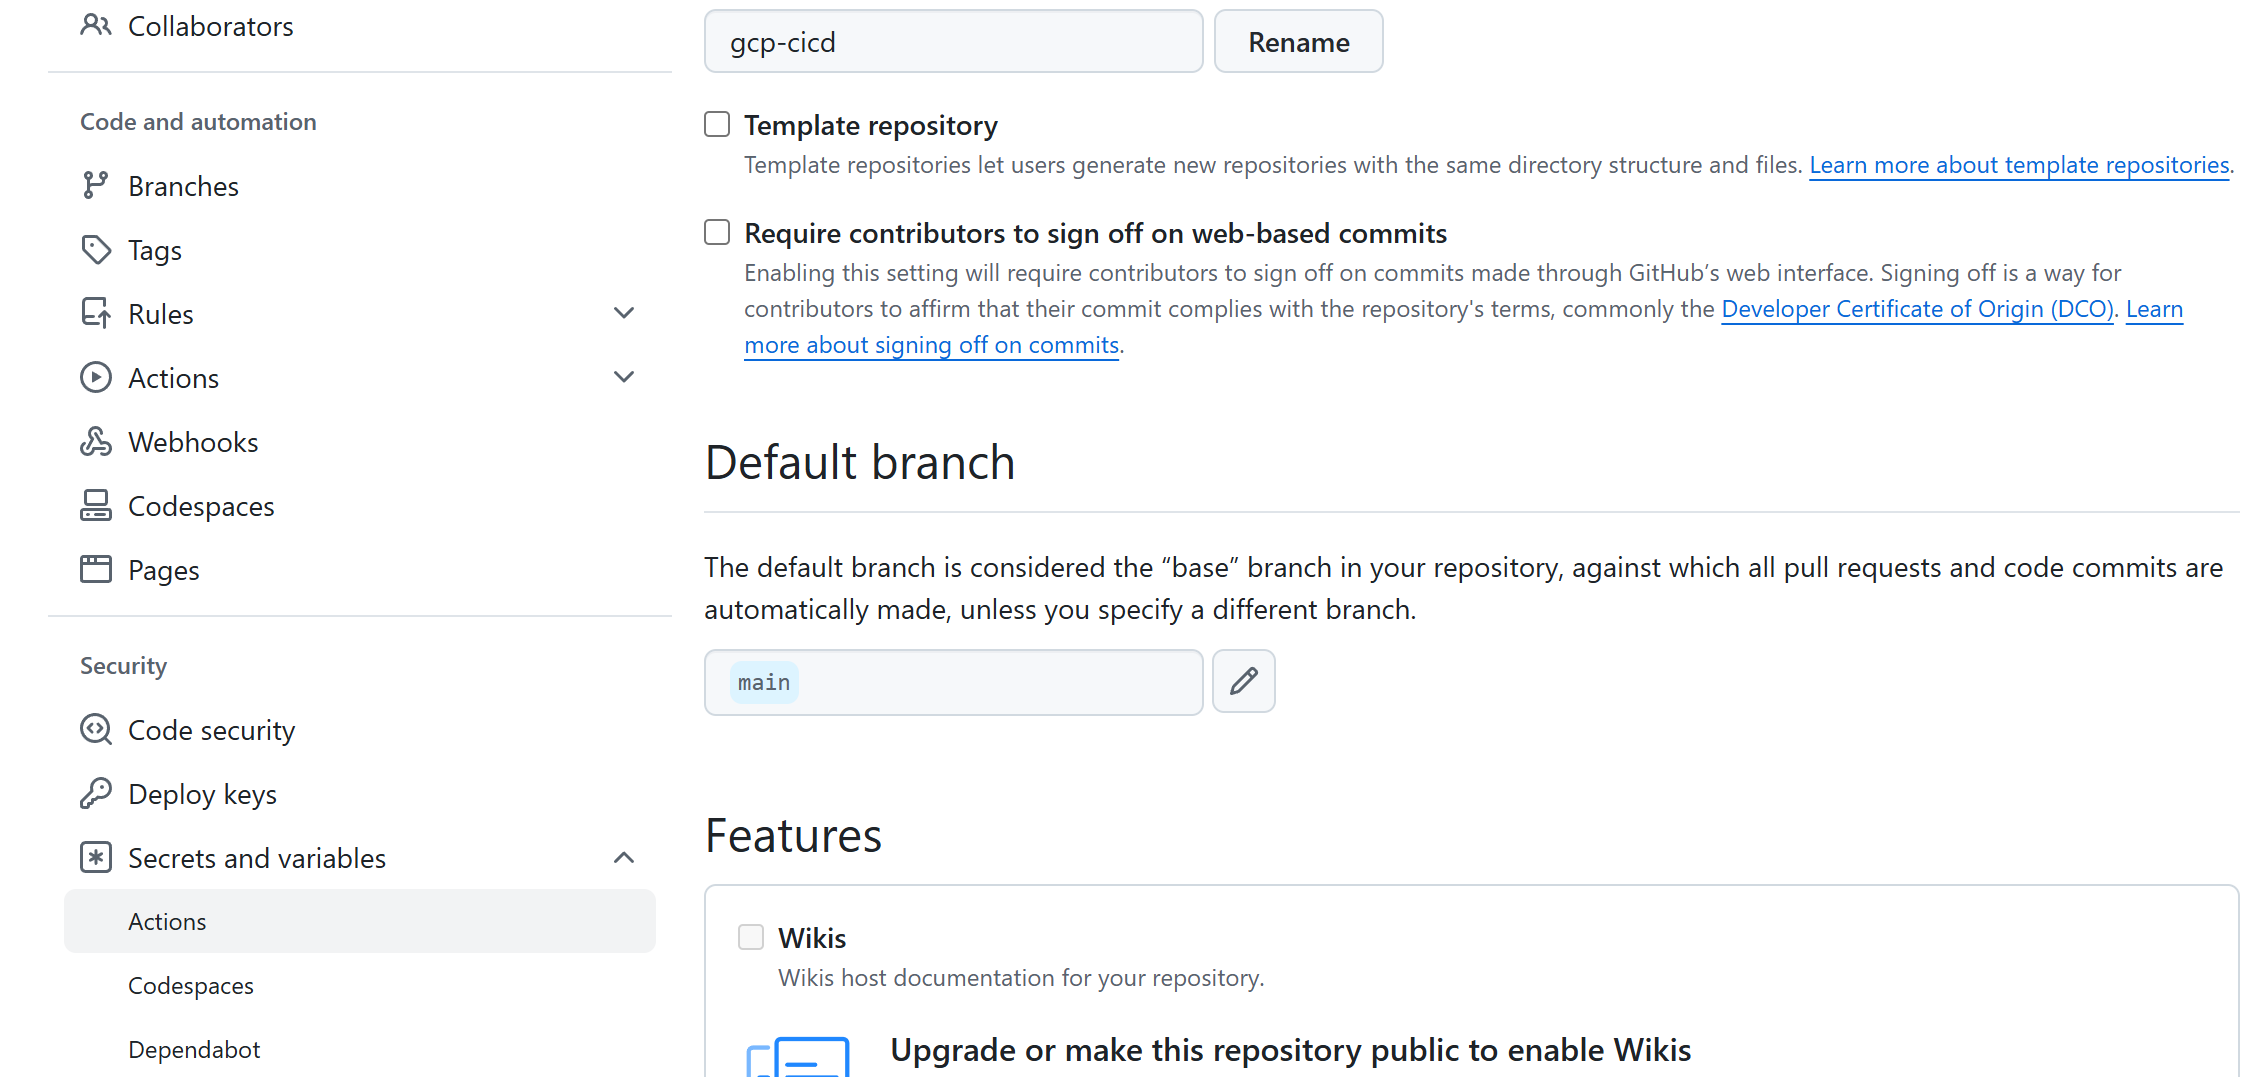
リポジトリのSettings(歯車アイコン)をクリックします。

-
Secrets and variables > Actionsで新しいシークレットを追加します。
- Name:
GOOGLE_CREDENTIALS - Value: 上記で作成したサービスアカウントキー(terraform-deploy.json)の内容をコピーして貼り付ける


CI/CDパイプラインの構築
1. GitHub Actionsワークフローの作成
- GitHubで「Create new file」をクリックします。

.github/workflows/terraform_apply.ymlを作成し、以下の内容を追加します:

name: terraform apply

on:
  push:
    branches:
    - main
  pull_request:

defaults:
  run:
    working-directory: ./

jobs:
  terraform-workflow:
    name: terraform workflow
    runs-on: ubuntu-latest
    defaults:
      run:
        shell: bash
    env:
      GOOGLE_CREDENTIALS: ${{ secrets.GOOGLE_CREDENTIALS }}

    steps:
    - name: checkout
      uses: actions/checkout@v4

    - name: setup terraform
      uses: hashicorp/setup-terraform@v3

    - name: terraform init
      run: terraform init

    - name: terraform format
      run: terraform fmt

    - name: terraform plan
      run: terraform plan

    - name: terraform apply
      run: terraform apply -auto-approve
2. GItHubとCloudShellの連携
- CloudShellでエディタを開き、以下を実行してクローンします。
git clone リポジトリURL(https://github.com/XXX/XXX.git)
-
以下のポップアップで「Allow」をクリックします。

-
以下のポップアップで「Copy&Continue to GitHub」をクリックします。

-
「open」をクリックします。

-
ユーザーネーム、パスワードを入力して「Sign in」をクリックします。

-
「Continue」をクリックします。
-
- でコピーした番号を入力します。
-
「Authorize Visual-Studio-Code」をクリックします。
-
以下のような表示が出れば完了です。

3. Terraformコードの作成
main.tfを作成し、まずはメインブランチにプッシュします。
- クローンしたフォルダ配下に移動し、
main.tfを作成します。
cd "クローンしたフォルダ"
sudo vi main.tf
ここでは、Compute Engineインスタンス1台を作っていきます。
ネットワークはGCPのデフォルトのものを使います。
terraform {
  required_version = "~> 1.10.5"
  required_providers {
    google = {
      source  = "hashicorp/google"
      version = "~> 5.40.0"
    }
  }
  backend "gcs" {
    bucket = "your-terraform-state-bucket"  # 作成したバケット名に変更
  }
}

provider "google" {
  project = "your-gcp-project-id"  # プロジェクトIDに変更
}

resource "google_compute_instance" "example" {
  name         = "terraform-managed-instance" # 作成するCompute Engineの名前
  machine_type = "n1-standard-1"
  zone         = "asia-northeast1-a"

  boot_disk {
    initialize_params {
      image = "debian-cloud/debian-11"
    }
  }

  network_interface {
    network    = "default"
    subnetwork = "default"
  }
}
2 . 以下を実行してメインリポジトリにプッシュします。
git config --local user.email "メールアドレス" # GitHubのメールアドレス
git config --local user.name "ユーザー名" # 任意のユーザー名
git add .
git commit -m "First Commit."
git log
git push -u origin main
4. プルリクエストする
開発用の新しいブランチを作成し、メインブランチにプルリクエストします。
新しいブランチを作成し、メインブランチにプルリクエストするという流れは、安全かつ効率的に開発を進めるためのベストプラクティスです。
- 新しいブランチを作成してインスタンス名を変更します。
git branch "new_branch_name" # 新しいブランチの名前
git checkout "new_branch_name" # 新しいブランチの名前
git branch # ブランチを確認
2 . main.tfを編集し、インスタンス名を以下のように変更します。
resource "google_compute_instance" "example" {
  name         = "instance-test"  # 名前を変更
  ...
}
3 . 変更をコミットしてプッシュします。
git add .
git commit -m "First Commit"
git push origin "new_branch_name"
4 . GitHubでプルリクエストを作成します。
「Compare & pull request」をクリックします。

5 . タイトルとメッセージを入力し、「Create pull request」
をクリックします。

6 . GitHub Actionsの実行結果を確認します。
コミットメッセージに✅が付いてればプルリクエストが
メインブランチにマージされています。

6 . Google Cloud Consoleでリソースが作成されていることを確認します。

7 . GCSにtfstateファイルが作成されていることを確認します。

5. GitHub Actionsで自動実行
それではいよいよCI/CDの実践です。
Compute Engineのインスタンス名を変更が自動更新されるようにしていきたいと思います!
-
main.tf内のGCEインスタンス名を変更します。
   resource "google_compute_instance" "compute_instance" {
      name         = "instance-test2" # 名前を変更
      machine_type = "n1-standard-1"
      zone         = "asia-northeast1-a"
2 . 以下を実行してリポジトリにプッシュします。
git add .
git commit -m "Second Commit."
git log
git push
3 . GitHubにアクセスし、自動でGCEインスタンス名が変更されていることを確認します。

Compute Engineのインスタンス名を変更するだけの簡単な変更でしたが、これでCI/CDパイプラインの完成です!!
これで、次回の変更時もプッシュするだけでメインブランチにマージされ、リソースを更新することができます🏋️
クリーンアップ
以下は削除手順になります。
.github/workflows/terraform_destroy.ymlを作成し、リソースを削除します。
※ディレクトリ名が異なると実行されないので注意。
sudo vi .github/workflows/terraform_destroy.yml
name: terraform destroy

on:
  workflow_dispatch:

jobs:
  terraform-workflow:
    name: terraform workflow
    runs-on: ubuntu-latest
    defaults:
      run:
        shell: bash
    env:
      GOOGLE_CREDENTIALS: ${{ secrets.GOOGLE_CREDENTIALS }}

    steps:
    - name: checkout
      uses: actions/checkout@v4

    - name: setup terraform
      uses: hashicorp/setup-terraform@v3

    - name: terraform init
      run: terraform init

    - name: terraform destroy
      run: terraform destroy -auto-approve
まとめ
CI/CD構成により、以下のメリットが得られます。
- コードレビューとインフラ変更の一元管理
- 手動オペレーションによるミスの防止
- 変更履歴の可視化
- チーム開発での整合性確保
この記事を参考にして皆さんもCI/CDを実践してもらえたら嬉しいです🤖