はじめに
以前の記事
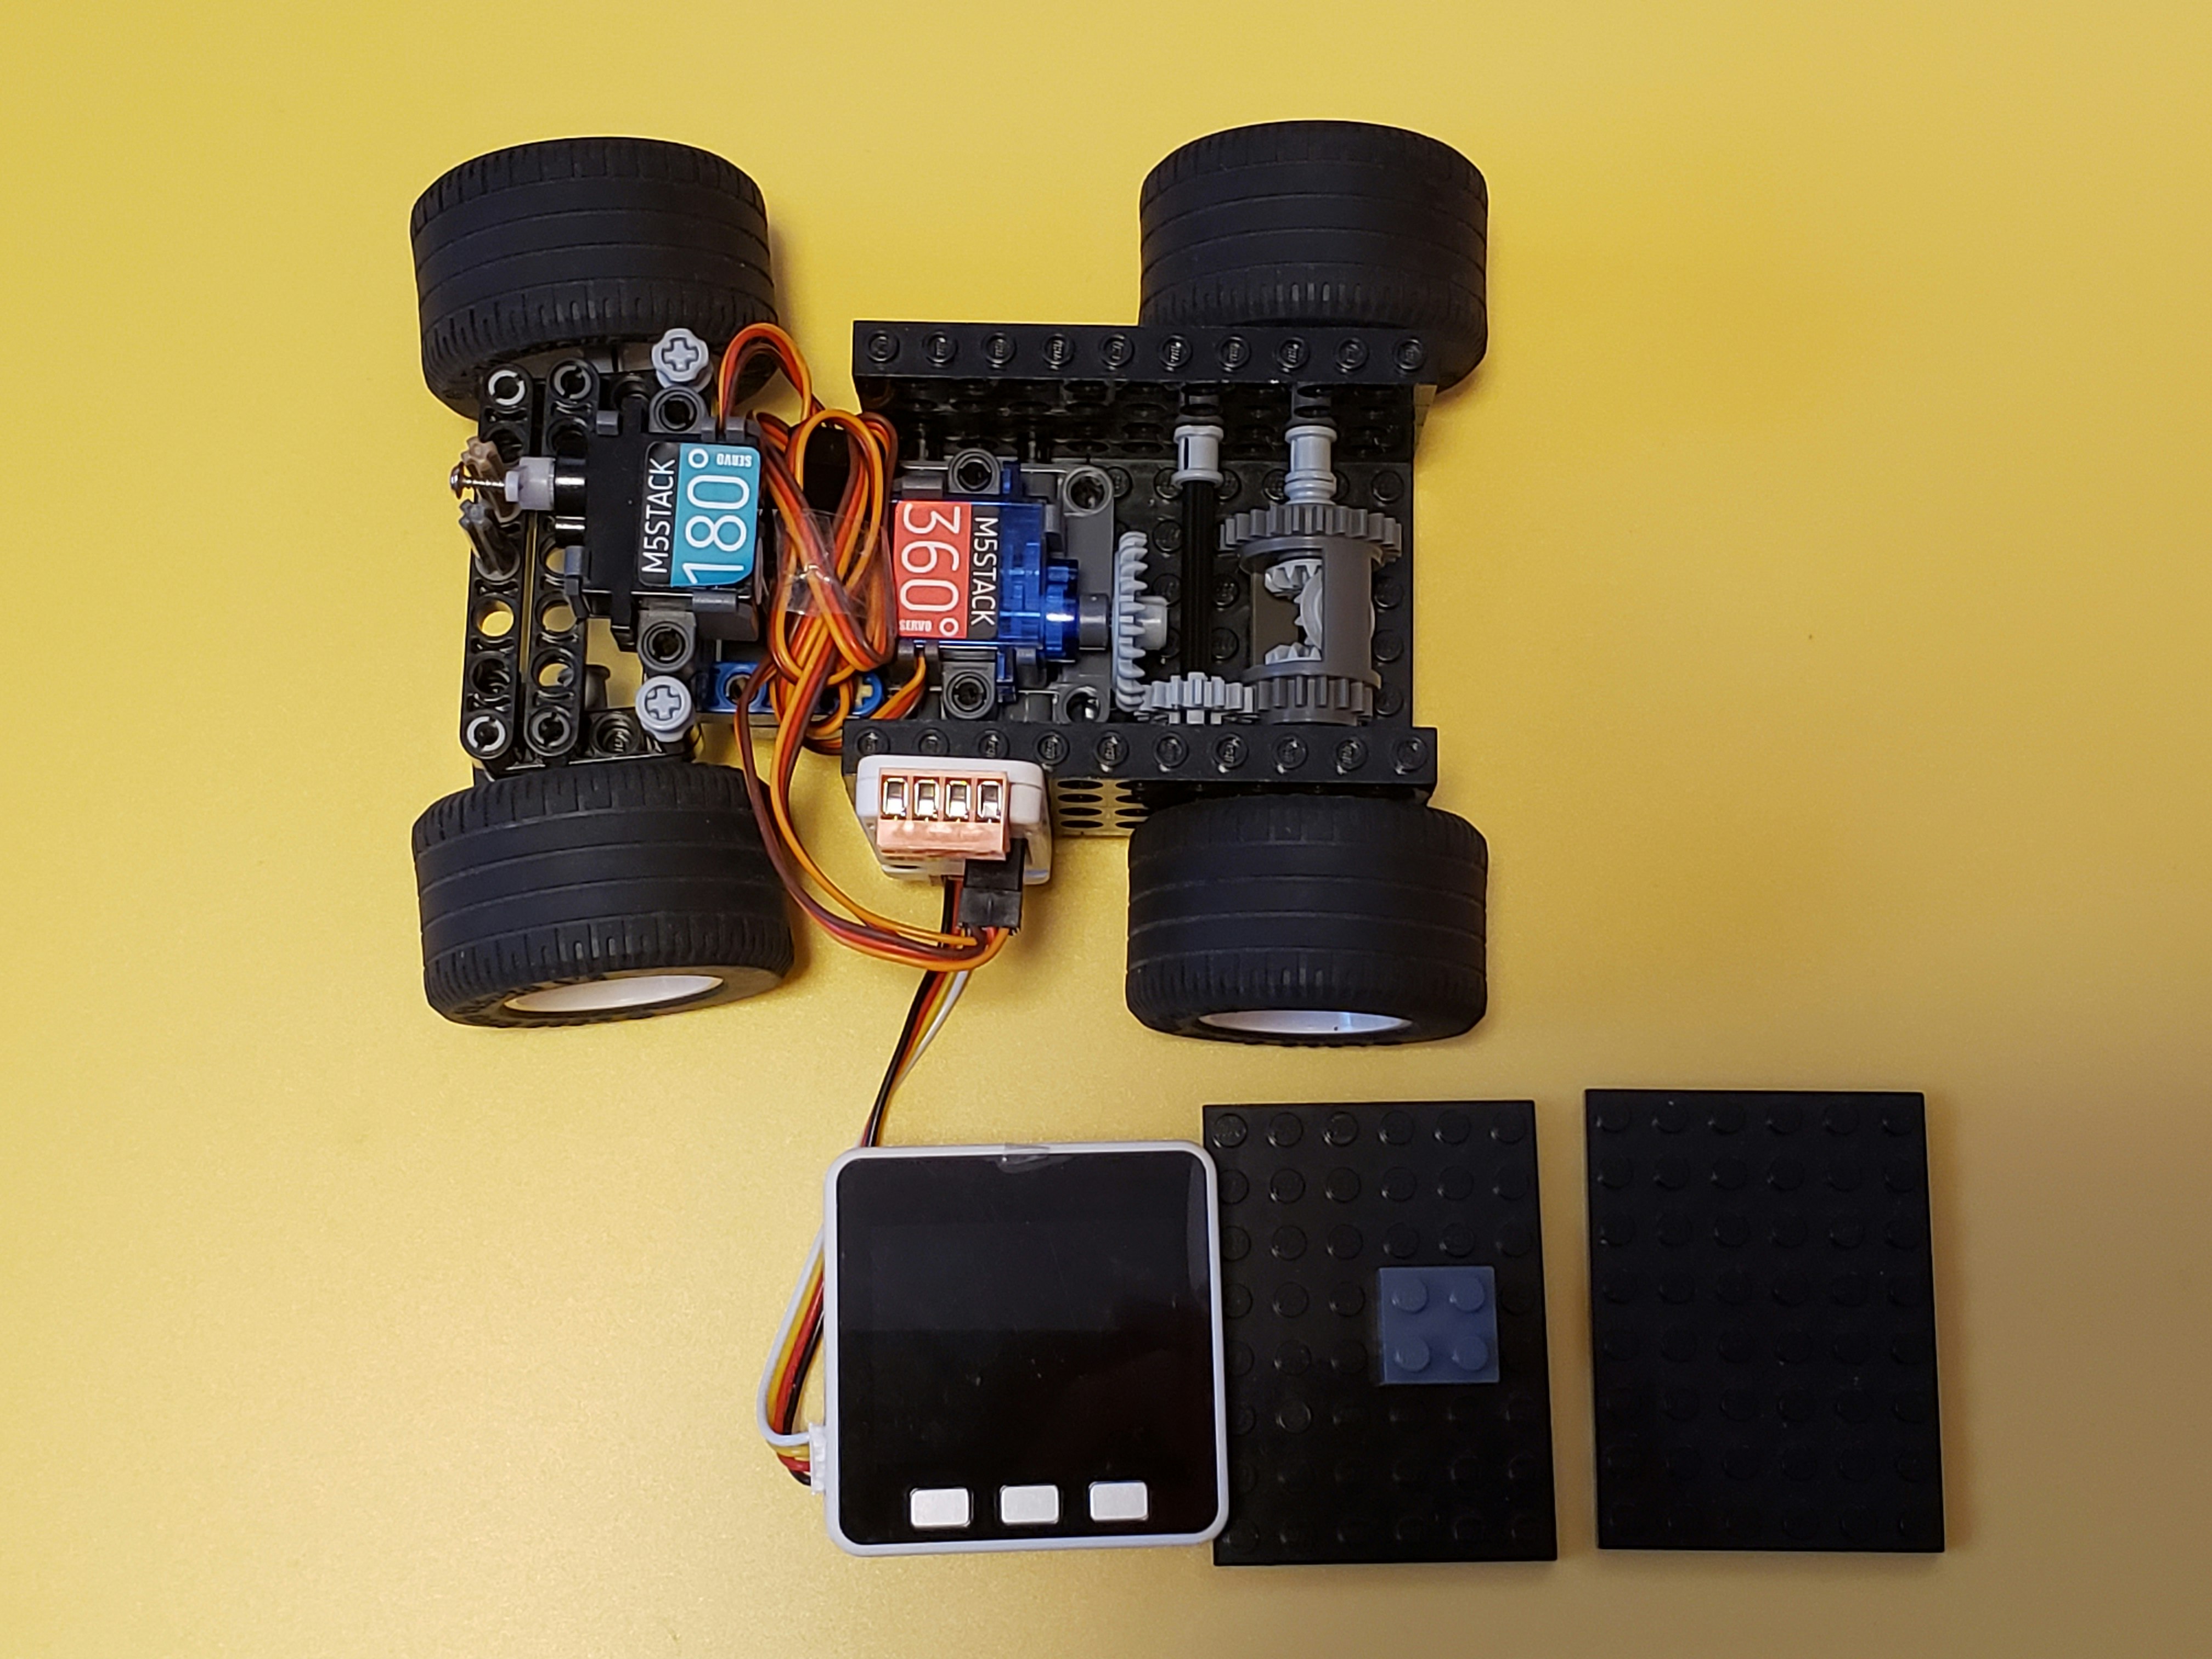
のM5Goとサーボモータを使って、車のラジコンを試作しました。ラジコン本体はLEGOブロック(テクニック系のパーツを使用)で作成し、送信機はPS4コントローラを使用しました。WiFi環境がない場所でも動作するように、M5GoとPS4コントローラはBluetoothで接続しています。
ラジコンについて
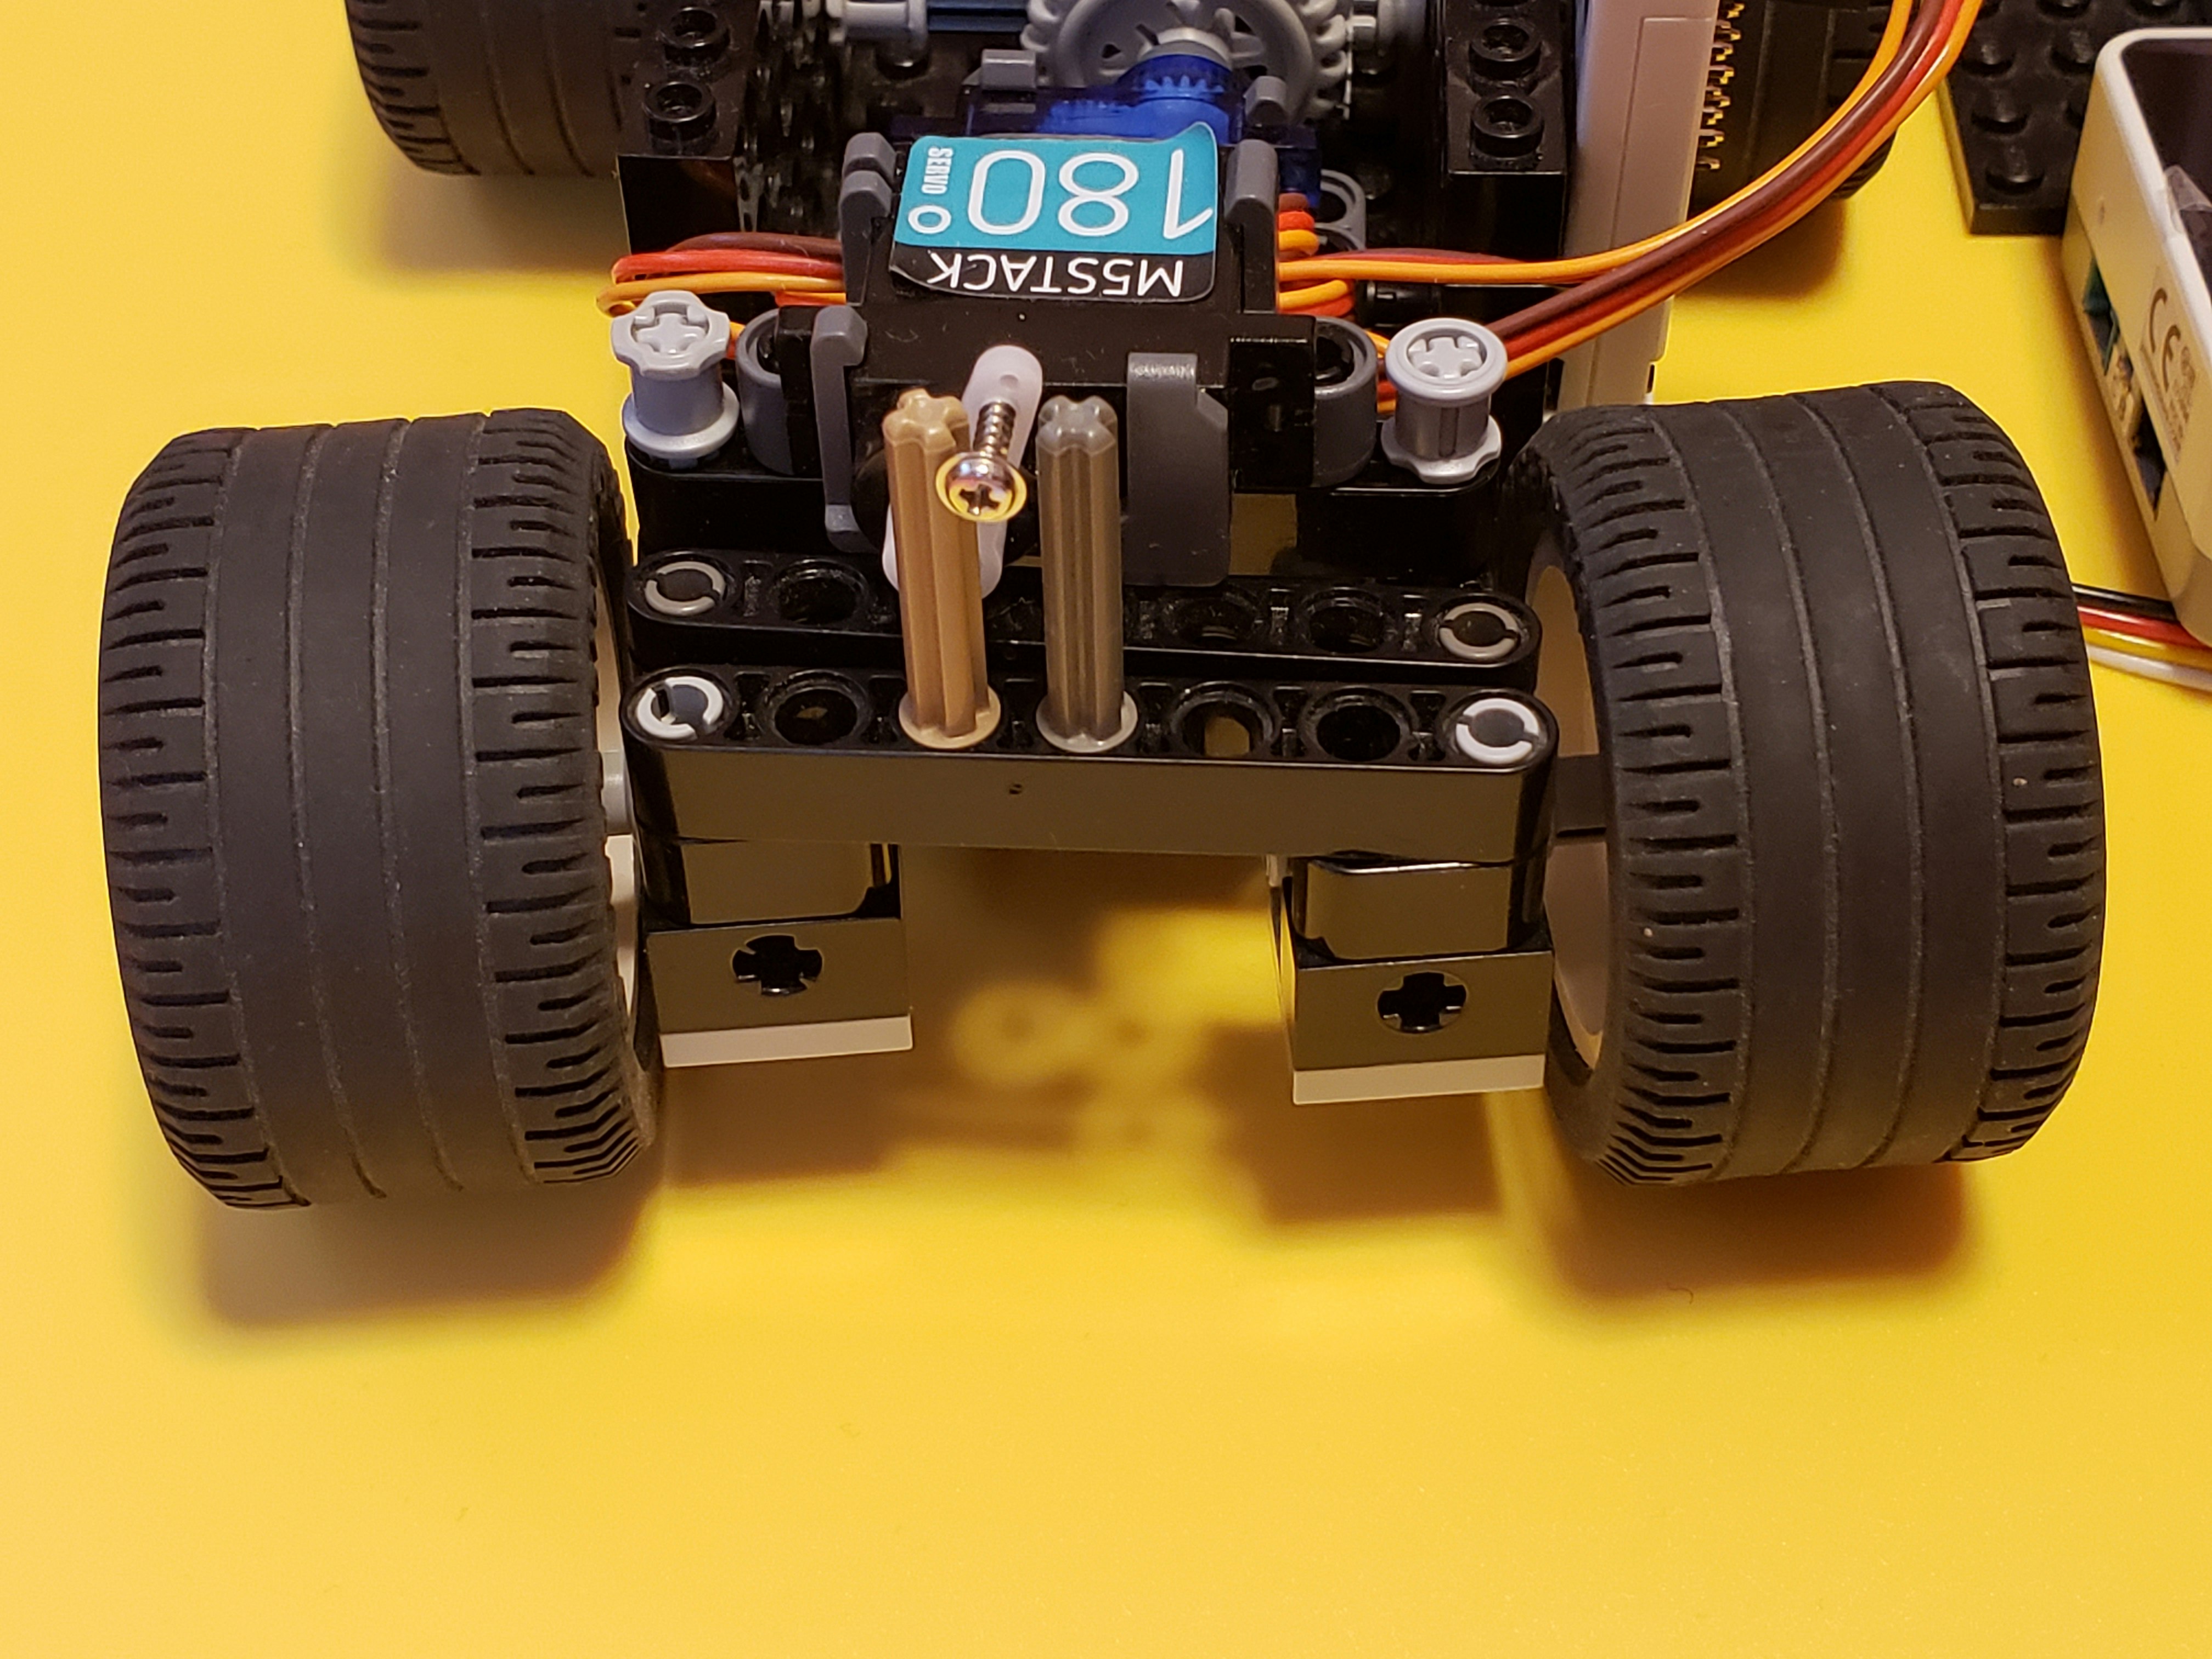
機構の様子です(後輪)。かじ取りの際にスムーズに旋回できるよう、ディファレンシャルギヤを介して後輪を駆動しています。

M5GoとPS4コントローラのBluetooth接続は以下の記事を参考にしました。
プログラムは以下のとおりArduinoで作成しました。
#include <M5Stack.h>
#include <PS4Controller.h>
#include "M5_UNIT_8SERVO.h"

M5_UNIT_8SERVO unit_8servo;

void setup() {
  Serial.begin(115200);
  PS4.begin("**:**:**:**:**:**"); //ここにmacアドレスを入れる
  Serial.println("Ready.");

  M5.begin();
  while (!unit_8servo.begin(&Wire, 21, 22, M5_UNIT_8SERVO_DEFAULT_ADDR)) {
    Serial.println("extio Connect Error");
    delay(100);
  }
  unit_8servo.setAllPinMode(SERVO_CTL_MODE);
}

void loop() {
  if (PS4.isConnected()) {
    //コントローラの右のジョイスティックで左右のかじ取り
    int angle = (PS4.RStickX() + 128) * 180/256;
    unit_8servo.setServoAngle(0, angle);
    Serial.printf("Angle at %d\n", angle);
    //コントローラの左のジョイスティックで前後移動
    int rotate = 3000 - (PS4.LStickY() + 128) * 3000/256;
    unit_8servo.setServoPulse(1, rotate);
    Serial.printf("rotate at %d\n", rotate);
  }
}
終わりに
車両の試作は、ディファレンシャルギヤの機構とかじ取り機構を設けつつ、短い全長にするように心がけました。360'ステップモータに取り付けた歯車とその相手の歯車のかみ合わせが少し緩いため、バックするときにギヤ鳴りすることが改良点です。


