この記事はファンタアドベントカレンダー2023の10日目です。
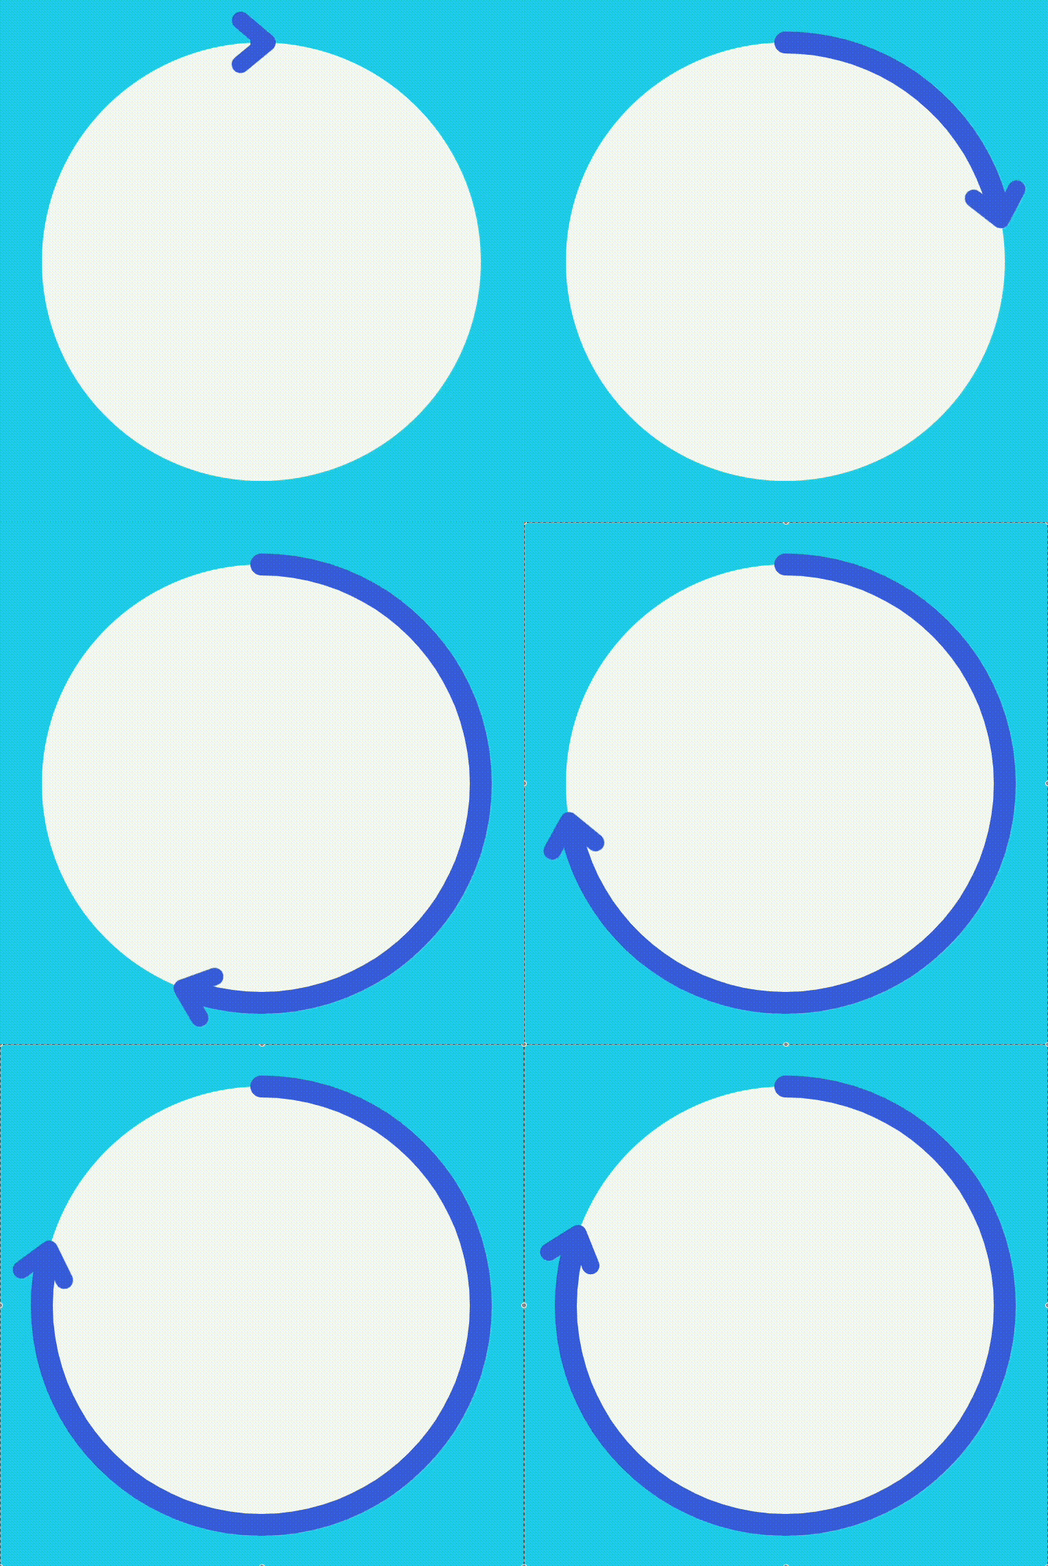
今回はReactで矢印がぐるっと回るような円形のプログレスバーの作り方を紹介します。
概要
円形のプログレスバーの作り方は調べると色々出てきますがここではSVGを使って実装していきます。SVGのパーツとしては円を描画している<circle>と矢印の先端の[>]を描画している<path>に分けることができます。
バーの進捗は円の破線をコントロールするstrokeDasharrayとstrokeDashoffsetを使って表現しています。
環境
- React
- Tailwind
円の配置
このコードでは各種定数の用意と、<circle>タグで円を描画しています。progressPercentに0~100を指定することでその割合で描画できるようにしています。
export const Progress = () => {
  // SVGの描画サイズ
  const size = 120;
  // 現在の進捗
  const progressPercent = 80;
  // 円の半径
  const radius = 50;
  // 円周
  const circumference = 2 * Math.PI * radius;
  // 表示割合
  const strokeDashoffset = circumference - (progressPercent / 100) * circumference;
  return (
    <div className="w-full h-full">
      <svg
        viewBox={`0 0 ${size} ${size}`}
        style={{ transform: "rotate(-90deg)" }} // そのままだと3時の方向が起点になってしまうので-90°回転させてます
      >
        <circle
          r={radius}
          cx={size / 2}
          cy={size / 2}
          stroke="#4169e1"
          strokeWidth="5"
          fill="#F6FBF6"
          strokeLinecap="round"
          strokeDasharray={circumference}
          strokeDashoffset={strokeDashoffset}
        />
      </svg>
    </div>
  );
};
このコンポーネントを呼び出すことで以下の円が描画できます。背景色やサイズは親要素で設定しています。
<div className="h-[512px] w-[512px] bg-[#65CFEA]">
    <Progress />
 </div>

矢印の先端の配置
続いて<path>を使って矢印の先端を作っていきます。描画の詳しい記述方法はドキュメントにあります。
まず、d属性に描画する図形の座標を記述します。そしてtransformOriginで回転するときの原点をviewBoxの中心に設定し、transformで回転させています。progressPercentは0~100の値を取るので3.6を掛けて360°回転できるようにし、svgタグで指定しているrotate(-90deg)を打ち消すために90を加算しています。
<path
  d="M 55,5 61,10 55,15"
  fillOpacity={0}
  strokeWidth={4}
  stroke="#4169e1"
  strokeLinecap="round"
  strokeLinejoin="round"
  style={{
    transform: `rotate(${progressPercent * 3.6 + 90}deg)`,
    transformOrigin: `${size / 2}px ${size / 2}px`,
  }}
/>
この<path>を<svg>内に入れることで矢印がぐるっと回っているような表現ができるようになります。続いてアニメーションを追加していきます。

アニメーションの設定
アニメーションは@keyframesであらかじめ定義し、<circle>と<path>から呼び出す流れで行います。
circleStrokeのfrom(初期値)ではstroke-dashoffsetに円周を渡すことで線の描画を非表示にしています。その後to(アニメーション後)で表示割合であるstrokeDashoffsetを渡しています。
rotationObjectも同様にfromに<path>の初期位置であるrotate(90deg)を、toにrotate(${progressPercent * 3.6 + 90}deg)を設定しています。
keyframesの設定を終えたら<circle>と<path>にanimationを指定します。animationは 使いたいkeyframesの名前 | 再生時間 | イージングの指定 | アニメーション後の状態の指定 を設定しています。
return (
  <>
    <style>
      {`@keyframes circleStroke {
        from {
          stroke-dashoffset: ${circumference};
        }
        to {
          stroke-dashoffset: ${strokeDashoffset};
        }
      }
      @keyframes rotationObject {
        from {
          transform: rotate(90deg);
        }
        to {
          transform: rotate(${progressPercent * 3.6 + 90}deg)
        }
      }
      `}
    </style>
    <div className="w-full h-full">
      <svg
        viewBox={`0 0 ${size} ${size}`}
        style={{ transform: "rotate(-90deg)" }}
      >
        <circle
          r={radius}
          cx={size / 2}
          cy={size / 2}
          stroke="#4169e1"
          strokeWidth="5"
          fill="#F6FBF6"
          strokeLinecap="round"
          strokeDasharray={circumference}
          style={{
            animation: "circleStroke 3s ease forwards",
          }}
        />
        <path
          d="M 55,5 61,10 55,15"
          fillOpacity={0}
          strokeWidth={4}
          stroke="#4169e1"
          strokeLinecap="round"
          strokeLinejoin="round"
          style={{
            animation: "rotationObject 3s ease forwards",
            transformOrigin: `${size / 2}px ${size / 2}px`,
          }}
        />
      </svg>
    </div>
  </>
);
これで冒頭のプログレスバーのアニメーションが完成しました🎉
このプログレスバーの作りを応用することで任意の画像を一緒に回転させることもできます。
最後におまけとして見た目をクリスマスぽくして終わりにします。
おまけ:サンタさんを走らせる
<path>を消して画像を配置していきます。画像はSVGの外の要素なので@keyframesでのrotateの起点を0にしています。また、画像の座標はviewBoxのサイズではなく親要素で指定しているwidthとheightに依存しています。
return (
  <>
    <style>
      {`@keyframes circleStroke {
        from {
          stroke-dashoffset: ${circumference};
        }
        to {
          stroke-dashoffset: ${strokeDashoffset};
        }
      }
      @keyframes rotationObject {
        from {
          transform: rotate(0deg);
        }
        to {
          transform: rotate(${progressPercent * 3.6}deg)
        }
      }
      `}
    </style>
    {/* relativeを追加 */}
    <div className="relative w-full h-full">
      <svg
        viewBox={`0 0 ${size} ${size}`}
        style={{ transform: "rotate(-90deg)" }}
      >
        <circle
          r={radius}
          cx={size / 2}
          cy={size / 2}
          stroke="#FAF3BE"
          strokeWidth="5"
          fill="#B23333"
          strokeLinecap="round"
          strokeDasharray={circumference}
          style={{
            animation: "circleStroke 3s ease forwards",
          }}
        />
      </svg>
      {/* 回転する画像 */}
      <div
        className="absolute top-0 left-1/2"
        style={{
          translate: "-50% -50%",
          transformOrigin: `center ${256 + 126 / 2}px`, // 回転する座標の起点
          animation: "rotationObject 3s ease forwards",
        }}
      >
        <Image src="/santa.png" alt="santa" width="256" height="126" />
      </div>
      <div
        className="absolute top-1/2 left-1/2 text-4xl font-copperplate text-white italic whitespace-nowrap"
        style={{
          translate: "-50% -50%",
        }}
      >
        Merry Christmas
      </div>
    </div>
  </>
);
そして親要素でも画像の配置などの調整をして完成です🎅
みなさま素敵なクリスマスを!🎄
明日は優しく頼りになるデザイナーの花牟禮さんの記事です!お楽しみに!

