目次
1. pyRevitとは
2. インストール
3. フォルダの設定
4. HelloWorld
pyRevitとは
- PythonやDynamo、Grasshopperなどを用いてリッチなGUIのRevitアドインをつくれるツール
- .NETフレームワークを用いる通常のアドイン開発と比べてとても簡単
- (英語ですが)公式チュートリアル・ドキュメントあり
インストール
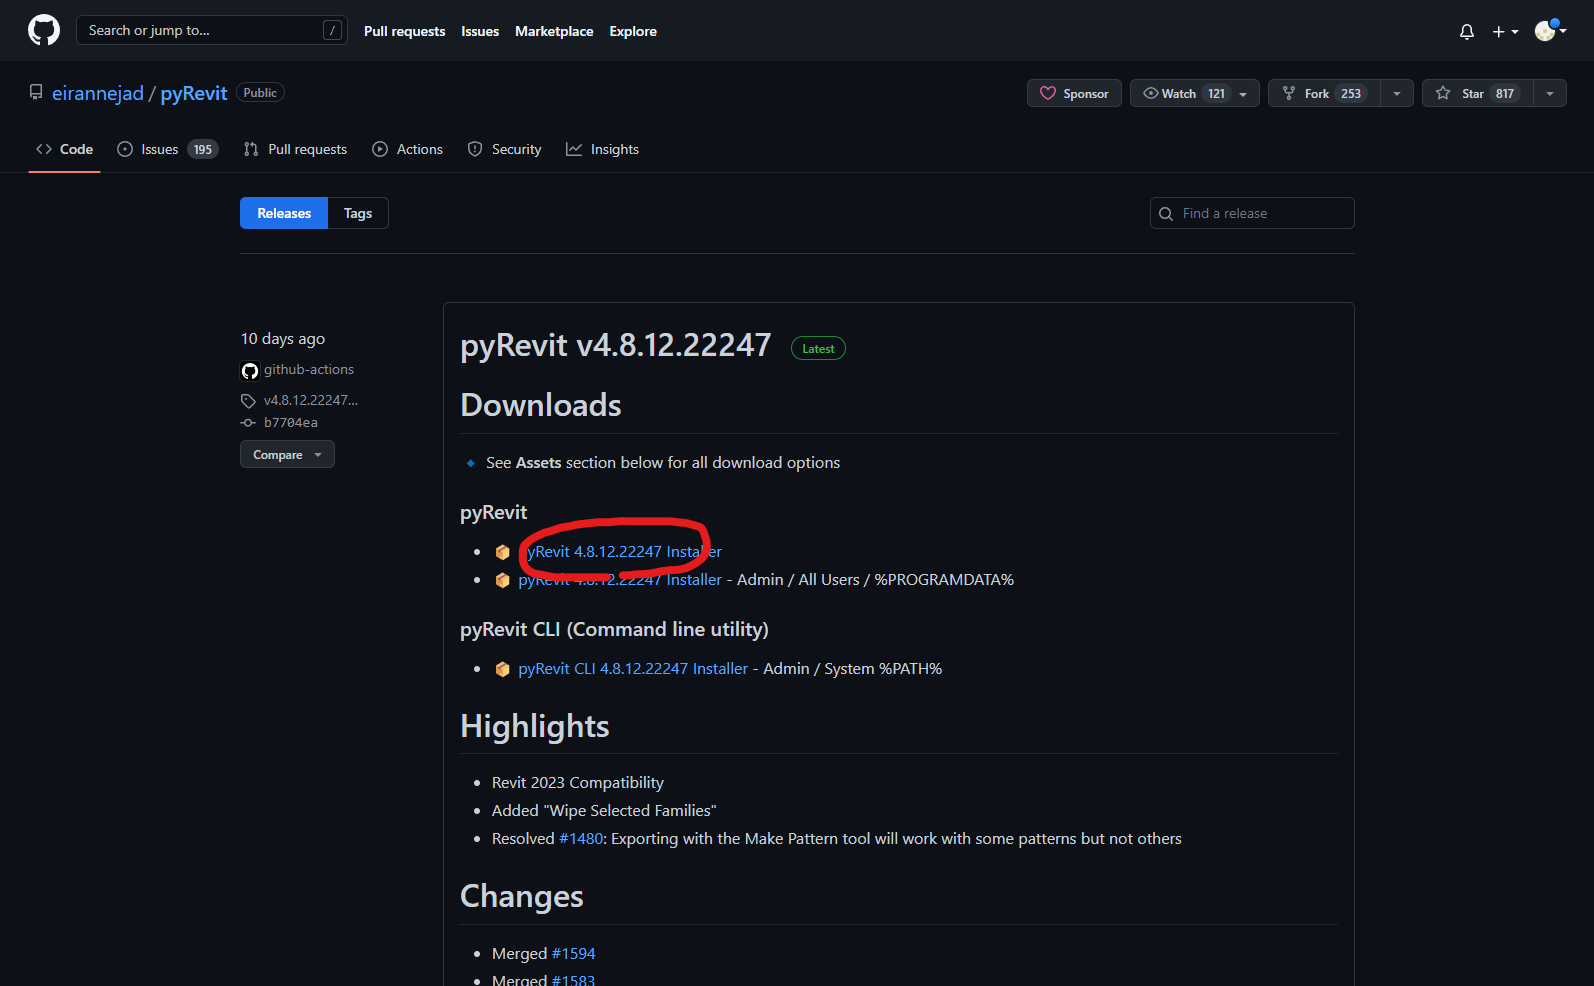
下記リンクから最新版のインストーラーをダウンロードして、pyRevitをPCにインストールします。現在(2022.09.14)の最新版はバージョン4.8.12です。
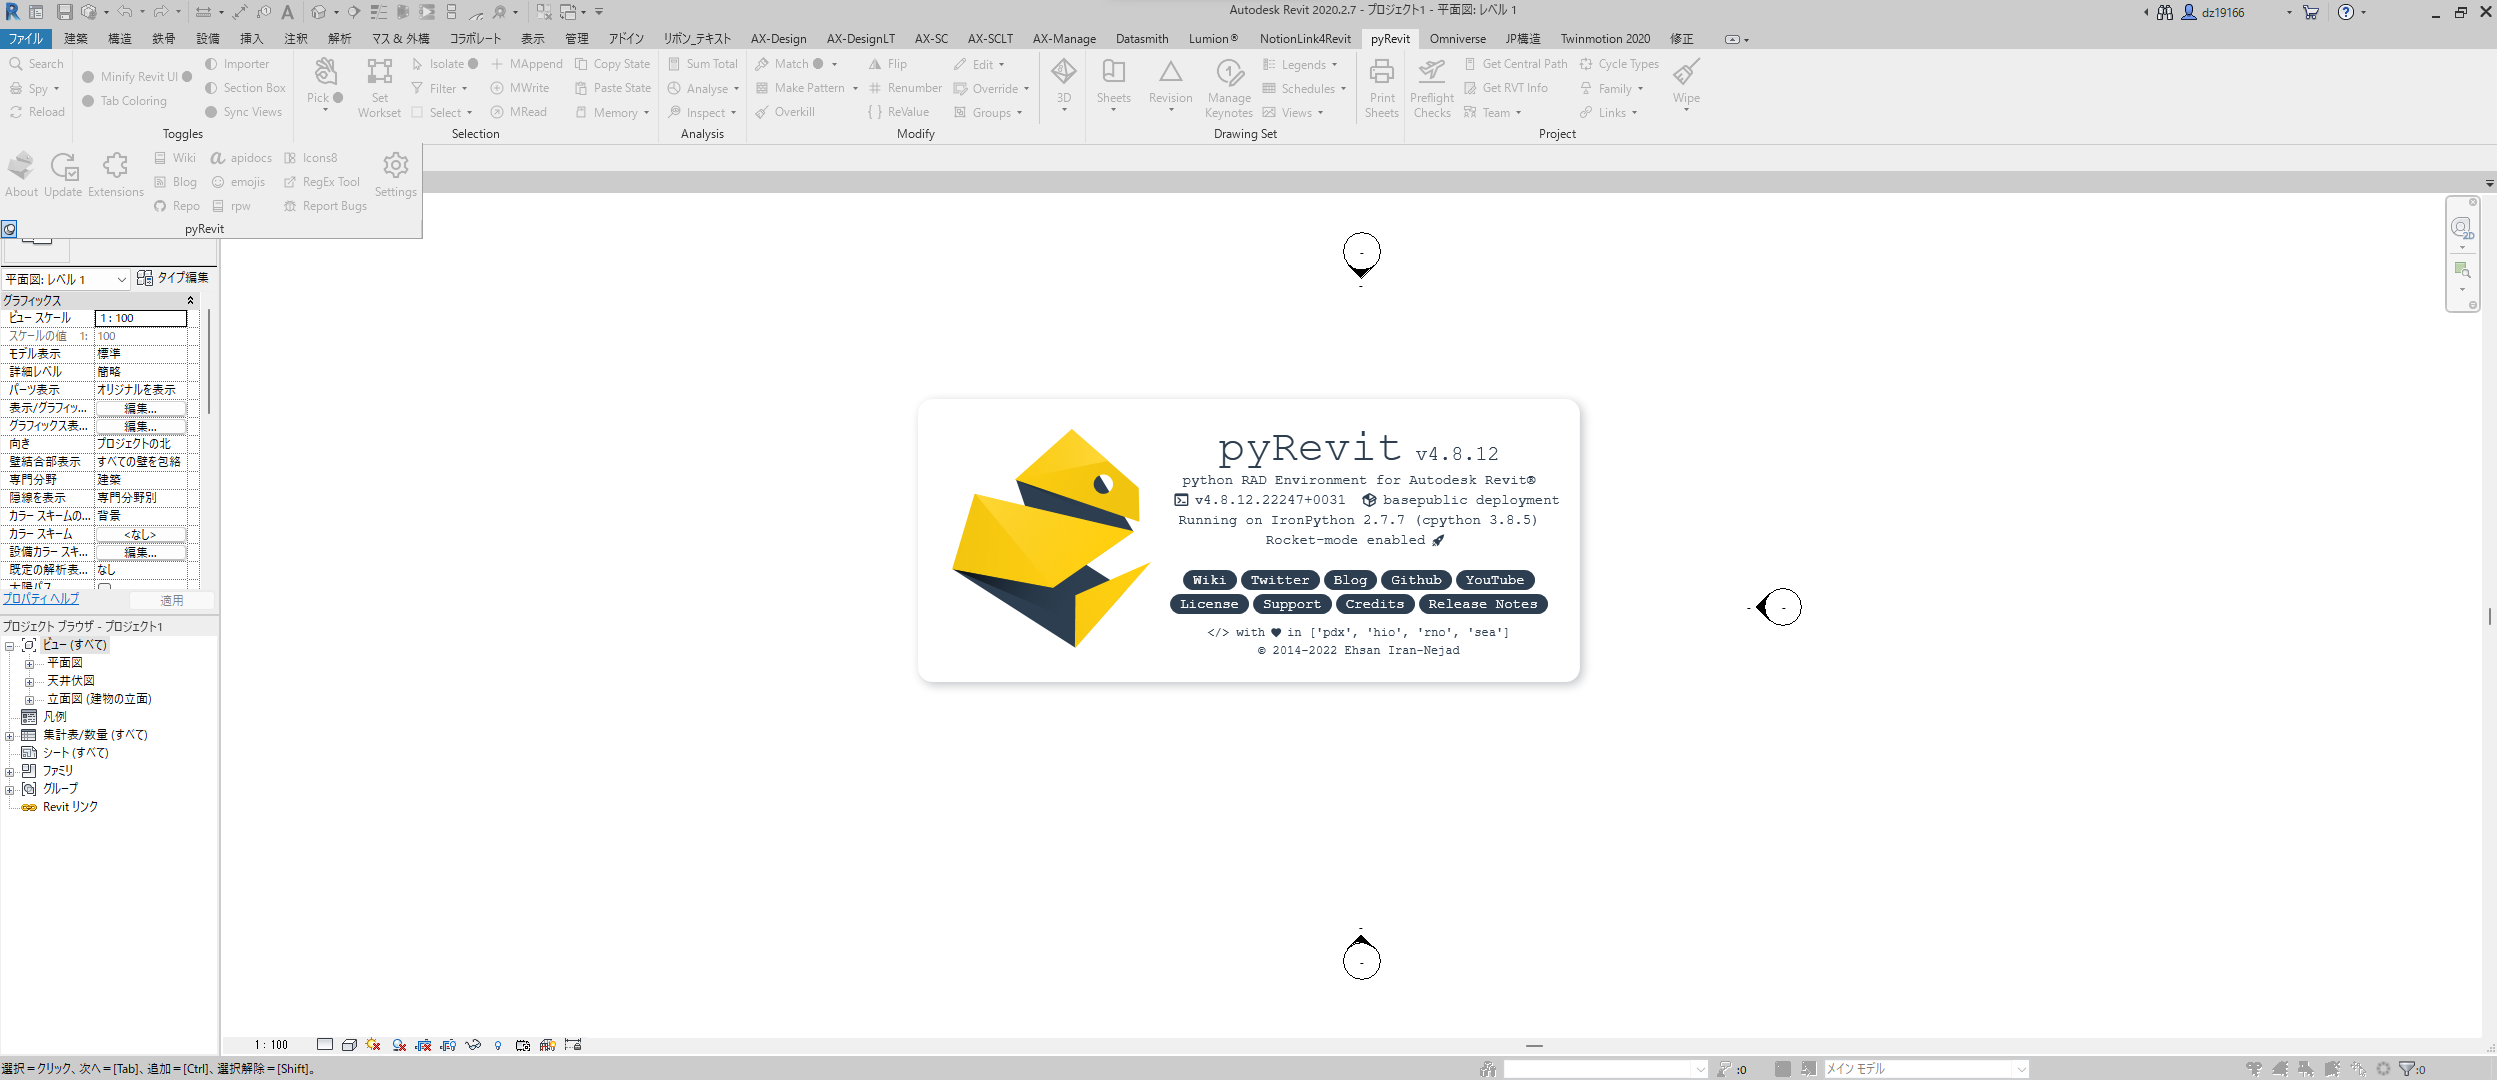
プラグインをインストールすると、Revitのタブバーに「pyRevit」タブが表示されます。

「pyRevit」パネルから「About」ボタンをクリックするとダイアログが表示され、pyRevitのバージョンを確認できます。
フォルダの設定
pyRevitでは、以下のようなフォルダ構成によってUIをつくります。各フォルダの名前がUIに表示されます。「<ボタン名>.pushbutton」フォルダにpythonスクリプトとアイコン用の画像を入れます。
C:.
└─<エクステンション名>.extension
    └─<タブ名>.tab
       └─<パネル名>.panel
           └─<ボタン名>.pushbutton
               └─icon.png
               └─script.py
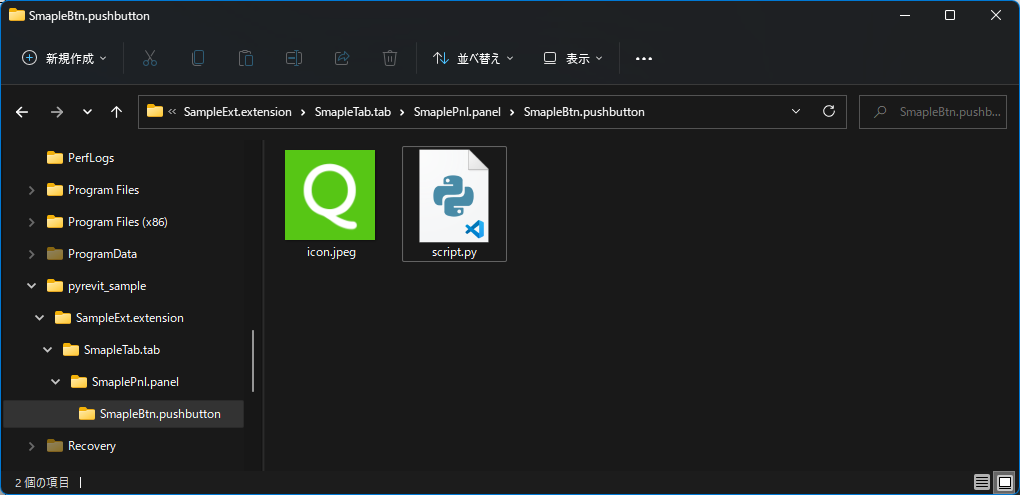
今回の例では、Cドライブ直下に「pyrevit_sample」というフォルダを作成しました。ボタンのアイコンにはRevitのロゴ画像を使用しています。
C:\pyrevit_sample
    └─SampleExt.extension
        └─SampleTab.tab
           └─SmaplePnl.panel
               └─SampleBtn.pushbutton
                   └─icon.png
                   └─script.py
- 既定のフォルダ名(<タブ名>.tab など)になっていないフォルダは無視されます。
- ボタンをクリックした際に実行するpythonスクリプト「script.py」から別のpythonスクリプトを呼び出すことも可能です
- 複数のボタンで利用するスクリプトや設定値を保存するJSONファイルは、「<エクステンション名>.extension」フォルダ直下に入れて「script.py」から呼び出します。
C:.
└─MyExtension.extension
    ├─config.json             #共有の設定値
    ├─mylib.py                 #共有のクラス・関数
    └─NotionLink4Revit.tab
       ├─Issues.panel
       │   ├─Apply Issues.pushbutton
       │   │   └─icon.png
       │   │   └─script.py
       │   │   └─gui.py        #「script.py」から呼び出すpythonスクリプト
       │   ├─Delete Issues.pushbutton
       │   │   └─icon.png
       │   │   └─script.py
       │   └─Delete Issues.pushbutton
       │       └─icon.png
       │       └─script.py
       ├─Debug.panel
       │   └─(略)
       ├─Properties.panel
       │   └─(略)
       └─Properties.panel
           └─(略)

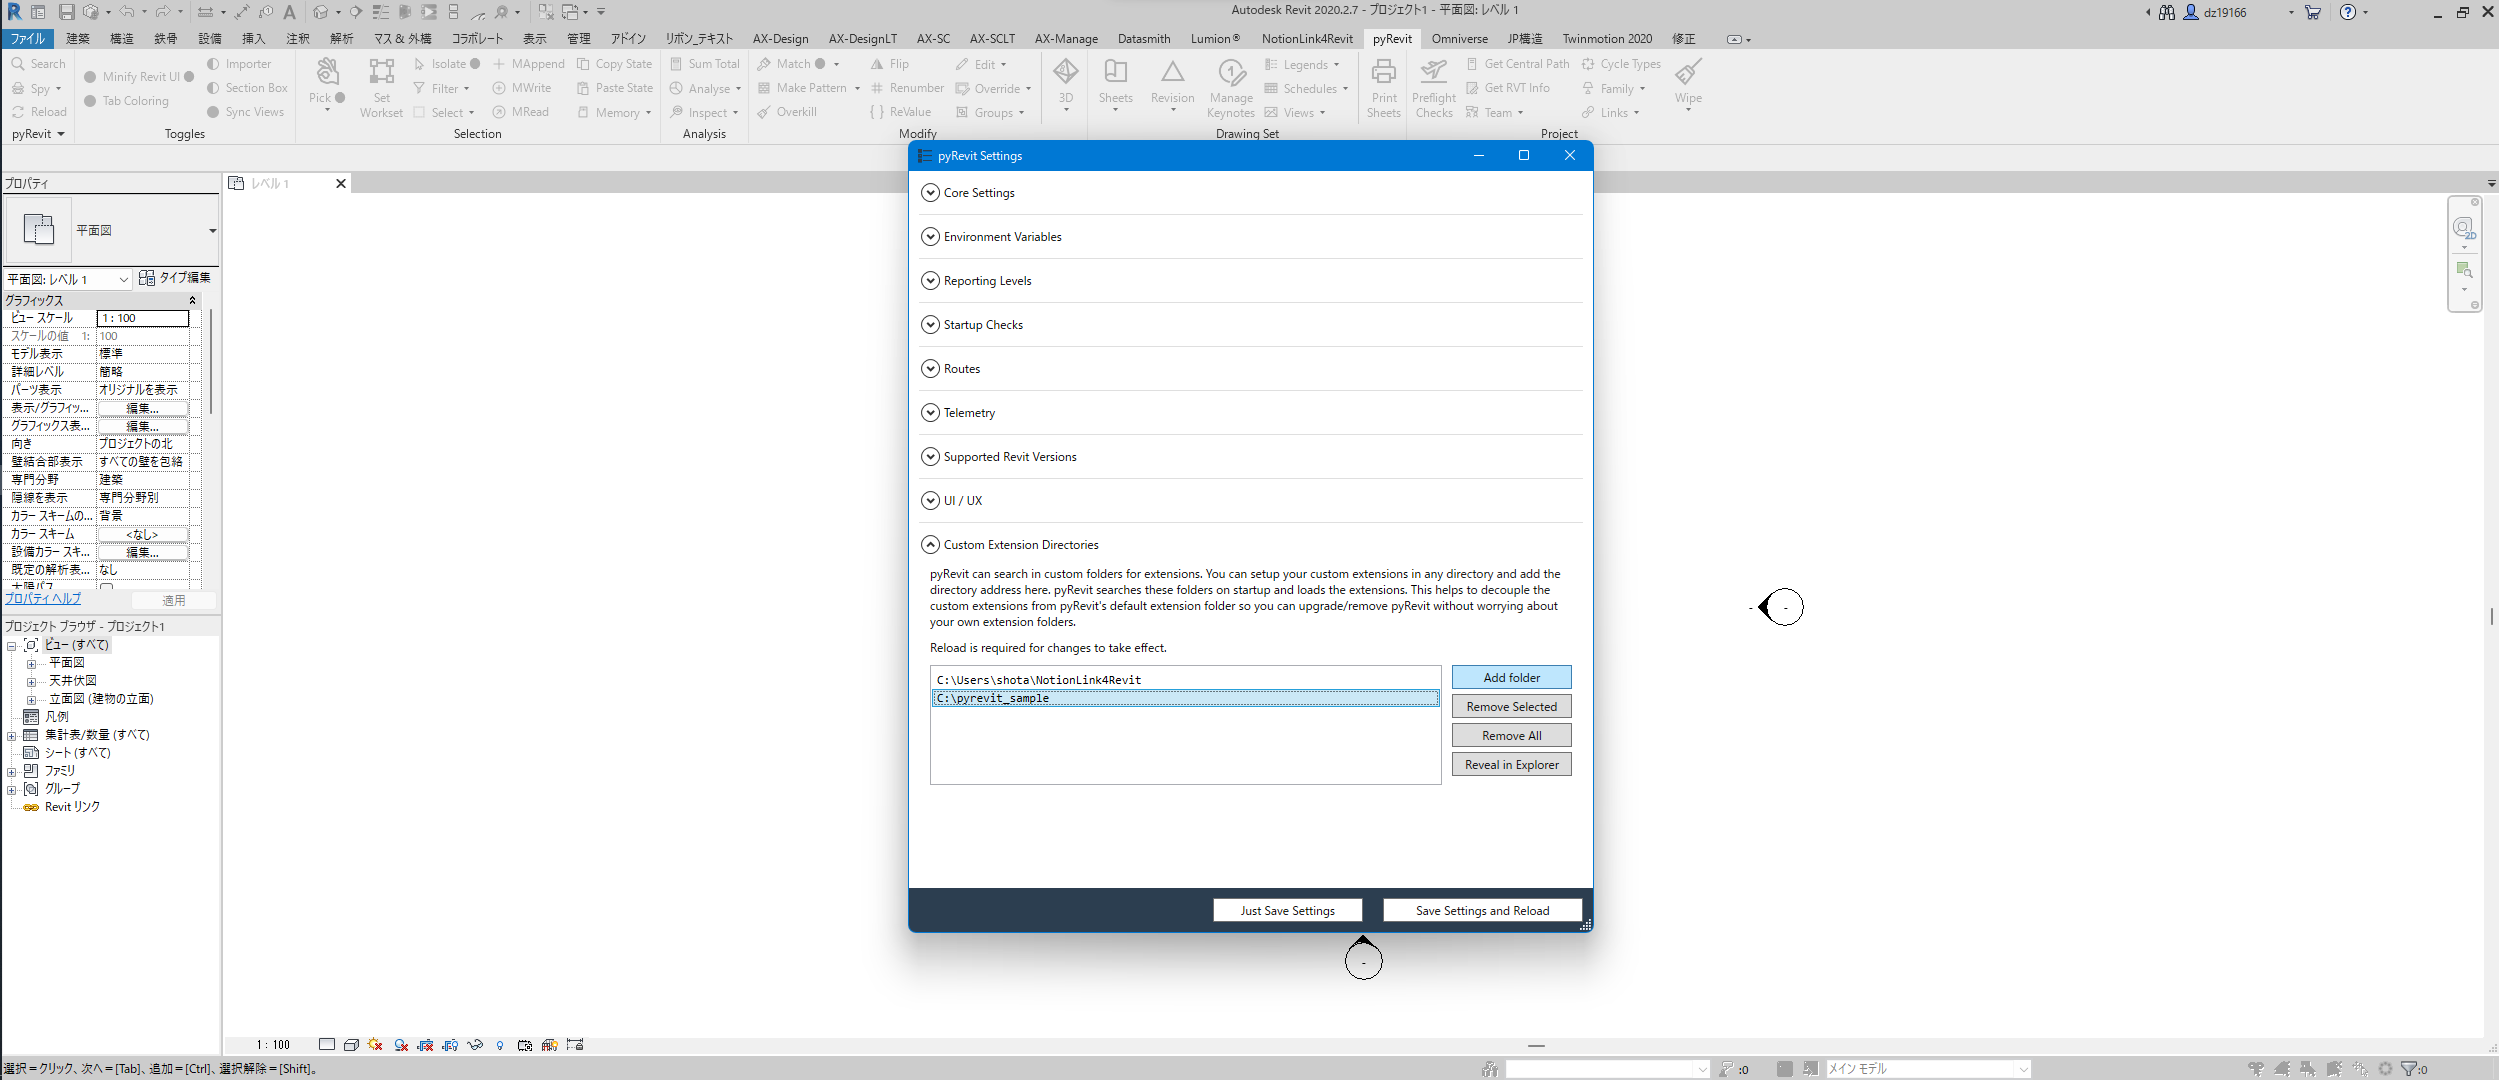
「pyRevit」パネルから「Setting」ボタンをクリックして、「pyRevit Settings」ダイアログを開きます。「Custom Extension Directories」から「Add folder」ボタンをクリックし、先ほど作った「C:\pyrevit_sample」フォルダを設定します。
「<エクステンション名>.extension__」フォルダの1つ上のフォルダを指定します。「__<エクステンション名>.extension」フォルダを指定すると読み込まれないので注意してください。
HelloWorld
実際にPythonスクリプトを書いて "HelloWorld" を表示してみます。
以下コードを書いて保存して、
# encoding: UTF-8
print ("Hello World")
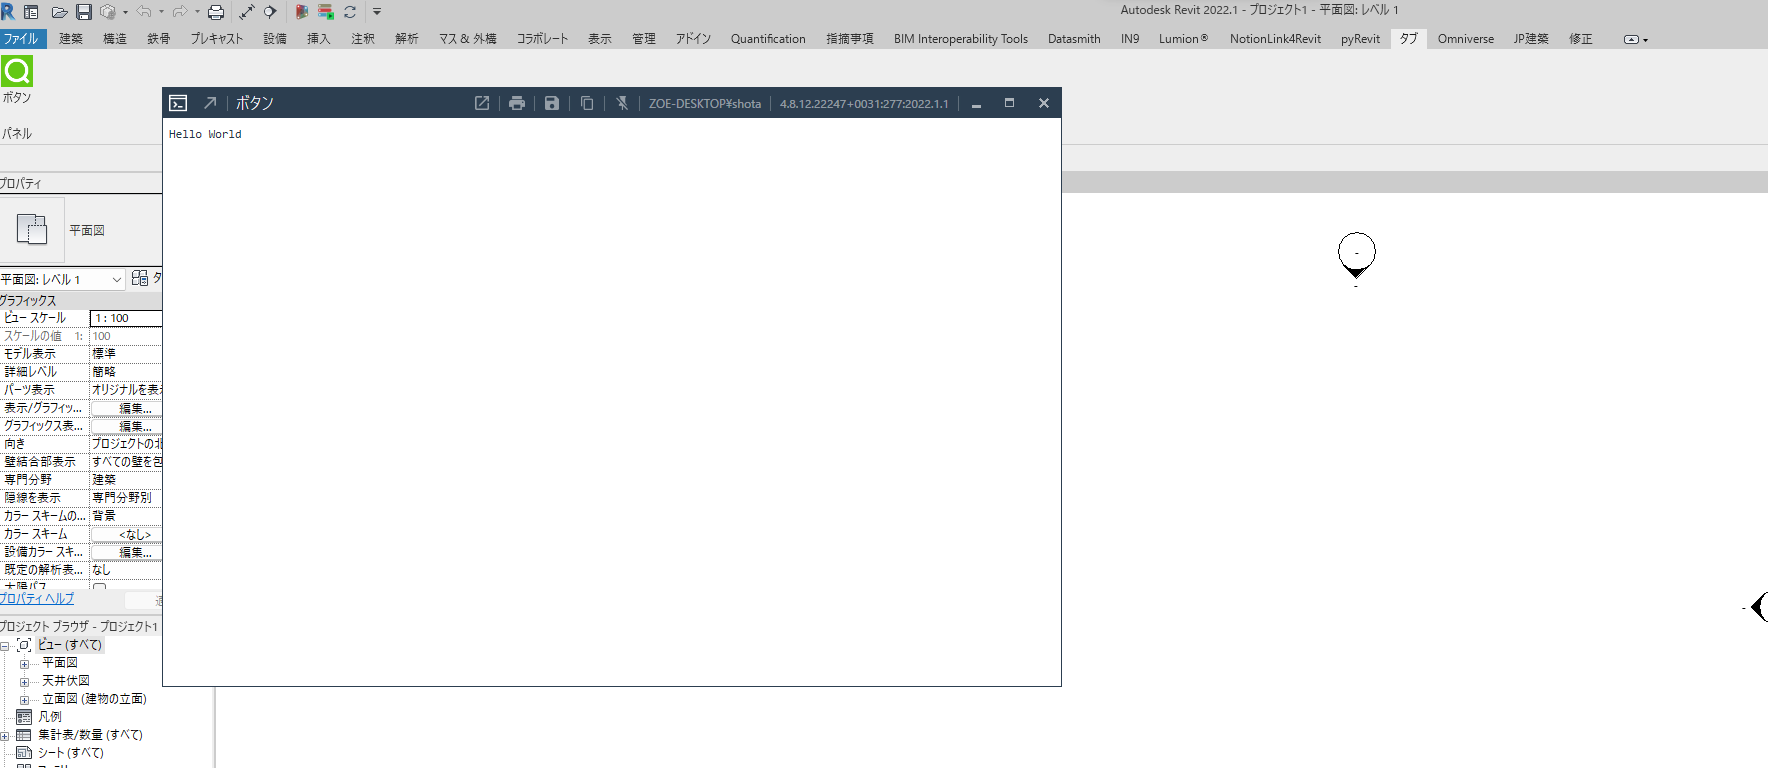
「Reload」ボタンをクリックして「はい」を選択します。

リロードすると新しく作成した「ボタン」ボタンが現れて、クリックすると "HelloWorld" が表示されます。