Info
この記事は2023/02/25現在のものです。バージョン変更により方法が変わることがあります。
はじめに
Electronとは
ElectronはWebサイトの言語(JavaScript、CSS、HTML)を利用して、マルチプラットフォームアプリを開発することができるフレームワークです。JavaScriptの知識さえあれば、C++やC#などで作るネイティブアプリの知識がなくても、簡単にデスクトップアプリを作ることができます。
Electron Forgeとは
Electron ForgeはElectonアプリケーションをパッケージ化・配布するためのオールインワンツールで、コード署名などといったビルド処理をまとめてくれます。
Electron Forgeのテンプレートを作る
Electron Forgeのテンプレートを作ります。
WebpackとTypeScriptに対応させるため、以下のコマンドを利用します。
$ npm init electron-app@latest <アプリ名> -- --tempate=webpack-typescript
完了するとアプリ名のディレクトリが現在のディレクトリ内に作成されます。そのディレクトリを使用しているエディタで開きます。
一旦動くかチェック
パッケージスクリプトstartでElectron Forgeのアプリが起動するかを確認します。
$ npm start
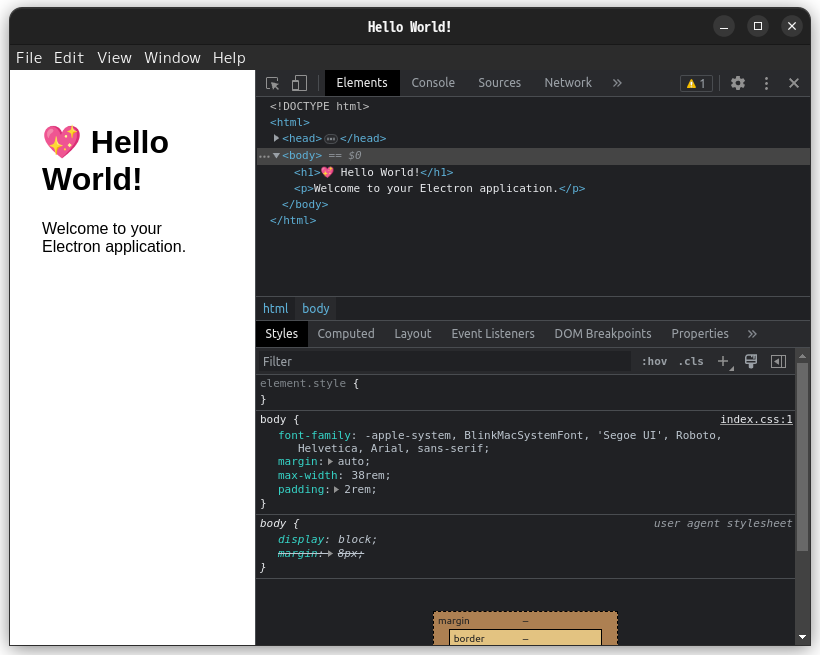
以下のようになれば、OKです。WindowsやLinuxの場合はウィンドウを閉じる、macOSの場合はメニューから"Quit"や「終了」を選択すればアプリは終了します。
Reactを導入
Electron ForgeアプリにReactを対応させるため、以下の手順を実行します。
npmパッケージの導入
npmパッケージのreactとreact-domを導入します。
$ npm install react react-dom
TypeScriptに対応させるため、@types/reactと@types/react-domを導入します。
$ npm install --save-dev @types/react @types/react-dom
tsconfig.jsonの変更
TypeScriptにJSX(TSX)を対応させるため、tsconfig.jsonを開き、"jsx": "react-jsx"を追加します。
{
  "compilerOptions": {
    "target": "ES6",
    "allowJs": true,
    "module": "commonjs",
    "skipLibCheck": true,
    "esModuleInterop": true,
    "noImplicitAny": true,
    "sourceMap": true,
    "baseUrl": ".",
    "outDir": "dist",
    "moduleResolution": "node",
    "resolveJsonModule": true,
    "paths": {
      "*": ["node_modules/*"]
-   }
+   },
+   "jsx": "react-jsx"
  },
  "include": ["src/**/*"]
}
index.htmlの変更
Reactがレンダリングするための要素を追記します。
最初に定義されているh1タグとpタグは不要なので削除します。
titleタグは適宜変更しても構いません。
<!DOCTYPE html>
<html>
  <head>
    <meta charset="UTF-8" />
    <title>Hello World!</title>

  </head>
  <body>
-   <h1>💖 Hello World!</h1>
-   <p>Welcome to your Electron application.</p>
+   <div id="app"></div>
  </body>
</html>
App.tsxの作成
Reactコンポーネントのメイン部分になるApp.tsxを作成します。
import { useState } from "react";

function App() {
  const [count, setCount] = useState(0);

  return (
    <>
      <h1>Hello world from React</h1>
      <p>with Electron Forge!</p>
      <p>You clicked {count} time(s)</p>
      <button onClick={() => setCount(count + 1)}>
        Click me
      </button>
    </>
  )
}

export default App;
root.tsxの作成
Reactの大元となるroot.tsxを作成します。
import { createRoot } from "react-dom/client";

import App from "./app";

function render() {
  const root = createRoot(document.getElementById("app"));
  root.render(<App />);
}

render();
renderer.tsの変更
先程作成したroot.tsxを、renderer.tsにインポートさせます。
同時に、ログを出力するスクリプトを削除しておきます。
// -- snip --

import './index.css';
+ import './root';

- console.log('👋 This message is being logged by "renderer.js", included via webpack');
動作チェック
最初にチェックしたときと同様の手順で、動作チェックします。
$ npm start
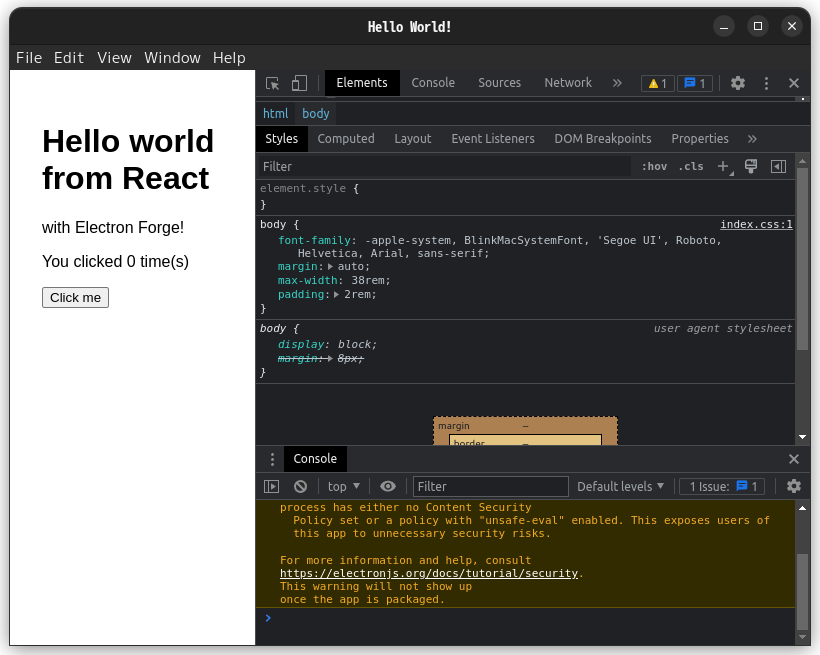
以下のようになっていれば動作OKです。
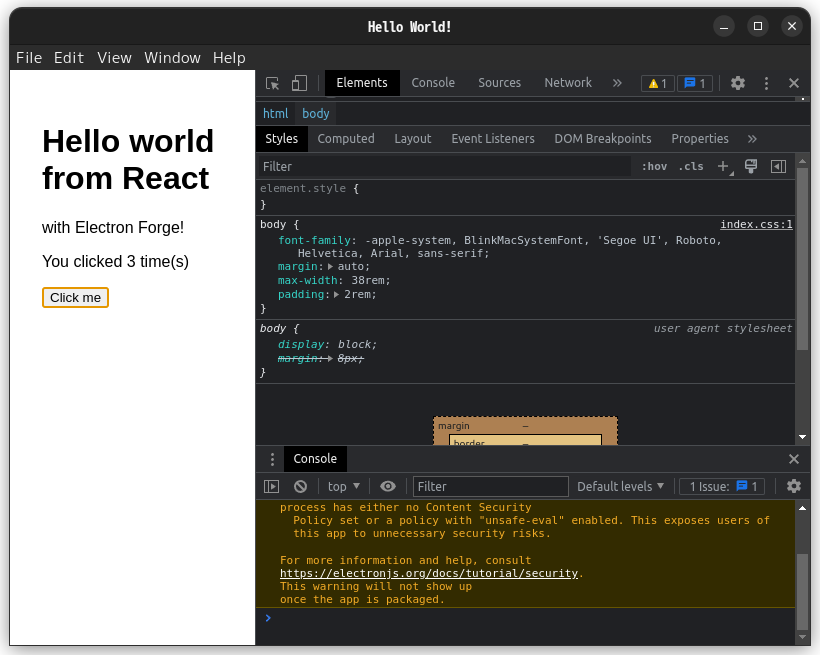
「Click me」をクリックすると、数字がカウントアップされることを確認できます。
React DevToolsを導入する
2023/02/25現在、React DevToolsは動作しません。
React DevToolsのマニフェストファイル絡みの問題が発生しているためと言われています。
詳しくは以下のGitHub Issuesをご確認ください。(英語)
Reactの開発を円滑に行うための拡張機能、React DevToolsを導入します。
npmパッケージの導入
npmパッケージelectron-devtools-installerをインストールします。
$ npm install --save-dev electron-devtools-installer
index.tsの変更
React DevToolsをインストールするためのスクリプトを、index.tsに追記します。
import { app, BrowserWindow } from 'electron';
+ import installExtension, { REACT_DEVELOPER_TOOLS } from 'electron-devtools-installer';

// -- snip --
const createWindow = (): void => {
  // Create the browser window.
  const mainWindow = new BrowserWindow({
    height: 600,
    width: 800,
    webPreferences: {
      preload: MAIN_WINDOW_PRELOAD_WEBPACK_ENTRY,
    },
  });

+ // Install React DevTools extension
+ installExtension(REACT_DEVELOPER_TOOLS)
+   .then((name) => console.log(`Extension installed: ${name}`))
+   .catch((err) => console.error(err));

  // and load the index.html of the app.
  mainWindow.loadURL(MAIN_WINDOW_WEBPACK_ENTRY);

  // Open the DevTools.
  mainWindow.webContents.openDevTools();
};

// -- snip --
チェック
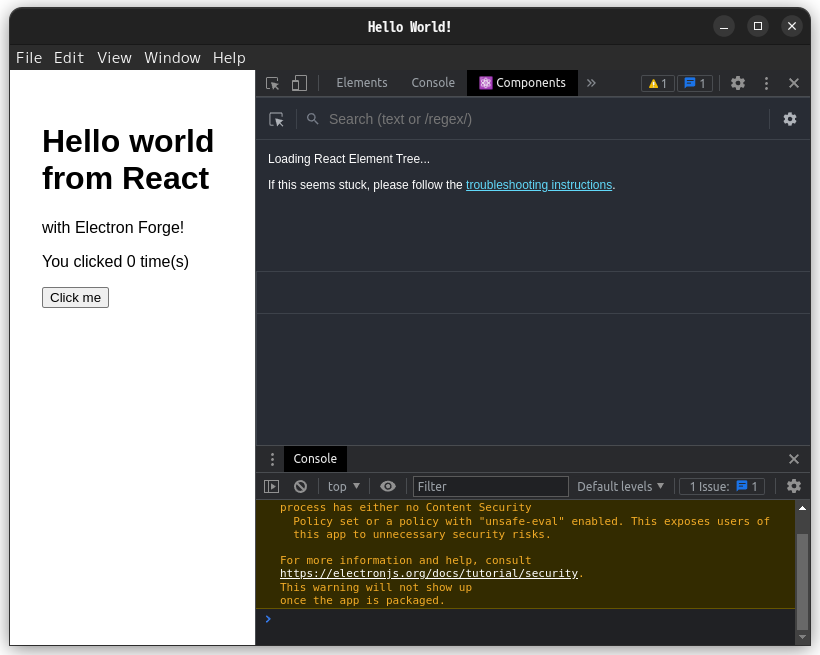
開発ツールのタブに⚛ Componentsや⚛ Profilerがあれば導入OKです。
今回の内容はGitHubリポジトリにテンプレートとして上げています。ご活用ください。


