こんにちは。ずっと前からQiitaのエディターみたいなマークダウンエディターを作りたかったです。
今回はRailsアプリケーションでマークダウンが使えるまでの実装をご紹介いたします。jQueryは使いません。この記事の内容は以下になります。
- マークダウンの導入
- TOC (Table of contents)
- コードブロックのテーマの設定
- コードブロックの上にファイル名の表示
- コピーボタンの実装
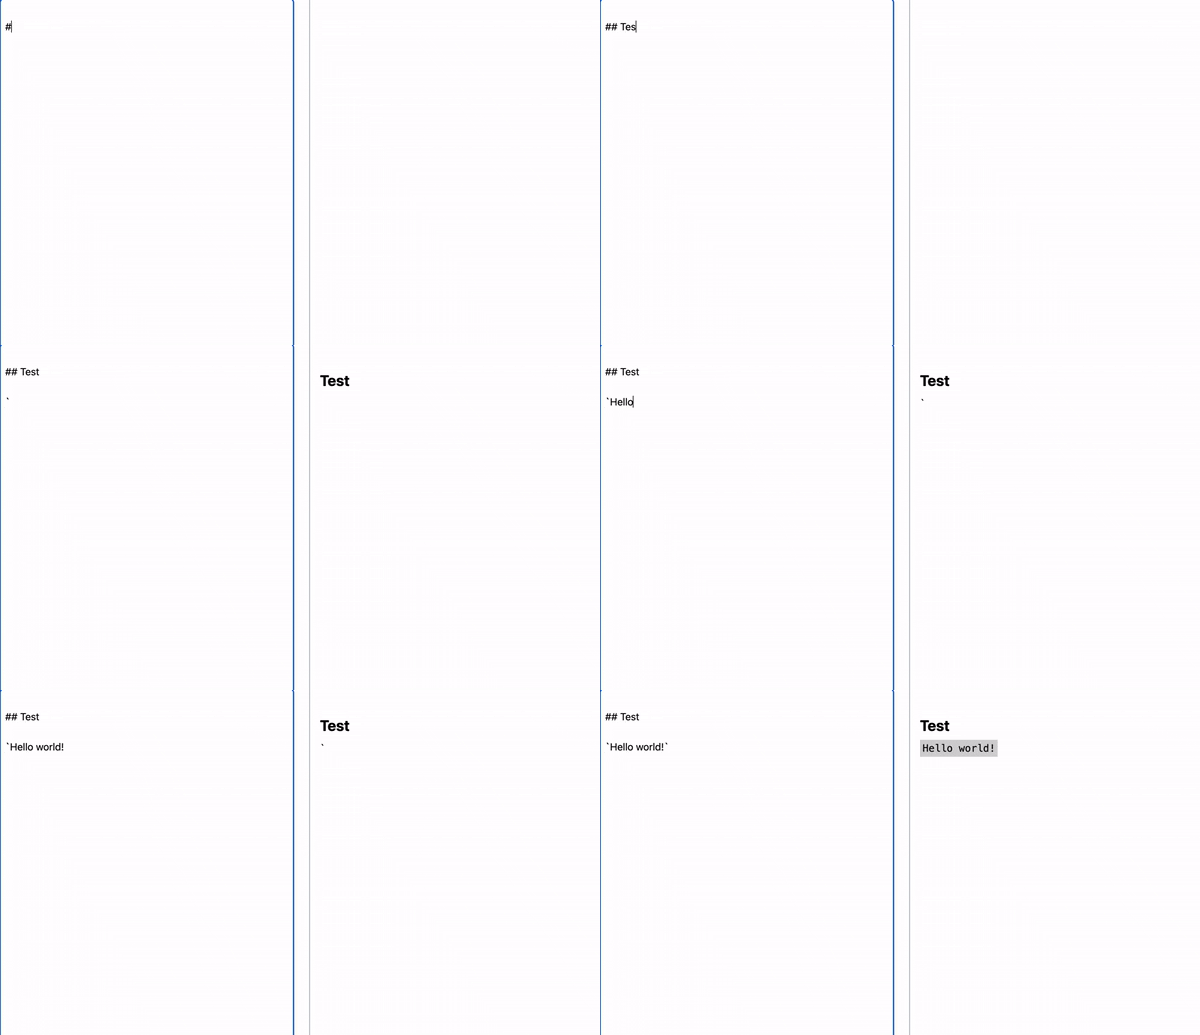
- ライププレビュー
- ファイルアップロード
- アップロードの前に画像を圧縮したりリサイズしたりする
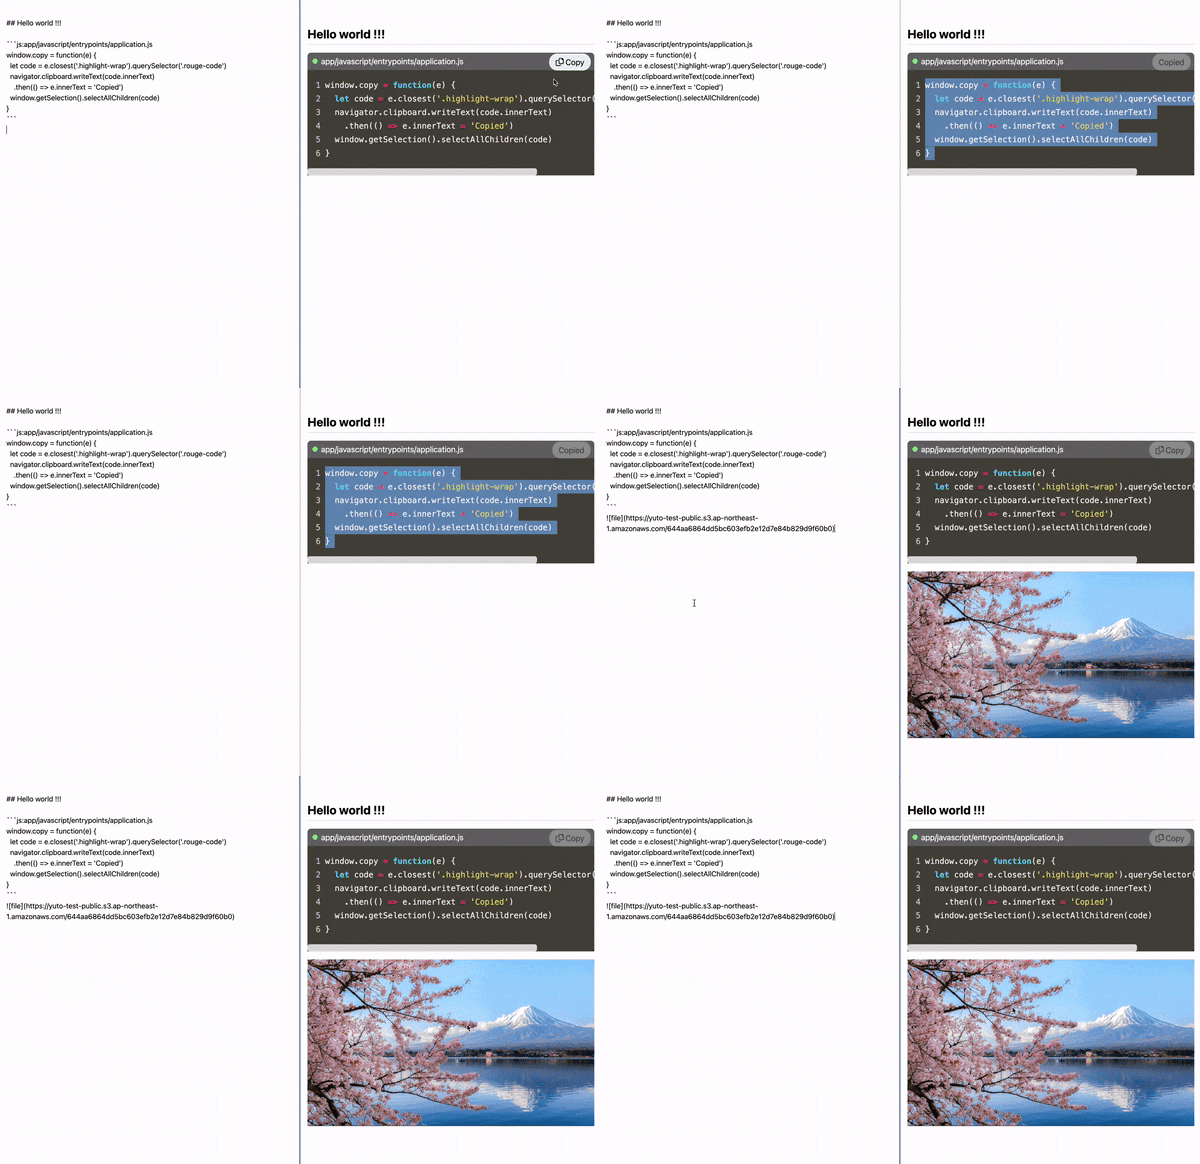
結果はこのようになります。
では、始めましょう!
マークダウンの導入
まずは必要なGemをインストールする
gem 'redcarpet' # Markdown parser
gem 'rouge' # Syntax highlight
そしてヘルパーファイルを作成する
# frozen_string_literal: true

require 'rouge/plugins/redcarpet'

class CustomRenderHTML < Redcarpet::Render::HTML
  include Rouge::Plugins::Redcarpet

  # Rouge::Plugins::Redcarpetのメソッドを上書きする
  def block_code(code, language)
    # もしコードブロックに言語とファイル名が定義されたら取得する。例: ```ruby:test.rb
    filename = ''
    if language.present?
      filename = language.split(':')[1]
      language = language.split(':')[0]
    end

    lexer = Rouge::Lexer.find_fancy(language, code) || Rouge::Lexers::PlainText
    code.gsub!(/^    /, "\t") if lexer.tag == 'make'
    formatter = rouge_formatter(lexer)
    result = formatter.format(lexer.lex(code))
    return "<div class=#{wrap_class}>#{copy_button}#{result}</div" if filename.blank? && language.blank?

    compose_filename_and_language(result, filename, language)
  end

  def rouge_formatter(_options = {})
    options = {
      css_class: 'hightlight',
      line_numbers: true,
      line_format: '<span>%i</span>'
    }
    Rouge::Formatters::HTMLLegacy.new(options)
  end

  private

  # wrap CSSクラス名の定義
  def wrap_class
    'highlight-wrap'
  end

  # コピーボタンの定義。クリックするとJavaScriptファンクションが実行される
  def copy_button
    "<button onclick='copy(this)'>Copy</button>"
  end

  # コードブロックの言語、ファイル名、コピーボタンを設置する
  def compose_filename_and_language(result, filename, language)
    info_section = [filename, language].select(&:present?).map.with_index do |text, i|
      i.zero? ? "<span class='highlight-info'>#{text}</span>" : nil
    end.compact.join

    %(<div class=#{wrap_class}>
        #{copy_button}
        #{info_section}
        #{result}
      </div>
    )
  end
end

module MarkdownHelper
  def markdown(text)
    options = {
      with_toc_data: true,
      hard_wrap: true
    }
    extensions = {
      no_intra_emphasis: true,
      tables: true,
      fenced_code_blocks: true,
      autolink: true,
      lax_spacing: true,
      lax_html_blocks: true,
      footnotes: true,
      space_after_headers: true,
      strikethrough: true,
      underline: true,
      highlight: true,
      quote: true
    }

    renderer = CustomRenderHTML.new(options)
    markdown = Redcarpet::Markdown.new(renderer, extensions)
    markdown.render(text)
  end

  def toc(text)
    renderer = Redcarpet::Render::HTML_TOC.new(nesting_level: 6)
    markdown = Redcarpet::Markdown.new(renderer)
    markdown.render(text)
  end
end
スタイル
コードブロックのテーマを設定する
固有のテーマ
Base16, BlackWhiteTheme, Colorful, Github, Gruvbox, IgorPro, Magritte, Molokai, Monokai, MonokaiSublime, Pastie, ThankfulEyes, Tulip
例えばMonokaiテーマを使う場合は:
rougify style monokai > app/assets/stylesheets/monokai.scss
するとSCSSファイルがコピーされます。
自分はTailwind CSS使うためCSSがリセットされるので、マークダウン用のCSSも用意します。
ActionTextにも同じようなスタイルを使いたいのでmixinを作っておきます。
// Mixins
@mixin richText_wrap {
  font-size: 18px;
  line-height: 1.7em;
  word-break: break-word;

  // Horizontal scroll bar
  ::-webkit-scrollbar {
    -webkit-appearance: none;
    width: 7px;
  }
  ::-webkit-scrollbar-thumb {
    border-radius: 5px;
    background-color: #ddd;
    -webkit-box-shadow: 0 0 1px rgba(255,255,255,.5);
  }
}

@mixin richText_codeBlock {
  font-family: 'Fira Code', monospace;
  background-color: lightgray;
  padding: 1rem;
  margin-bottom: 1rem;
  pre {
    font-size: 1em;
    margin: 0;
    padding: 0;
  }
}

@mixin richText_code {
  background-color: lightgray;
  padding: 0.25em;
}

@mixin richText_table {
  margin: 1em auto;
  th, td {
    border: 1px solid #bbb;
    padding: 0.25em;
  }
  th {
    background-color: dimgray;
    color: white;
  }
  tr:nth-of-type(2n) {
    background-color: #eee;
  }
}

@mixin richText_a {
  color: blue;
  &:hover {
    text-decoration: underline;
  }
}

@mixin richText_blockquote {
  background: #ddd;
  padding: 1em;
  border-left: 8px solid gray;
}

@mixin richText_hr {
  margin: 2em 0;
  border: 1px solid lightgray;
}

@mixin richText_h {
  display: block;
  font-weight: bold;
  line-height: 1.2em;
}
@mixin richText_h1 {
  margin: 1.83em 0 0.5em;
  font-size: 1.7em;
  background-color: #155e75;
  color: white;
  border-left: 8px solid #fbbf24;
  padding: 0.2em 0.4em;
}
@mixin richText_h2 {
  margin: 1.67em 0 0.5em;
  font-size: 1.5em;
  border-bottom: 1px solid lightgray;
  padding-bottom: 0.25em;
}
@mixin richText_h3 {
  margin: 1.33em 0 0.5em;
  font-size: 1.4em;
}
@mixin richText_h4 {
  margin: 1.17em 0 0.5em;
  font-size: 1.2em;
}
@mixin richText_h5 {
  margin: 0.67em 0 0.5em;
  font-size: 0.85em;
}
@mixin richText_h6 {
  margin: 0.67em 0 0.5em;
  font-size: 0.7em;
}

@mixin richText_l {
  margin-left: 1em;
  ul, ol {
    margin-left: 1.5em;
  }
}
@mixin richText_ol {
  list-style-type: decimal;
}
@mixin richText_ul {
  list-style-type: disc;
}

@mixin richText_p {
  margin-bottom: 1em;
}

// Toc
.toc {
  a {
    &:hover {
      text-decoration: underline;
    }
  }
  .toc-current {
    background-color: #ddd;
  }
  .toc-item {
    padding: 0.1em 0;
    a {
      padding: 0.25em 0.5em;
    }
  }
  .toc-h2 { margin-left: 1.25em }
  .toc-h3 { margin-left: 2.5em }
  .toc-h4 { margin-left: 3.75em }
  .toc-h5 { margin-left: 5em }
  .toc-h6 { margin-left: 6.25em }
}

// Markdown
.markdown {
  @include richText_wrap;

  .highlight-wrap {
    margin: 1em 0;
    position: relative;
    &:hover {
      button {
        opacity: 1; // コードブロックをホバーしたらコピーボタンが現れる
      }
    }

    // ファイル名
    .highlight-info {
      background: dimgray;
      color: white;
      padding: 4px 8px;
      border-top-left-radius: 8px;
      border-top-right-radius: 8px;
      display: flex;
      align-items: center;
      &:before {
        content: "\26AB";
        color: lightgreen;
        margin-right: 0.25em;
      }
    }

    // コードブロック
    .highlight {
      overflow-x: scroll;
      padding: 0.75em;
      .lineno {
        color: #ccc;
      }
    }

    // コピーボタン
    button {
      position: absolute;
      opacity: 0.3;
      top: 2px;
      right: 8px;
      padding: 0.2em 0.8em;
      background-color: #ecfdf5;
      border-radius: 1em;
      &:hover {
        background-color: lightgreen;
      }
    }
  }

  table:not(.rouge-table) { @include richText_table }
  hr { @include richText_hr }
  h1, h2, h3, h4, h5, h6 { @include richText_h }
  h1 { @include richText_h1 }
  h2 { @include richText_h2 }
  h3 { @include richText_h3 }
  h4 { @include richText_h4 }
  h5 { @include richText_h5 }
  h6 { @include richText_h6 }
  blockquote { @include richText_blockquote }
  a { @include richText_a }
  ol, ul { @include richText_l }
  ol { @include richText_ol }
  ul { @include richText_ul }
  p > code { @include richText_code }
  & > p { @include richText_p }
}
そしてSCSSファイルをインポートする
@import 'monokai';
@import 'markdown';
Viewsで使用
article
  // 記事の項目、項目をクリックするとその項目の内容までスクロールされる
  .toc == toc @article.markdown_content

  // マークダウン形式の内容
  .markdown == markdown(@article.markdown_content)
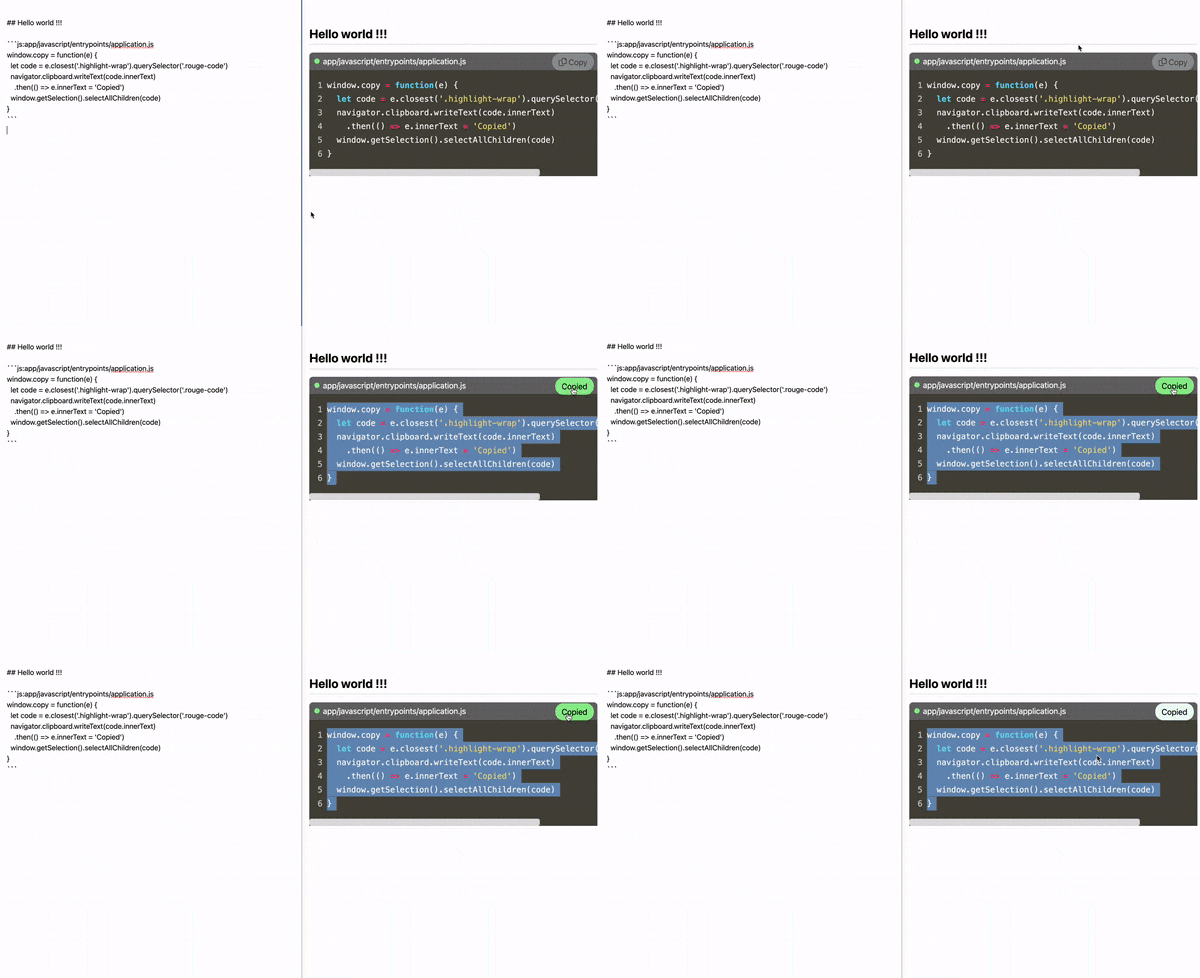
ちゃんとマークダウン形式とMonokaiテーマのコードブロックになるはずです。
コピーボタンの実装
コピーボタンをクリックするとクリップボードにコードを入れて、コピーしたコードが選択されたようにする
window.copy = function(e) {
  // クリックしたボタンに紐づくコードの範囲の定義
  let code = e.closest('.highlight-wrap').querySelector('.rouge-code')

  // クリップボードにコードをコピーしてから、ボタンのテキストを変更する
  navigator.clipboard.writeText(code.innerText)
    .then(() => e.innerText = 'Copied')

  // 任意:コピーしたコードが選択されたようにする
  window.getSelection().selectAllChildren(code)
}
結果
ライププレビュー
APIを作成する
namespace :api, format: :json do
  namespace :v1 do
    post '/articles/preview', to: 'articles#preview'
  end
end
module Api
  module V1
    class ArticlesController < ApiController
      include MarkdownHelper # 先ほど作成したヘルパー

      # POST /api/v1/articles/preview
      def preview
        content = markdown(params[:content])
        render json: { content: }
      end
    end
  end
end
JavaScriptコードを書く
window.addEventListener('turbo:load', function(){
  let editArea = document.getElementById('article_markdown_content') // テキストエリア
  let previewArea = document.getElementById('preview') // プレビューエリア
  if (!editArea || !previewArea) return // テキストエリアとプレビューエリアがなかったらリターン

  // タイピングが1秒停止したらプレビューする、タイピングし続ける時はプレビューしない。
  editArea.addEventListener('keyup', delay(function() {
    preview()
  }, 1000))

  // POST リクエストして、マークダウンした形のHTMLを取得する
  function preview() {
    let content = editArea.value
    fetch('/api/v1/articles/preview', {
      headers: { 'Content-Type': 'application/json' },
      method: 'POST',
      body: JSON.stringify({ content })
    })
      .then((response) => response.json())
      .then(data => {
        previewArea.innerHTML = data.content
        console.log('Updated preview')
      })
      .catch(() => console.warn('Error occurred while updating preview'))
  }

  // 遅延ファンクションの定義
  function delay(callback, ms) {
    let timer = 0
    return function() {
      let context = this, args = arguments;
      clearTimeout(timer);
      timer = setTimeout(function () {
        callback.apply(context, args)
      }, ms || 0);
    }
  }
})
ライブプレビューを試す
ファイルアップロード
テキストエリアにファイルをドロップしてアップロードするにはInlineAttactmentを使います。
必要なファイルをダウンロード
こちらでinline-attachment.jsとinput.inline-attachment.jsをダウンロードします。
https://github.com/Rovak/InlineAttachment/tree/master/src
ダウンロードしたファイルをプロジェクトにインポートする
import '../src/markdown'
import '../src/inline_attachment' // 追加
import '../src/input.inline_attachment' // 追加
アップロード用のAPIを準備する
# frozen_string_literal: true

namespace :api, format: :json do
  namespace :v1 do
    post '/articles/preview', to: 'articles#preview'
    post '/articles/upload', to: 'articles#upload' # 追加
  end
end
# frozen_string_literal: true

module Api
  module V1
    class ArticlesController < ApiController
      # POST /api/v1/articles/upload
      def upload
        file = params[:file]
        file_name = SecureRandom.hex(20)
        upload_file = file.tempfile

        s3 = Aws::S3::Resource.new(
          region: ENV.fetch('AWS_REGION', nil),
          access_key_id: ENV.fetch('AWS_ACCESS_KEY_ID', nil),
          secret_access_key: ENV.fetch('AWS_SECRET_ACCESS_KEY', nil)
        )

        obj = s3.bucket(ENV.fetch('AWS_S3_BUCKET', nil)).object(file_name)
        obj.upload_file(upload_file, { acl: 'public-read' })

        render json: { filename: obj.public_url }, status: :ok
      end
    end
  end
end
注意:AWSのS3バケットをパブリックにする必要があります。
アップロード用のJavaScriptを書く
先ほど作成したmarkdown.jsにコードを追加する
  inlineAttachment.editors.input.attachToInput(editArea, {
    uploadUrl: "/api/v1/articles/upload",
    uploadFieldName: 'file',
    allowedTypes: ['image/jpeg', 'image/png', 'image/jpg', 'image/gif'],
    progressText: '![ファイルをアップロード中...]()',
    errorText: 'エラーが発生しました!',
    onFileUploaded: () => { preview() } // アップロード成功したらプレビューに反映する
  })
結果
できました。これから個人のアプリケーションで記事を書く時は楽になりました ![]()
任意:画像を加工してからアップロードする
理由
あくまでも記事に表示するだけの画像なのででかいサイズは必要ないと思いますし、S3バケットの容量を節約したくてページの読み込み時間も短くしたいのです。
対策
RMagicを使って、ローカルで画像を加工してからS3にアップロードします。
RMagicをインストールする
gem 'rmagick'
package MagickCore was not found in the pkg-config search path.
Perhaps you should add the directory containing `MagickCore.pc'
to the PKG_CONFIG_PATH environment variable
もしこのようなエラーが発生したらlibmagickwand-devをインストールしてからGemを再インストールする
sudo apt-get install libmagickwand-dev
画像加工メソッドを定義する
      # POST /api/v1/articles/upload
      def upload
        @file = params[:file]
        compress_image # 画像を加工する
        file_name = "#{SecureRandom.hex(20)}.webp"
        upload_file = @file.tempfile

        s3 = Aws::S3::Resource.new(
          region: ENV.fetch('AWS_REGION', nil),
          access_key_id: ENV.fetch('AWS_ACCESS_KEY_ID', nil),
          secret_access_key: ENV.fetch('AWS_SECRET_ACCESS_KEY', nil)
        )

        obj = s3.bucket(ENV.fetch('AWS_S3_BUCKET', nil)).object(file_name)
        obj.upload_file(upload_file, { acl: 'public-read' })

        render json: { filename: obj.public_url }, status: :ok
      end

      private

      def compress_image
        image = Magick::Image.from_blob(@file.read).first

        # もし画像の長さは1024px以上だったらリサイズする
        image.resize_to_fit!(1024) if image.columns > 1024
        image.format = 'webp' # webpならページの読み込み時間が短縮するらしい
        image.write(@file.path)
      rescue StandardError
        nil # 万が一加工が失敗したら元々の画像をアップロードする
      end
テスト
10秒ぐらいかかりましたが、非同期処理でエディターもそのまま使えるのであまり不便はないです。
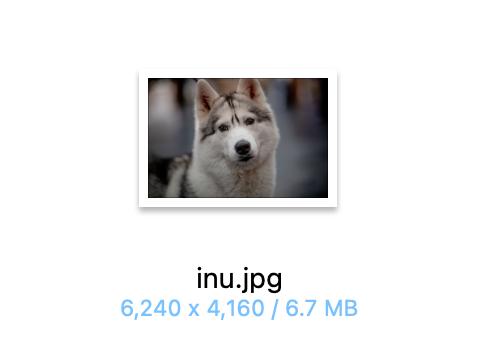
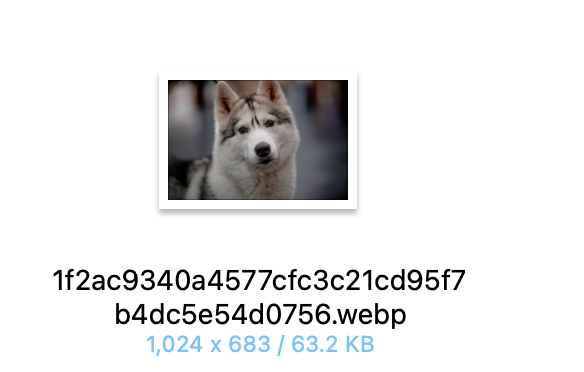
そして、アップロードしたファイルをダウンロードしてみると:
サイズと容量が結構減らしました! これで画像の沢山ある記事でも安心できると思います。
