はじめに
古い Macbook に Raspberry Pi Desktop(Raspbian の x86 版)をインストールしたものの、右クリックできないことに気づき、どうすれば良いのか調べてみた。
Synaptic タッチパッドドライバをインストール
ググってみると「synclient」というコマンドで設定できることがわかったが、ターミナルで実行してみてもコマンドが存在しない。
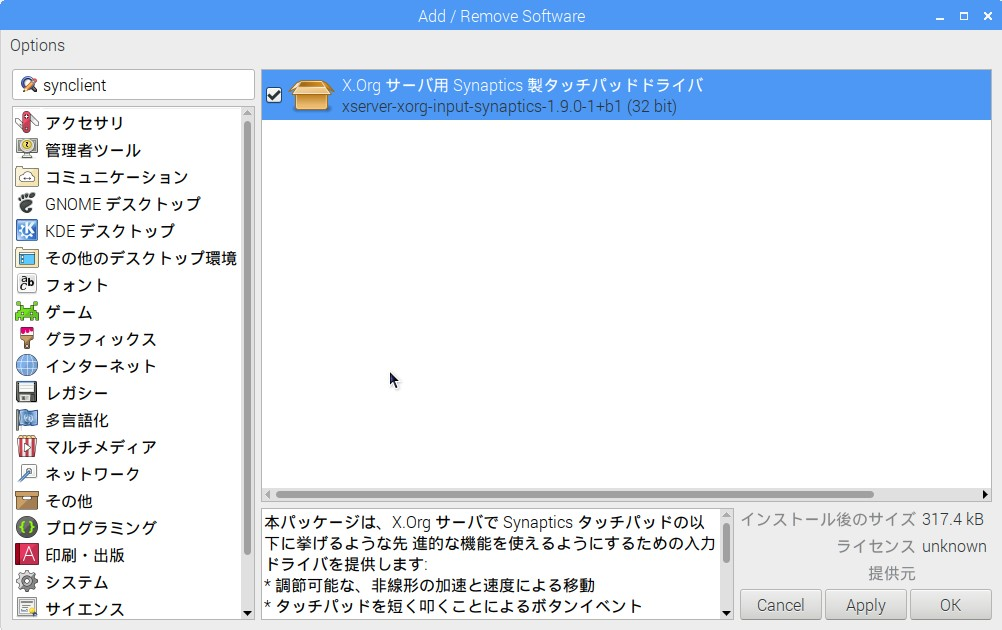
「設定」にある「Add / Remove Software」を実行し「synclient」を検索してみると「Synaptic」というタッチパッドドライバが見つかるのでインストール。
再起動後に「synclient」コマンドが実行できるようになる。
もちろん「apt-get」でインストールしても良い。
$ sudo apt-get install synaptic
設定
$ synclient TapButton1=1
$ synclient TapButton2=3
1行目の設定は、1本指タップで左クリック、2行目は2本指タップで右クリックとなる。
$ synclient TapButton1=1 TapButton2=3
このような書き方もできる。
「synclient」コマンドだけ実行すると現在の設定が確認できる。
起動時に自動で設定するには
Linux では起動時に何かを実行する手段はいくつかある。
「/etc/rc.local」「crontab」「/etc/init.d」「systemd」などでは駄目。
タッチパッドの設定なので X Window が起動した後に自動で設定する必要がある。
正解は、
$ sudo nano /etc/xdg/lxsession/LXDE-pi/autostart
である。
次のように編集する。
@lxpanel --profile LXDE-pi
@pcmanfm --desktop --profile LXDE-pi
@xscreensaver -no-splash
@synclient TapButton1=1 TapButton2=3
point-rpi
下から2行目を追記している。
他は最初から書いてあるものなので、いじらない。